
The Best Fluffy Pancakes recipe you will fall in love with. Full of tips and tricks to help you make the best pancakes.


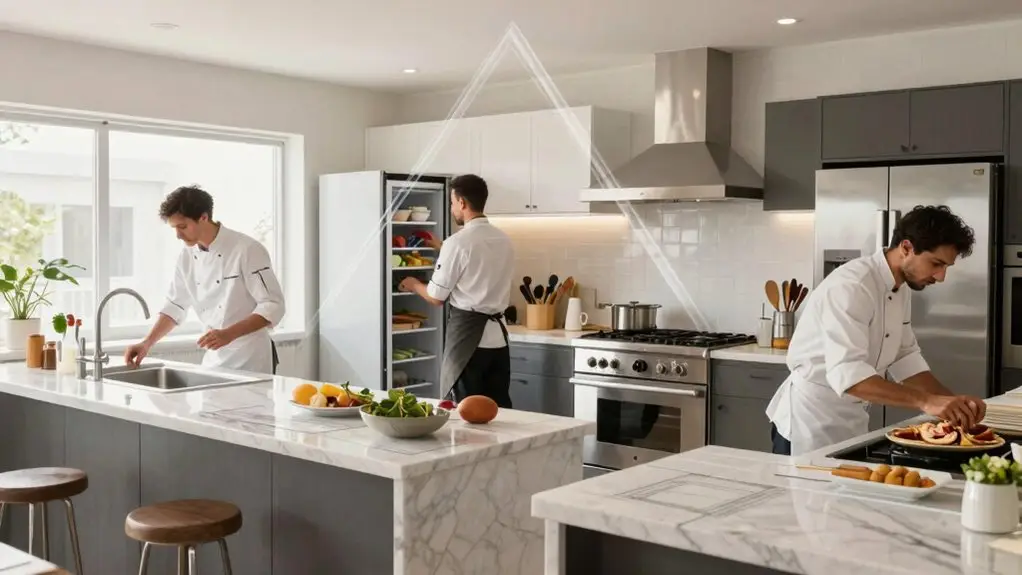
Start by asking yourself who cooks and what you make. An L-shaped layout keeps things open and easy to flow around, while a U-shape gives you more storage and room for multiple cooks.
In tight spaces, a galley or one-wall design cuts your steps way down. Always place your sink first, then fridge and range across from each other. Stick to these basics and your kitchen will practically run itself.
There’s plenty more nuance to explore if you keep going.
U-Shaped vs. L-Shaped: Which Kitchen Layout Maximizes Workflow?
But if you prefer an open feel and more seamless traffic flow, go with the L-shaped kitchen layout. It works great in smaller or open-concept spaces, keeping paths clear and making it easy to add a prep island without boxing anyone in.
Yes, U-shaped layouts win on storage, but L-shaped ones win on movement—especially with corner hardware like lazy Susans. In fact, research shows that single-run kitchen layouts can demand roughly 40% more steps for the same cooking tasks compared to a U-shaped setup. So, think about your space and your cooking style.
Galley and One-Wall Layouts: Perfect for Tight Spaces
Whether you’re squeezing into a narrow galley or making the most of a single wall, you can still cook like a pro without feeling like you’re doing the kitchen tango. These layouts are masters of efficiency, putting everything within arm’s reach and keeping your kitchen flow seamless.
In a galley kitchen, place your fridge at one end and your range at the other, with the sink on the opposite wall between them. This creates a logical, one-cook workflow.
For a one-wall kitchen, keep your main stations aligned: fridge at one end, sink in the middle, and cooking appliances at the other end. This simple stretch maximizes your workspace.
To boost kitchen flow, use a small rolling cart near the adjoining wall in a one-wall layout. It adds flexible counter space without blocking traffic.
A galley kitchen excels in tight spaces by clustering your work between two parallel counters. This makes cleanup fast and your cooking feel effortless. For the best results, maintain a corridor width of at least 42 inches for a single cook, or 48 inches if two people are sharing the space.
Add an Island or Peninsula to Your Galley or One-Wall Kitchen
Even with a one-wall or galley kitchen, you can break out of that straight-line shuffle by adding an island or peninsula. For a one-wall kitchen, placing an island parallel to your main counter creates a galley-like second work side. This reduces backtracking and keeps hookups simpler.
In a galley kitchen, an island works only if you keep a safe 3-foot clearance. Otherwise, try a portable island or narrow table you can move. A peninsula kitchen layout might be more feasible; it attaches to one side, offering prep space or breakfast seating without needing swing room.
Whichever you choose, add under-counter drawers and prep zones near your cooktop or sink. Plus, you’ll get extra storage without cluttering your main counters. And don’t forget that a well-placed island can turn your cramped galley into a social hub. It’s a game-changer for workflow. To maximize seating comfort, plan for a 12-inch overhang clearance so bar stools fit without crowding the aisle.
Place Your Kitchen Layout Appliances for a Smooth Work Triangle?
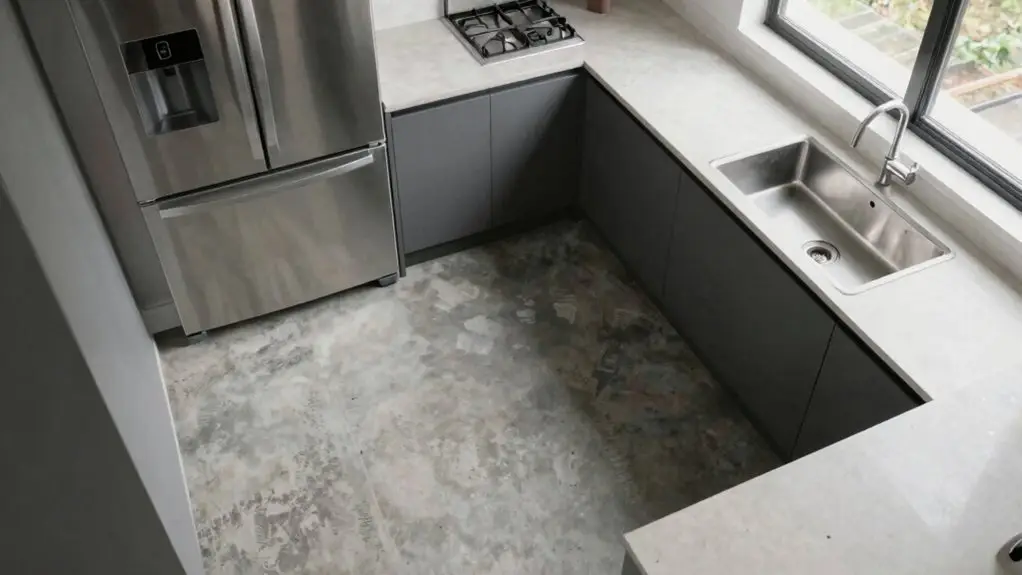
When you’ve got your island or peninsula figured out, it’s time to place your big three appliances: fridge, sink, and range, for a seamless work triangle. This setup boosts your efficient cooking, whether you’re whipping up a quick meal or tackling a feast.
To nail it, follow these simple rules:
To nail it, follow these simple rules: Keep each triangle leg between 4 and 9 feet.
- Position your fridge and range on opposite ends of your layout, with the sink right between them for natural flow during small and large cooking tasks.
- Keep each work triangle leg between 4 and 9 feet—too short feels cramped, too long wastes steps.
Set the dishwasher next to the sink, not the fridge, so dirty dishes zip straight into the wash cycle without detours.
Avoid placing triangle stations near doors or tight walkways, as that messes with your rhythm and cuts into prep space.
The total triangle perimeter should stay under 26 feet to reduce exhausting movement and keep your workflow tight across all three stations.
Stick to these, and you’ll move like a pro in your kitchen, without bumping into things.
Match Your Cooking Style and Space to the Right Layout
First, take a hard look at how you actually cook. Do you bake often, or are you more of a solo stir-fry chef?
Matching your daily habits and room shape to the right layout saves you from future frustration. Kitchen layouts range from single-wall to U-shaped designs, each offering different perks depending on your room constraints and layout quirks. So let’s break down which setup fits you best.
Analyze Your Cooking Habits
Match your cooking style and space to the right layout by taking an honest look at how you actually use your kitchen. Do you bake often or just reheat? That changes everything. Your kitchen layout should fit your habits, not a dream. The classic work triangle only works if your prep area sits logically between the sink and stove.
Here’s how to analyze your flow:
- If you cook with others often, choose a U-shaped kitchen layout; it tightens the work triangle and gives everyone room to move.
- If you’re a solo cook in a narrow space, go galley. It keeps your prep area close and reduces wasted steps.
- If you want an open-concept feel, pick an L-shaped layout and group your sink, fridge, and range for seamless transitions.
- If you bake daily, make sure your prep area sits right next to the cooktop so ingredients move forward without extra travel.
Regardless of the layout you choose, each leg of the work triangle should measure between 4 and 9 feet to keep movement efficient between your sink, range, and refrigerator.
Match Layout to Room Shape
How do you make your kitchen’s shape work for you, not against you? Start by measuring your room and matching it to the right kitchen layout. If your space feels narrow, a galley kitchen, which features two parallel walls with a central walkway, keeps steps short and workflow tight.
For medium–large, multi-cook households, a U-shaped kitchen places workstations on three connecting walls, offering tons of storage and a smart sink, fridge, stove triangle.
In small–medium rooms, an L-shaped layout on two adjacent walls creates an easy prep pathway, and you can optimize the corner with lazy Susans.
For tight apartments, a one-wall kitchen aligns fridge, sink, and cooking neatly.
Got extra width? Add a peninsula for seating and work zones without sacrificing flow.
Regardless of layout, aim to keep your work triangle total distance under 26 feet so you’re not wasting steps between the sink, stove, and fridge mid-recipe.
Match your shape, and your kitchen works for you.
Quick Checklist to Choose the Right Layout for Maximum Efficiency
Start by measuring your kitchen space and noting any obstacles like windows or doors—don’t skip this step, or you’ll regret it later.
NEXT, DEFINE YOUR PRIMARY COOKING NEEDS: ARE YOU A SOLO CHEF WHIPPING UP QUICK MEALS, OR DO YOU HOST BIG FAMILY FEASTS?
Finally, align your chosen layout with the work triangle rules, keeping the sink, stove, and fridge each about 4–9 feet apart for a seamless flow. Keep in mind that the total triangle perimeter should fall between 13 and 26 feet to strike the right balance between convenience and freedom of movement.
Assess Your Kitchen Space
Before you start dreaming up your perfect kitchen, grab a tape measure and get the real numbers, because a layout that flows beautifully on paper can feel cramped in real life. Don’t guess your kitchen space; let the measurements guide you.
You’ll want an efficient kitchen that moves with you, not against you.
To make the space feel larger, focus on these four key:
- Measure clearance zones: one-wall runs need 8–10 ft; islands require enough walking room so you don’t bump into cabinets.
- Check your triangle: your sink goes first, then place the fridge and cooktop so each side stays between 4–9 ft for comfortable movement.
- Evaluate cook capacity: narrow galley layouts work best for one cook, while U-shaped plans handle multiple chefs without traffic jams.
- Skip the island if tight: in average kitchens, an island can block paths. Instead, prioritize open counter flow and easy storage access.
Also, map your door swing placement early, since an overlooked door arc can block cabinet access or create daily conflicts with appliance openings before you ever cook a single meal.
Define Primary Cooking Needs
Once your kitchen’s dimensions are clear, it’s time to define your primary cooking needs with a quick checklist that makes sure you choose the right layout for maximum efficiency. Start by listing your “must-cook” activities, like weeknight meals versus baking, then match your need for workspace.
U- or G-shaped layouts excel at multiple cooking zones, while a galley or one-wall layout is best for efficient single-cook workflows.
Next, count how many people typically cook at once. U-shaped kitchens work well for multiple cooks with a continuous perimeter, but L-shaped layouts provide an open, traffic-friendly flow.
Prioritize where you’ll prep, cook, and clean, keeping the sink, dishwasher, and range within a few steps.
Finally, confirm your appliances early. The fridge should be on one end, the range opposite, and the sink near the center. This strongly influences layout efficiency.
If your kitchen’s narrow, lean toward a galley layout. For larger spaces, choose an island only when it won’t block your work triangle.
Apply work triangle logic by spacing your sink, stove, and fridge so that each side of the triangle measures between 4 and 9 feet, keeping your total circuit between 12 and 26 feet for efficient daily movement.
Align With Work Triangle Rules
Now that you’ve nailed down your cooking must-haves and appliance spots, it’s time to make sure your kitchen layout respects the classic work triangle. This rule keeps your fridge, sink, and range within 4–9 feet of each other, so you aren’t running a marathon while cooking.
Here’s a quick checklist to lock in an efficient workflow:
- Choose a U-shaped design to naturally enclose the triangle, placing the refrigerator at one end and the cooktop at the opposite end with the sink in the middle.
- Keep the dishwasher right next to the sink; no one wants to juggle dirty dishes across the room to support the clean-up leg.
- For galley or one-wall layouts, group tasks on the same wall: fridge on one side, cooking on the other, sink between them.
- If any triangle side feels cramped or stretched, or an island blocks the path, swap layouts or reassign spots immediately.
Final Thoughts
So, you’ve got the layout basics down, and now it’s time to make your kitchen your own. Don’t stress over perfection—pick what feels right for your space and cooking style.
Whether it’s a U-shape for serious chefs or a galley for tight spots, your workflow will thank you. And hey, if all else fails, just add an island. You can’t go wrong with more counter space, right?
Go ahead, start sketching. Your dream kitchen’s waiting.







