The Best Fluffy Pancakes recipe you will fall in love with. Full of tips and tricks to help you make the best pancakes.


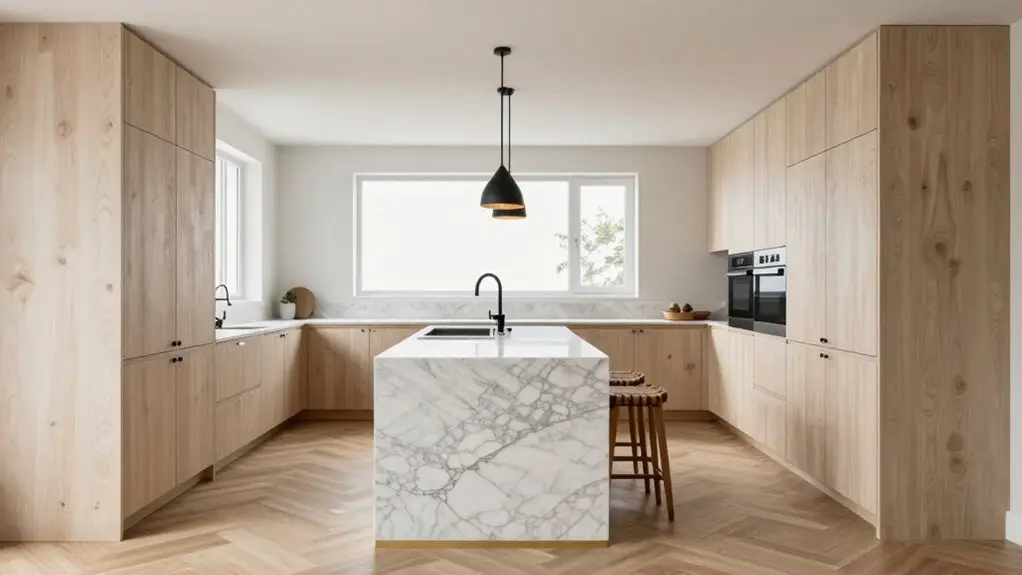
You can transform your cramped kitchen into a functional showstopper by getting smart about island design. Start with that golden 36-inch clearance zone between your island and counters: extend it to 42–48 inches and you’ll dodge the dreaded dishwasher-door traffic jam.
Match your layout to your kitchen shape: compact islands for galley spaces, L-shaped beauties for open flow, or even double islands when you’ve got room to spare. Layer in waterfall-edge quartz, hidden pull-out drawers, and proper seating proportions, and suddenly you’ve got prep space galore plus style that feels intentional, not accidental.
The best part? There’s a whole world of clever built-ins and material tricks waiting to take your island from basic to brilliant.
Smarter Spacing Rules (Starting With the 36-Inch Rule)
At 36 inches, you’re hitting the ideal zone for island spacing. It’s the least you’ll want between your kitchen islands and neighboring counters, giving you enough room to breathe without bumping elbows.
But here’s a tip: when you can extend that distance to 42–48 inches, you’ll notice the difference immediately. Traffic flow improves, and you’re not doing that awkward sideways shuffle when the oven’s open.
You’ve got to think about appliance access too. Nothing’s more frustrating than a dishwasher door blocking your route while you’re carrying hot dishes.
Keep those walkways open and clear of countertop overhangs. For overhead illumination, recessed lighting kits with 5CCT selectable color temperatures let you dial in the right ambiance without swapping fixtures.
How Island Placement Transforms Kitchen Workflow
You’ll notice how sliding your island into the right spot can turn a cramped kitchen into a space where you’re not constantly dancing around family members or bumping into cabinets.
When you balance your work triangle around that central piece, chopping veggies while the pasta boils suddenly feels effortless instead of Olympic.
It’s like finally finding the sweet spot in your living room for the TV—everything just clicks, and you wonder why you didn’t rearrange sooner.
Pairing your island placement with dedicated kitchen cabinet storage organizers ensures every inch of surrounding cabinetry works just as hard as that central workspace.
Open Flow Design
When you’re ready to breathe new life into a cramped kitchen, tearing down a wall and adding an island can feel like magic.
You’ll suddenly see possibilities where obstacles used to stand. Open-flow island placement supports your improved layout planning, helping your kitchen feel more expansive and less obstructed.
You’ll gain extra counter space exactly where you need it, and traffic flow stays smooth even with multiple cooks in the mix.
Try positioning your island across from the cooktop and next to the main sink. You’ll streamline your workflow by keeping key tasks within easy reach.
Centering the island in an open area preserves that precious traffic flow while still leaving room for bar stool seating.
Relocating for optimal efficiency can even increase your island size, reducing awkward movement paths that smaller layouts create.
A well-equipped workspace benefits from having a premium workshop tool set nearby to handle any cabinet installation or countertop adjustments during your kitchen renovation.
Work Triangle Balance
Because you’ve already opened up the space, now’s the perfect moment to think about how you’ll actually move through it. Your work triangle balance determines whether cooking feels like a dance or an obstacle course. Smart kitchen island ideas can make all the difference.
In a small kitchen, tucking an island within a U-shaped layout keeps your sink, stove, and fridge within easy reach. You’ll want 3–4 feet of clearance around the island so you’re not squeezing past family members with hot pans.
In L-shaped setups, position the island opposite the longer leg. It anchors the room and maintains that golden triangle.
If you’re adding stools, budget two feet per seat. Aim for 42–48 inches of walkway space when possible. Your future self, juggling groceries and coffee, will thank you.
Adding under cabinet strip lights along the island’s base or overhead shelving can sharpen task visibility while keeping the workspace feeling open and uncluttered.
Compact Island Layouts for Galley and Small Kitchens
You’re working with a tight kitchen footprint, but that doesn’t mean you can’t have an island that actually works for you. By nailing space-smart dimensions, you’ll keep traffic flowing while still gaining prep space and maybe even a spot to park your morning coffee.
Add multi-functional features and streamlined storage solutions. Suddenly, your compact island isn’t just surviving in a small kitchen, it’s pulling serious weight without the bulk. For overhead lighting, small pendant fixtures in the 6–9 inch diameter range work best above narrow counters without overwhelming the space.
Space-Smart Dimensions
If you’ve got a galley kitchen or a tight corner that’s begging for extra prep space, you’re probably wondering if an island is even possible without turning your cooking zone into an obstacle course.
Good news—it totally is if you stick to some smart sizing rules that keep traffic flowing and your sanity intact.
Here’s how you nail the proportions:
- Cap your island at 10% of total floor space so you don’t feel like you’re finding your way through a maze every time you grab the milk.
- Aim for 3–4 feet in depth—deep enough for prep, shallow enough to squeeze past when the oven’s hot.
- Leave 3–4 feet of clearance around the island for easy, trouble-free movement between counters and appliances.
- Plan 2 feet per seat for bar stools, with 12 inches of overhang for happy knees.
Stick to these, and you’ll cook without the chaos. While you’re planning your layout, don’t overlook the floor beneath your island—ceramic tile at $3–$8 per sq ft offers durable, low-maintenance performance that holds up well under heavy kitchen foot traffic.
Multi-Functional Features
Now that you’ve got the size sorted, it’s time to make every inch of that island pull its weight. You’ll want features that work as hard as you do, starting with deep drawers that swallow up pots, pans, and all those gadgets cluttering your counters.
Add a butcher block surface, and you’ve got a built-in cutting station right where you need it; no more running across the kitchen mid-recipe.
A secondary sink turns your island into a true multitasking powerhouse. You can rinse veggies while someone else tackles dishes at the main sink.
Pull-out trays and divided compartments keep everything from spices to baking sheets within arm’s reach.
And don’t forget that wide overhang with comfy stools; suddenly, your cramped kitchen’s got room for morning coffee and homework sessions.
For everything that doesn’t fit in the island itself, a dedicated pantry organization cabinet can give your dry goods, canned items, and small appliances a proper home without eating into your limited floor space.
Streamlined Storage Solutions
Even when your kitchen’s barely bigger than a hallway, a compact island can be your secret weapon for staying sane. You’ve got to get clever with your storage game, though.
Think beyond basic cabinets. You’ll want these smart moves:
- Install deep drawers for your pots and utensils, keeping that prep sink area totally clear.
- Add pull-out trays with divided compartments—spice chaos, begone!
- Tuck trash and recycling into slide-out bins, because nobody needs garbage as décor.
- Work open shelving and vertical storage options into every nook, maybe even a Lazy Susan for those awkward corners.
For under-island cabinets, consider two-tier organizers with track-guided pull-out drawers that hold up to 50 pounds and keep everything from pots to cleaning supplies accessible without digging.
Your island becomes the hardworking hero you’re always bragging about at dinner parties. Small footprint, massive payoff—you’re basically a kitchen wizard now.
L-Shaped Kitchen Islands for Open-Concept Flow
When you’re working with an L-shaped kitchen and want that airy, open-concept feel, the island becomes your secret weapon for tying everything together.
L-shaped kitchen islands work wonders here because they keep your work areas wrapped around while giving you that central spot everyone naturally gathers around.
You’ll want to place it opposite the longer leg; this maximizes your circulation and creates a visual anchor that grounds the whole open space.
Hang some pendant lights above, and suddenly you’ve got warmth and purpose in one swoop.
Center the island so you can access it from multiple sides without killing that flow you’re after.
Dedicate one side to prep, the other to seating or storage, and you’ve cut the chaos.
For tricky layouts, try diagonal placement.
It keeps your kitchen triangle happy and your traffic moving easily.
Luxury kitchen pendant lighting can elevate the entire atmosphere of your island, transforming it from a purely functional surface into a stunning focal point that anchors the open-concept space.
U-Shaped Island Designs That Double Prep Space

If you’re already working with a U-shaped kitchen, adding an island is like discovering you’ve got an extra pair of hands. U-shaped island designs make your kitchen feel complete, turning that open side into a powerhouse of extra food prep space. You’ll love how the island creates a “fourth side” for chopping, mixing, and cooking while still keeping everyone connected.
Here’s how to nail it:
- Position your island on the open side to maintain flow and conversation.
- Leave 3–4 feet of clearance so you’re not doing the awkward squeeze dance.
- Keep the island proportionate—shorter than surrounding counters and under 10% of floor space.
- Dedicate one side to food prep and the other to seating or storage.
This setup doubles your workspace without cramping your style. For precision shaping of custom island edges and decorative trim, a woodworking router table set gives you the control needed to achieve clean, professional results.
One-Wall Kitchen Islands That Anchor Open Floor Plans
You’ve got one wall of cabinets and a whole lot of open space, so where do you even start? An island anchored across from your cooktop gives you that visual centerpiece you need, while keeping your workflow tight and your guests flowing through the room.
With smart moves like centered seating and deep drawer storage, you’ll turn a simple layout into the heart of your home: no walls required.
Space Optimization Strategies
Because open floor plans can feel a bit scattered without a clear center, anchoring your kitchen with a one-wall island gives everything a natural home base. You can make the island work harder by positioning it smartly on one side of your cooktop. That’s right, every step you take becomes more efficient when you’re not zigzagging across the room.
Here’s how to squeeze the most from your layout:
- Center your island to keep traffic flowing neatly while fitting in bar stools.
- Relocate the island after removing walls to gain breathing room and better circulation.
- Load up deep drawers and pull-out trays so clutter disappears from counters.
- Ditch awkward shapes, like cramped triangles, that leave you cooking in isolation.
You’ll love how much easier your kitchen feels.
Visual Anchoring Techniques
Open-concept living is freeing, but let’s be honest—it can also feel like your furniture is floating in a sea of space with no real sense of belonging.
A one-wall kitchen island fixes this beautifully.
You’ll center it to create a clear focal point, giving everything around it purpose.
Position it across from your cooktop, near the main sink, and you’ve got workflow that actually makes sense.
Your kitchen’s design suddenly feels intentional, not accidental.
Deep drawers and pull-out trays transform the island into a built-in centerpiece, adding structure without walls.
Add pendant lighting overhead, and you’re highlighting exactly where life happens, like casual dining on a Tuesday night or morning coffee before work.
You’re just adding furniture; you’re anchoring your entire open floor plan with one smart, hardworking piece.
When Two Islands Make Sense (and How to Space Them)
If you’re lucky enough to have a kitchen that’s more “basketball court” than “cozy corner,” two islands might just be your new best friends. They shine when you’re tired of marathon sprints between your sink and stove. Expert advice confirms that each island should eat up roughly 10% of your floor space, so you’ll keep breathing room intact.
Here’s how to nail the layout:
- Anchor your spacing — maintain 36–48 inches between islands and counters to dodge traffic jams.
- Respect the buffer — keep 3–4 feet between each island and adjacent zones for seamless appliance access.
- Plan for bodies — if you want to seat four comfortably, budget 2 feet per person plus wiggle room.
- Count your steps — two islands work best when they slash your daily footwork dramatically.
Island Seating Layouts for 2, 4, or 6 People
Whether you’re grabbing a quick breakfast solo or hosting a weekend brunch crew, your island’s seating layout can make or break the vibe.
You can choose island seating layouts that fit your space and how you actually live.
For two people, you’ll want about four feet of island length, perfect for quick coffee and casual meals.
Four stools need roughly eight feet to keep everyone comfortable without crowding the workspace.
Hosting six? You’ll stretch longer, but don’t forget that two-foot spacing per seat keeps things flowing well.
You’ll want at least 36 inches of clearance around your island, though 42 to 48 inches feels way better when you’re juggling hot pans and chatting with guests.
Adding 12 inches of overhang gives knees happy room too.
Your personal style shines through whether you tuck seating along an open side or face the action head-on.
Choose what feels right, and you’ve got a winner.
Built-In Appliances and Hidden Storage Ideas

Once you’ve nailed down where everyone’s sitting, it’s time to make that island work harder for you. Built-in appliances and hidden storage turn an ordinary counter into a kitchen powerhouse.
Here’s how to maximize every inch:
- Install built-in microwave drawers to keep surfaces clear when friends gather.
- Add a secondary prep sink so you’re not bumping shoulders during dinner rush.
- Use deep drawers with pull-out trays for pots, utensils, and everyday necessities.
- Stash spices, cutting boards, and small gadgets in divided compartments with pull-out trays.
Don’t forget pull-out trash and recycling bins, they’re game changers. With smart hidden storage and built-in appliances, your island becomes the organized hub you actually want to cook in.
Mix Materials and Finishes Like a Pro
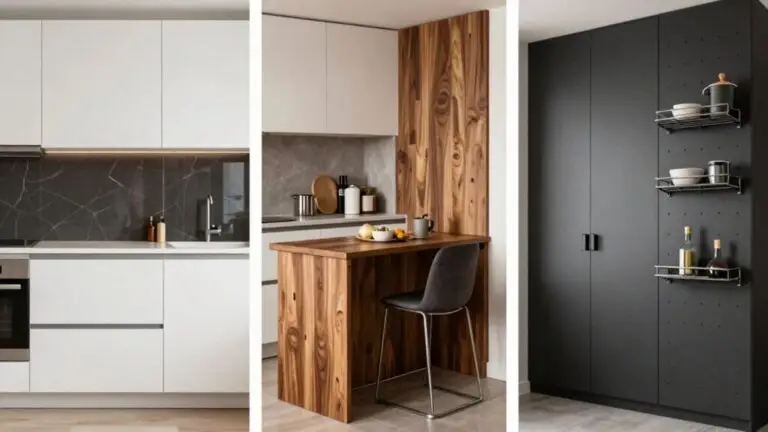
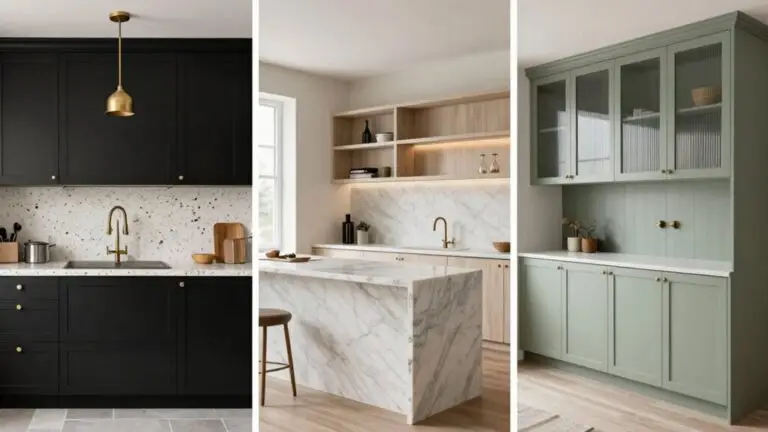
Transform your island from basic to breathtaking by playing with materials and finishes that show off your style. Pair a sleek quartz slab with warm wood or rustic butcher block to create a space that feels layered and intentional.
Use matte quartz to cut down on glare from those pendant lights you’re so proud of. Your island stays polished without the headache.
Want drama? Let that quartz cascade down the sides in a waterfall edge. It’s like jewelry for your kitchen.
A waterfall edge turns your island into a statement piece—pure kitchen couture.
Pull everything together with book-matched quartz slabs and soft brass hardware that ties back to your perimeter cabinets.
Mixing textures keeps things interesting, but stick to contrasting colors that actually talk to each other.
After all, a little tension’s good—just not the kind that fights with your backsplash.
Final Thoughts
You’ve got everything you need to build your dream island, right? Whether you’re squeezing a slim prep station into a galley kitchen or splurging on double islands, the rules stay simple: keep your aisles clear, your workflow streamlined, and your style personal.
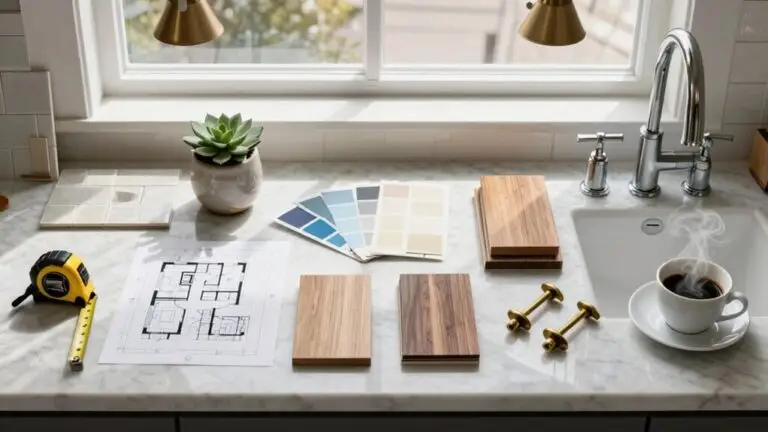
Mix those materials, hide the clutter, and make room for friends. Your perfect kitchen isn’t about square footage—it’s about smart choices. So grab your tape measure and start planning.