The Best Fluffy Pancakes recipe you will fall in love with. Full of tips and tricks to help you make the best pancakes.


The kitchen work triangle connects your three main work zones — the refrigerator, the sink, and the stove — in a triangular layout that minimizes unnecessary movement while cooking. To implement it, position these three elements so each leg of the triangle measures between 4 and 9 feet, with a total perimeter of 13 to 26 feet. No major traffic paths should cut through the triangle.
Key Takeaways
- The kitchen work triangle links the refrigerator, sink, and stove as the three primary work zones.
- Each side of the triangle should be 4–9 feet long; total perimeter should stay between 13–26 feet (National Kitchen and Bath Association guidelines).
- The concept works best in single-cook kitchens — open-plan or multi-cook layouts may need work zones instead.
- Traffic paths, islands, and cabinets should not interrupt the triangle.
- The triangle applies to all kitchen shapes: galley, L-shaped, U-shaped, and one-wall layouts.
- Poor implementation leads to wasted steps, crowded cooking, and frustrating meal prep.
- You can adapt the triangle for modern kitchens by combining it with work zone planning.
- Measuring before you design (or redesign) saves expensive mistakes later.
What Is the Kitchen Work Triangle and Why Does It Matter?
The kitchen work triangle is a design principle developed in the early 20th century to make kitchens more efficient. It places the refrigerator, sink, and stove at three points of an imaginary triangle, reducing the distance a cook travels between the most-used spots in the kitchen.
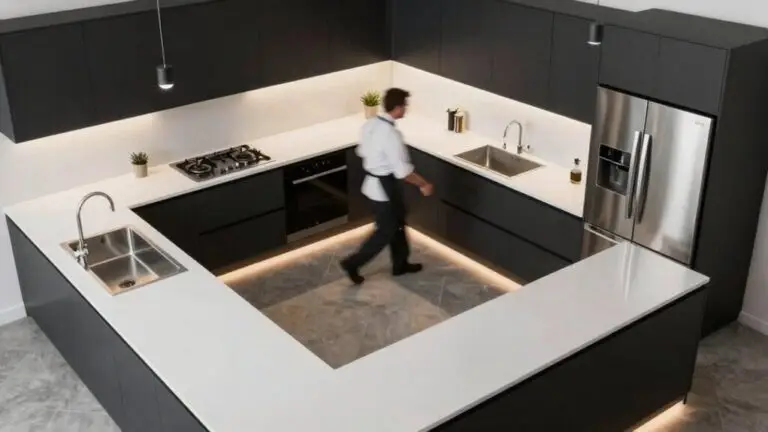
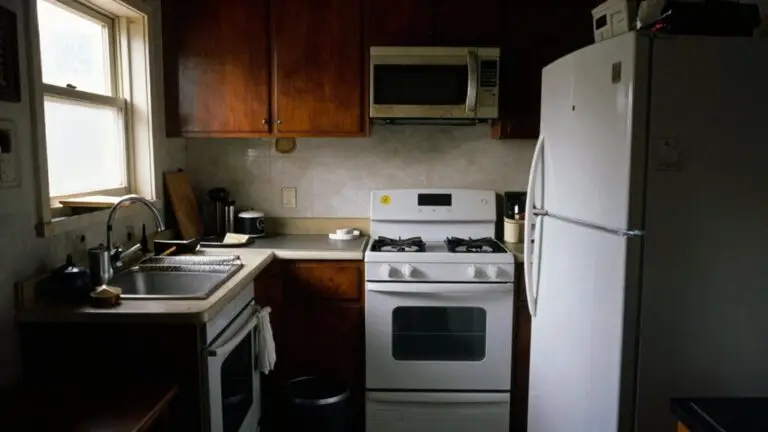
Think of a home cook named Maria who spent years in a poorly designed kitchen. Her fridge was on one wall, her stove on the opposite end, and her sink tucked into a corner that required walking around an island every single time. Dinner prep felt like a workout. When she renovated using the work triangle principle, her cooking experience changed completely — fewer steps, less frustration, more enjoyment.
Why it still matters in 2026: Kitchen layouts have evolved, but the core logic holds. Efficient movement between the three primary appliances reduces fatigue, speeds up cooking, and makes the kitchen safer (less rushing with hot pans or wet hands).
How to Implement the Kitchen Work Triangle: The Core Measurements
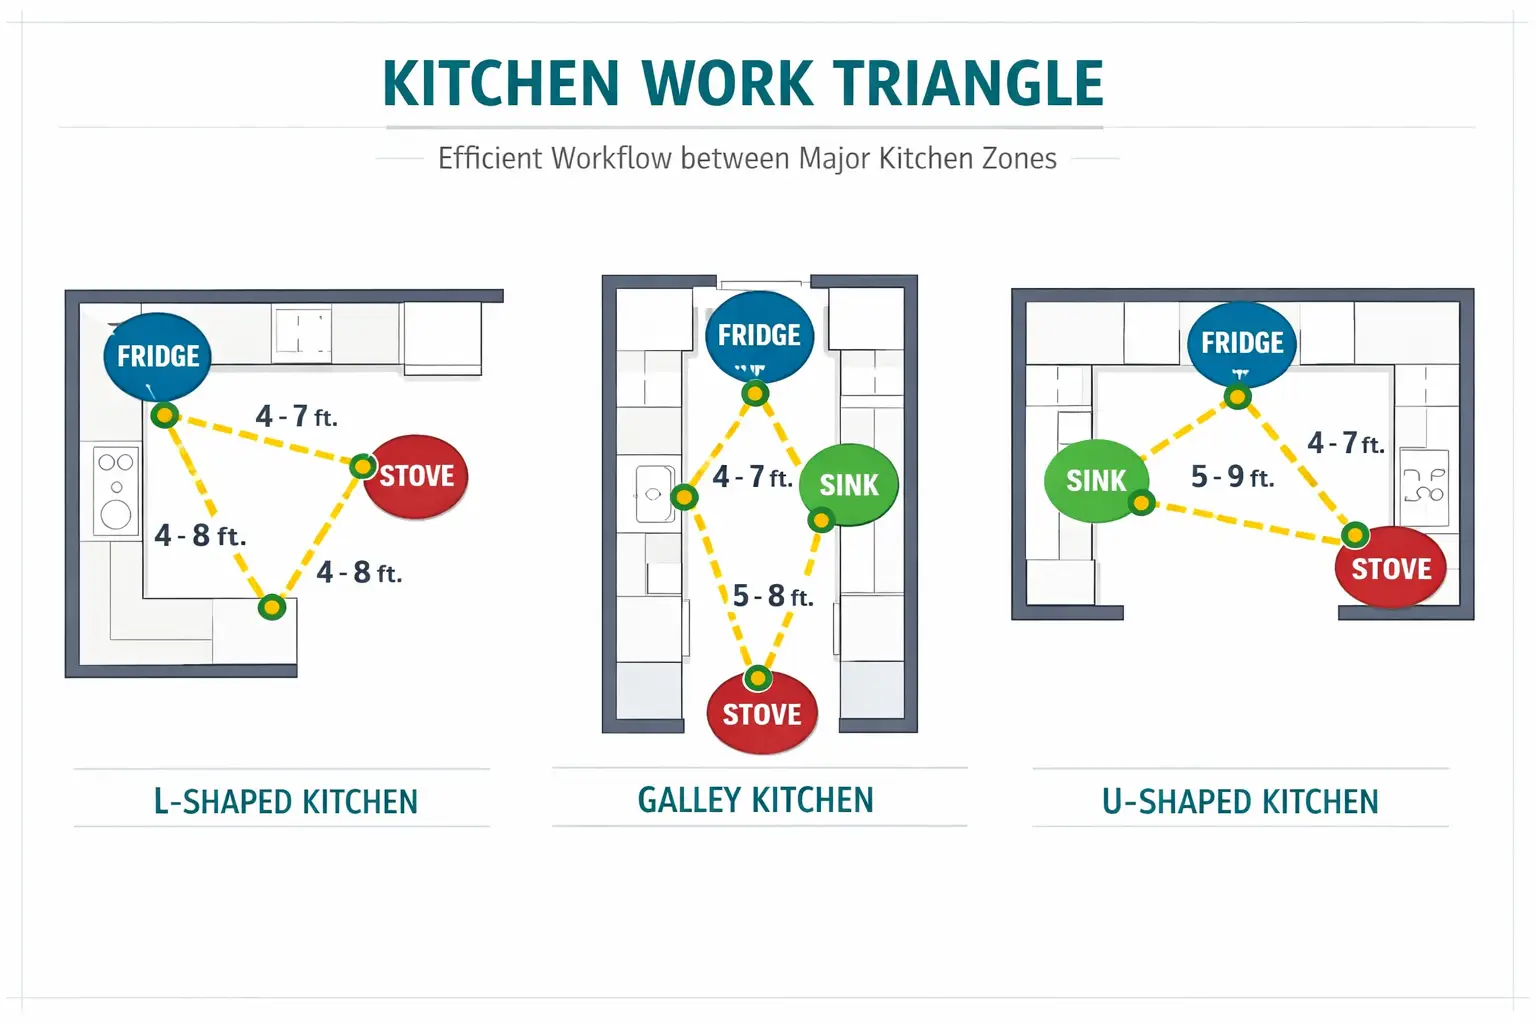
Knowing how to implement the kitchen work triangle starts with getting the measurements right. The National Kitchen and Bath Association (NKBA) sets the standard guidelines:
| Triangle Side | Minimum | Maximum |
|---|---|---|
| Refrigerator to Sink | 4 feet | 9 feet |
| Sink to Stove | 4 feet | 9 feet |
| Stove to Refrigerator | 4 feet | 9 feet |
| Total Perimeter | 13 feet | 26 feet |
Step-by-step: How to measure your triangle
- Mark your three appliance centers on a floor plan (or use painter’s tape on the actual floor).
- Measure the straight-line distance between the center of the refrigerator and the center of the sink.
- Measure sink to stove center, then stove to refrigerator center.
- Add all three measurements to get your total perimeter.
- Check against the guidelines. If any single leg is under 4 feet, the space feels cramped. Over 9 feet, and you’re walking too far.
Common mistake: Measuring along the wall instead of the straight-line (diagonal) distance between appliances. Always measure point-to-point across open floor space.
Choose this approach if: You’re planning a new kitchen, remodeling, or rearranging appliances. Even renters can use this to choose between apartments or optimize a portable appliance setup.
🔺 Kitchen Work Triangle Calculator
Enter the distance (in feet) between each pair of appliances to check if your triangle meets NKBA guidelines.
Refrigerator → Sink
Sink → Stove
Stove → Refrigerator
Total Perimeter
How Does the Work Triangle Apply to Different Kitchen Layouts?
The triangle adapts to every kitchen shape — the approach just changes slightly depending on the layout.
Galley Kitchen (two parallel walls)
Place the sink on one wall and split the refrigerator and stove between both walls. The triangle forms across the narrow corridor. Keep the corridor at least 42 inches wide for one cook, 48 inches for two.
L-Shaped Kitchen
This is the most natural fit. Position one appliance at the corner and the other two along each arm of the L. The triangle forms cleanly without interference.
U-Shaped Kitchen
Each appliance can sit on a separate wall. This creates a compact, efficient triangle — often the most ergonomic layout of all.
One-Wall Kitchen
The triangle technically becomes a straight line here. Minimize the total distance between all three appliances, keeping them in the sequence: refrigerator → sink → stove (logical cooking flow).
Open-Plan Kitchen with Island
The island can house the sink or cooktop, creating a triangle that extends into the room. Just make sure the island doesn’t block the traffic path between the three points.
Edge case: In very large open-plan kitchens, a strict triangle may not be practical. In that case, use work zones (prep zone, cooking zone, cleanup zone) as a modern complement to the triangle concept.
What Are the NKBA Rules That Govern the Work Triangle?
The National Kitchen and Bath Association published specific guidelines (NKBA Kitchen Planning Guidelines) that go beyond just measurements. Key rules relevant to implementing the work triangle:
- No full-height obstacle (cabinet, island, or wall) should intersect any leg of the triangle.
- Traffic paths through the kitchen should not cross through the triangle. A main walkway cutting between the sink and stove is a safety hazard and an efficiency killer.
- Work aisles (the space between counters or between a counter and an island) should be at least 42 inches for a single cook and 48 inches for multiple cooks.
- The triangle is a guideline, not a law — the NKBA acknowledges that modern kitchens with multiple cooks or specialized appliances may need adapted solutions.
How to Implement the Kitchen Work Triangle in a Remodel vs. New Build
The process differs depending on whether you’re starting from scratch or working with an existing space.
New Build
You have full flexibility. Share the triangle guidelines with your architect or kitchen designer early — before walls are framed or plumbing is roughed in. Moving a drain or gas line after construction is expensive (costs vary widely by region and contractor, but plumbing relocations can add thousands to a budget).
Remodel
- Start with what you have. Measure your current triangle and identify the problem (too large? traffic cuts through it? one leg too short?).
- Prioritize moving the sink last — plumbing relocation is the costliest change.
- Appliance placement is more flexible — refrigerators and freestanding ranges can often move without major structural work.
- Consider a kitchen designer for complex layouts. Many offer initial consultations for a flat fee.
Common Mistakes When Implementing the Kitchen Work Triangle
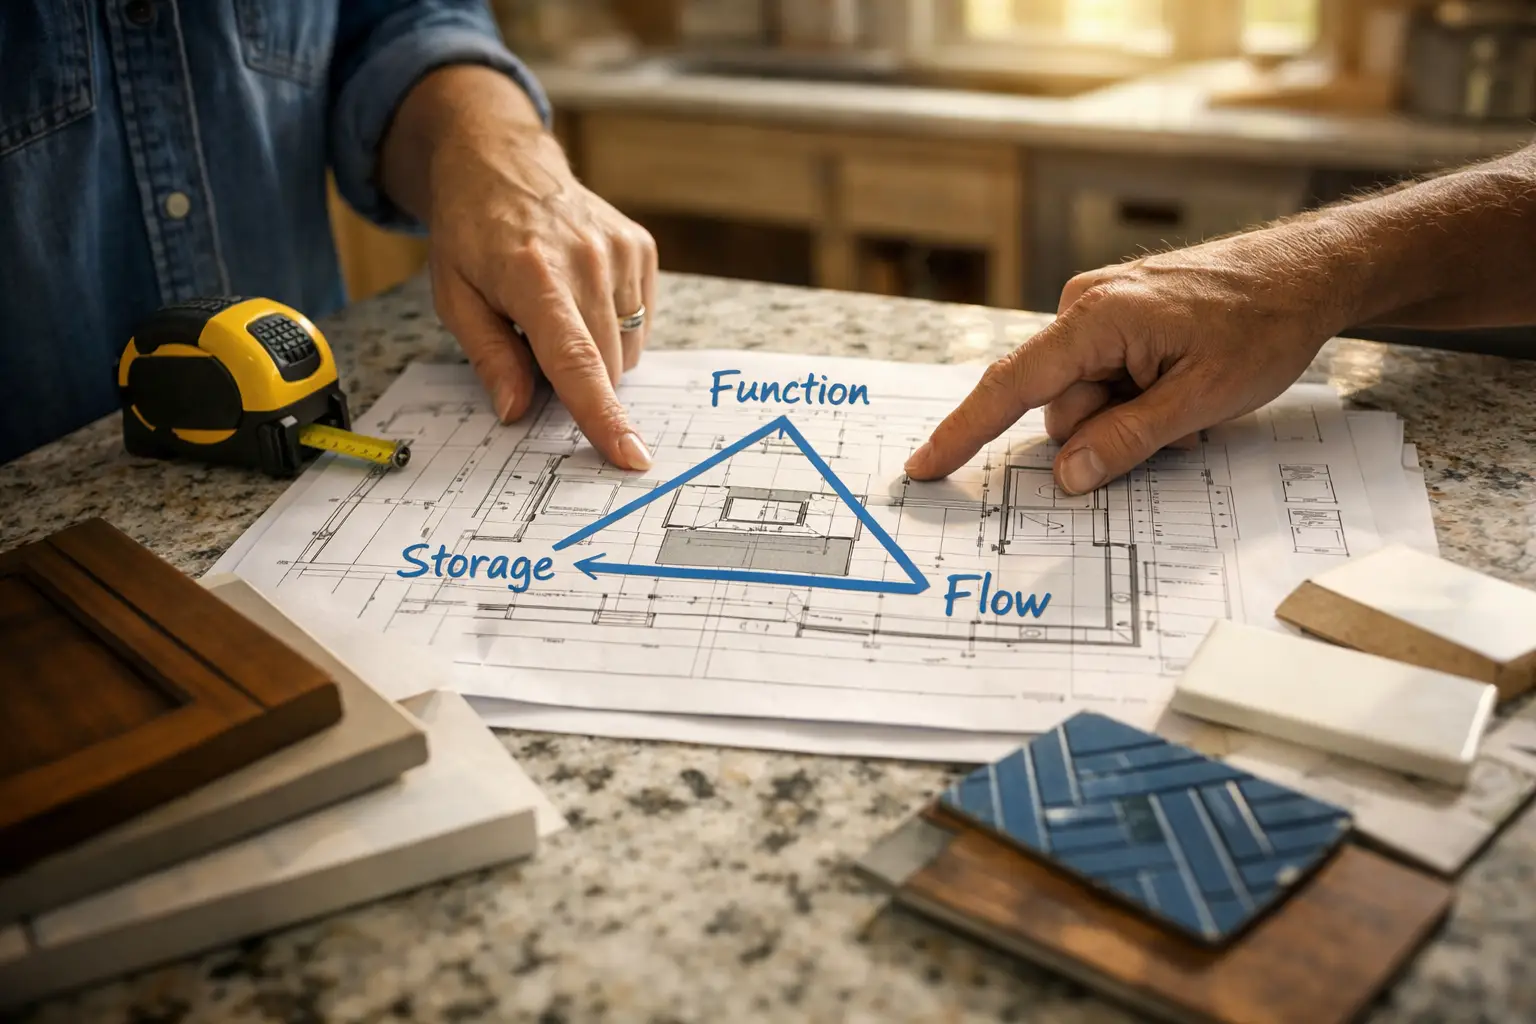
Even well-intentioned kitchen designs get the triangle wrong. Here are the most frequent errors:
- Ignoring traffic flow: A triangle that sits in the middle of a busy walkway defeats its own purpose. Always map where people walk through the kitchen before finalizing placement.
- Making the triangle too large: A perimeter over 26 feet means too much walking. Fatigue adds up over a long cooking session.
- Making it too tight: Under 13 feet total, and appliances feel cramped. Opening the fridge door while someone stands at the stove becomes a collision waiting to happen.
- Forgetting the work surface: Each point of the triangle needs landing space nearby — counter area to set down groceries, wet dishes, or hot pans.
- Placing the stove under a window: This is a ventilation and safety issue, regardless of triangle measurements. Always pair stove placement with proper hood ventilation.
- Designing for one cook only: If two people regularly cook together, plan wider aisles and consider a secondary prep zone.
FAQ: How to Implement the Kitchen Work Triangle
Q: Does the kitchen work triangle still apply in 2026?
Yes. The core principle remains valid for single-cook kitchens. Modern adaptations include pairing it with work zone planning for larger or multi-cook kitchens.
Q: What if my kitchen is too small for a proper triangle?
Focus on minimizing the total distance between the three appliances and keeping them in a logical sequence (fridge → prep/sink → stove). The exact triangle shape matters less than reducing unnecessary movement.
Q: Can an island be part of the work triangle?
Yes. An island can house the sink or cooktop, making it one point of the triangle. Just ensure the island doesn’t block the path between the other two points.
Q: How do I implement the work triangle in a rental apartment?
Map your existing appliances and measure the triangle. If the layout is poor, use a portable induction cooktop or a rolling prep cart to create a more efficient workflow without permanent changes.
Q: Should the sink always be between the fridge and stove?
Ideally, yes. The sequence fridge → sink → stove mirrors the natural cooking workflow: retrieve food, wash/prep, then cook. It’s not a strict rule, but it reduces backtracking.
Q: What’s the difference between the work triangle and work zones?
The work triangle focuses on three appliances. Work zones expand the concept to include dedicated areas for prep, cooking, cleanup, and storage — better suited to large or multi-cook kitchens.
Q: Do I need a professional designer to implement the work triangle?
Not necessarily. For straightforward layouts, you can apply the guidelines yourself using a tape measure and graph paper. For complex remodels or new builds, a certified kitchen designer (CKD) adds real value.
Q: What happens if one leg of my triangle is over 9 feet?
You’ll walk more than necessary, which adds up during longer cooking sessions. Consider whether an appliance can be repositioned, or whether a secondary prep area closer to the stove can compensate.
Conclusion: Your Next Steps for a More Efficient Kitchen
Knowing how to implement the kitchen work triangle is one of the most practical things anyone can do before designing, remodeling, or even just rearranging a kitchen. The concept is simple: keep the refrigerator, sink, and stove within 4–9 feet of each other, avoid traffic cutting through the triangle, and make sure there’s counter space at each point.
Here’s what to do next:
- Grab a tape measure and map your current kitchen triangle. Write down each leg’s measurement and the total perimeter.
- Compare to the NKBA guidelines (4–9 feet per leg, 13–26 feet total). Identify which legs are too long or too short.
- Sketch two or three alternative layouts on graph paper or a free kitchen planning tool like IKEA’s kitchen planner.
- Check for traffic interference — walk through your kitchen during a busy meal prep and note where paths cross the triangle.
- Consult a kitchen designer if you’re planning a remodel. Even one paid consultation can prevent costly layout mistakes.
A well-designed kitchen doesn’t just look good — it makes cooking feel easier every single day. Start with the triangle, and build from there. 🍳
References
- National Kitchen and Bath Association (NKBA). NKBA Kitchen Planning Guidelines with Access Standards. NKBA, 2012. https://www.nkba.org
- Gilliatt, Mary. The Complete Book of Home Design. Little, Brown and Company, 1989.
- Cornell University Housing Research Center. The Kitchen Work Triangle. Cornell University, 1949. (Original academic research establishing the work triangle concept.)