The Best Fluffy Pancakes recipe you will fall in love with. Full of tips and tricks to help you make the best pancakes.


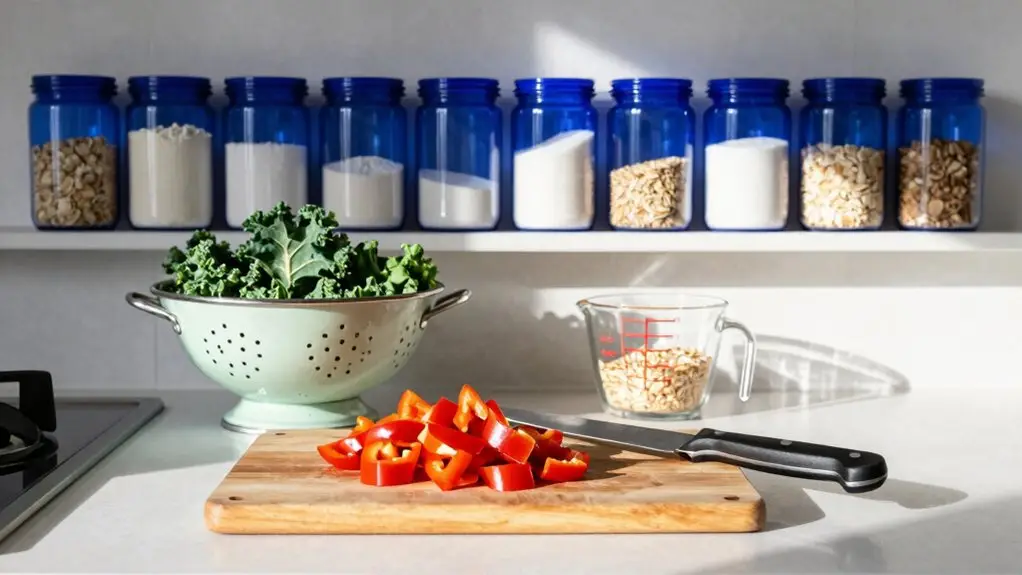
Designing an efficient kitchen starts by tracing your path from groceries to dirty dishes, so you can spot bottlenecks early. Anchor your layout around the sink first—it’s your workhorse. Then place the stove, fridge, and dishwasher close for a tight work triangle.
Create four zones: prep, cook, clean, and put away. Stock prep tools within arm’s reach, keep pathways clear, and assign every drawer a job. Stick with these steps, and your kitchen’s flow will feel effortless. Stick around to master each one.
Design Your Kitchen Flow From Grocery to Cleanup
Since your kitchen counters aren’t going to rearrange themselves, you’ll need to map out a smart, single-direction flow from grocery to cleanup before you buy a single appliance.
Start your kitchen workflow by tracing a path from receiving groceries all the way to dirty dishes, looking for any crossed or backtracking arrows.
Those are friction points you can fix early.
Place your prep zone right next to the cooking area, so ingredients move in short, logical hops from chopping to sizzling.
Then, define your clean-up zone by the sink and dishwasher, ensuring dirty dishes never cross paths with fresh food.
Keep a 48-inch clear passage for moving groceries and dishes without bottlenecks.
This simple map saves you from chaotic, wasteful movement later.
The kitchen work triangle links your refrigerator, sink, and stove as the three primary work zones, with each side measuring between 4 and 9 feet for an efficient layout.
Organize Around the Working Triangle: Sink, Stove, Fridge
Once you’ve sketched out that basic kitchen flow, it’s time to zoom in on the big three: the sink, stove, and fridge. This working triangle is the heart of an efficient kitchen layout. You’ll want these three points near each other so most actions happen with short, repeatable movements—no more marathon walks across your kitchen.
Keep the sink and dishwasher close for an easy rinse-to-load routine. Make sure the fridge and stove are equally convenient from the sink. Preserve open counter space within the triangle so you can prep, set down hot pans, and stage ingredients without clutter. For the most efficient layout, aim to keep each leg between four and nine feet so the triangle stays within a comfortable, step-saving range.
Use zone logic: prep near the stove, clean up by the sink, and put away by the fridge. This flow turns your kitchen from chaotic to effortless.
Place the Sink First, Then Build Everything Around It
You’ll want to plop the sink down first because it’s your kitchen’s true workhorse, where you spend most of your time washing, rinsing, and prepping.
Once the sink is set, you can build the rest of the layout around it, keeping the dishwasher close for a quick rinse-to-load flow that saves you extra steps.
This anchor spot lets you form a tight work triangle with the stove and fridge, so you’re not crossing your own path while cooking.
To keep movement efficient, aim for each leg of the triangle to fall within a 4 to 9 foot range between appliance edges, which helps prevent both cramped conditions and exhausting back-and-forth trips.
Sink as Linchpin
When you’re mapping out a kitchen from scratch, the sink should be the very first thing you put in place: it’s the beating heart of the entire workflow.
Think of it as your command center. You’ll build the Right Layout around it, saving yourself countless wasted steps.
Anchor your space by placing the sink first. It handles rinsing, washing, and resetting for the next step of meal work.
Keep the working triangle tight—sink, dishwasher, cooktop, and fridge close together—so you’re not backtracking during food prep or cleanup.
Position the dishwasher right next to the sink for a linear rinse-to-load flow, creating a dedicated clean-up zone that doesn’t cross traffic.
Ensure about 18 inches of counter workspace on each side of the sink for staging dirty dishes or temporarily setting ingredients without blocking movement.
Once it’s fixed, you’ll place prep and cooking zones that logically progress from sink-adjacent rinsing into the range area. To keep movement efficient, aim to keep the sink and stove 4 to 9 feet apart, preventing unnecessary hiking across the kitchen during meal preparation.
Workflow Flow Around Sink
Now take that sink, the linchpin you’ve already anchored, and let it guide the rest of your layout. Place the dishwasher right next to it so you can rinse dishes directly into the machine. That’s an efficient layout that saves you from backtracking.
Build your kitchen workflow outward from the sink. You’ll want the stove and fridge close by, forming a tight work triangle. This keeps your travel steps minimal, with no marathon walks across the room.
Give yourself at least eighteen inches of counter space on both sides of the sink. That’s your landing zone for washed items and prep, without feeling cramped.
And don’t forget circulation. Keep pathways clear, ideally forty-eight inches wide, so opening drawers or doors doesn’t block your movement between prep and cooking.
In L-shaped and U-shaped kitchens, the sink is ideally positioned between the fridge and range to keep the work triangle as efficient as possible.
A smart kitchen workflow flows effortlessly, not like bumper cars.
Create Four Functional Zones: Prep, Cook, Clean, Put Away
Since your kitchen probably isn’t set up like a pro chef’s line, carving out four zones—prep, cook, clean-up, and put-away—turns chaos into a seamless, logical workflow.
You’ll stop crisscrossing the room and start flowing naturally.
Prep zone sits near the cook zone, so chopped veggies slide straight into the pan.
Place your cutting board, knives, and measuring cups here.
No more hunting mid-meal.
Cook zone surrounds your rangetop.
Keep pots, pans, salt, pepper, and cooking fats in the nearest cabinets, making seasoning a quick grab.
Clean-up zone anchors around the sink and dishwasher.
Rinse plates right there, then load without carrying wet dishes across the kitchen.
Put-away zone lives next to the fridge.
Store Tupperware, wrap, foil, and an inventory board here, so leftovers get sealed fast.
Smart kitchen layouts put every action in its place.
This setup turns prep into put-away without a single wasted step.
To keep the system running long-term, a daily 5-minute reset at the end of each day returns items to their zones before clutter has a chance to build up.
Stock Your Prep Zone With Tools Within Arm’s Reach
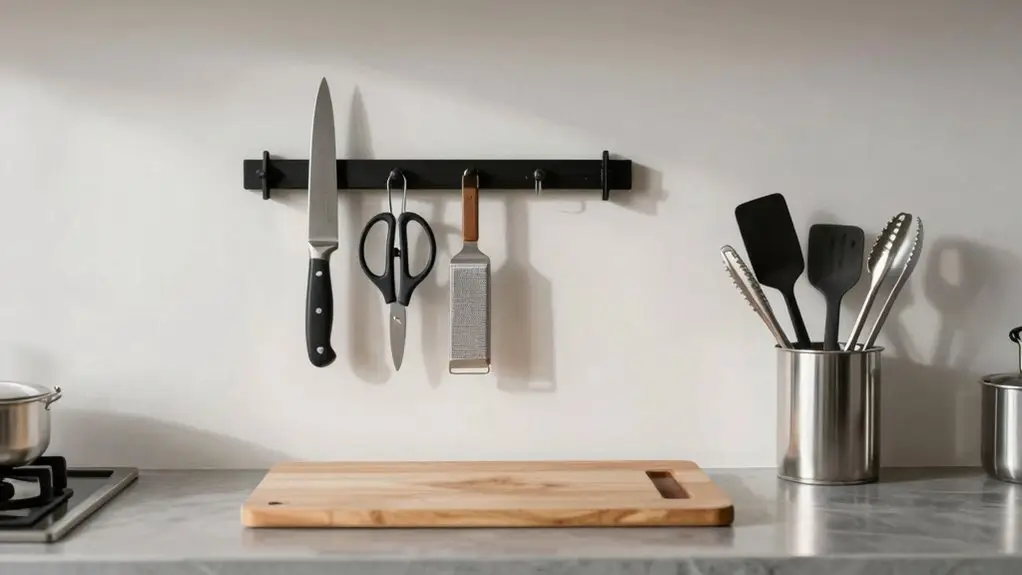
Start by placing your critical knife block front and center—you’ll grab those blades more than any other tool. Keep your frequent-use smallwares, like peelers and can openers, in a drawer or bin right beside it, sparing yourself that mid-recipe scavenger hunt.
Finally, set aside a dedicated spot for your cutting boards, say a vertical slot or just under the counter edge, so they’re always ready to go without cluttering your workspace. Keeping spatulas, pans, and knives within arm’s reach maintains steady momentum and prevents the interruptions that can extend your total cooking time.
Essential Knife Block
When you set up your prep zone, the first thing you’ll want within arm’s reach is a dedicated knife block, because nothing kills your cooking flow like hunting for a knife mid-chop.
You’ll create a more efficient space when your blade station lives right where you work hard, not tucked away from a kitchen remodel gone wrong.
Anchor with a chef’s knife. It’ll handle 90% of your prep, from dicing onions to mincing garlic, so you stay in rhythm.
Include a serrated bread knife****. It glides through tomatoes and crusty loaves without crushing them, saving you frustration.
Add a paring knife****. This knife is perfect for precise tasks like peeling fruit or coring bell peppers without clumsy overreaching.
Keep a honing steel nearby. A few quick strokes mid-session keep blades sharp, so you don’t stop to resharpen.
Pairing your knives with an end-grain wood cutting board helps preserve blade sharpness longer, since its self-healing fibers are gentler on edges than plastic alternatives.
Combine that block with a cutting board and prep bowls, and you’ve got a nonstop workflow zone.
Frequent Use Smallwares
Your prep zone isn’t complete without a core collection of frequently used smallwares. Keep your prep bowls, sheet pans, salad spinner, knives, and can opener within arm’s reach, no backtracking allowed.
Store measuring cups and spoons right at your prepping zone, so you grab them mid-chop without missing a beat.
Use vertical space with hanging racks for tongs and peelers, keeping your counter clutter-free.
After rinsing a tool, return it immediately to the prep zone; this “clean-as-you-go” habit keeps your surface ready for the next step.
Place common gear like towels and colanders near the rangetop for faster cooking changes.
You’ll save steps and sanity, just don’t forget the anti-slip towel under your cutting board, because nobody wants a flying knife.
Mount magnetic rails for knives and small tools along the sides of your station rather than behind it, so you never have to shuffle sideways during a rush.
Dedicated Cutting Boards
- Use one board for veggies, another for raw proteins; separating them prevents food-safety disasters.
- Stock a slip-proof towel underneath to stop sliding, plus a peeler, can opener, and measuring spoons within arm’s reach.
- Place oils and seasonings near the cutting area, not the far cooking zone, so you season without leaving your rhythm.
- KEEP A SECONDARY BOARD FOR RINSING OR RAW-TO-READY SEPARATION, LETTING YOU CLEAN-AS-YOU-GO WITHOUT STOPPING YOUR FLOW.
- Positioning your prep zone within the kitchen work triangle keeps the fridge, sink, and range in sync so you move between each stop without wasted steps.
Now you’re prepping faster and safer. No drama, just dinner.
Store Cookware and Seasonings Right Next the Rangetop
Right next to the rangetop, tuck your pots, pans, and everyday tools into the lowest cabinet, either directly underneath or just beside the cooktop.
This positioning creates a natural grab-cook-return rhythm, so you’re not trekking across the kitchen mid-recipe.
For a smart design for your kitchen, your cooking area should also house your go-to seasonings and oils.
Pop salt, pepper, and your workhorse fats in that same cabinet, but keep them closed up to avoid heat and splatter stealing your precious work surface space.
> Pop salt, pepper, and workhorse fats in that same cabinet, closed up to beat heat and splatter.
Measure your tallest oil bottle to set pull-out shelf height, ensuring arm-reach ease.
Tuck tongs and wooden spoons nearby too, slashing those irritating back-and-forth steps.
You’ll cook faster and curse less, promise.
Position Cleanup and Putting Away for Natural Movement
- Place sponges, spray, and dish towels at the sink’s edge; don’t let them wander onto counters.
- Position trash and recycling bins right next to the sink for instant scraping before washing.
- Create a putting-away zone right by the fridge, so clean dishes move from the dishwasher straight into storage.
- Keep a clear boundary between clean and dirty items; no backtracking across your prep area.
Keep a Clear Main Pathway Even With Cabinet Doors Open
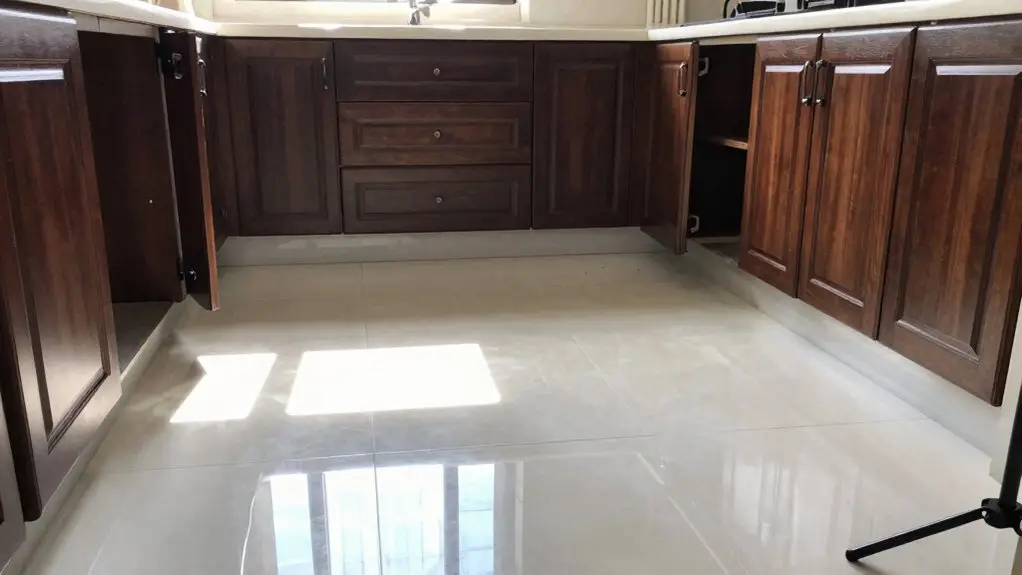
You can’t let cabinet doors turn your kitchen into an obstacle course. Your main pathway, the clear aisle between your sink, stove, and fridge, must stay open even when those doors swing wide.
Clear Work Aisles
- Plan for 48 inches minimum so two people can pass safely, even with fridge or oven doors swung wide. That extra room saves your shins.
- Don’t place appliances directly opposite each other across the walkway. Door swings plus foot traffic create bottlenecks. You’ll get stuck holding a hot pan.
- Use at least 36 inches for single-sided counters or 48 inches for double-sided to keep every step confident and unblocked.
- Set up drop zones away from the main route for coats, bags, and mail. Everyday clutter won’t ambush your path.
Keep that aisle clear, and you’ll move through every step of prep, cooking, and cleanup without a single detour.
Door Swing Zones
Because cabinet and appliance doors swing open into your workspace, the main pathway through your kitchen can get clogged up in seconds.
You’ve got to map out your door swing zones carefully, keeping your main circulation path clear even when every door is wide open.
Don’t let your fridge or oven door block the aisle; that’s just creating an efficient nightmare of unnecessary movement.
Imagine cooking dinner while constantly stepping around an open dishwasher flap.
Instead, plan for at least a 48-inch aisle where two people pass, and verify that no door swing eats into that space.
For single-sided aisles, stick to 36 inches minimum.
If multiple doors overlap in the same zone, ditch the swinging doors for pullouts or reposition layouts.
You’ll dodge hidden bottlenecks and keep your kitchen flowing seamlessly.
Assign Every Cabinet and Drawer to a Specific Zone
Once you’ve mapped out your kitchen zones—prepping, cooking, clean-up, and putting away—it’s time to get specific and assign every single cabinet and drawer to the zone where its contents get used most often. This boosts your kitchen’s functionality and reduces unnecessary steps.
Keep pots and pans in cabinets closest to the rangetop, so you’re not dragging them across the room mid-cook.
Store cleaning supplies under the sink or near the dishwasher, making scrub-down a breeze.
Place prep tools like knives and cutting boards in drawers inside your prepping zone, saving you from hunting for them.
Use pullout shelves for pantry items you grab daily, maximizing storage space while keeping everything accessible without digging.
Simulate a full meal cycle to test your setup.
Adjust any cabinet that forces you outside its zone.
It’s a small effort for a huge payoff in flow.
Measure Your Tallest Items Before Buying Pull-Out Shelves
Before you start shopping for pull-out shelves, grab the tallest bottle or container you plan to store: your biggest oil, sauce, or seasoning bottle. Measure it from base to cap top. This single measurement determines the shelf clearance for seamless sliding. Use that height as the key input to set clearance so the lid clears fully when you slide the shelf in and out.
Don’t forget to account for real-use factors like bottle neck height, cap thickness, or extra labels. You don’t want a tight fit after a refill. If you skip this step, you’ll end up awkwardly stacking bottles elsewhere, ruining your workflow. This measure makes for maximum functionality in your kitchen spaces, especially for arm’s-reach pantry necessities near your cooking zone.
Final Thoughts
Now you’ve got a kitchen that actually works with you, not against you. It might feel weird assigning a drawer to just measuring cups, but trust me—your future self will high-five you every time you grab one without digging.
Don’t stress about perfection. Start small, tweak as you go, and let your natural movements guide you. A calmer flow means less chaos, more cooking, and maybe even a little fun. You’ve got this.