The Best Fluffy Pancakes recipe you will fall in love with. Full of tips and tricks to help you make the best pancakes.


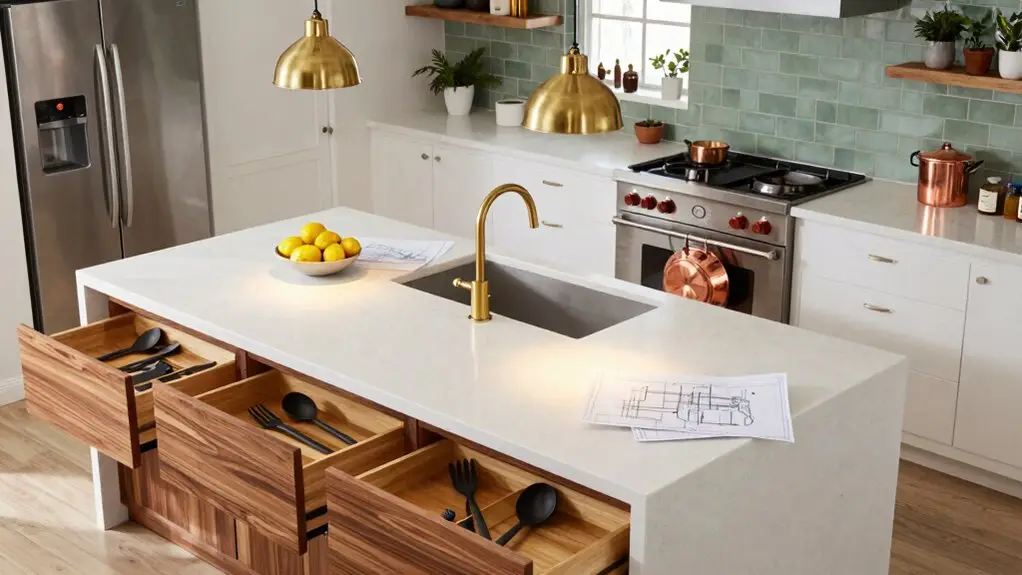
Start by measuring every wall, window, and fixed feature so you know exactly what you’re working with: no surprises when cabinets arrive. Match your room shape to the right layout, whether that’s an L-shape, galley, or U-shape. Place your sink, stove, and fridge within that golden 4-to-9-foot work triangle so you’re not hauling heavy pots across the kitchen.
Carve out clear zones for prep, cooking, and cleanup. Keep 42 to 48 inches of breathing room around islands so nobody gets trapped by a swinging fridge door. Stash your everyday dishes and silverware right next to the dishwasher, and park a pull-out trash bin near the sink for buttery-smooth cleanup.
If you’ve got the square footage, a butler’s pantry and coffee station keep guests out of your hair and your morning routine blissfully contained. Nail these fundamentals, and you’ll discover even more ways to make your kitchen work harder for you.
Start With Your Space: Measure Walls, Windows, and Fixed Features Precisely
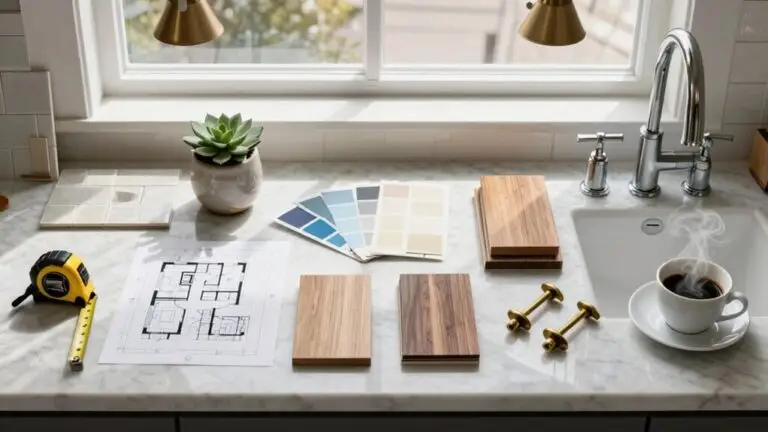
Before you pick out a single cabinet or fall in love with that farmhouse sink, you’ve got to get real with your space. Whip out that tape measure and record every wall length, ceiling height, and any stubborn columns or beams that won’t budge.
Measure twice, fall in love once—your farmhouse sink needs a space that actually fits.
You’re checking where pipes and wires run too because nothing kills a kitchen work flow faster than a cabinet that doesn’t fit.
Your floor plan needs exact window and door placements, especially if you’re dreaming of a sink with a view.
You’ll want to note where utilities hook up for major appliances since your work triangle remains tied to those fixed spots.
Don’t forget clearance space—nobody enjoys squeezing past an open fridge door.
Solid measurements now mean storage and style actually work later. When planning your backsplash, note that peel-and-stick subway tiles require clean, level, and dry surfaces for reliable adhesion, so wall prep is just as important as accurate measurements.
Pick a Kitchen Layout Type That Fits Your Room Shape
You’ll want to match your room’s shape to one of five basic layouts: L-Shape, Galley, U-Shape, Single-Wall, or G-Shaped, so your kitchen actually flows instead of fighting you.
When your counters and appliances line up with how your space is built, you’ll spend less time dodging obstacles and more time cooking.
Don’t worry, there’s no “perfect” choice here.
But getting this part right means you’re not stuck with a cramped triangle or wasted corners down the road.
For kitchen backsplash or flooring tile work during your renovation, grout joint width between 1/8″ and 1/4″ is recommended for easier cleaning and a modern look that complements most kitchen styles.
Room Shape Matters
Since you’ve already measured your space and know what you’re working with, it’s time to match your room’s personality to a layout that actually fits, because forcing a sprawling U-shape into a galley-sized kitchen is like trying to wear someone else’s shoes to a marathon.
Your kitchen layout starts with one of five fundamental floor plans. Got two adjacent walls? An L-shape creates natural work zones on each side.
Stuck with a narrow corridor? A galley squeezes efficiency into tight quarters.
Lucky enough for three walls? A U-shape wraps you in countertops and storage.
If you’ve got an open floor and square footage to spare, adding a kitchen island spreads everything out. The right shapes make efficient kitchen flow feel effortless, not engineered. Once your layout is set, task lighting under cabinets — like dimmable LED strip lights — helps illuminate each work zone clearly and safely.
Layout Efficiency Counts
Match your layout to your room like you’re pairing wine with dinner—get it wrong and everything feels off. You’ll find that kitchen design offers several shapes: L-shape, galley, U-shape, single-wall, or G-shape. Pick what fits your footprint.
DON’T FORGET WORK TRIANGLE LOGIC. YOU’LL WANT YOUR SINK, STOVE, AND FRIDGE SPACED SO EACH SIDE MEASURES 4–9 FEET, TOTALING 12–26 FEET AROUND. THIS CREATES EFFICIENT WORK PATTERNS WITHOUT MARATHON SPRINTS.
If you’ve got multiple cooks, design distinct zones for prep, cooking, and cleaning rather than forcing one triangle. Prioritize space and storage from the start.
YOU’LL NEED 42–48 INCHES OF WALKWAY CLEARANCE. NOBODY ENJOYS DODGING SWINGING OVEN DOORS. AND LEAVE ROOM TO GROW. AN ISLAND WOULD ADD COUNTER SPACE LATER, MAKING EVEN MODEST LAYOUTS EXPANDABLE WITH SMART CABINETRY CHOICES.
For outdoor-adjacent kitchen areas or mudroom transitions, adding an outdoor storage bench cushion keeps the space functional and comfortable without compromising your layout flow.
Place the Sink, Stove, and Fridge to Minimize Steps With Heavy Pots
Although nobody dreams of doing bicep curls with boiling pasta water, that’s exactly what you’re signing up for if your sink and stove are on opposite sides of the kitchen.
You’re better off positioning your sink and stove in direct proximity, ideally with the stove directly behind the sink from where you stand.
Keep your stove directly behind your sink to eliminate heavy pot hikes across the kitchen.
That way, you’re turning and setting pots onto the range without hiking across the room with heavy cookware.
Your fridge should complete the work triangle, keeping the fridge, sink, and stove roughly 4–9 feet apart.
This setup prevents extra steps during cooking.
Design for seamless pot workflow by creating an unobstructed path between your sink area and cooking surface.
Don’t let dishwasher doors or tight walkways force awkward detours when you’re hauling that stockpot.
When you’re finalizing your layout, the flooring underfoot matters too, and ceramic tile installation requires only basic tools like a notched trowel, spacers, and a tile cutter to achieve a durable, low-maintenance surface that holds up to heavy kitchen traffic.
Zone Your Kitchen Layout for Prep, Cooking, and Cleanup Workflows
You’ve got your Big Three appliances in place, so now let’s talk about how you’ll actually move around them. Zone your kitchen into three clear areas—prep, cooking, and cleanup—and you’ll cut down on chaos fast.
Start with prep near your island or main work space, where you can chop, rinse, and assemble without zigzagging. Keep knives, cutting boards, and mixing bowls in nearby cabinets so everything’s within arm’s reach.
For cooking, position your pots, pans, and spatulas close to the stove. You’ll want to lift a heavy pot from the sink to the burner without crossing the whole kitchen.
Cleanup lives near the dishwasher. Stack everyday dishes and silverware in cabinets right beside it, and tuck your trash pull-out near the sink. Smart zoning means less back-and-forth, and more time enjoying the meal. A kitchen storage cabinet organizer can help you maximize every inch of cabinet space within each zone, so tools and dishes stay exactly where they belong.
Allow 42 Inches for Comfortable Movement Around Islands and Appliances

The last thing you want is a kitchen where you’re constantly doing that awkward sideways shuffle just to get past someone. That’s why you need to plan for at least 42 inches of clearance on all four sides of your island. This gives you room to move without bumping into counters when you’re carrying hot dishes or juggling groceries.
When you’re mapping your floor plan, check that your dishwasher and refrigerator doors can swing fully open while you still pass comfortably. Forty-eight inches feels extra roomy in busy kitchens, but 42 inches hits that sweet spot as your practical minimum.
You’re building a kitchen that works, not a maze. Verify your walking routes don’t pinch where pull-out trash bins or appliance doors pop into your path. Keep those pathways open, and you’ll cook efficiently without feeling cramped. Just as you’d pair a bedroom with an upholstered headboard sized to fit the space, your kitchen layout needs furnishings and fixtures scaled to the room’s dimensions to avoid a tight, uncomfortable feel.
Store Dishes, Silverware, and Trash Within Easy Reach of the Dishwasher
You’ll save yourself countless steps by thinking through where your dishes, silverware, and trash actually live in relation to your dishwasher. It’s one of those small decisions that pays off every single time you unload.
Imagine this: you’re holding a stack of plates, the door’s swung open, and you’re not trapped in a game of kitchen Twister just to put things away. That’s unloading path efficiency in action.
When you add a pull-out garbage bin right there in the mix, you’ve got a true cleanup zone where rinse-toss-store becomes one seamless motion instead of a scattered chore. Cabinet organizers with slide-out pull-out drawers can make nearby storage even more accessible, letting you stow plates and silverware with a single reach rather than digging through a cluttered shelf.
Unloading Path Efficiency
Daily, you unload that dishwasher like clockwork—cups, plates, forks, the whole routine—so why make it a marathon? You’ve got unloading path efficiency on your side when you think like a traffic cop for your kitchen flow.
Let’s break it down:
- Park everyday dishes in the kitchen cabinets closest to the dishwasher. Don’t trek across the room with a stack of plates like you’re training for a 5K.
- Give silverware a small upper drawer right there. Not tucked in some distant wall cabinet where you’ll play hide-and-seek with spoons.
- Skip the walk to the pantry cabinet for daily stuff. But hey, that ample storage is perfect for holiday platters you’ll use twice a year. The same principle of keeping essentials within arm’s reach applies beyond the kitchen—a luxury laundry room organizer can bring that same intentional efficiency to your laundry routine.
Cleanup Zone Proximity
Because nobody wants to play hopscotch with a dish rack, let’s talk about building your cleanup zone so everything you need is right where your hands already are.
When you create a kitchen, cleanup zone proximity makes or breaks your daily grind, so put things exactly where you’ll use them.
You want everyday dishes, glasses, and silverware stored closest to your dishwasher—think arm’s reach, not a trek across the room.
A smart kitchen designer will tell you to tuck silverware in an upper drawer near that machine, angled so you never block the door swing.
Don’t forget enough space for a pull-out trash cabinet near the sink and dishwasher; you’ll rinse, load, and toss in one fluid motion.
Adding an under sink cabinet organizer beneath your sink keeps cleaning supplies, sponges, and extra dish soap neatly contained and instantly accessible during your cleanup routine.
That’s how you stop dreading the dishes.
Add a Butler’s Pantry and Coffee Station for Entertaining and Daily Rituals
Whether you’re hosting holiday feasts or just trying to get out the door with your morning caffeine fix, a butler’s pantry is one of those upgrades you’ll wonder how you ever lived without.
Your Functional Kitchen shouldn’t fight you every time you need a cup of joe, so let’s talk about adding this game-changer.
You’ll hide the chaos behind cabinet doors, keeping guests impressed while you cook.
Use your kitchen for actual cooking, and stash coffee gear where it won’t clutter counters.
CONSIDER THESE IMPORTANT POINTS:
- Position your butler’s pantry as a buffer between kitchen and dining, so messes disappear from view.
- Add a secondary sink or mini fridge to keep traffic out of your current kitchen.
- Build that coffee bar with everything—beans, mugs, filters—in one grab-and-go zone.
Final Thoughts
You’ve got this now, friend. Your dream kitchen isn’t just about pretty cabinets; it’s about you moving through your day without tripping over yourself.
Start measuring, keep that workflow tight, and don’t forget the coffee. When you’re dancing around your island at 6 AM, half-awake, you’ll thank yourself.
Happy cooking, and surviving the morning chaos.