The Best Fluffy Pancakes recipe you will fall in love with. Full of tips and tricks to help you make the best pancakes.


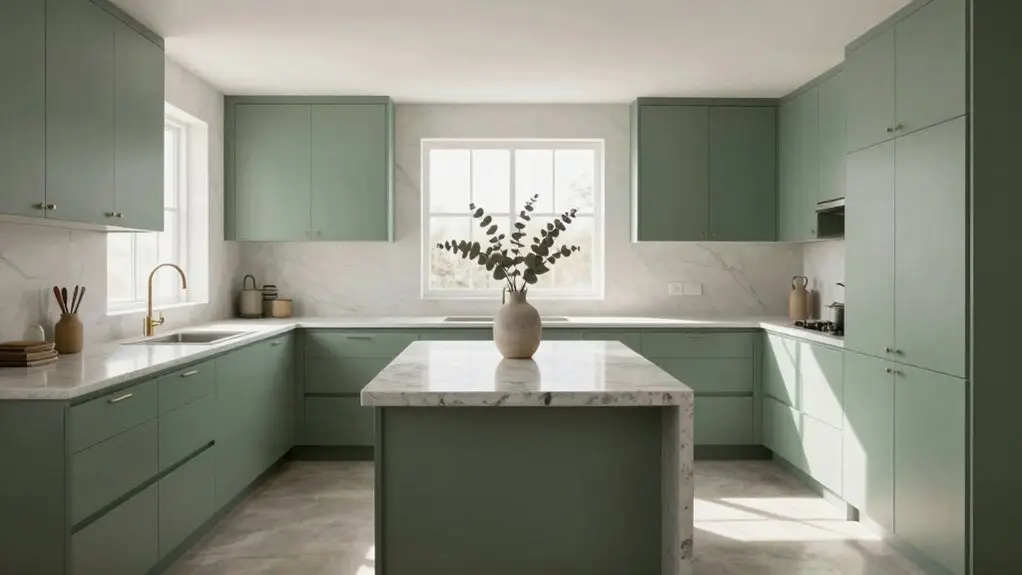
Choosing the right kitchen layout boils down to your space, cooking style, and budget. The classic work triangle, linking your fridge, sink, and stove, keeps you from running in circles.
For tight apartments, a one-wall layout saves cash and steps. Galley kitchens maximize narrow spaces, while L- or U-shaped designs offer more counter room for open living. Just avoid blocking that triangle with an island if space is tight.
Stick around to match your layout to your wallet and room size.
The Work Triangle: Your Shortcut to a Functional Kitchen
Since you’re the one doing all the cooking, it makes sense to set up your kitchen so you’re not running a marathon every time you make dinner. That’s where the kitchen’s work triangle shines. It connects your fridge, sink, and stove, creating the shortest path for efficient work between food prep, cooking, and cleanup.
You’ll keep these three points close, but not so tight that doors can’t open fully. A smart kitchen layout uses work zones—like prepping here, washing there—while keeping that triangle intact. According to NKBA planning guidelines, each side of the triangle should measure between 4 and 9 feet, with a total perimeter of 13 to 26 feet for optimal efficiency. If you add a kitchen island, don’t let it block movement between those points, or you’ll break your flow.
Thoughtful appliance placement and space and storage options make each step feel effortless, not frantic.
Open-Concept vs. Closed Kitchen: Which Suits You?
Choosing between an open-concept and a closed kitchen really comes down to how you live and cook. An open-concept kitchen connects to adjacent living spaces, making your home feel social and your space feel larger. You can keep the work triangle efficient—fridge on one end, sink centered, stove on the other—while enjoying an open floor vibe.
But if you prefer less noise and fewer distractions, a closed kitchen might suit you better. A galley kitchen, for instance, works well closed because it keeps cooking traffic contained, which is a blessing in smaller homes. You don’t want door swings blocking your prep zone. In open-concept kitchens, layering pendants and warm under-cabinet LEDs creates an inviting glow that visually connects the kitchen with adjacent seating zones.
One-Wall Kitchens: Minimalist Efficiency for Small Homes
If you’re short on space, a one-wall kitchen might be your new best friend. This one-wall kitchen layout crams everything along a single wall: sink, range, fridge, giving you space-saving charm without sacrifice. It’s all about minimalist efficiency: your kitchen work zones (prep, cooking, cleaning) line up in a neat row, so you’re not zigzagging across the room.
To keep that efficient workflow, place your fridge at one end, sink in the middle, and range at the other. Then load up on storage with tall cabinets that reach the ceiling, great for stashing rarely used gear. A rolling cart adds extra work areas without blocking traffic. Just watch those cabinet doors so they don’t collide with your main path. Keep in mind that a minimum eight-foot run is required to properly fit your refrigerator, sink, and stove along the wall without running into appliance placement problems. Simple, tidy, and surprisingly powerful.
Galley Kitchens: Smart Storage for Narrow Spaces
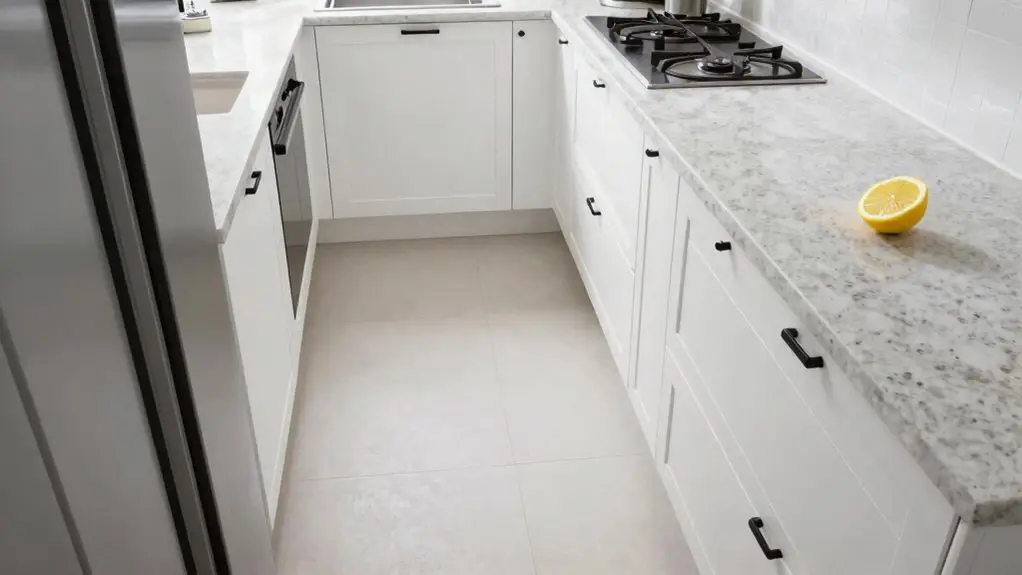
In a galley kitchen, you’ll need to maximize vertical storage to keep your narrow space functional, so think tall cabinets that reach the ceiling.
Your streamlined work triangle places the fridge at one end and the cooktop at the other, with the sink on the opposite wall for logical workflow.
This setup lets you move efficiently without bumping elbows. It turns a tight corridor into a smart, clutter-free cooking zone. Counter-depth appliances and flush-mount surfaces also help keep sightlines clear and maintain an open path through the corridor.
Maximizing Vertical Storage
A galley kitchen’s narrow corridor doesn’t have to cramp your style, or your storage. You can “buy back” space by thinking upward, not outward. Unlike an L-shaped kitchen layout, you’ve got two parallel walls, so vertical storage is your secret weapon.
Install tall cabinets and a pull-out pantry to stash bulk items high and keep frequent-use gear at eye level, avoiding cross-traffic in the aisle.
Add deep drawers under your prep area for pots and tools, so you don’t need additional storage cluttering the counters.
Fit pull-out corner organizers like lazy Susans or swing-out shelves in corners—no dead space, just effortless access.
Even above-cabinet shelves work if you keep fronts consistent for a streamlined look. You’ll maximize every inch without sacrificing the open walkway. Extending your upper cabinets straight to the ceiling and adding a sliding library ladder makes even the highest shelves part of your everyday storage routine.
Streamlined Work Triangle
You’ve already mastered the vertical storage game in your galley kitchen, so now let’s make sure that tight work triangle actually works for you. In this kitchen layout, work zones sit on two parallel walls with a narrow walkway between them. Place your fridge on one end and the range near the other, both on the same wall. Then put the sink opposite. That way, you move from prep to rinse to cook in a short, efficient workflow.
Smart storage keeps the space design functional. Use pull-out shelves and corner lazy Susans to save steps.
For a streamlined look, go for flush-mount appliances and simple hardware, so nothing catches on you or wastes clearance.
Protect counter space with appliance garages.
Keep in mind that while galley kitchens excel at one-cook efficiency, they aren’t ideal for hosting guests while you’re actively cooking.
Done right, your galley’s compact work triangle becomes a powerhouse of efficiency.
L-Shaped Layouts: Open Flow and Flexible Living
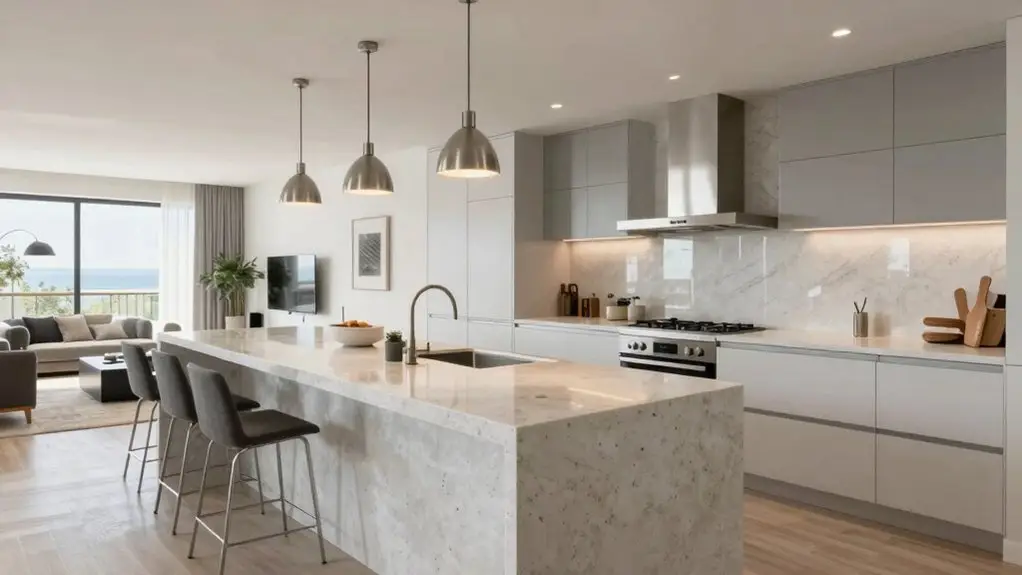
When you’re looking for a kitchen layout that keeps things open without feeling like a wide-open field, the L-shaped design is your best bet. This L-shaped kitchen floor plan naturally supports an open flow, making it perfect for open-concept living without blocking sightlines. You’ll get an efficient work triangle with the sink placed between your fridge and range, which any kitchen designer will tell you saves steps. For safe and comfortable movement, aim to keep 30-inch walkway clearances between key points to avoid collisions with open cabinets or islands. Corner storage becomes your secret weapon here, so install lazy susans or pull-out organizers to maximize every inch.
- BOOST YOUR WORK TRIANGLE WITH THE SINK BETWEEN THE FRIDGE AND COOKTOP FOR SEAMLESS PREP AND CLEANUP.
- MAXIMIZE CORNER STORAGE USING LAZY SUSANS TO TURN AWKWARD SPACES INTO USABLE SPOTS.
- ADD AN ISLAND FOR ADDITIONAL COUNTER SPACE AND CASUAL DINING WITHOUT DISRUPTING TRAFFIC FLOW.
You’ll love how this layout balances flexibility and function.
U-Shaped Kitchens: Maximum Counter Space for Multiple Cooks
You can maximize your U-shaped kitchen‘s potential by adding an island, but you’ll need to carefully measure the space to keep walkways wide enough for multiple cooks.
Consider installing a pull-out or Lazy Susan cabinet in the corners of your U, turning wasted space into easy-access storage for pots and pans.
These simple tweaks can transform your kitchen from a bump-into-each-other zone into an easy, happy workspace. When positioning your island, leave 3–4 feet of clearance on all sides so multiple cooks can move safely between the counters and appliances without squeezing past one another.
Island Integration Tips
Since a U-shaped kitchen already wraps you in counter space on three sides, adding an island might feel like overkill, but it’s actually a smart way to give multiple cooks their own prep zone without stealing your main work surfaces.
Here’s how to integrate an island without chaos.
Anchor your U-shaped kitchen layout with a kitchen island that sits within the work triangle.
Keep the fridge and range on opposite ends of the U, with the sink in the middle, so multiple cooks flow easily around three surrounding walls.
To maximize storage and reduce visual clutter, skip bulky cabinets on the island.
Instead, use an appliance garage on the perimeter cabinets to hide small gadgets off the island counter.
Hang pendant lights above the island to define its zone without blocking movement.
This is crucial in average-to-small footprints to keep walkways clear for the work triangle to hum along reliably.
In a U-shaped kitchen shared by two cooks, plan for 48 inches of clearance around the island so neither person gets boxed in during busy meal prep.
Corner Storage Solutions
While a U-shaped kitchen wraps you in counter space on three sides, those corners can quickly become dead zones where pots and pans go to disappear. Don’t let that happen.
Instead, install lazy Susans or pull-out carousel shelves to make every inch of your layout work for you. These corner storage solutions expand storage without sacrificing the design’s flow.
Position the sink and dishwasher near the center of the U, so corner pull-outs support prep and cleaning, not interrupt traffic.
For better multi-cook efficiency, stash frequently used items in corner drawers nearest your main stations. Reserve less-used cookware for corners farther from the sink-to-range route.
Match cabinetry on all three walls for a continuous run, then add a corner base with pull-out shelves.
A two-tier lazy Susan or magic corner pull-out unit can reclaim the full depth of a corner cabinet, turning what was once unreachable back space into organized, accessible storage.
You’ll turn potential dead zones into real assets for your kitchen island or work zones.
Need Extra Storage? Consider G-Shaped or Peninsula Kitchens
- Max out your corners—use corner solutions like lazy Susans or pull-out organizers to avoid wasted space.
- Add seating without sacrificing storage. A peninsula’s open side works great for casual meals.
- Boost your prep zone. With more countertop, you’ll have plenty of room for chopping, mixing, and staging dishes.
Kitchen Islands: Add One Without Ruining Your Workflow
Thinking about adding a kitchen island? Great choice, but don’t let it wreck your workflow. The key is your work triangle: keep those paths between fridge, sink, and stove clear. If your kitchen islands interrupt that flow, you’ll be bumping hips every night.
In larger layouts, place a cooktop or sink on the island for faster access between work stations. However, keep appliances on the perimeter in smaller spaces.
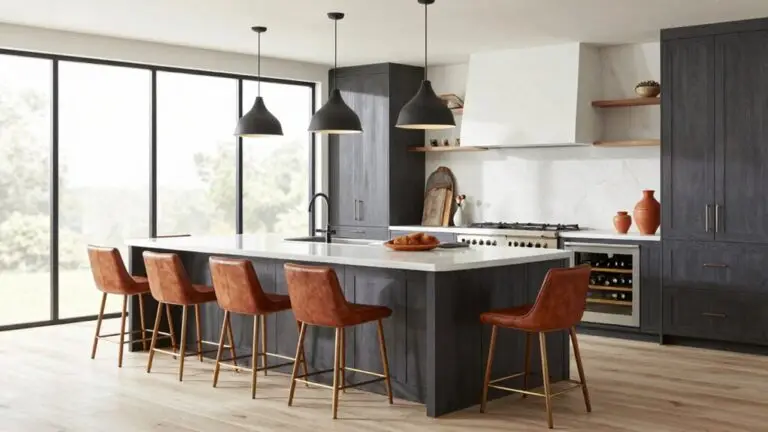
Add bar stools and task lighting above the island, but check traffic clearance so stools don’t block drawers or door swings. You want extra counter space and storage, not a tripping hazard.
Use deep drawers or built-in shelves to store gadgets. Done right, kitchen islands help you create a kitchen that’s both efficient and inviting, without interrupting your natural movement.
Match Your Kitchen Layout to Your Room Size
Before you decide on a layout, you need to measure your kitchen’s footprint honestly. For a tight, narrow space, a galley or one-wall layout is your best friend, saving you from feeling like you’re in a hallway.
If you’ve got more room to play with, an L- or U-shaped plan gives you the counter space and storage you need without turning your kitchen into a maze.
Small/Compact Layouts
- One-wall layout keeps everything in a single line, ideal for tight apartments.
- Galley kitchen uses two parallel counters for focused, efficient cooking.
- L-shaped layout opens up floor space. It’s perfect for adding a small dining nook.
Medium Kitchen Options
When your kitchen hits that medium-sized sweet spot, you’ve got some genuinely versatile options to play with. An L-shaped layout fits well, keeping your prep, cook, and clean zones efficient on two walls without blocking traffic flow.
If you’ve got more room, a U-shaped layout works wonders for medium to large kitchens, giving you continuous counter space and a tight work triangle between fridge, sink, and stove.
Don’t forget the galley-style approach for tighter medium spaces—it pairs parallel runs with a central walkway.
A one-wall kitchen can also shine here, especially when you line up appliances to preserve flow. Add an island for extra prep space, but keep it clear of those key paths.
Large Space Solutions
Moving from medium-sized kitchens doesn’t mean you lose flexibility; it just gives you more room to play with. In a large open area, you can really stretch your legs and create a kitchen that works for both cooking and entertaining.
Start by choosing your floor plans wisely.
A U-shaped layout uses three walls for tons of counter and storage space, leaving the fourth side open for traffic, perfect for preventing bottlenecks.
An island-based plan pairs well with U- or L-shapes, turning the island into a central prep zone while keeping paths clear for large serving platters.
For very large spaces, a G-shaped layout adds a partial fourth wall (a peninsula), boosting workspace for multiple cooks.
No matter what, keep the work triangle tight: fridge, sink, and stove close together, so islands don’t interfere with your flow.
Choose a Layout That Fits Your Space: and Your Wallet
From your room’s footprint to your budget, finding that sweet spot between kitchen layout and cost is key.
First, measure your floor area. If it’s narrow and long, a galley type of kitchen layout is best—it uses both walls without wasting space.
Measuring your floor area is the first step; a narrow, long space pairs best with a galley layout.
For an open feel on a bigger floor, a U-shaped layout packs in storage but costs more due to extra plumbing.
Want to save? A one-wall layout keeps all appliances on one wall, slashing remodel expenses.
Don’t add an island unless your floor has room to breathe. It can crowd a small space fast.
No matter your choice, place your fridge and range at opposite ends, with the sink near the center, to cut unnecessary steps.
That’s how you pick a kitchen layout that fits your space and your wallet.
Final Thoughts
So, you’ve got the lowdown on all those kitchen layouts. Now, take a deep breath and picture *your* morning coffee routine. Does that seamless workflow feel right? You don’t need a perfect magazine kitchen—you need one that actually works for your clumsy, beautiful, everyday life.
Trust your gut, measure your space twice, and pick the layout that feels like home. After all, that’s where you’ll make the mess, and the memories.