
The Best Fluffy Pancakes recipe you will fall in love with. Full of tips and tricks to help you make the best pancakes.



You don’t need fancy gadgets to get a great kitchen running—you need to nail the six workflow stages. It starts with receiving, then moves through prep, cooking, plating, service, and finally warewashing. Each step has a purpose, from keeping raw ingredients away from clean plates to placing your stove where it won’t cause traffic jams.
Get these stages right, and you’ll cut bottlenecks, reduce injuries, and speed up service. Want to see exactly how? Keep going.
Why Workflow Stages Beat Equipment Choices
You might think choosing the right stove or fridge is the most important kitchen decision, but workflow stages actually beat equipment choices every time. In any commercial kitchen, the path ingredients and staff travel determines success more than any shiny appliance.
You’re planning a kitchen project, so focus on your floor plan first. Workflow stages force you to map raw-to-ready movement, preventing crossed routes that slow ticket times.
Equipment-first design creates bottlenecks; staff backtracking between prep and cooking wastes precious seconds during peak rushes.
Plus, cramped stations cause fatigue. BLS data links them to 93,800 annual injuries in full-service restaurants. Better workflow also saves square footage, placing gear in logical zones instead of wasting space. For example, positioning undercounter refrigeration within reach of prep surfaces eliminates wasted steps and keeps cooks focused on execution rather than chasing ingredients across the kitchen.
Stage 1: Receiving – Setting Up Your Intake Zone
As deliveries roll in, the very first thing you’ll set up is a dedicated intake zone near the kitchen entrance. You’ll stage your deliveries to arrive without blocking prep or warewashing lanes.
As deliveries roll in, set up a dedicated intake zone near the kitchen entrance to keep prep lanes clear.
Imagine juggling eggs while someone’s scrubbing pans, not fun.
From here, items move quickly to storage: dry goods to dry storage, fridges to refrigeration.
You’ll draw movement arrows—delivery → receiving → storage—to catch any crossed paths. If your Plumbing: Rough-In hasn’t disrupted the flow, you’re golden.
This zone prevents raw products from mixing with clean-ready-to-use items, keeping that one-direction food flow tight.
For a kitchen, this first step cuts congestion and boosts speed, so your staff isn’t playing bumper carts during peak service. To further reduce congestion, plan 3–4 feet of clearance around any staging or island areas so staff can move freely without bottlenecks during high-volume receiving rushes.
Stage 2: Prep – Positioning for Speed and Safety
Once your intake zone is humming along, it’s time to shift focus to prep, where speed and safety really come together. Smart kitchen design in commercial kitchens hinges on Staff Movement during this stage.
You’ll position refrigeration and ingredient storage so you walk straight to cutting or assembly, with no backtracking. Sequence prep from ingredients to dishes, keeping raw handling away from ready-to-eat spots.
Keep high-use items like oil, seasonings, and common bases within arm’s reach of cooking stations. You’ll save trips and avoid bottlenecks during peak ticket times.
Plan 48-inch aisles so two staff can pass safely while carrying pans or hot containers, as bumps ruin speed.
Place handoff to plating near the prep zone’s end, making service flow seamless. Route dirty-dish return away from your clean prep area, ensuring no servers cut through your workspace.
Structuring your prep zone around the kitchen work triangle — connecting refrigeration, sink, and cooking surface within 4–9 feet of each other — keeps movement efficient and reduces unnecessary steps during high-volume service.
Contamination control and speed become second nature.
Stage 3: Cooking – The Thermal Heart of the Kitchen
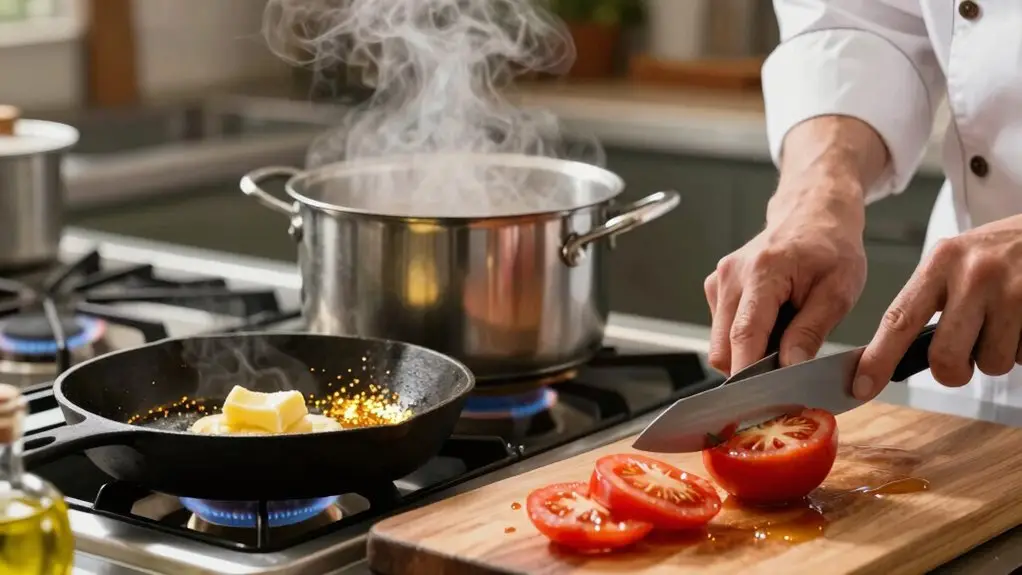
Since cooking acts as the thermal heart of the kitchen, it deserves a prime spot right in the middle of your workflow. You’ll position your ranges, ovens, and burners here to form dedicated cooking stations. This keeps your production fast and your team moving without bumping into each other.
During your remodeling process, you’ll want to anchor these stations so dirty dishes never cross paths with food heading out for service. That clean traffic flow is a game-changer. When you’re designing a modern kitchen, think of it as a path starting from the cold area for ingredients and moving right into this heated work zone.
It’s where heat-driving equipment lives, turning your prep into plates with minimal fuss. Positioning your stove within the kitchen work triangle keeps the sink, refrigerator, and cooktop connected by legs ideally measuring four to nine feet each, reducing unnecessary steps during service. You’ll find the whole rhythm clicks when cooking sits right where it belongs: center stage.
Stage 4: Plating – Creating a Smooth Handoff to Service
To minimize handoff friction, you’ll need an efficient plating station layout that keeps everything within arm’s reach. By enforcing a unidirectional plate flow direction, you’ll make sure plated dishes move straight to service without crossing paths with dirty items or wasted motion.
Set up your “grab-and-go” garnishes and tools right at the plating zone. This way, you’re not backtracking during the rush. Using color-coded prep zones for ready-to-eat items helps ensure that plated dishes stay completely separated from raw proteins or produce during the final handoff.
Efficient Plating Station Layout
Because plating is where your kitchen meets the front of house, you’ve got to set up this station so cooked food moves forward without any backtracking or crossed paths. A well-designed plating layout isn’t just about looks; it’s how you keep service humming. Your design plans should focus on flow, not fancy gadgets.
Keep ingredients and plating tools close, garnishes, sauces, and utensils within arm’s reach. You don’t want cooks zigzagging during a rush.
Create clear physical zones, a clean plating area separate from dirty utensils. This prevents contamination and keeps your line moving toward service.
Ensure aisles are at least 48 inches wide, runners need room to pass without waiting. Ergonomics matter more than counter space.
Place your handoff with direct sightlines to service. A consistent queue flow beats any appliance upgrade for cutting ticket times. Before locking in your station arrangement, use dry runs with templates to spot clearance issues and awkward traffic patterns before permanent installation.
Minimizing Handoff Friction Points
Your plating station’s handoff zone is where the magic meets reality, or where it all falls apart if you don’t plan it right. For efficient service, you’re designing a dedicated staging area at plating’s edge, like a pass shelf or warm holding, so tickets don’t queue staff in aisles during peak chaos.
In kitchen remodeling projects, these design decisions matter: place reheat equipment close to plating for last touches without backtracking, but separate it from raw work to cut contamination risk. You’ll standardize handoff timing by plating cold garnishes last while holding hot elements briefly, guaranteeing consistent service quality.
Draw movement arrows during layout review to eliminate crossed lines between plating and warewashing returns. No bottlenecks, no waiting, just a friction-free handoff that keeps the flow rolling. Just as a well-run kitchen station benefits from deliberate layout planning, so does your home kitchen — using a weekly 10-minute reset to scan high-visibility zones like counters and drawers prevents small organizational drift from compounding into bigger disruptions over time.
Unidirectional Plate Flow Direction
- Position plating right next to the pass window, so it’s a straight shot to service.
- Map arrows for every plate move; if you spot a return arrow, redraw that line.
- Keep dirty gear off the path. Soiled utensils shouldn’t shadow ready-to-serve plates.
- Test during peak service: if plates queue or reverse, you’ve got a flow bottleneck to fix.
A single direction eliminates friction, so your team moves at pace.
Advanced gear can’t save you when staff retrace steps—this layout does. The same logic applies in home kitchens, where a tight work triangle keeps the sink, prep zone, and fridge in sync along the perimeter to prevent unnecessary backtracking.
Stage 5: Service – Keeping the Line Moving Under Pressure
Bottlenecks kill your speed. Cramped layouts force waiting at plating stations, slowing peak throughput. Don’t let that happen.
With 93,800 nonfatal injuries in full-service restaurants (2019 BLS), tight aisles cause slips and rushed mistakes. Stick to 48-inch aisles to reduce crowding.
In multi-cook environments, maintaining 42 to 48 inches of main traffic path clearance ensures smoother movement and fewer collision points between staff sharing the same workspace.
Stay organized, stay calm, and keep that line flowing. Your diners are counting on you.
Stage 6: Warewashing – Closing the Flow Loop Safely
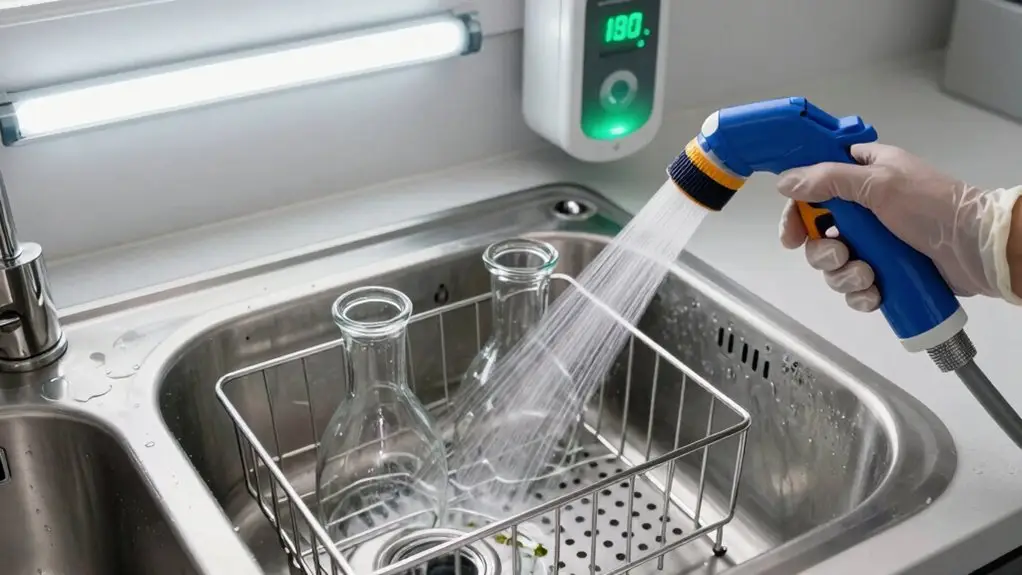
Once dirty dishes start piling up, you’ve entered warewashing—the stage that closes the flow loop and keeps your kitchen safe.
You’ll need a smart design that keeps dirty dishes from crossing food paths. Think of it as a one-way street:
- Keep bus-tubs in a dedicated soiled zone, far from prep areas, so grime doesn’t sneak into clean cooking spaces.
- Position the dishwasher near the kitchen entrance, not buried in the back, to streamline dish pickup without clogging core traffic.
- Maintain at least 48-inch aisles so staff can pass safely, even during peak chaos. No one wants a wet-tray collision.
- Ensure the return path for dirty items doesn’t intersect with food going to service. Unidirectional flow reduces contamination risks.
In a new kitchen, nailing this design means less backtracking and faster turnover. When planning your warewashing layout alongside the rest of the kitchen, share your flow requirements early with your architect before walls are framed or plumbing is roughed in, since relocating drains later can add thousands to your project cost.
All rights reserved—you’re closing the loop safely.
How to Map Your Kitchen Flow and Spot Friction Points
Before you can fix your kitchen’s flow, you’ll need to map it out. Think of it like drawing a treasure map, but instead of gold, you’re hunting for friction points.
Start with your current kitchen’s order: Receiving → Storage → Prep → Cooking → Plating → Service → Warewashing.
Draw movement arrows for how ingredients and dishes actually travel.
Now, look for crossed arrows or backtracking, like dirty dishes passing food leaving, or plates staged near prep instead of warewashing.
Check aisle clearance too; aim for 48 inches so two staff can pass without a traffic jam.
Next, mark bottlenecks.
Is your cabinet supplier’s oil stash far from the stove? Is refrigeration miles from prep?
Those slow you down.
Finally, confirm a one-way path from raw to ready-to-eat.
Map it right, and you’ll spot friction before it frays your nerves.
Final Thoughts
So, you’ve walked through every stage of your kitchen’s workflow. Don’t get stuck obsessing over fancy equipment: it’s about how you move.
Now grab a notepad, watch your team for a shift, and spot where folks bump elbows or wait around. Those friction points cost you time and sanity.
Smooth out one bottleneck at a time, and you’ll turn chaos into calm. You’ve got this: now go make that kitchen flow like a dream.







