The Best Fluffy Pancakes recipe you will fall in love with. Full of tips and tricks to help you make the best pancakes.



Start by walking your kitchen with a tape measure and imagination, testing how your fridge, sink, and stove connect before you commit to anything. Pick a layout that actually fits your space: U-shaped for storage, L-shaped for openness, galley for narrow spots, or island if you’ve got room to breathe.
Map your work triangle so you’re not hiking across the kitchen just to boil water. Store dishes near the dishwasher, pots below the stove, and trash right where the mess happens. Leave yourself 36 to 48 inches to move around, because nobody enjoys hip-checking a countertop with hot soup in their hands.
Nail these basics and you’re already ahead of most kitchen regrets. Plus, there’s more to know about making this space truly yours.
Walk Your Kitchen Before You Design It
Before you sketch a single cabinet, grab a tape measure and your imagination, then step into your future kitchen—literally. You’ll love this hands-on approach because it saves you from headaches later.
Do a real-life walk-through where you’ll actually stand in doorways, open cabinets, and pretend you’re prepping dinner during a busy Tuesday night.
Test your kitchen work triangle by walking from fridge to sink to stove. Does it feel cramped or comfortable? You’re checking clearances.
Make sure you’ve got room to open the dishwasher without knocking elbows against a wall.
If you’re adding an island, circle it with your arms full of pretend groceries. You’ll need about 42 inches to move freely, plus space for food prep.
Map your prep space wisely.
Keep everyday dishes near the dishwasher so unloading’s a breeze.
Use this walk-through to catch problems before they become expensive surprises.
While you’re assessing your layout, note where task lighting will be needed, since under-cabinet strips with high CRI ratings render food colors accurately and reduce eye strain during food prep.
Choose the Right Kitchen Layout for Your Space: U, L, Galley, or Island
Once you’ve walked your kitchen and know how you actually move, it’s time to pick a layout that fits your space like a glove.
Your kitchen layout options depend heavily on square footage and daily habits, so let’s break it down:
- U-shaped kitchen: Three walls of cabinets give you tons of counter space and storage, perfect when you’ve got medium-to-large kitchen space.
- L-shaped kitchens: Two adjacent walls keep things open, ideal for small-to-medium spots and easy traffic flow.
- Galley kitchen: Two parallel walls maximize narrow kitchen space with everything within arm’s reach.
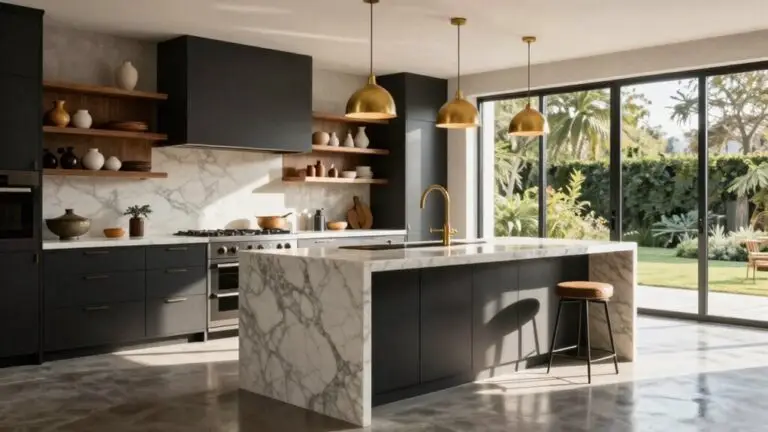
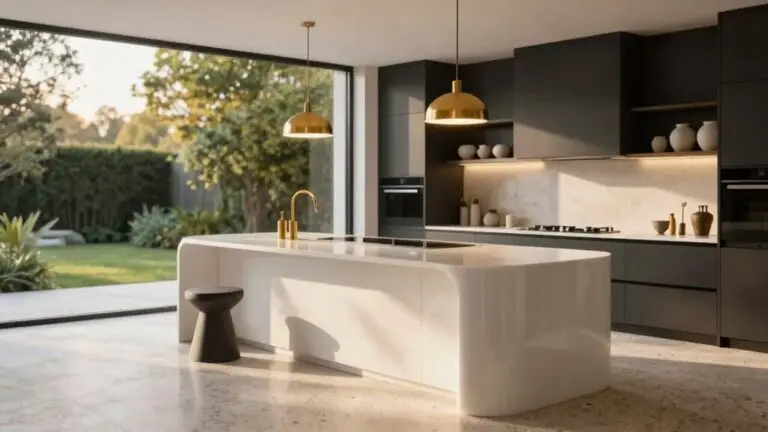
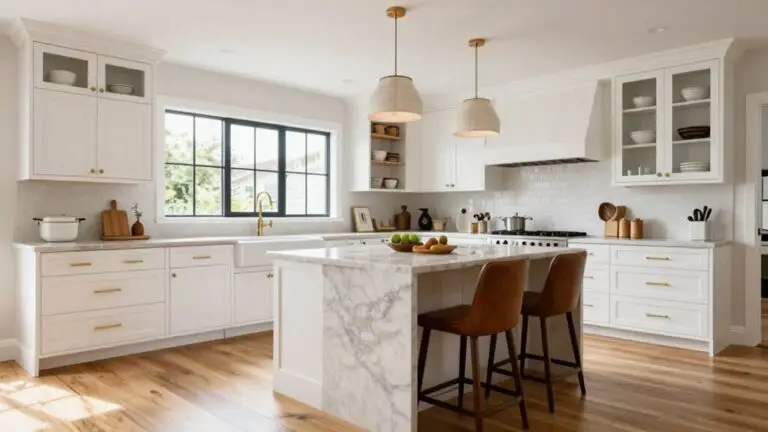
- Island kitchens: Add a kitchen island for prep and socializing, but you’ll need room, think 42 inches clearance minimum.
- Dining area: Consider how your layout connects to eating spaces for seamless entertaining.
Match your choice to real traffic, not simply pretty pictures. If your kitchen floor has dips or slopes, addressing uneven subfloor surfaces before finalizing your layout will ensure your cabinets and appliances sit level and function properly from day one.
Map Your Work Triangle to Your Chosen Layout
Now that you’ve picked a layout, it’s time to make sure your kitchen actually works when you’re scrambling to get dinner on the table.
You’re mapping your work triangle the right way when the sink, refrigerator, and stove stay close—about 26 feet total, max. Most kitchen layouts benefit from putting the refrigerator and range at opposite ends, with the sink centered.
In a U-shaped kitchen, keep the fridge and stove on far ends with the sink between.
An L-shaped kitchen works similarly—prep at the sink, with the refrigerator at one corner and the range at the other.
Galley and G-shaped kitchens follow this logic too, just compacted.
Even an island layout needs that triangle tight.
Stand at your sink and imagine the dance: fridge to stove, back to sink.
If your floor plan forces awkward detours, adjust now.
Dinner won’t cook itself, right?
Once your triangle is locked in, consider how layered kitchen lighting can eliminate shadows in each zone, making your workflow even smoother during busy meal prep.
Store Things Where Your Hands Already Go

If you’ve ever chased a runaway mixing bowl across the kitchen or played Jenga with your spice cabinet, you already know that where you put things matters almost as much as what you put in them. Let’s fix that.
- Keep everyday dishes nearest the dishwasher so unloading’s a breeze.
- Slide your pots and pans into deep drawers below the stove, right where you’ll actually use them.
- Park your coffee station near water hookups, because who wants to haul water?
- Tuck a pull-out trash bin beside the kitchen sink for instant cleanup.
- Store serving pieces closest to the dining table so everything is within arm’s reach when guests arrive.
Design your space and storage around how you move, not fantasy cooking. Cover three sides of your main prep zone with your heaviest storage needs. Suddenly, your kitchen starts working with you, not against you. An under sink cabinet organizer can maximize that often-overlooked space beneath your kitchen sink, turning a chaotic jumble of cleaning supplies into a neatly arranged, easy-to-access zone.
Allow 36–48 Inch Clearance for Walkways and Seating
Because nothing ruins a dinner party quite like your guests performing an awkward sideways shuffle just to reach the appetizers, you’ll want to give your kitchen some breathing room. Aim for 42 inches of clearance around your large island, or bump it to 48 inches if you’ve got plenty of space.
Working with a small space? You can squeeze by with 36 inches between countertops.
Your walkways need love too. Keep traffic paths clear of swinging doors.
Adding seating? Plan for 12–18 inches of overhang so bar stools don’t cramp legs, and leave 10 inches between seat and counter for comfort.
Proper spacing allows for easy movement, makes your space feel open, and lets you install task lighting without bumping your head.
Smart clearance means cooking stays easy, even when appliances run.
Before finalizing your layout, perform a dry run with templates to spot potential clearance issues and awkward traffic patterns before any permanent installations are made.
Final Thoughts
You’ve got this—designing your dream kitchen isn’t rocket science, it’s just thoughtful planning with a dash of common sense.
Walk the space, pick a layout that fits, map that work triangle, and put things where your hands naturally reach. Keep those walkways clear, and you’ll cook, laugh, and make memories without bumping elbows.
Your perfect kitchen’s waiting; go build it.