The Best Fluffy Pancakes recipe you will fall in love with. Full of tips and tricks to help you make the best pancakes.


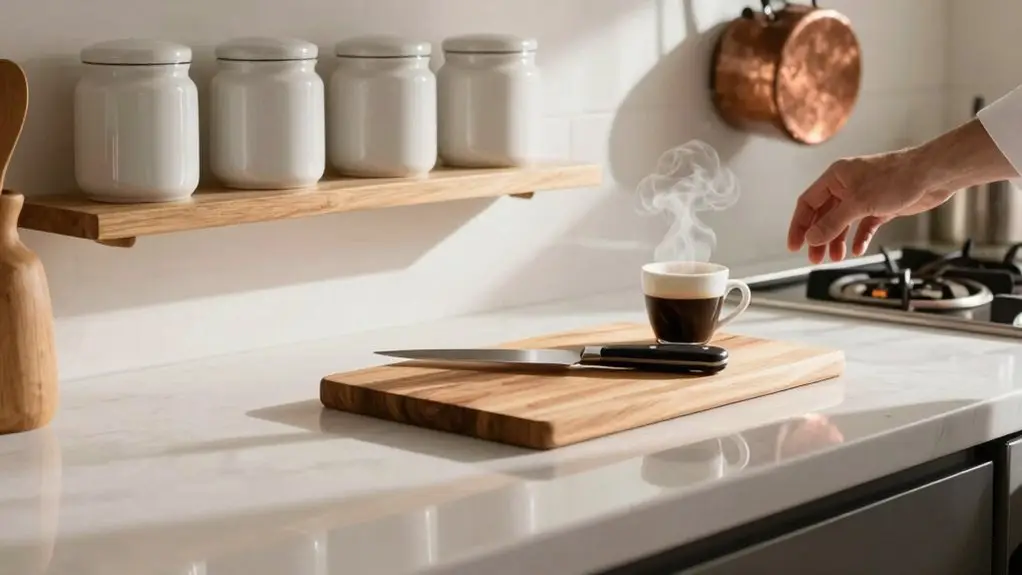
Tackle your galley kitchen by rethinking the work triangle: keep the sink, cooktop, and fridge in a neat line on one side to cut down on wasted steps. Place the fridge at one end so it doesn’t break up your prep counter.
Use vertical storage like ceiling-high cabinets to keep surfaces clear. Light-colored cabinets and a mirror backsplash visually widen the space, while counter-depth appliances free up aisle room.
YOU’LL FIND THE FLOW SURPRISINGLY EASYGOING, AND THERE’S MORE TO MAKE IT FEEL BIGGER AND BRIGHTER AHEAD.
Rethink the Work Triangle for a Galley Kitchen Layout
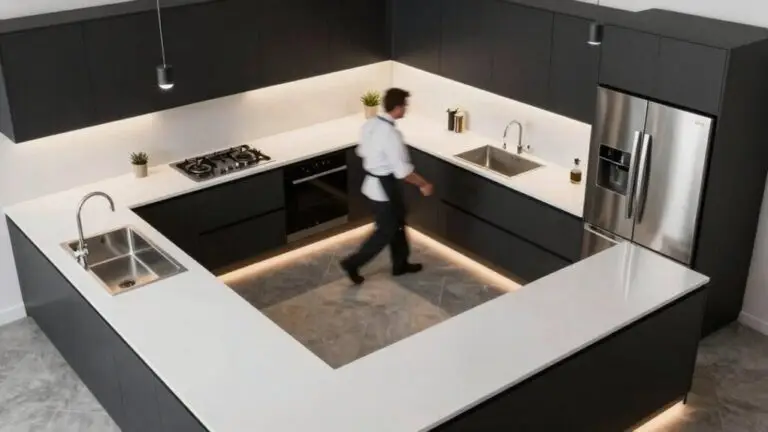
When you’re dealing with a galley kitchen, the classic “work triangle” needs a serious rethink. After all, you’ve got two walls and a narrow aisle, not a sprawling layout. Concentrate your sink, cooktop, and range on appliances on one side to cut down on back-and-forth.
Keep the refrigerator at one end, near the entry, so your trips to grab ingredients flow seamlessly into the prep zone. This one-cook strategy creates efficient space stations that boost counter workflow without traffic jams.
Make sure at least three feet between the stove and sink for staging room—think of it as your landing pad for chopping and mixing. By aligning the work triangle along one wall, your galley kitchen layout becomes a streamlined path for a single chef to slide from station to station. For a two-cook galley setup, the corridor width between walls should be at least 48 inches to prevent collisions and keep both cooks moving freely.
Place the Fridge at One End for Uninterrupted Prep Space
Because your galley kitchen is basically a narrow hallway with appliances, you’ll want to place the fridge at one end, ideally near the entry, to keep your key prep space uninterrupted. This smart move preserves your galley layout’s one-chef flow, turning that one wall into a powerhouse of efficiency.
- Maximize continuous counter space. Without a fridge breaking the run, you’ll have a seamless staging area between your sink and cooktop, perfect for chopping and plating.
- Ensure smooth walkway clearance. Placing the fridge at the end means its doors won’t block traffic, giving you at least 42 inches of room so you’re not dancing around each other.
- Support uninterrupted prep space. A counter-depth refrigerator sits flush with your cabinets, eliminating visual and physical intrusions into the aisle.
- Simplify the one-chef flow. This setup keeps your ingredients, sink, and cooktop in a tidy line, cutting down on back-and-forth steps.
If you add a small island or cart near the end opposite the fridge, cap its size at 10% of total floor space to avoid creating a maze-like squeeze in your already narrow layout.
Use Vertical Storage to Free Up Counter Space
Now that you’ve tucked the fridge at the end, it’s time to free up your countertops—because nothing kills a good workflow faster than a cluttered prep zone.
Look up: vertical space is your new best friend. Extend your upper cabinets all the way to the ceiling to capture that dead air, adding storage without stealing a single inch of counter.
Swap bulky knife blocks for wall-mounted magnetic strips, and install pull-out organizers in your pantry storage for spices and oils.
Deep drawers and ceiling-height solutions keep your tools reachable, so you’re not staging cookware on your prep surfaces.
Open shelving and wall cabinets near your stove let you grab butter and oils in seconds.
Add shelf risers or extra shelves inside your upper cabinets to split the gaps between shelves and double your usable storage layers without spending more than $25.
These storage options turn your galley into a lean, mean cooking machine.
Use Light and Mirrors to Visually Expand a Narrow Galley
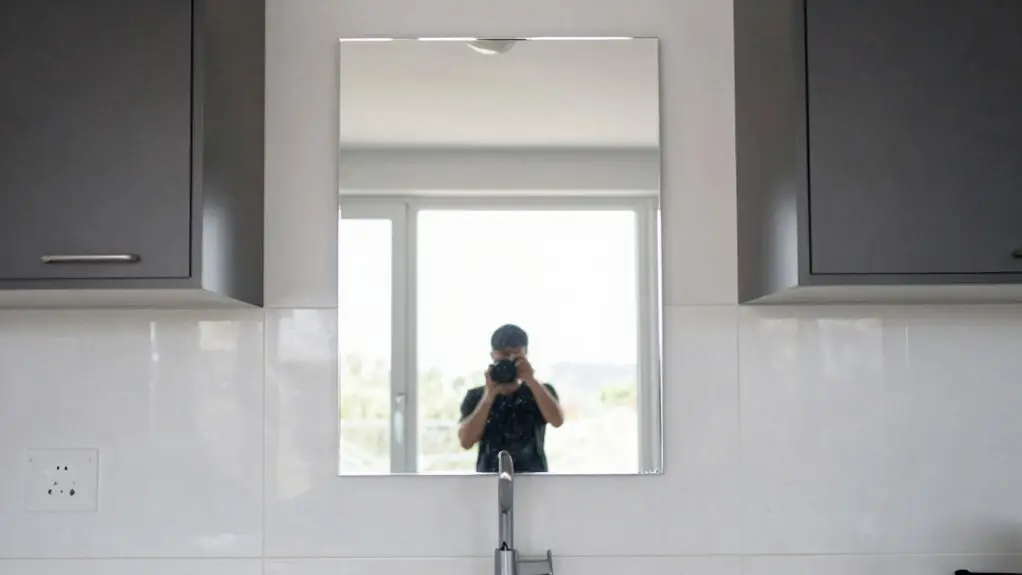
While a narrow galley can feel like a tight squeeze, you’ve got some clever tricks to make it look twice as big without moving a single wall. To fight that narrow kitchen feel, start with pale cabinetry and light-gray quartz; higher reflection reduces the “tunnel” effect.
Then add glossy subway tile or mirrors as a backsplash to create the illusion of more space in a galley. Pair this with under-cabinet LED lighting to eliminate shadow bands that otherwise shrink a kitchen that feels cramped. If you’re also looking to reduce appliance counter clutter, combining an air fryer and toaster oven into one unit can free up valuable surface space in a tight galley layout.
Then add glossy subway tile or mirrors as a backsplash, paired with under-cabinet LED lighting to banish shadows and shrink the tunnel feel.
Here’s how to make your galley kitchen shine:
- Choose pale, light-colored cabinets (like bright white shaker) to boost light reflection and minimize the tunnel vibe common in traditional galley kitchens.
- Install reflective backsplash finishes—glossy subway tile or mirrors bounce light onto counters and widen sightlines.
- Place a mirror strategically to reflect the longest cabinetry run, visually doubling your galley without altering the floor plan.
- Use high-gloss doors and streamlined hardware to keep reflective surfaces dominant and reduce visual clutter.
Choose Counter-Depth Appliances to Widen the Aisle
You’ve already tricked the eye with light and mirrors, but now it’s time to tackle the real space hog: your appliances.
To make a galley kitchen feel roomier, choose counter-depth appliances that sit flush with your cabinetry. Standard fridges can protrude 30–36 inches, but counter-depth models (around 24 inches) free up precious aisle width. This design choice prevents bottlenecks and keeps your workflow seamless.
For galley layouts, integrated appliances, like a panel-ready dishwasher, visually blend in, reducing that cramped feeling. You’ll even reclaim counter space since nothing is jutting out awkwardly.
If you need a bigger appliance, place it at the end of your layout. That way, one bulky unit won’t block movement past your main prep zone. In a small space, this simple swap transforms your entire flow. In a galley kitchen, maintaining a clear central walkway of at least 36–42 inches between your two parallel counters ensures smooth, collision-free movement during cooking.
Final Thoughts
So there you have it—five easy fixes to make your galley kitchen feel way less like a tight squeeze and way more like a well-oiled machine. You don’t need a total gut job; small tweaks make a huge difference.
Stack smart, use mirrors, and rethink your fridge spot. Your counters will thank you, and you’ll actually enjoy cooking in there. No more bumping elbows—just seamless sailing, chef.