The Best Fluffy Pancakes recipe you will fall in love with. Full of tips and tricks to help you make the best pancakes.


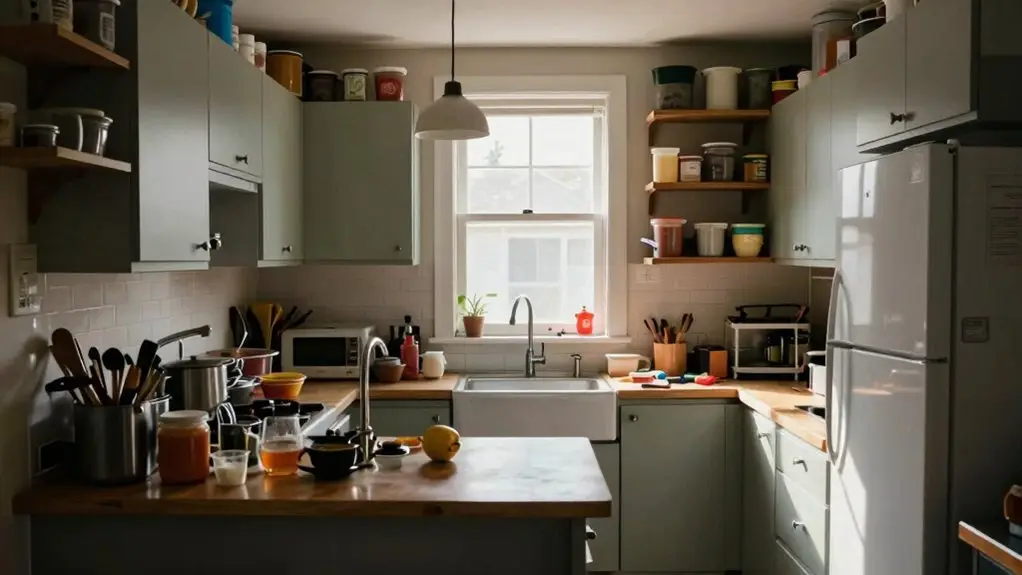
You’re probably making your kitchen harder to use without realizing it. Starting with a work triangle that’s too big, you may find yourself exhausted just making dinner.
Then there’s the island you squeezed in with barely any clearance, which turns your kitchen into a traffic jam. Don’t even get us started on marble countertops in Houston’s humidity, or cabinets that swell because you skipped moisture-proof materials.
The good news? Fixing these mistakes is simpler than you think. You’ll just need to keep going to find out how.
Fix Your Kitchen Work Triangle in 3 Easy Steps?
While your kitchen might feel perfectly accommodating for late-night pizza deliveries and from-scratch dinners, you’ll still waste time and energy if the stove, sink, and fridge aren’t set up for efficiency. Fix this by mapping your kitchen work triangle, connecting those three points.
Plan your kitchen layout so no leg exceeds nine feet—you don’t want to marathon between tasks. Check traffic flow, too; an island can block your path if you don’t design for enough clearance. Aim for at least 42 inches, or 48 inches in busy kitchens, so you can move freely. Proper appliance placement makes cooking feel effortless, not like an obstacle course.
Before you commit to your layout, review the triangle carefully. Changing it after measurements can cause headaches and delays, so nail it down now and save yourself the hassle. The total triangle perimeter should fall between 13 and 26 feet, as shorter distances create cramped conditions while longer ones increase fatigue during extended cooking sessions.
Plan Your Storage Before Buying Custom Cabinets
Before you even think about picking out custom cabinets, do a full kitchen storage audit. It’s a big and expensive kitchen design mistake to skip this step.
Before you even think about picking out custom cabinets, do a full kitchen storage audit. Skipping this step is an expensive mistake.
Adding storage after a kitchen remodel typically costs 2–3 times more and can force cabinet-size changes mid-project. You don’t want that.
Map your storage must-haves like deep drawers, pull-out shelves, corner solutions, and a tall pantry cabinet right into your plan. Avoid common layout mistakes where open-concept aesthetics steal your storage.
Place spices near the cooking zone and cutlery near the dishwasher for a workflow that saves steps.
For corner cabinets specifically, a kidney-shaped two-tier lazy susan is designed to maximize angled spaces and prevent items from getting lost in hard-to-reach depths.
Finally, confirm your custom cabinetry storage plan during the final pre-order review. Make sure deep drawers and corner pullouts fit your actual kitchen dimensions.
Doing this now keeps your kitchen functional and keeps regret out of the picture.
Replace Marble With Solid Surface Countertops in Houston?
If you’re remodeling your kitchen in Houston, swapping out marble for solid surface countertops is a smart move you mightn’t have considered yet. Marble’s porous surface can etch, stain, and chip from everyday acidic spills.
Plus, Houston’s hard water leaves mineral deposits that damage it. Solid surface countertops skip all that drama.
No sealing needed. You don’t have to seal porous stone to fight humidity and hard water here.
Resists stains and bacteria. Non-porous and seamless, so it holds up to your busy kitchen activities.
Better for your kitchen island. It handles heat better than laminate without constant worry.
Less daily stress. Match your kitchen countertops to Texas heat and humidity instead of a magazine photo.
Solid surface makes your kitchen renovation practical and beautiful. You’ll spend less time maintaining and more time enjoying your kitchen lighting and cooking. Pairing your new countertops with under-cabinet LED lighting at 2700K to 3000K adds warm task lighting that eliminates dark countertop shadows and makes your workspace feel brighter and more open.
The Lighting Mistake That Leaves You Prepping in Shadows
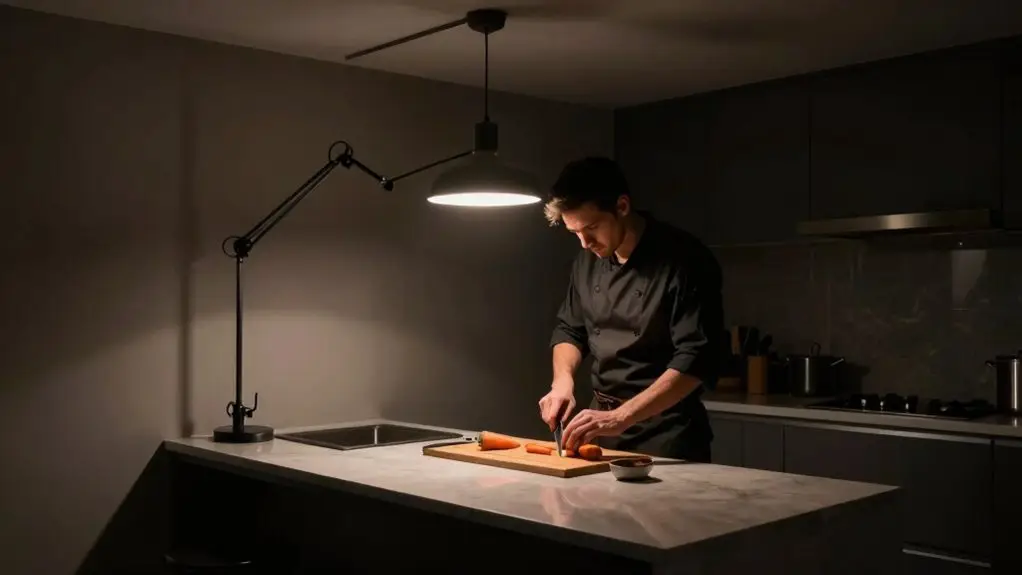
You’re probably chopping carrots in your own shadow without even realizing it, thanks to that single ceiling fixture doing all the heavy lifting.
Instead, plan task lighting zones that throw light right onto your prep surfaces and slightly in front of where you stand, so your body doesn’t block it.
Adding layered lights with separate circuits means you can dim the ambiance while boosting brightness exactly where you need it.
This makes shadow-free chopping a simple fix. If you’re also rethinking your prep setup, a rolling kitchen island with locking wheels can keep your work surface stable while staying flexible enough to reposition under better light.
Task Lighting Zones
Map out all rough-ins before drywall goes up. Fixing shadows later is way pricier than getting it right now.
For proper prep zone coverage, aim for 300 to 700 lumens per linear foot to keep surfaces bright without creating uncomfortable glare.
Your space feel will thank you.
Shadow-Free Prep Surfaces
Don’t count on a single overhead pendant alone to keep your prep surfaces bright and shadow-free. That’s one of the most annoying Common Kitchen Layout Mistakes: your cutting board ends up in your own body shadow. Instead, place task lighting slightly in front of you, not directly above the counter. This simple trick kills the shadow when you’re slicing and dicing.
Layer your lighting: combine ambient ceiling light with dedicated task fixtures aimed right at your prep areas. Recessed lighting works, but only as your sole source? It’s not enough by itself.
Plan this layout during the design phase, not after drywall goes up. Moving those fixtures later costs big money and often doesn’t fix the shadows. Choose dimmable bulbs and separate circuits to make it easy to keep things bright without glare. For compact kitchens with a narrow island counter, pendant fixtures in the 6–9 inch diameter range are the recommended size to provide focused light without overwhelming the space.
Island Clearance Rules for Small Kitchens
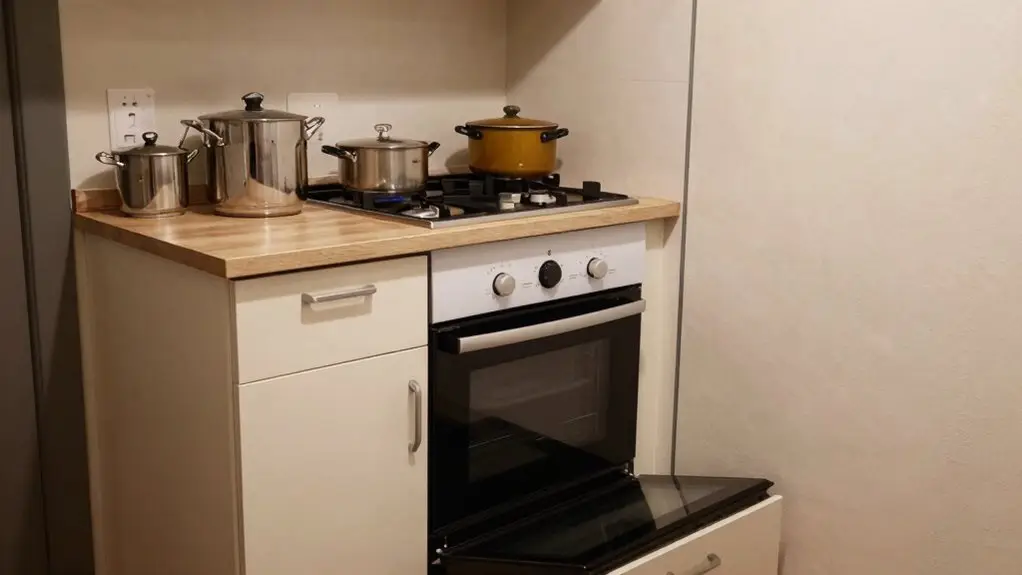
Even in a small kitchen, an island can still be a game-changer. You just have to be extra careful about clearance. Ignoring island clearance rules is one of those common mistakes that turns your dream island clearance into chaos.
You don’t want your island blocking the main traffic path, leaving you with a space that feels cramped every time someone opens the fridge. Thoughtful layout planning saves you from daily frustrations.
- Stick to 42 inches minimum around the island; bump it up to 48 if you’ve got a multi-cook kitchen.
- Size the island to your actual floor plan—not the showroom’s. Oversized islands are notorious for shrinking a room.
- Aim for 40 inches of clear space on each side so you can move between prep and stove without bumping into stools.
- If you add a sink or cooktop, go at least 47 inches wide. Without them, 24 inches might work—but don’t crowd the main path.
- Before committing to any island dimensions, check your countertop slab stock early, since most slabs max out around 10 feet long by 5 feet wide and can limit your design options.
Refrigerator and Dishwasher Placement for Houston Open-Plan Kitchens
In a Houston open-plan kitchen, you’ll want your refrigerator near the entrance.
Less walking between the fridge and prep zone means your workflow stays tight and frustration stays low.
Place your dishwasher directly next to the sink, since that pairing turns rinsing and loading into a single, seamless motion that saves you time every day.
Finally, map out those door swings and traffic paths first so your appliances don’t block the flow.
Keeping your open layout feeling spacious and hassle-free is essential.
Designers recommend keeping the kitchen work triangle under 26 total feet in perimeter so you’re not exhausted by the distance between your refrigerator, sink, and stove during everyday cooking and cleanup.
Refrigerator Entry Placement
Start by placing your refrigerator near the kitchen entrance—it’s a simple shift that keeps friends and family from trekking through the main living area every time they grab a drink. You’ll stop that annoying bottleneck and make your open-plan kitchen feel bigger.
Refrigerator entry placement isn’t just convenient; it saves you from design mistakes like blocking traffic flow with open doors. A kitchen designer swears by this trick to avoid a space that feels cramped.
Doors and drawers shouldn’t swing into tight walkways. Otherwise, you’ll play bumper cars every time you grab a snack or load dishes. Keep the fridge door path clear, so the primary route between the sink and prep zone stays unobstructed—no more fluid.
Plan around appliance openings before you commit to cabinet footprints. This will help you avoid expensive rework later. For the smoothest workflow, keep your refrigerator 4 to 8 feet from both the sink and stove so every step between food storage and cooking stays efficient.
Avoid common design mistakes. You won’t regret mapping this workflow before you hammer anything into place.
Dishwasher Sink Adjacency
Once you’ve got the refrigerator placed near the entry, it’s time to tackle the next key connection: the dishwasher and sink. In your Houston open-plan kitchen, you’ll want to make these two a tight team.
Keep the dishwasher directly adjacent to the sink so dirty dishes move straight into the wash zone without any crossing or bottlenecks.
This simple move helps you create a kitchen layout that feels seamless instead of cluttered and chaotic.
Avoid the common mistake layouts where loading the dishwasher forces traffic through your main dining-to-cooking path. Nobody wants to dodge a wet plate mid-conversation.
Before cabinets are built, double-check your dishwasher door won’t block walkways.
Positioning the dishwasher beside the sink also supports a tight work triangle by keeping the cleanup zone close to the range and fridge, which reduces unnecessary steps during meal prep and after-dinner routines.
Treat your sink, dishwasher, and fridge as one connected system for a space that feels effortless every day.
Traffic Flow Integration
When you’ve got the fridge right by the entrance, but now you need to weave it together with the dishwasher and sink or you’ll still hit daily traffic jams. An experienced design firm knows these three form the core of your kitchen’s traffic flow. Without planning, common mistakes turn your open-plan space into a chaotic collision course.
Fridge placement matters most: Keep it at the kitchen entrance, so grocery loads don’t cross the living area. That’s your main landing zone, not a trip hazard.
Dishwasher needs sink adjacency: Ideally on the sink side, to stop dish hauling from blocking your path. A few extra steps each time kills your flow.
Check those door swings: Appliance doors can steal precious space from your main walkway if you’re not careful. Don’t let kitchen cabinets trap you.
Route traffic away from the work zone: The cooking area shouldn’t sit on your through-path between dining, garage, or living rooms. You want movement, not collisions.
3 Traffic Flow Rules That Prevent Kitchen Collisions
Because nobody enjoys playing bumper carts in their own kitchen, you’ll want to keep the cooking zone away from the main traffic path. That way, your island or aisle doesn’t force guests to weave through your prep area while you’re trying to sear a steak.
These traffic flow rules fix common mistakes that make kitchens feel cramped: allow at least 42 inches around islands and 48 for busy kitchens, and 4 feet between countertops.
Allow at least 42 inches around islands and 48 for busy kitchens, and 4 feet between countertops.
Poorly positioned cabinet doors feel cramped and restrict movement when fridge or dishwasher doors block walkways—a common oversight. Plan swing paths so you don’t create navigation conflicts.
Don’t let your island split the room into a barrier; keep the sink, stove, and fridge workflow clear. With these three rules, you’ll dodge daily collisions and cook without chaos.
The Right Sink Size for Houston’s Heavy-Duty Cooking
- You’ll want one big basin for large pots and sheet pans, no more awkward juggling.
- A shallow farmhouse sink looks nice but can’t handle stacking or soaking like a deep one can.
- Plan your sink cabinet size during the remodel; a bigger sink needs a bigger cabinet.
- Undersizing the sink upfront leads to daily frustration. Correct sizing now saves headaches later.
Make room for your cooking style, and you won’t regret it.
Range Hood CFM: The Real Air Quality Mistake
You’ve nailed the sink size, but now let’s talk about what’s happening above your stove. Don’t judge a range hood by its looks; a big hood with poor CFM won’t help your air quality. In Houston’s humidity, an underpowered unit leaves grease and moisture all over your kitchen, not only during cooking season. That’s a huge mistake for your design.
Instead, focus on the CFM. You need enough power to pull moisture out of the room, protecting your finishes and making a cleaner space. Don’t forget inadequate lighting adds to the problem; you can’t see what you’re cooking.
Plan this early in the design phase before cabinets are set. Otherwise, you’re stuck with the wrong hood and poor air quality forever.
Houston-Proof Cabinet Materials That Resist Humidity
You’ll want to start by picking cabinet cores that actually fight back against Houston’s relentless humidity, like plywood or marine-grade MDF, since standard MDF just soaks up moisture and swells.
For the finish, go with a thermally fused laminate or a high-quality polyurethane. These won’t bubble or peel when the air gets thick and sticky.
Trust me, you don’t want to find out the hard way that your pretty cabinets can’t handle a few hot, humid summers.
Climate-Resistant Core Materials
Since Houston’s humidity can quietly ruin cabinets long after you’ve finished remodeling, you need core materials that actually fight back, not just ones that look good in photos. Don’t let poor lighting and cramped storage space highlight your material mistakes later; choose wisely now.
Avoid these common mistakes by picking:
- Solid plywood cores – They resist swelling better than MDF, so you won’t find edges cracking near your sink.
- Laminate on moisture-resistant particleboard – It bonds tighter than paper-core options, preventing bubbling.
- Avoid thermofoil near heat – It delaminates fast by the stove, forcing door swaps.
- Ventilation gaps – Leave space behind custom cabinets to let trapped moisture escape.
Pair these with durable countertop materials, and you’ll fix the hidden humidity battle before it starts.
Humidity-Tested Finish Selection
So you’ve picked solid plywood cores and left ventilation gaps, good start. Now tackle humidity-tested finish selection because that’s where homeowners really stumble.
The common mistake is treating finish like a photo decision, not a performance decision. In Houston’s 75%+ humidity, poor material selection means replacing cabinets years early.
Avoid MDF cores, they absorb moisture, swell, and crack finishes fast. Thermofoil? It delaminates near the stove within three years. Even laminate on paper-core bubbles each summer.
You need enough storage, but only if it lasts. Don’t let a pretty face cost you durability.
Stick with high-performance, humidity-tested finishes paired with ventilation. That way, your kitchen stays solid through every sticky season.
Final Thoughts
So don’t let these common kitchen blunders cook up stress in your Houston home. Fixing your work triangles, dodge shadows with layered lighting, and choose humidity-proof materials.
Your Houston kitchen’s the heart of your home—treat it like one. You’ve got the know-how now. Now tweak a few things, and you’ll have a space that flows like a dream.
Laugh off the mistakes you’ve already made, then get rolling on the fixes. After all, a little planning now saves you from reheating cold takeout later.