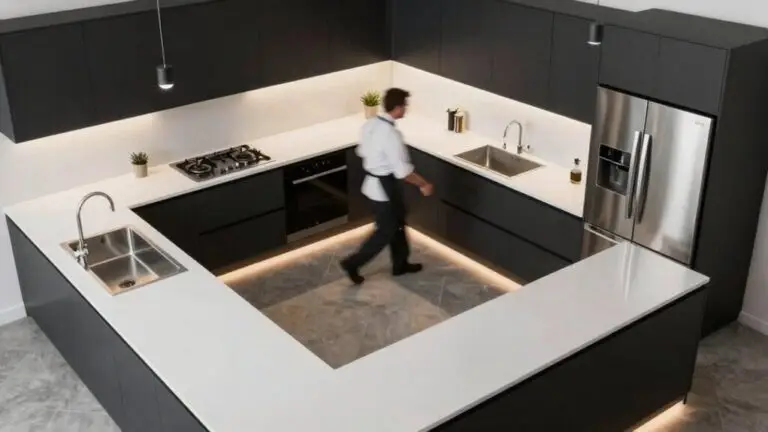
The Best Fluffy Pancakes recipe you will fall in love with. Full of tips and tricks to help you make the best pancakes.


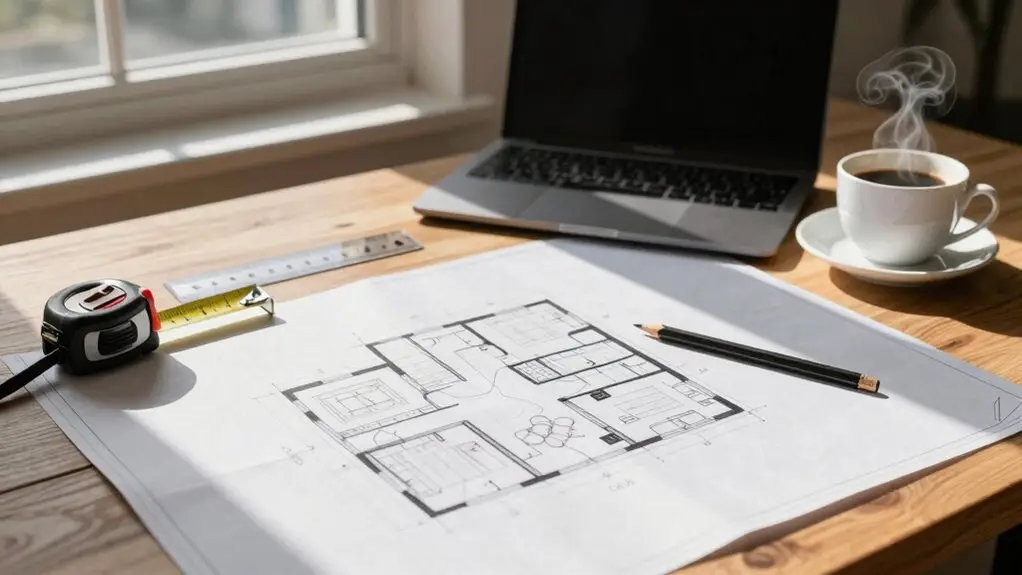
You’ll start by measuring every wall, pipe, and outlet so your layout actually fits. Then place the sink first—it’s the cleanup anchor. Add the dishwasher within 36 inches, then position the stove and fridge to form a working triangle under 26 feet total.
Divide your kitchen into prep, cooking, and cleanup zones to cut steps in half. Store knives near the sink, pots by the stove, and dishes by the dishwasher. Finally, test every door swing and pathway with a dry-run cooking session.
If it feels natural, you’ve nailed it—keep going to lock in the details.
Why a Poor Kitchen Floor Plan Wastes Time, Money, and Daily Effort
Ever walked into a kitchen and felt like you’re running a marathon just to make toast? That’s what a poor kitchen layout does—it forces you to zigzag between the sink, cooktop, and fridge, breaking the working triangle and wasting your precious time every single day.
Without a solid floor plan, you’re saddled with awkward walking patterns that turn simple meal prep into a frustrating obstacle course.
You’ll find yourself burning extra energy and patience, all because the layout doesn’t flow.
A bad plan also eats into your budget; you end up paying for costly redesigns or extra materials when things don’t fit.
Don’t let a cramped design steal your joy.
Getting the workflow right from the start saves both effort and cash.
According to the National Kitchen and Bath Association, each leg of your kitchen’s work triangle should measure between 4 and 9 feet, with a total perimeter no greater than 26 feet—exceed that, and every cooking session adds unnecessary steps and fatigue.
Measure Your Kitchen Without Forgetting a Single Pipe or Outlet
You’ll start by recording every wall-to-wall measurement in millimetres from a consistent corner, and don’t forget to measure across both the front and back to catch any sneaky non-square quirks from an older house.
Next, you need to mark the exact positions and dimensions of every door, window, and architrave, so your new cabinets don’t end up blocking the sunlight or the way in.
Finally, hunt down and sketch every plumbing and electrical point: water inlets, waste pipes, outlets, switches, and even the boiler’s flue direction. Missing one pipe now means a bigger headache later. An uneven subfloor condition can also cause cracking, cupping, and seam gapping that ruins new flooring within months, so note any dips or high spots during your survey before committing to materials.
Wall-to-Wall Measurements
Also mark the positions of any radiators and flue locations on your sketch, as these fixed features cannot be moved and will directly influence where cabinets and appliances can sit.
Using a simple numbered sketch key (e.g., 1 = boiler, 2 = waste pipe) keeps every measurement traceable without overlapping clutter.
Door and Window Specs
Since your walls are mapped and your pipes are pinned, now it’s time to tackle doors and windows because nothing kills a kitchen vibe like a cabinet blocking a window or a dishwasher door smacking into an open one. Grab your tape and measure each opening wall-to-wall in millimetres, recording width, height, and position from a consistent reference point.
For your kitchen floor plan, measure to the outside of the architrave, not only the frame. Note which way the door swings and the clearances needed for oven and dishwasher doors.
Record window sill height and overall width, plus any spots where the glass might interrupt cabinetry or force a worktop break.
Don’t forget ceiling height, lintels, and soffits above openings—your CAD team needs those constraints.
If your walls are uneven, measure both front and back of the room and sketch the widest dimensions.
Tricky reveals? Measure across both edges to keep spacing spot-on.
When planning window positions, also consider how clear sightlines and glass-front shelving near those openings can reduce visual bulk and make the finished kitchen feel larger than its footprint.
Plumbing and Electrical Points
Now measure every pipe, outlet, and vent in millimetres, because nothing torpedoes a kitchen layout like a hidden waste pipe right where your cabinet needs to go.
Before you move on to Kitchen: Design, jot down these critical points:
- Water line centers – Measure the exact position of water inlets and waste pipes from finished floor level. That stops you from placing a dishwasher exactly where the drain pops up.
- Outlet heights and circuits – Record each socket’s top height (usually 1100–1200mm) and note any switched lines for under-cabinet lights or extractor fans. Don’t assume you’ll remember them later.
- Boiler and flue details – Measure the boiler’s width, height, and distance from walls. Flues can block cabinet placement and ventilation routes.
Finally, don’t skip HVAC vents and radiators. Placing a rangetop over a heating register isn’t funny. Measure everything to the outside of architraves so your design team never has to guess. Knowing where your utilities hook up also protects work triangle logic, ensuring your sink, stove, and fridge stay within the recommended 4–9 feet of each other for efficient movement.
The One Appliance You Should Place First (Hint: It’s the Sink)
In your kitchen floor plan workflow, start by placing the sink first. It’s the heart of the cleanup zone where you’ll wash dishes and rinse off veggies. This anchor dictates everything from plumbing to prep space.
Position your dishwasher within about 36 inches so dirty dishes move seamlessly—no more awkward stretches. You’ll also want a prep counter nearby, ideally around 36 inches of continuous work surface. You’re not just placing a sink; you’re building the hub of your kitchen floor.
Confirm your water inlet and waste locations early to avoid costly cabinet adjustments later. Keep the sink, cooktop, and fridge forming your working triangle; that’s where most kitchen action happens. Start with the sink, and you’ll avoid rearranging appliances like a game of musical chairs. Positioning the sink under a window is worth considering, as it adds natural light for prep and makes dish duty far more pleasant.
Where to Put the Stove and Fridge for a Real Working Triangle?
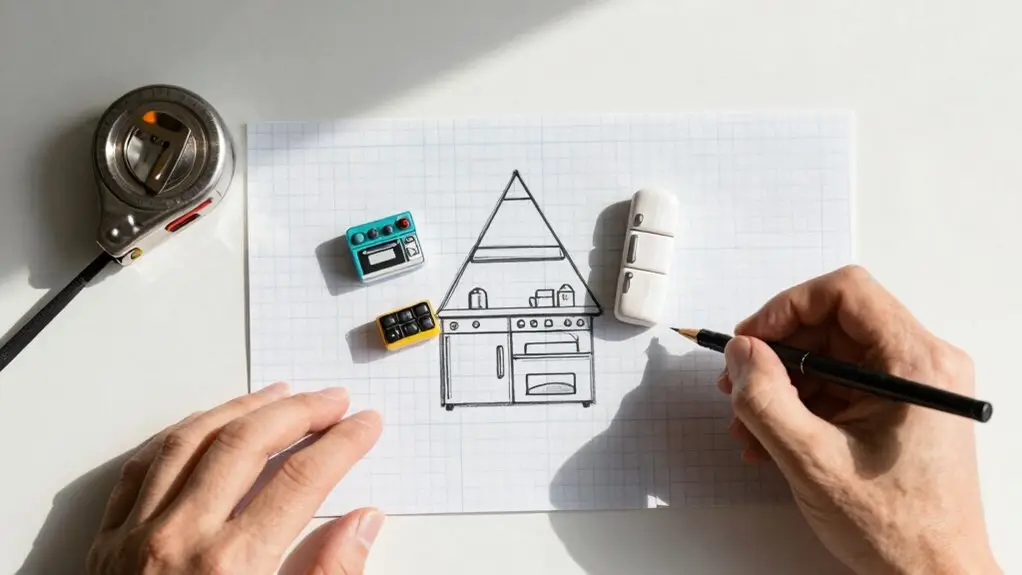
Once you’ve got your sink anchored as the cleanup hub, it’s time to place the stove and fridge to complete that real working triangle. You’ll want them close enough to create a tight loop—no marathon treks across your kitchen.
Keep the cooking side between the sink and fridge so you prep, cook, and store without backtracking.
Here’s what makes it click:
- Position the stove on a longer wall in L- or U-shaped kitchens, with the fridge on an adjacent side. This creates a natural, efficient triangle.
- Center continuous countertop space between all three points. Avoid breaking it with an appliance that forces detours.
- In galley kitchens, mirror the triangle by placing the stove and fridge on opposite runs. Keep the sink as your pivot point for quick moves.
Aim for a total triangle perimeter of 13–26 feet across all three legs to avoid both cramped conditions and exhausting movement between key work areas.
With these steps, you’re building a workflow that feels effortless.
Compare Kitchen Layouts: U-Shape, L-Shape, Galley, and Island
While U-shape and L-shape kitchens wrap you in counter space and storage, galley and island layouts each bring their own strengths and quirks.
When comparing kitchen layouts, you’ll find the U-shape offers the most continuous storage along three sides, perfect for serious cooks who want everything within arm’s reach.
The L-shape gives you strong corner utilization, keeping the central area open for movement or a small table.
Now consider a galley: two parallel counters need about 42 inches of clearance between them so you’re not bumping hips when opening drawers.
Island kitchens add a standalone prep hub, but you’ll want that same 42 inches of clearance all around to avoid traffic jams.
Whichever you choose, anchor your decision to the working triangle—sink, stove, fridge—and aim for maximum contiguous countertop near your prep zones.
Whichever you choose, anchor your decision to the working triangle—sink, stove, fridge.
You’ll avoid losing workspace maneuvering around the shape.
Deep corner cabinets in U-shaped kitchens can become blind storage dead zones where items like Tupperware disappear, so pairing them with lazy Susans or pull-out organizers keeps everything accessible.
Mark Every Door, Window, and Awkward Wall Directly on Your Floor Plan
Now that you’ve chosen your favorite layout, grab a pencil and your floor plan. It’s time to mark every door, window, and awkward wall directly on the drawing.
You need to capture these details on your floor plan to design a kitchen that actually fits your space.
Here’s what to record for each one:
- Doors – Measure the door width in millimeters and its position from the nearest wall. Note the swing direction or sliding track type. This stops you from placing an oven where the door will hit it.
- Windows – Write the head height, sill height, and overall width. Position it accurately so you don’t block required access with tall cabinets or worktops.
- Awkward walls – Draw the shape, then measure across the front and back. Older houses aren’t square, so this catches variations before you finalize cabinet spots.
Use a simple numbered key (1 = door, 2 = window, 3 = recess) right on the plan. This keeps your drawing clear and prevents missing constraints when you design a kitchen. For doorways, ensure you maintain at least 32 inches of width for easy entry and exit when carrying groceries or large serving dishes.
Divide Your Kitchen Into Prep, Cooking, and Cleanup Zones to Cut Steps in Half
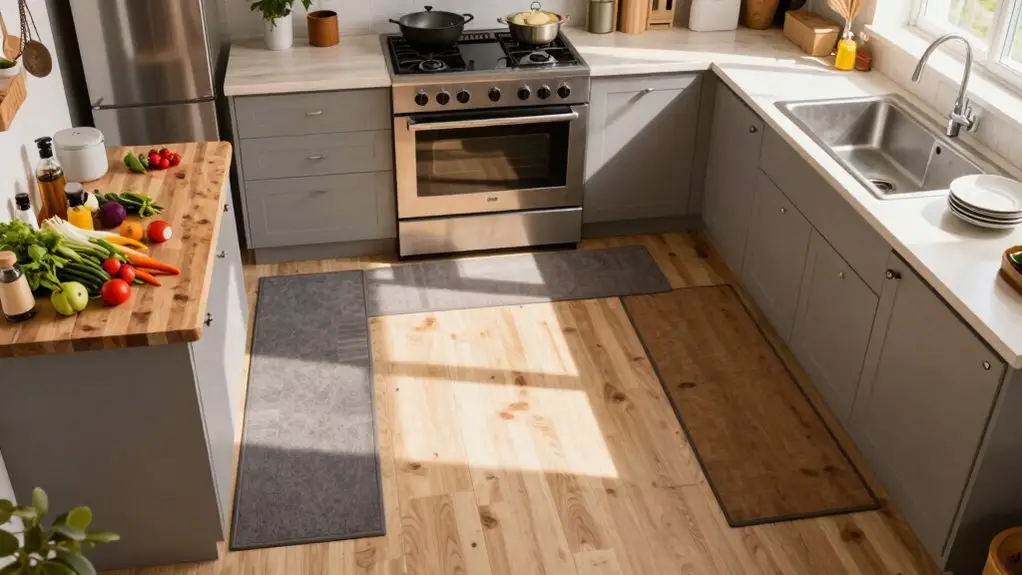
Before you start placing cabinets, divide your kitchen into three zones: prep, cooking, and cleanup, so ingredients and tools move short, logical distances instead of crossing the room constantly.
Before you start placing cabinets, divide your kitchen into three zones: prep, cooking, and cleanup.
Your prep zone lives in the space near the sink, with at least 36 inches of clear counter for chopping without blocking traffic.
The cooking zone centers around your range, with spices and utensils stored close by to cut repeated trips.
For cleanup, place your dishwasher within about 36 inches of the sink to keep your steps tight.
Connect these zones in a logical loop: fridge to prep near the sink, then to cooking near the range, and finally to cleanup at the sink.
This simple flow halves your steps, turning your kitchen into a well-oiled machine. To further reduce clutter without sacrificing accessibility, mount magnetic rails for knives and small tools along the sides of your prep zone rather than behind it, keeping counters clear and your workflow moving in one direction.
Store Everyday Items Where You Actually Use Them on Your Floor Plan
Once you’ve mapped out your three zones (prep, cooking, cleanup), the next step is to put everyday items exactly where you’ll use them most. This cuts wasted steps and makes cooking feel effortless. Here’s how to nail it:
- Prep zone – Keep knives, cutting boards, and measuring cups in drawers right by the sink and main worktop. You’ll grab them without a second thought, speeding up chopping and mixing.
- Cooking zone – Store pots, pans, and utensils directly beside or under the cooktop. Put a dedicated spice drawer there too, so salt, pepper, and oils are within arm’s reach when you’re sautéing.
- Cleanup zone – Place the dishwasher close to the sink (within 36 inches) and plan dish storage nearby. That way, clean items flow straight back to their spots, not into a cluttered Away Zone.
Show Every Appliance: Even Future Ones: on Your Kitchen Floor Plan
Because you’ll add placeholders for every appliance, even ones you haven’t bought yet, you avoid costly redesigns later. Start by measuring each appliance footprint to scale, including side clearances for oven doors and dishwasher swing. Don’t leave gaps; you don’t want impossible spaces later.
Plan permanent utilities together on your virtual kitchen: align sink, dishwasher water lines, and range extract locations first. Then, drop those appliance boxes right on top. Think future smart gadgets too: leave room for WiFi coverage and dedicated outlets behind the fridge and countertop tech zones.
Keep everything inside your work triangle: sink, cooktop, fridge. If a future addition breaks that flow, redraw your plan now. Your virtual kitchen will thank you, and so will your wallet.
Verify Your Layout Against Real-Life Cooking and Cleanup Routines?
Now it’s time to stress-test your layout by walking through a real cooking session, from grabbing ingredients to washing the last pan.
Start your “dry run” at the fridge, move to your prep area near the sink, then over to the cooktop.
Check that you’re not crossing busy paths or stretching awkwardly for everyday items.
For cleanup, confirm your dishwasher sits close to the sink, aiming for 36 inches.
Make sure your waste bin is right where you’ll scrape plates, so you don’t backtrack with dirty dishes.
Real-Life Cooking Flow Check
You’ll quickly see where your kitchen layout shines or stumbles by running a full meal scenario on paper, no actual cooking required. Trace your path from fridge to sink, then to the rangetop, and back again.
Make sure your prep area sits right next to the stove so you’re not juggling hot pans across the room.
- Fridge-to-sink flow: Grab ingredients and wash them without crossing your cooking zone. No one wants a traffic jam mid-meal.
- Prep-to-cooking jump: You need at least 36 inches of counter next to the stove. That’s your landing pad for chopped veggies and tools.
- Cleanup reality check: Keep the dishwasher within 36 inches of the sink. You’ll thank yourself for not hauling dirty plates across the kitchen.
Don’t forget door clearance. Oven doors need full swing space. Your flow should feel like a dance, not a dodgem ride.
Cleanup Routine Walkthrough Test
Once you’ve mapped out your cooking flow, it’s time to test how your kitchen handles the messier side of things: the cleanup routine.
Now, perform a cleanup routine walkthrough test.
Start at the fridge, move to the sink, then the dishwasher.
Can you fully open the dishwasher door without hitting nearby drawers or flooring pathways?
That’s your first check.
Next, time your trip from your farthest prep counter back to the sink.
You’ll want clear counter space within about 36 inches for rinsing and stacking.
Grab a stack of plates from your planned landing spot near the dishwasher and walk them to your put-away cabinets.
Make sure you’re not crossing the main walkway.
Finally, run a clutter check: move “dirty” pots from the cooktop to the sink area, confirming adjacent storage is enough so countertops don’t become a pile-up.
If you can open the dishwasher, oven, and lower-sink cabinets without awkward turns, you’ve passed.
Work Triangle Validation Method
- Check distances between sink, cooktop, and fridge. Aim for short, direct paths. If you’re walking around an island or dodging an open oven door during a “meal cycle,” your triangle is off.
- Verify appliance clearances. Make sure dishwasher, oven, and fridge doors don’t swing into your work paths. A pretty layout means nothing if you can’t open the dishwasher without bumping a drawer.
- Test utensil and pan reach. Secure pots, pans, and cooking tools sit in cabinets right next to your rangetop. No more sprinting across the kitchen mid-sizzle.
Once these feel natural, your layout actually works.
Final Thoughts
So, you’ve got your dream kitchen floor plan. Following these steps saves you from those “Why is the trash can three miles from the prep area?” moments. It might feel like a puzzle sometimes, but you’ve done the hard part.
Now you can cook, clean, and actually enjoy your space instead of fighting against it. Trust your measurements, keep your zones snappy, and remember: the sink’s the real boss here. You’ve got this. Go make something delicious.