The Best Fluffy Pancakes recipe you will fall in love with. Full of tips and tricks to help you make the best pancakes.


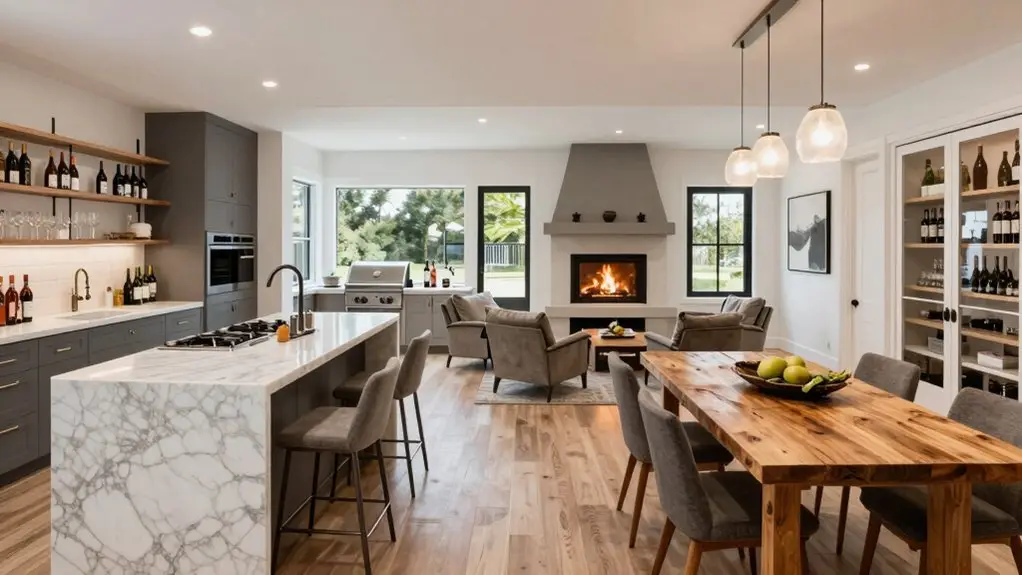
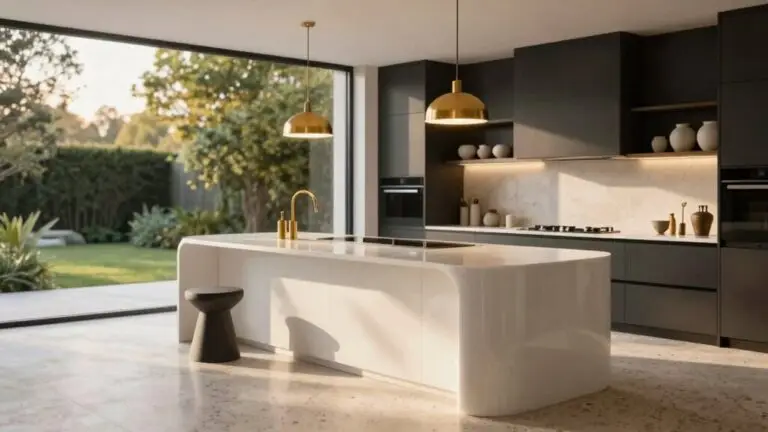
Want a kitchen that keeps you part of the party? An open-concept layout lets you chat with guests while cooking, and an oversized island becomes the main hub for food and friends.
For better flow, try a U-shape with island seating or an L-shape that keeps prep and cleanup separate. Even a galley can work with smart zones. From double islands to butler’s pantries, these ideas turn cooking into socializing.
Stick around to see which layout fits your space.
Keep Guests Connected With an Open-Concept Entertaining Layout
Anchor an open-concept kitchen between your living and dining areas, and you’ll stay connected with guests while you cook. This layout keeps you in the conversation, not stuck behind closed walls.
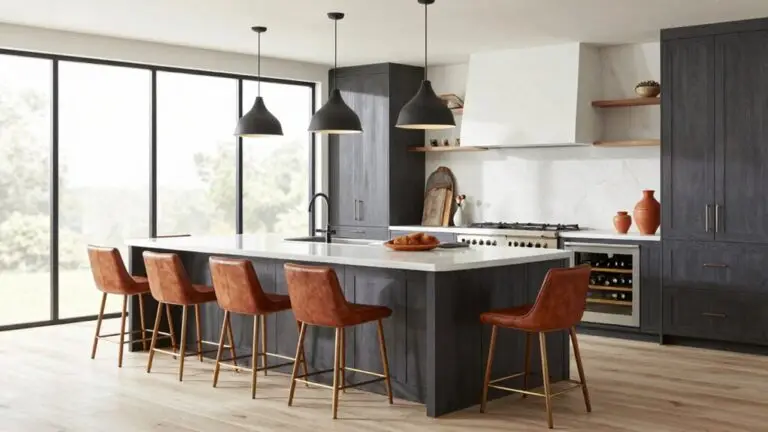
You’ll center the action on a large island, where guests can perch without blocking your prep-to-serving path.
Choose an open concept island with counter-height seating so people gather comfortably, and you’ll serve with ease.
Position your key work zones along reachable countertops. Keep prep near the fridge, cooktop close to the range, and cleanup at the sink.
This efficient flow prevents traffic jams during busy moments.
Install dimmable task lighting and under-cabinet lights to keep the island welcoming for both food prep and socializing.
You’ll host effortlessly, blending cooking with connection. To keep movement smooth around the island, maintain 36–42 inches of clearance on all sides so neither you nor your guests create bottlenecks during busy hosting moments.
Why an Oversized Island Is the Ultimate Entertaining Hub
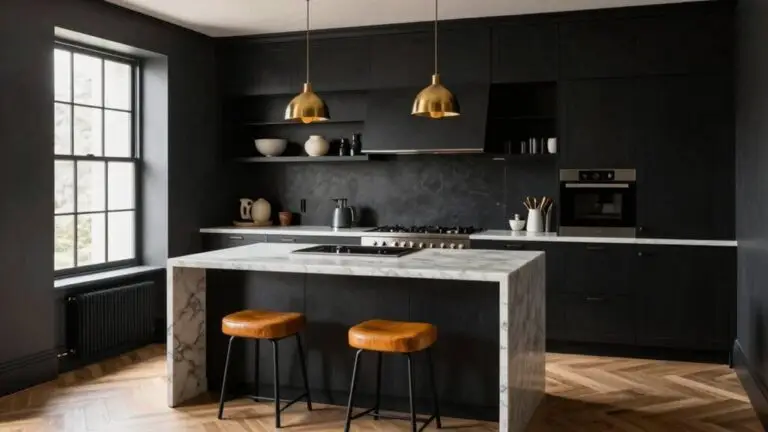
This open-concept layout sets the stage, but the real heart of your entertaining space is an oversized island.
In your kitchen layout, this open island gives you room for both food and friends.
You’ll stage platters, prep dishes, and still have space for guests to lean in for a chat and a drink.
With built-in drawers for serving tools and appliance support, it stays functional without crowding your main work zones.
Built-in drawers keep serving tools handy and work zones uncluttered.
Seat folks comfortably, and they’ll linger, turning the island into a warm, welcoming focal point.
It’s where prep meets party without bottlenecks.
You’ll flow from cooking to conversation, keeping everyone connected and the vibe easy.
To seat four guests without anyone bumping elbows, aim for 96 inches of counter edge along the seating side of the island.
Choose a U-Shaped Kitchen for Better Conversation Flow
You’ll love how a U-shaped kitchen turns cooking into a social event, with its open-ended layout letting guests chat from the open side while you work. The three-wall workflow keeps your prep, cooking, and cleanup close at hand, so you’re not constantly disappearing from the conversation.
If you add a central island for seating, you create a cozy hub where everyone can grab a drink or snack without blocking your movement. Replacing one wall of cabinets with a peninsula and bar stools can open up the space further, allowing guests to sit comfortably while improving traffic flow toward a connected dining or living area.
Open-Ended Layout
Since you want guests to stay engaged, a U-shaped kitchen wraps counters and seating around you, the cook, so everyone naturally talks while you work. The open-ended layout keeps your prep zone front and center, reducing unnecessary steps between tasks.
You’ll find that adding open shelving above the counter gives you quick access to serving dishes and spices, which speeds up multi-dish service for your guests. This design also offers a bit of privacy while you cook because the open side clearly marks where mingling happens—no one’s tripping over your feet. To keep movement comfortable for both you and your guests, aim for 42–48 inches of clearance around the island so traffic never feels bottlenecked during busy gatherings.
Three-Wall Workflow
A U-shaped kitchen takes the open-ended idea and locks in the best parts, wrapping cabinets, counters, and appliances around three walls so you’re always in the thick of the action. You’ll naturally stay connected to guests because your workflow keeps you facing the room, not isolated in a corner.
With prep, cooking, and cleaning stations wrapped around you, cross-traffic practically disappears, so holiday dinners feel seamless, not chaotic. Positioning the sink and dishwasher on one wall, the fridge on another, and the range on the third creates an efficient triangle that minimizes detours.
Keep clear counter landings near the cooktop and fridge, so your kitchen stays organized even when guests gather. Good task lighting above each zone guarantees you never fumble for ingredients or burn the appetizers. Research suggests that single-run kitchen layouts demand roughly 40% more steps for the same cooking tasks compared to a U-shaped arrangement, making the three-wall design a genuine time-saver during busy entertaining nights. You’ll host with confidence, always part of the conversation.
Central Island Seating
Why not turn your U-shaped kitchen into the ultimate hangout spot? With central island seating, you’ll keep guests wrapped around the cook, not blocking your prep traffic. The three-wall layout leaves one side open, so your open island becomes the conversation hub.
Add comfortable, spaced stools so folks linger while you rotate between the cooktop, prep zone, and cleanup area with minimal walking. Stage mitts, trivets, and foil in shallow drawers near the island’s landing points. That way, your kitchen stays efficient, and the island remains the social center.
Position seating adjacent to the U’s open side for clear sightlines and fewer bottlenecks when dishes fly out of the oven. You’ll cook, chat, and serve without missing a beat. For U-shaped kitchens, aim to keep your sink, stove, and refrigerator arranged so the total triangle distance falls between thirteen and twenty-six feet, preserving smooth movement even with guests gathered around.
Maximize Space Without Feeling Closed off With an L-Shaped Layout
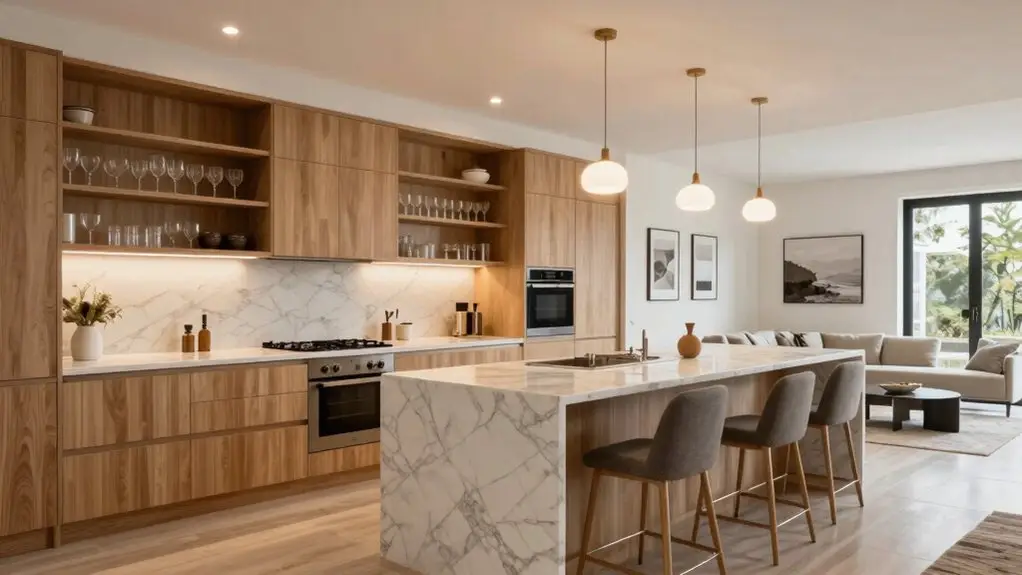
With an L-shaped layout, you’ll keep your prep zone along one counter and your cleaning area on the other, so guests can wander through the open aisle without interrupting your flow.
This design lets you serve drinks from the island while you finish chopping veggies, and no one has to squeeze past a hot stove.
You get clear work zones and plenty of room for conversation—without ever feeling boxed in.
Keeping 30-inch walkways clear between key points helps you move safely with hot pans while guests mill about without colliding with open cabinets or the island.
Open-Aisle Traffic Flow
Want to keep the party flowing without playing kitchen traffic cop? An L-shaped layout creates two clear entrance points, so guests move between the living area and sink without crossing your main prep lane. You’ll keep an open aisle between the cook line and opposite base run, meaning holiday traffic doesn’t squeeze through a doorway with hot pans in hand.
Position the fridge and cabinets on the side that supports easy access, while trash and recycling stay close to cleanup zones to reduce detours. Add a heat-safe landing strip beside the range for hot trays, no stopping in the traffic path.
Deep drawers under counters store bulky items, freeing counter space.
Focus lighting and outlets on work zones, so guests don’t cluster and block the aisle. In an L-shaped layout, placing one appliance at the corner and the remaining two along each arm keeps the kitchen work triangle clear of guest traffic paths.
Clear Prep & Clean Zones
When you’re hosting, the last thing you need is a chaotic kitchen where prep and cleanup collide. An L-shaped layout lets you carve out distinct zones without losing that open feel. Place your fridge and frequently used cabinets on the short arm of the L, so you can grab ingredients without dodging cooks.
Keep the range and oven adjacent to your prep area, then tuck the sink and dishwasher on the other run. That way, you scrape, wash, and load without crossing paths. You’ll free up counter space by adding shallow heat-safe strips near the cooktop for staging trays.
You can stash compost and recycling pullouts by the sink for quick cleanup.
Leave the open side of the L clear for guests to flow around you, so nobody feels trapped. Keep dish storage near the dishwasher so your counters don’t become dumping grounds between courses.
Make a Galley Kitchen Work for Parties Too
Although galley kitchens are famously narrow, you can still throw a fantastic party without feeling cramped. Nail your galley kitchen workflow by splitting the “work triangle” across both runs: cook on one side, sink and fridge on the other. This lets guests and hot dishes flow through the center without traffic jams.
Equip your runs with deep drawers and pull-out organizers so platters and ingredients are staged and ready to go.
- Keep cooktop and sink/refrigerator on opposite runs for an efficient work triangle.
- Use vertical dividers and pull-out drawers to stage platters along side runs.
- Add a heat-safe landing zone near the range for brief tray rests while you cook.
- Install a second oven or double-oven setup to reduce repeated trips.
- Brighten counters with layered task lighting and well-placed outlets near party tools.
Staging an open island isn’t possible here, but smart station placement makes your galley kitchen the party’s command center. For the most efficient layout, position your refrigerator at one end of the galley so that each leg of your kitchen work triangle stays within the ideal 4–9 foot range between all three key points.
Add a Peninsula When Small Kitchens Still Need to Host
A peninsula gives your small kitchen the extra surface it desperately needs, and it’s a game changer for hosting. You can position the seating side toward your living area, so guests chat while you cook without clogging the main aisle.
Use it as a landing spot for hot trays near the range, and stash shallow drawers with mitts, trivets, and foil for quick access. Keep the walkway wide enough so folks pass the cook easily, reaching the sink without detours.
Add built-in storage for party platters and a prep run near the cooktop, cutting trips and keeping your entertaining kitchen ready. Your peninsula becomes the unsung hero of your small space, practical, friendly, and packed with party potential.
The Double-Island Layout for Serious Entertaining and Serving
- Design one island deeper and longer for comfortable seating, such as quick perches.
- Keep the serving island dedicated to staging hot dishes, freeing your prep zone.
- Position the sink and dishwasher on the prep island for efficient cleanup.
- Confirm guests can easily grab drinks and plates from the serving side.
- Plan two distinct lanes to prevent bottlenecks when things get busy.
Add a Butler’s Pantry for Second-Station Entertaining Prep
You’ll love how a butler’s pantry transforms your entertaining workflow by acting as a second prep zone.
Stage your extra platters, bakeware, and serving tools there while guests mingle in the main kitchen without interruption.
This hidden station keeps cold drinks and fresh trays flowing seamlessly, so you’re never crossing the primary cooking path during peak hosting.
Butler’s Pantry Workflow
Whenever you’re hosting even a modest gathering, the main kitchen can turn into a traffic jam of cooks, guests, and serving dishes. A butler’s pantry workflow solves that chaos.
You’ll create a second station just off the kitchen, keeping the main space clear for mingling.
Store party platters, sheet pans, and serving boards using vertical dividers. They save counter space and make grabbing items a snap.
Tuck a wine fridge inside the pantry so you’re not weaving through guests for refills.
Set up a heat-safe landing zone near a warming drawer for hot dishes. Plus, have a nearby fridge for quick cold swaps.
Keep a sink and dishwasher in the pantry for rinsing and loading—no more interrupting the party to wash up.
Add a beverage refresh station with extra lighting and outlets to cut down on trips back and forth during busy moments.
Second Prep Zone Setup
Since the main kitchen can get overrun during a party, adding a butler’s pantry as a second prep zone gives you a dedicated back-of-house staging area.
You’ll unclog the main island when chopping, mixing, and packing trays for guests.
Position it off the serving path so guests snag snacks while you shuttle hot dishes without detours.
Stock deep drawers for cookware and vertical dividers for sheet pans; shallow ones hold mitts and foil.
Include a second fridge for party trays and desserts, freeing your main fridge for prep ingredients.
Don’t forget dimmable task lighting and outlets for mixers.
Tuck in an ice maker for drinks—no more running to the kitchen.
Your butler’s pantry transforms chaos into calm, keeping you ahead of the party.
Bring the Party Outside With an Indoor-Outdoor Entertaining Kitchen
When you connect your kitchen to the patio with a large slider or folding door, you’re only opening a wall. You’re making sure everyone feels part of the action, whether they’re grabbing a drink outside or checking on the grill. This indoor-outdoor connector turns casual gatherings into seamless fun, blending cooking with outdoor lounging.
You’ll keep the grill talk flowing without yelling from the kitchen.
- Install a pass-through window for passing snacks directly to the patio.
- Pair an indoor prep zone with an outdoor beverage station to avoid traffic jams.
- Stash extra cold storage indoors for quick access to sides that dash outside.
- Use heat-safe landing spots near the range for hot dishes ready to serve.
- Match outdoor lighting and seating to your kitchen’s mood for effortless evening vibes.
Keep the flow clear. Guests grab drinks outdoors while you cook behind the scenes.
Build a Dedicated Beverage Station for Self-Serve Entertaining Drinks
A self-serve drink station keeps you from playing bartender all night. Position your beverage station so guests can grab a cold one without crossing your main prep path: nobody wants a traffic jam in front of the sink.
For easy flow, include a dedicated landing area next to the station for full hands. Stash cups, stir sticks, and foil in shallow drawers underneath. Use a separate mini fridge or wine cooler to keep drinks chilled, freeing your primary fridge for party prep.
Stock bar tools like an ice bucket and bottle openers at counter height for quick refills. If you’re offering hot drinks, plan a heat-safe surface and keep outlets handy for your kettle or espresso machine. Setup stays fast when it counts.
Final Thoughts
So, you’ve got the blueprints for a guest-ready kitchen. Whether you’re rocking two islands or just a killer beverage station, the real magic is about making people feel at home.
Don’t stress over perfection; a little chaos means everyone’s having fun. Pick the layout that fits your flow, and remember: your kitchen isn’t just for cooking, it’s for connection.
Now, go pour yourself a drink and enjoy the company.