The Best Fluffy Pancakes recipe you will fall in love with. Full of tips and tricks to help you make the best pancakes.


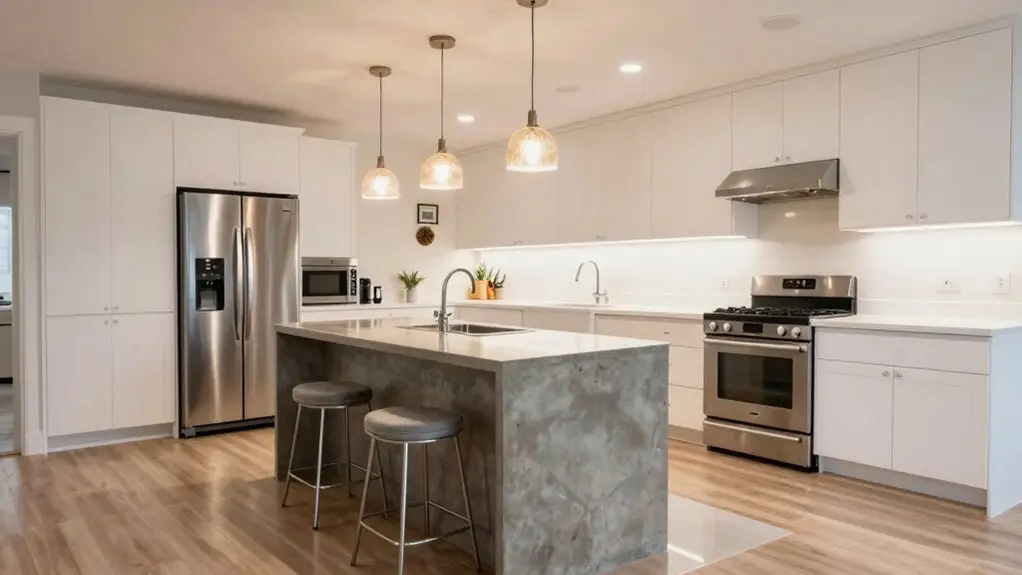
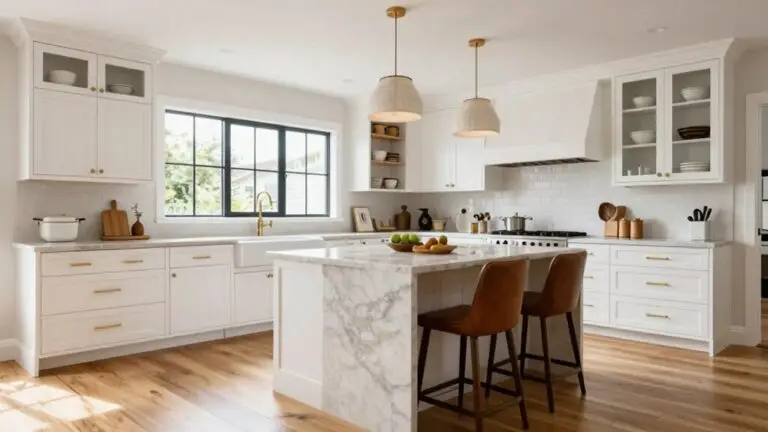
An L-shaped layout is your best bet for seamless traffic flow, especially in open-concept homes. It keeps two walls open, creating a clear pathway through the middle.
Place the fridge at one end and the range at the other, with the sink between them for a natural prep-clean-cook triangle without bottlenecks. Place the work triangle legs between 4 and 9 feet to cut down on annoying steps and logjams.
Stick around to see how a well-placed island can either fix or worsen that flow.
Why Kitchen Layout Matters More Than Counter Space
While you might think more counter space is the key to a stress-free kitchen, it’s actually the layout that keeps traffic flowing neatly. This is especially important in open-concept homes where clear paths between social and functional zones prevent frustration.
A smart work triangle between your fridge, sink, and dishwasher cuts down on cross-traffic jams, so you’re not bumping into your dinner guests. Don’t overlook door swings, either: that refrigerator clearance of about 36 inches can eat into your walkway if the layout’s cramped.
Position your sink with countertop on both sides to avoid a bottleneck, and keep work aisles at least 42 inches wide. Proper planning beats any amount of extra counter space when it comes to seamless traffic flow. Your kitchen will feel larger and way less chaotic. According to NKBA planning guidelines, each side of the work triangle should measure between 4 and 9 feet, with the total perimeter kept between 13 and 26 feet to balance efficiency and comfort.
How the Kitchen Work Triangle Affects Traffic Flow
You already know that a smart layout stops you from playing bumper cars with your guests.
The kitchen work triangle—fridge, sink, range—affects traffic flow more than you might think.
The kitchen work triangle—fridge, sink, range—affects traffic flow more than you might think.
Place those three stations in a tight, logical triangle, and you’ll reduce steps while keeping foot traffic effortless.
In U-shaped layouts, keep the fridge and range on opposite ends with the sink centered.
This contains the heaviest path within the U, avoiding cross-room chaos.
For open-concept layouts, an L-shaped triangle works wonders—just position the sink between the fridge and stove.
It minimizes cross-traffic and makes your kitchen feel bigger.
Watch out for one-wall setups, though.
Long distances break the triangle, forcing you to clog the narrow path.
Always pair your triangle with clear aisles—aim for at least 42 inches in front of key spots—so nobody’s dodging elbows mid-recipe.
Keep in mind that each leg of the triangle should measure between four and nine feet to maintain an efficient path without overcrowding or unnecessary steps.
How an L-Shaped Layout Keeps Traffic Moving
You’ll love how an L-shaped layout adapts to open-concept homes, keeping main pathways wide open so you never feel trapped.
Plus, those tricky corners won’t slow you down if you use savvy storage like lazy Susans or pull-out drawers.
That means no more awkward detours or dead zones—just easy sailing from fridge to stove.
Keeping your sink, stove, and fridge within 4–9 feet of each other supports a natural workflow that cuts down on unnecessary steps across the kitchen.
Open Floor Adaptability
An L-shaped kitchen keeps traffic flowing easily in open floor plans by placing counters and appliances along two adjacent walls, which carves out a clear pathway through the middle. You’ll define your open-concept kitchen without blocking it, letting guests wander in and out of living areas while you cook.
- Keep walkways wide: Aim for at least 36 inches of main clearance, so two people can pass without bumping elbows.
- Place fridge at one end, range at the other: This keeps the sink between them for a calm “prep–clean–cook” triangle that doesn’t jam traffic.
- Use corner organizers: Pull-out shelves or a lazy Susan prevent “stuck” moments near the corner, keeping flow uninterrupted.
- Add island spacing: If you include an island, leave 42–48 inches around it for casual chats or quick passes.
The work triangle’s total perimeter should stay between thirteen and twenty-six feet, keeping your three main stops close enough to reduce unnecessary steps during cooking.
You’ll maximize flow effortlessly.
This will make your kitchen feel open, not chaotic.
Corner Efficiency Tips
When you’re working with an L-shaped kitchen, the corner itself becomes the secret to seamless traffic flow. An L-shaped layout places your main work zones on two adjacent walls, creating a natural “return” path that keeps people moving around the cooking zone without bumping into each other.
Optimize that corner with a lazy Susan or pull-out organizer so items stay reachable—no one needs to detour into your work area. To prevent bottlenecks, add extra clearance at the island or bar end, aiming for 42–48 inches around the work path.
Keep your refrigerator at one end, the range at the other, and the sink between them to form a compact kitchen triangle that reduces crossing traffic. If you add seating, position stools so visitors face the workspace but stay out of main aisles, leaving about 36 inches even when stools occupy circulation space. For island placement specifically, positioning it opposite the longer leg of the L-shape helps preserve open sightlines in combined living and kitchen spaces.
Does a Galley Kitchen Help or Hurt Your Flow?
But if you crave company, it might just choke it.
Galley kitchens work best in 100–150 square feet, where the compact footprint naturally keeps your refrigerator, sink, and stove within easy reach of each other.
Why U-Shaped Kitchens Work Best for Multiple Cooks
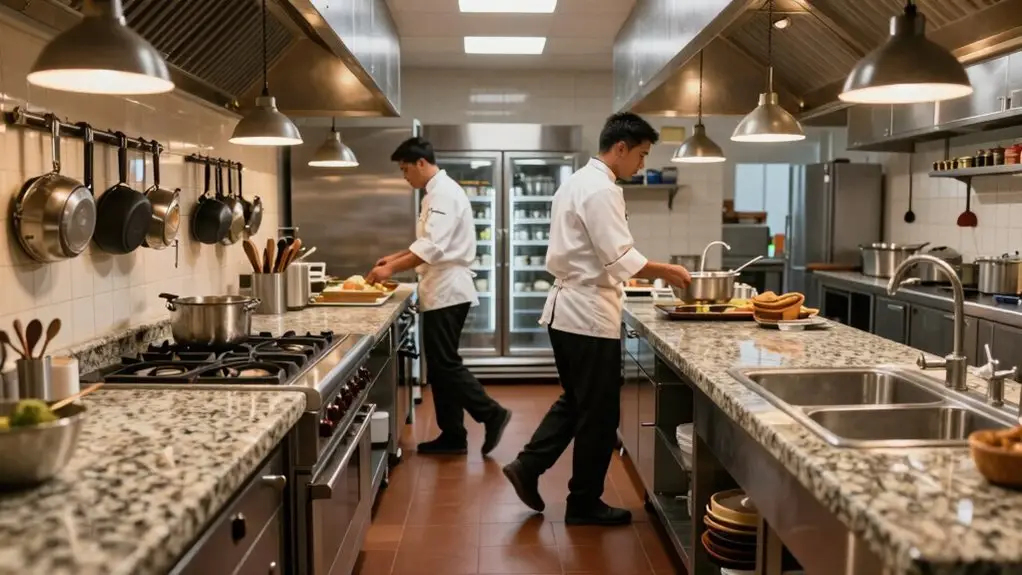
If you’ve ever tried cooking with your partner or a friend in a tiny kitchen, you know the dance: lots of bumping and awkward sidestepping.
A U-shaped kitchen layout solves that. With counters on three walls, you create a clear zone for each cook.
You’ll prep on one side, while your partner handles the stove on another.
The work triangle stays efficient, especially when you place the fridge and range at opposite ends.
Plus, with just one sink centered in the middle, cleanup doesn’t interrupt anyone’s flow.
You’ve got plenty of counter space for two cutting boards, mixing bowls, and that stack of dirty dishes.
No more dodging each other, just seamless, team-style cooking.
To keep movement comfortable for everyone, aim for at least five feet of open clearance in the center of the kitchen.
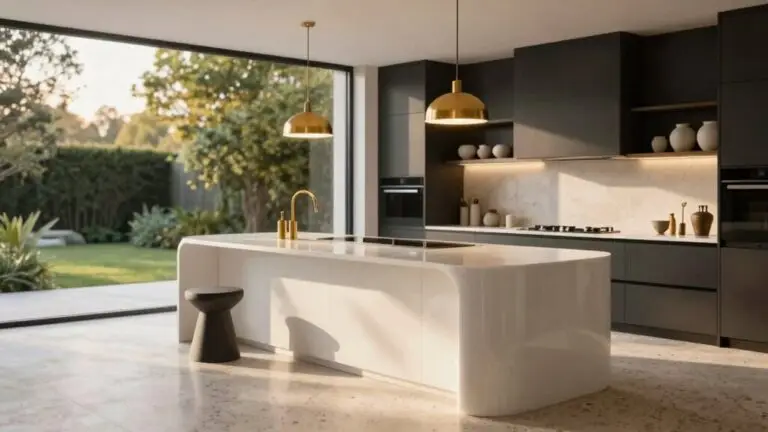
How to Add a Kitchen Island Without Creating Bottlenecks
- Mind your clearances. Keep at least 42 inches between the island and counters, 48 inches if you’re cooking with a buddy. This keeps the flow easy, not frustrating.
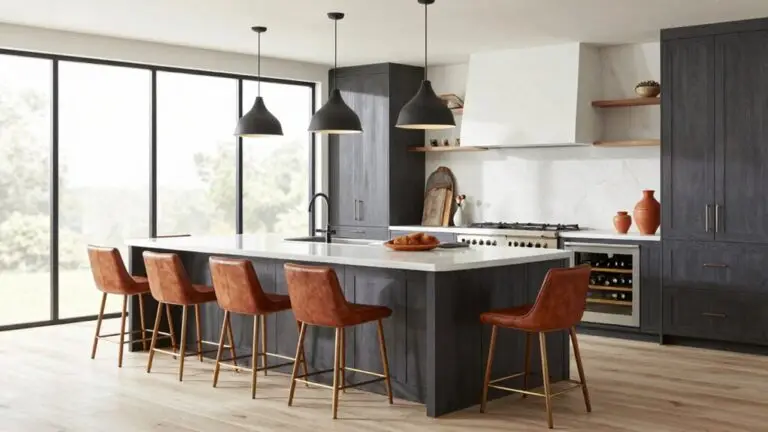
- Seat smart. Allow 36 inches of walkway around the island. Position stools so folks can pass behind a pulled-out chair without doing a dance.
- Direct the action. Place the island to support open routes to the sink and fridge. Don’t trap yourself in a corner. Bottlenecks happen when you squeeze past tight work zones.
- Watch appliance swings. Avoid placing major appliances or drawers opposite the island where open doors block access.
If space is tight, try a smaller island or a movable cart.
These kitchen layouts can still deliver function without the jam.
What a One-Wall Kitchen Gets Right About Simplicity
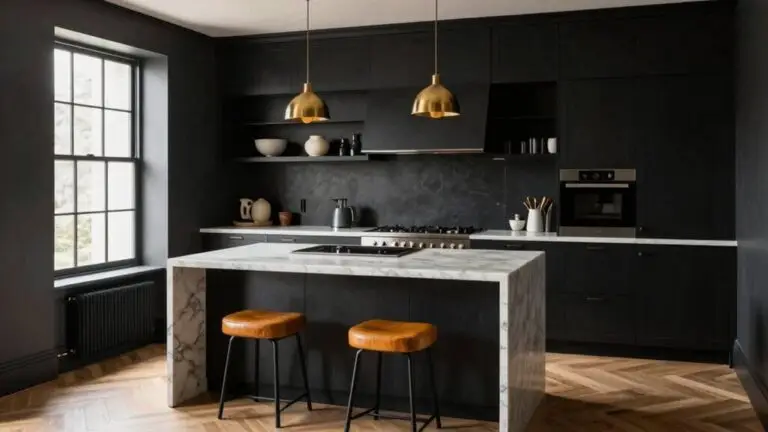
A one-wall kitchen lines up your main appliances and cabinets along a single stretch, which keeps your workspace compact and your steps to a minimum. This simple linear layout also saves you money on cabinetry and countertops, since there’s no wasted space. Most functional one-wall setups require a minimum eight-foot run to properly fit a refrigerator, sink, and stove without sacrificing counter space between them.
YOU’LL ENJOY A STREAMLINED WORKFLOW WITH THE FRIDGE, SINK, AND COOKTOP PLACED IN A LOGICAL ORDER THAT’S TOUGH TO BEAT.
One-Wall Layout Defined
- Your counters, fridge, sink, and stove sit in a straight line, so you’re never zigzagging through tight spots.
- Workflow stays efficient by placing the fridge at one end, sink in the middle, and range toward the other end: it’s a mini triangle without the complex layout.
- Sightlines stay open, letting you chat with guests or keep an eye on kids. No second wall blocks your view.
- If you add an island, keep it at least 36 inches from the main wall. This prevents bottlenecks when multiple people are often found in some designs.
- For the best traffic flow around any island addition, aim for 42 inches clearance minimum to give everyone enough room to move comfortably without crowding the workspace.
Space and Cost Efficiency
Concentrating everything along one wall is the secret sauce for keeping both your budget and your floor plan under control. A one-wall kitchen thrives in compact spaces, requiring only about 8–10 feet of width. This space efficiency saves you square footage and cash. Because you’re not running plumbing across two different walls, installation costs drop notably. That’s a win for your wallet.
Pair this setup with an open layout, and you keep traffic flowing without annoying obstacles. Replace a bulky island with a round floating table or a small cart for extra flexibility. You get a clean, affordable footprint that feels bigger than it is.
Plus, grouping your fridge, sink, and range together cuts down on back-and-forth steps. Sure, it’s not as highly optimized as a triangle-based U-shaped design, but for simplicity and savings, you can’t beat it. To keep movement safe and comfortable, maintain a minimum walkway width of at least 48 inches in front of the single run of cabinets and appliances.
Streamlined Appliance Placement
When you keep your fridge, sink, and range all in one straight shot, you’re actually making your cooking life a whole lot simpler. That’s the magic of streamlined appliance placement: everything you need sits in a single, easy-to-scan line, so you don’t have to zigzag across the room for a pot or a seasoning.
No more bumping into cabinets or playing chicken with the dishwasher door.
In a one-wall kitchen, you get:
- Simpler kitchen triangle: fridge at one end, sink in the middle, range at the other—cuts your steps way down.
- Better clearance: counters and cabinets line up neatly, so drawers and oven doors don’t fight you.
- Open layout benefits: you free up floor space for clear traffic paths from living to dining areas.
- Compact options: flush appliances (like an under-window setup) keep clutter low and your work zone consistent workflow.
It’s about choosing a layout that respects your flow, not your frustration.
The Best Kitchen Layout for the Least Traffic Jams
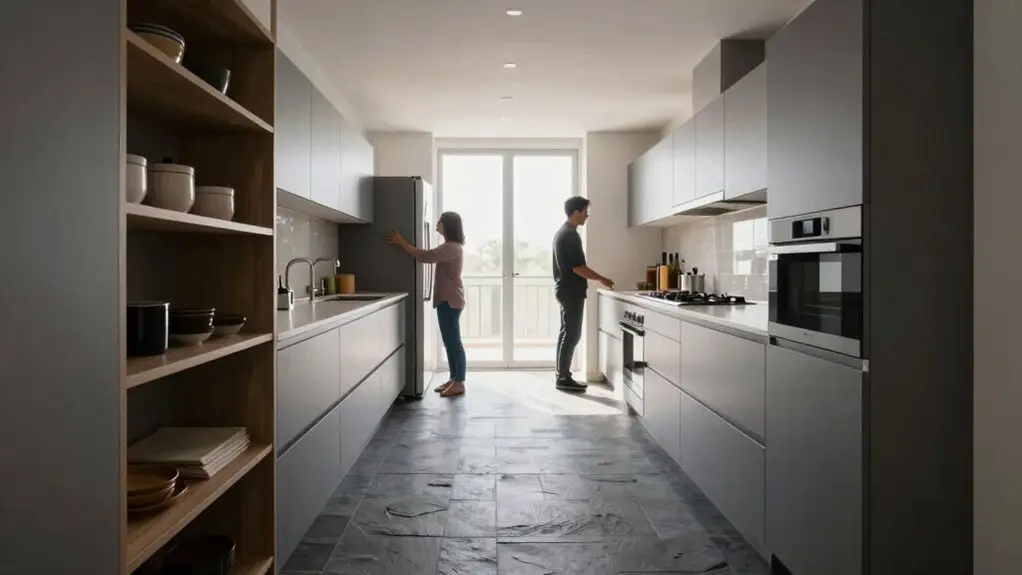
If you add an island, give it at least 42–48 inches of clearance; 48 inches works best if you cook with others.
Avoid corner sinks at all costs; they’re major culprits for logjams.
For tighter spots, a galley layout can work by consolidating everything into two parallel lines.
However, it’s less ideal for guests.
Also, treat the refrigerator area like a high-traffic zone.
Keep its 36-inch swing door clear.
You’ll dodge those stuck moments and keep the party moving.
Final Thoughts
You’ve got the power to design a kitchen that really flows. It’s not about counter space; it’s about how you move. Stick with an L-shape or galley for solo cooking, or go U-shaped when you’ve got company.
An island can help or hurt, so plan your walkways first. No more dodging each other or bumping elbows. Your kitchen can feel calm, open, and ready for anything you throw at it.