The Best Fluffy Pancakes recipe you will fall in love with. Full of tips and tricks to help you make the best pancakes.


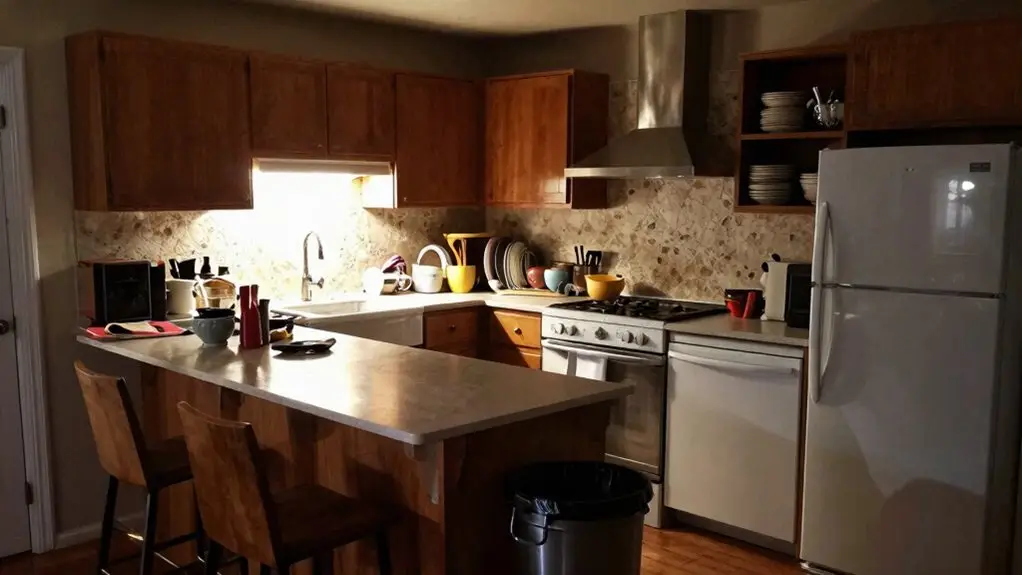
You’re probably making meals harder than they need to be with a few common kitchen layout mistakes. Tight circulation between counters (aim for at least 39 inches) creates cramped, dangerous cooking conditions.
Your sink-to-stove prep zone is likely too small, forcing constant backtracking for chopping or seasoning. Oversized appliances bully walkways, while pretty pendants cast shadows right where you chop.
Don’t forget vertical wall storage for small spaces. Stick around—there’s a smarter way to fix each of these.
Before You Remodel: Tweak Your Existing Layout First
Sometimes, the smartest kitchen upgrade isn’t a full-blown demolition derby—it’s a quick, strategic rethink of your current layout. Before you remodel, study your existing Common Kitchen logic. That awkward door swing or tight corner?
Your original Kitchen Layout probably placed them there for a reason, like keeping walkways clear.
You don’t need to rip everything out. Instead, map how every cabinet and appliance opens. If a fridge door keeps blocking you, shift storage, not walls. Keep your sink-to-stove prep zone connected and aim for about four feet between counters.
A small island or breakfast bar might work—but only if you maintain safe circulation.
Tweaking your spacing and storage often fixes the mess without the chaos. Smart remodeling starts with respecting what already works. When evaluating your layout, remember that the sink, stove, and refrigerator should each sit within four to nine feet of one another to support an efficient cooking flow.
How Tight Circulation Creates Cramped, Dangerous Kitchens
If you’ve ever squeezed past an open dishwasher or had to play fridge-door limbo to grab a drink, you already know how tight circulation kills a kitchen’s vibe.
This is one of the most common kitchen design mistakes, leaving you trapped in a cramped, dangerous space.
Imagine trying to cook while bumping into cabinets or dodging a swung-open fridge.
It’s a recipe for spills and bruises.
To avoid that chaos, remember these three rules:
- Leave at least 39 inches between countertops, but go bigger if your kitchen doubles as a hallway.
- Check that your fridge and dishwasher doors fully open without hitting drawers or cabinets.
- Test worst-case routes: turning with a hot pan or stopping at the sink.
Blocked paths make any kitchen feel unsafe.
Plan for flow, and you’ll skip the squeeze.
Experts recommend targeting a minimum of 35 to 36 inches for main walkways to ensure comfortable movement and prevent traffic jams during busy cooking periods.
The Work Triangle: Spacing Your Sink, Stove, and Fridge Right
Getting the spacing right between your sink, stove, and fridge is the key to a seamless kitchen flow. You want ideal spacing, so you’re not stuck making awkward back-and-forth trips between appliances.
However, you also don’t want them so far apart that prepping dinner feels like a long hike.
Start by planning your traffic flow around that triangle, guaranteeing clear paths so you and your family can move freely without bumping into each other. According to NKBA planning guidelines, each side of the triangle should measure between 4 and 9 feet, with the total perimeter falling between 13 and 26 feet.
Optimal Point Spacing
Plan your kitchen’s work triangle by spacing the sink, stove, and fridge so you’re not taking marathon walks between tasks, no one wants a kitchen that doubles as a track. You’ll avoid common mistakes by making sure each point sits within 4 to 9 feet of the others, but steer clear of tight gaps too.
Cramped spacing means you’ll bump doors and drawers while switching from prep to cooking to cleanup.
Keep these targets in mind:
- Aim for 4 feet between countertops to offer comfortable circulation without feeling cramped.
- Maintain 39 inches minimum in small kitchens to keep paths clear during meal prep.
- Account for door swings—especially from the fridge and dishwasher—so your triangle stays usable when they’re open.
The total triangle perimeter should fall between 13 and 26 feet to keep your overall walking distance efficient without cramping your movement between stations.
Get this right, and you’ll flow effortlessly from chopping to sautéing to cooling.
Traffic Flow Fundamentals
Of all the kitchen design missteps, few are more frustrating than a poorly planned work triangle. When designing a kitchen, traffic flow fundamentals rule everything.
Place your cooktop, sink, and fridge so you’re not walking “yards” between them, keeping those trips short and practical.
You’ll want about 39 inches to 4 feet of clear circulation between main surfaces, especially if you’re not cooking solo. Don’t let fridge or dishwasher doors block your path from sink to stove while you’re stirring something up.
Leave enough countertop as a buffer between sink and stove; that’s your main working zone. It saves you from extra back-and-forth trips.
Get the spacing right, and you’ll glide through meal prep without bumping elbows or backtracking. Aim for a total triangle perimeter of between 13 and 26 feet across all three points to keep your workflow tight without feeling cramped.
Why Your Sink-to-Stove Prep Zone Is Probably Too Small
One of the biggest kitchen mistakes you can make is skimping on the counter space between your sink and stove. Your sink-to-stove prep zone is the heart of meal creation, but if it’s too small, you’ll constantly shuffle groceries, pans, and dishes instead of working in one spot. Common kitchen design mistakes ignore how a narrow counter becomes your bottleneck.
- Constant backtracking – Too tight a zone forces repeated trips for chopping, rinsing, and seasoning. This can ruin your workflow rhythm.
- Clutter explosion – Without enough room, you’ll end up parking items on the stove or hot pans on the stovetop. This is unsafe and inefficient.
- Frustrated cooking stress – Squeezing through each task becomes a frantic dash. You may feel more like a juggler than a chef.
Plan for a generous, dedicated stretch, ideally 36 to 42 inches, so you stay put and cook at your right hand. If your layout includes an island sink, keep at least 18–24 inches of counter space on one side to maintain a workable connection between your sink, stove, and refrigerator.
Stop Running Between Zones With Better Workflow Planning
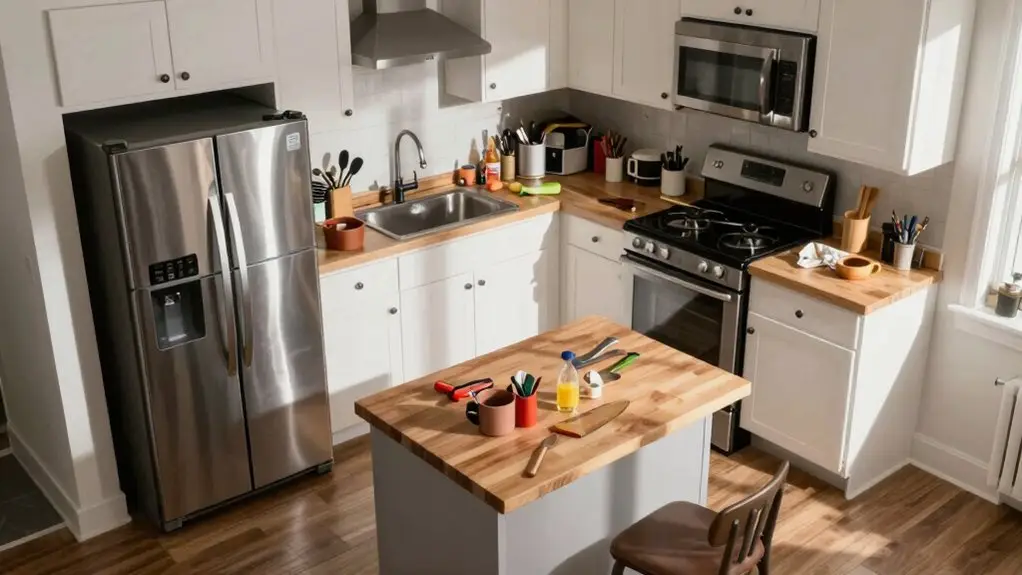
You can stop running between zones when tools and tasks aren’t matched. So map your workflow as “prep → cook → wash” and set the main prep zone right between sink and stove.
Keep spices and oils next to the cooking zone, and store cutlery near the dishwasher. That way, you aren’t playing fetch across the kitchen just to season a steak or load a plate.
Good storage adjacency keeps your steps short and your cooking flow steady, so you spend less time running errands and more time enjoying the meal. Pairing this layout with mise en place prep — washing, chopping, and measuring before the heat turns on — can cut your active cooking time nearly in half by eliminating mid-recipe pantry sprints entirely.
Workflow Zone Mapping
If you’re tired of sprinting across your kitchen just to grab a spice or put away a plate, it’s time to map out clear workflow zones. Proper workflow zone mapping helps you use your kitchen like a pro: no more zigzagging between prep, cooking, and cleaning. Here’s how to make that happen:
- Define your three core zones: prep (between sink and stove), cooking, and cleaning, and keep everyday paths between them as short as possible. You shouldn’t need to cross the entire room to chop veggies.
- Keep cooking necessities close by storing spices, oils, and cutting tools near the cooktop. That way, you won’t run to distant cabinets mid-recipe.
- Place dishware next to the dishwasher so dirty-to-clean transfers don’t create extra walking loops. Your feet will thank you.
Also, check that door swings and appliance openings don’t block your planned routes. When everything flows, cooking feels effortless. For example, fitting a wall-mounted rail-and-hooks storage system keeps pans and utensils exactly where you need them within each zone, reducing unnecessary movement during meal prep.
Storage Adjacent To Tasks
When your spices live on the opposite side of the kitchen from your stove, every recipe turns into a track meet, and your cooking flow suffers. You don’t need that kind of workout while making dinner. Instead, store cooking-seasoning basics right in the cooking zone, so you’re not sprinting for oregano mid-sauce. That’s much storage sense, not sacrifice.
Place everyday items where you actually use them. Keep cutlery and dish storage near the dishwasher—you’ll load and unload without trekking across the room.
For your main prep area, stash frequently grabbed tools, oils, and spices between the sink and stove. You’ll stop zig-zagging through your own kitchen. Mounting magnetic rails for knives and small tools near your prep area reclaims counter space while keeping essentials exactly where you reach for them.
Plan these smart solutions early, aligning cabinetry with the fridge, sink, and stove. When you match storage to tasks, you don’t break your workflow loop, and you keep your cool, not your step count.
How Bad Island Placement Wrecks Your Kitchen Layout
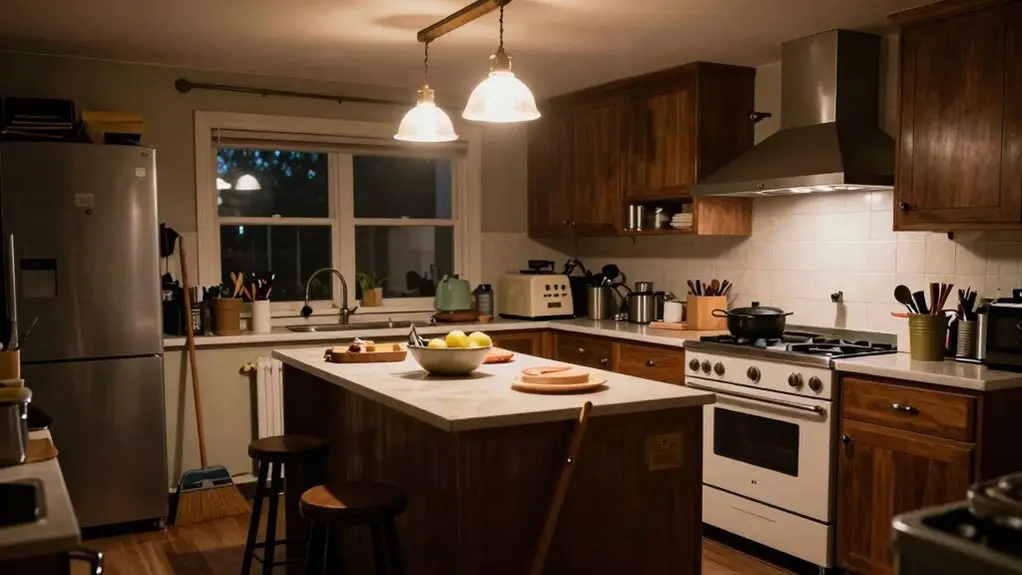
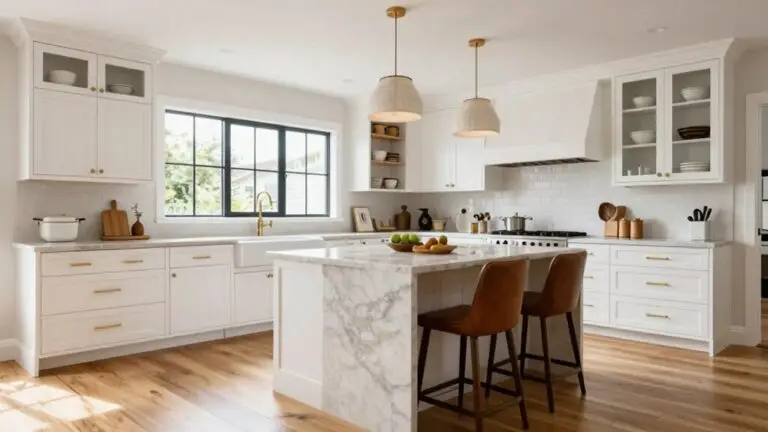
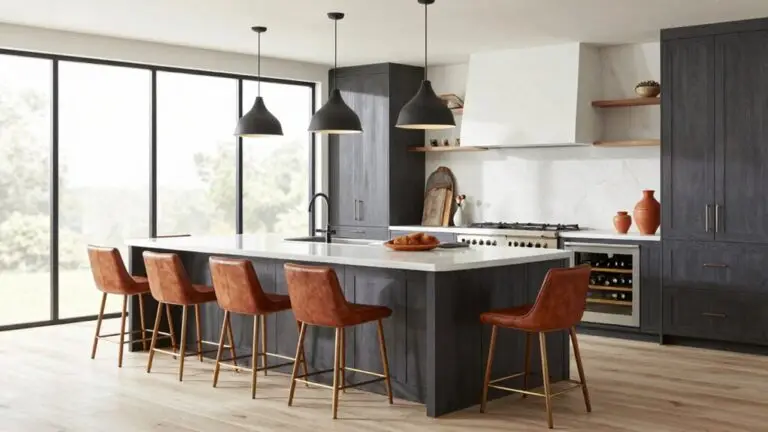
Even a beautifully designed island can wreck your kitchen layout if it’s plopped down in the wrong spot. One of the biggest kitchen design mistakes you can make is forgetting that an island isn’t just a surface; it’s a traffic hurdle. When you jam it into a space that’s too tight, you turn your sink, stove, and fridge into awkward islands themselves. This creates a frustrating “traffic jam” during meal prep.
To avoid this design disaster, keep these three rules in mind:
- Clearance is king. Aim for about 40 inches of space on all sides. Anything less and you’ll constantly bump into counters or door handles.
- Size matters. If your island includes a sink or cooktop, go for at least 47 inches wide. Without those, 24 inches works fine—but only if the room can spare it.
- Avoid sharp corners. Curvier edges are easier to steer than hard chamfers, so choose rounded shapes to keep traffic flowing steadily.
To keep your island proportionate to the room, cap its footprint at 10% of total floor space so the kitchen doesn’t feel like a maze to navigate.
Why Oversized Appliances Clutter Your Countertops and Traffic
You’re probably picturing a sleek, restaurant-sized fridge as the centerpiece of your dream kitchen, but that oversized appliance can easily bully its way into your walkway and front doors.
When it sticks out past your cabinets, you’ll struggle to open the fridge door fully and block the path you need for easy traffic flow.
That’s why careful dimension planning is a step that stops you from ending up with a stylish but cramped kitchen.
A cramped kitchen can be a nightmare to move around in.
Oversized Fridge Protrusions
Between protruding doors and cramped walkways, an oversized fridge can turn your kitchen into a traffic jam you never asked for. You lose valuable counter space, but worse, that hulking appliance shrinks your walkway.
When you’re juggling groceries and someone else needs to open the dishwasher, its door will feel the pinch—and possibly dent both appliances.
To save money, avoid these costly missteps with oversized refrigerators:
- Cramped Walkways: A deep fridge forces you to sashay sideways, reducing clearance below the 39-inch minimum. You’ll regret the squeeze every morning.
- Door-Banging Fights: Without measuring handle depth and swing, fridge and cabinet doors collide. You’ll choose between dented panels or bruised shins.
- Lost Counter Real Estate: That protruding fridge eats up prime prep space, cluttering your counters that you could use for your coffee station or morning toast routine.
Measure twice, buy once, and save money, clearance, and your sanity.
Appliance Dimension Planning
When you squeeze an oversized fridge or countertop gadget into your kitchen without checking dimensions first, you’re not necessarily losing space: you’re setting up a daily battle with clutter and traffic.
It’s easy to make this mistake when it comes to appliances, but a little planning stops you from turning your counters into a jumble of half-unpacked boxes.
Measure your fridge’s full width and depth, including door swing, so it doesn’t block nearby drawers or create a bottleneck.
For countertop gadgets, verify sizes before buying—then plan a pull-out drawer or a dedicated launch space.
That way, your blender or microwave hides away, leaving your work surfaces clear.
Plus, check if your new appliance can actually get through your hallway or doorframe.
Skipping that step might force a costly return or a laughable struggle with a fridge stuck in the doorway.
Use Vertical Wall Storage to Fix a Small Kitchen Layout
Since your small kitchen is already tight on storage, extending your wall cabinets all the way up to the ceiling turns that dead overhead space into a major asset. You’ll keep your countertops clear for prep, no more shoving small appliances aside to chop veggies, while achieving a beautiful interior design that feels seamless and purposeful.
- Clever use of tall pull-outs: Stashing infrequently used items up high frees your base cabinets for daily necessities. This way, you’re making your tiny kitchen work zone feel twice as efficient.
- Display with open shelving: If you own a fabulous collection of glassware or ceramics, swap a few upper doors for open shelves. This keeps things airy and on display without sacrificing everything.
- Respect cooktop clearance: Nail the minimum height above your stove, usually two to three feet, to prevent heat damage and keep your beautiful interior design functional.
With the attic of storage in your kitchen now usable, you’ll never curse a cramped layout again.
Why High-Low Cabinets Disrupt Your Kitchen’s Spatial Flow
Although high-low cabinets might seem like a clever design twist, they often break your kitchen’s visual flow rather than improve it. Those mismatched heights create unnecessary segmentation, making your spatial flow feel disjointed—especially in a straight layout.
Although high-low cabinets might seem clever, they often break your kitchen’s visual flow rather than improve it.
You don’t need a “visual trick” that interrupts how your eye tracks the sink, stove, and fridge. Honestly, high-low cabinets are more of a big-box illusion than an ergonomic win.
They crowd your upper storage without adding real capacity, so you lose that polished, continuous movement along your counters.
Instead of random steps, stick with full-height cabinets that suit your ceiling rhythm. They keep your kitchen coherent and your spatial flow intact.
Trust me, you’ll enjoy a cleaner, more seamless space without the visual hiccups.
Stop Buying Pretty Pendants That Create Shadows Over Work Surfaces
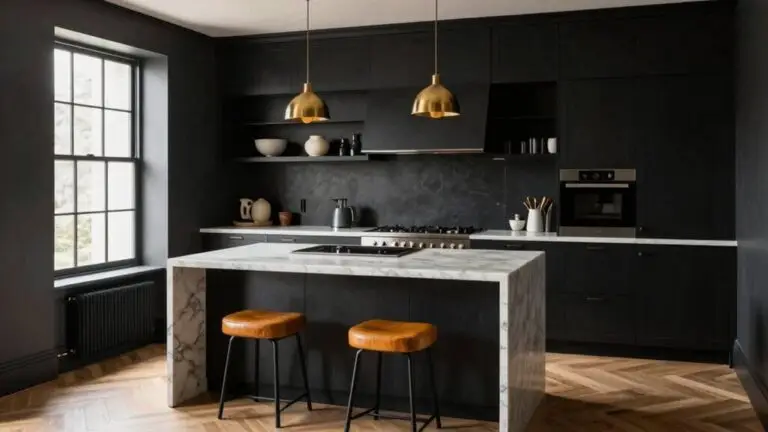
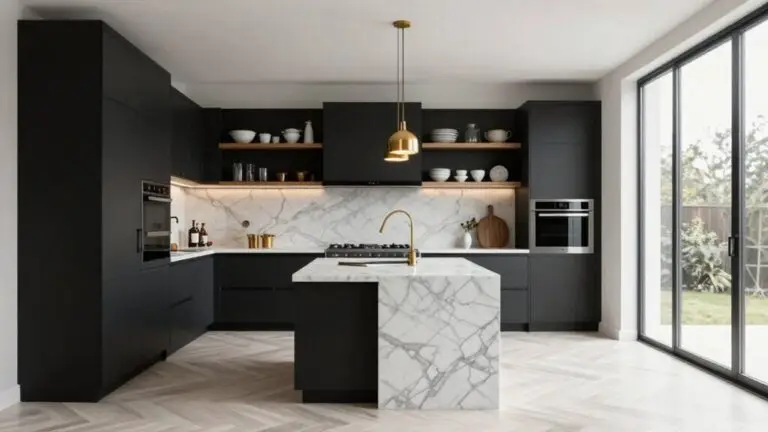
A clean, coherent kitchen layout deserves lighting that works as hard as you do, and as smartly as your cabinets do. Don’t let those pretty pendants fool you.
Placing them directly behind where you stand creates frustrating shadows over your prep surfaces. Your own body blocks the light, so you chop in the dark.
Position fixtures slightly forward, toward your work zone, and never rely on a single statement piece. You need layered lighting that actually illuminates your tasks.
To avoid these common mistakes with pretty pendants, follow this:
- Shift placement forward – Hang pendants 6–12 inches in front of the counter’s edge, not dead center, so your hands don’t cast shadows.
- Layer your light – Add under-cabinet task lights and dimmable downlights. Your pendant can then just set the mood.
- Choose bright bulbs – Pick high-lumen LEDs (800+ lumens each) so those stylish fixtures don’t underlight your knife work.
Final Thoughts
So, you’ve got your dream kitchen in sight, but it’s easy to trip up on these common mistakes. Don’t let cramped layout flaws like cramped counters or shadowy lights that leave you chopping in shadows steal your joy.
Take your time planning the layout, and keep that work triangle as your best friend. A little thought now saves you from a costly headache later. You’ve got this!