The Best Fluffy Pancakes recipe you will fall in love with. Full of tips and tricks to help you make the best pancakes.


Ready to slash your kitchen steps? Start by placing your sink, fridge, and rangetop first, then build a working triangle with legs between 4–9 feet each, keeping the total under 26 feet.
Next, carve out prep, cooking, and cleanup zones, clustering the sink and dishwasher near the cooktop. Measure your tallest bottles before setting shelf heights. Then, map every item’s home in a simple spreadsheet.
Finally, run a mock meal to test traffic and reach. Stick around: the full process is simpler than you think.
Choose Your Sink and Major Appliances First
Since you’ll be living with this kitchen layout for years, it’s smart to pick your sink and major appliances first. They’re the real heavyweights of your workflow.
Start by choosing your dishwasher, fridge, rangetop, oven, and microwave. Their hookups and dimensions directly drive where your sink goes, so don’t leave it to chance.
Choose your major appliances first, they dictate your sink’s perfect placement.
Opt for a gas rangetop early, it’s a powerhouse that needs serious support for your pots and pans. Also, finalize your sink’s depth and plumbing now.
That way, you’ll perfectly stage the clean-up zone with your dishwasher for a truly Efficient Kitchen.
Prioritize storage right next to both the sink and cooktop, too. Stash your everyday tools, pots, and pantry staples nearby—no more crossing the room for a spatula.
According to NKBA guidelines, each leg connecting your refrigerator, sink, and stove should measure between 4 and 9 feet to keep movement efficient without cramping your workspace.
You’re building a hub, not a hassle.
Build a Kitchen “Working Triangle” That Cuts Your Steps
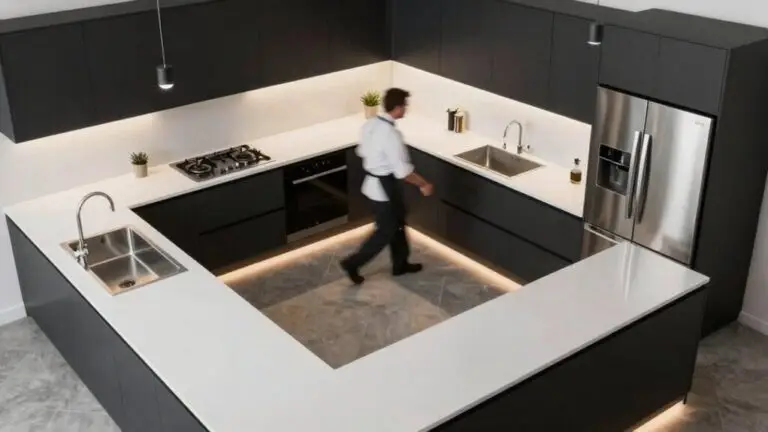
You’ll cut the most steps by keeping your fridge, sink, and cooktop close together: that’s your core working triangle.
Position the fridge and cooking appliance on opposite sides, with the sink in the middle, so you’re not zigzagging across the kitchen.
This simple layout aligns your workflow zones, making grabbing, prepping, and cooking feel almost effortless.
Aim for each leg of the triangle to fall within 4 to 9 feet between appliances, with the total perimeter staying under 26 feet to avoid exhausting back-and-forth movement.
Core Triangle Layout
Before you buy a single cabinet or appliance, stop and map out the kitchen’s “working triangle,” it’s the secret to cutting your steps in half. Start by centering your Work Triangle around the sink and dishwasher for clean-up. Then place the rangetop and fridge within short, direct routes. This cuts wasted walking mid-recipe.
Here’s how to nail it:
- Group your clean-up zone—keep the sink and dishwasher side-by-side so you’re not dripping across the floor after scrubbing pots.
- Link prep to cook—position the rangetop right off the chopping area, letting you slide ingredients straight into the pan without crossing the room.
- Tighten fridge-to-cook access—keep the fridge close to both sink and cooktop, so grabbing milk or veggies feels effortless, not a marathon.
In tight spaces, accept some squeeze but keep triangle items near each other. Add a putting-away zone next to the fridge to save steps after meals. Simple shifts, massive gains. To keep the layout efficient, aim for 4 to 9 feet between each point of the triangle so the total distance across all three sides stays under 26 feet.
Appliance Proximity Rules
When you’ve got the core triangle in mind, it’s time to lock in the appliance proximity rules that’ll turn that concept into a real step-saver.
Place your sink, dishwasher, rangetop, and fridge close together so daily cooking happens in one tight zone, not across the room.
In a smaller kitchen layout, prioritize minimum walking distance over perfect symmetry.
Stick the sink and dishwasher near the rangetop, then tuck the fridge within easy reach.
Keep the counter between sink and cooktop generously clear.
You’ll rinse, prep, and season without constant pivoting.
For U-shaped or L-shaped spaces, set the fridge and range on opposite ends with the sink centered and the dishwasher right beside it.
Position storage near the fridge for quick putting away, and don’t crowd your kitchen cabinets into the workflow.
This arrangement slashes wasted steps.
Galley kitchens take this principle even further by aligning the fridge and cooking gear on one wall while placing the sink on the opposite wall, keeping everything within arm’s reach in a narrow corridor.
Workflow Zone Alignment
Since the sink, dishwasher, cooktop, and fridge handle most of your kitchen trips, start by treating them as your core “working triangle.” This simple shift cuts steps dramatically. Align these stations to create fast loops between cleaning, cooking, and grabbing ingredients for a smarter kitchen layout. You’ll reduce backtracking and keep your cooking zone efficient.
To nail your workflow zone alignment:
- Cluster your sink and dishwasher directly next to your cooking zone for rinse-to-cook moves without crossing the room.
- Position your fridge near both sink and cooktop so ingredient retrieval stays a short loop, not a marathon.
- Leave clear counter space inside the triangle for prep and staging, so you’re not dodging clutter mid-cook.
With an island, keep circulation lanes open and doors free. You’ll maintain a seamless, step-saving flow every time you cook. For best results, keep your total triangle perimeter between 13 and 26 feet so the layout stays tight enough for convenience without cramping your movement.
Divide Your Kitchen Into Prep, Cooking, and Cleanup Zones
Start dividing your kitchen by carving out three clear zones: prep, cooking, and cleanup. This transforms your kitchen space into a streamlined workflow.
Keep your prep, cooking, and cleanup zones logically arranged—prep near the cooktop so you’re chopping and measuring right where the heat is.
Your cooking zone stays close to pots, pans, and seasoning, so you’re not scrambling mid-recipe.
Use the sink and dishwasher to anchor the cleanup zone, making rinsing and loading feel second nature without crossing into prep or cooking areas.
Organize each zone by function: cutting boards and bowls in prep; tongs and cooking fats in cooking; dish tools and a waste-sorting setup in cleanup.
Preserve open counter space between zones, this keeps movement seamless and clutter low.
You’ll move through meals like a pro, without bumping into your own chaos. A 5-minute daily reset at the end of each cooking session helps return items to their designated zones and keeps the system working long-term.
Map Your Daily Kitchen Workflow Before Finalizing Placement
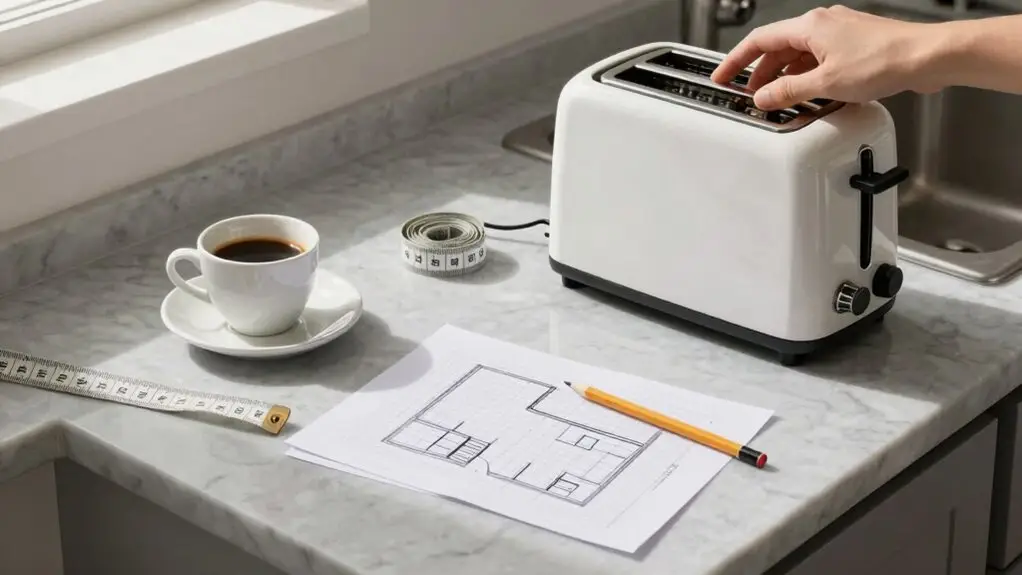
Before you lock in any cabinet or appliance positions, you need to analyze your daily routines and identify your natural movement patterns. Think about how you actually move through the kitchen when you’re fixing breakfast or unloading the dishwasher. Use that insight to map out your zones by activity. For example, your cleanup zone should keep everyday dishes, glasses, and silverware stored within arm’s reach, with your silverware drawer placement angled to avoid blocking the dishwasher door swing.
This zone-based activity mapping will help you spot awkward back-and-forth trips before they become daily frustrations. It will save you time and energy.
Analyze Daily Routines
Because your kitchen should work for *you*, not the other way around, you’ve got to watch yourself in action before you lock in where everything goes. So grab a notebook and run a real “day-in-the-life” walkthrough.
Note where you start for breakfast, stop for cleanup, and what you grab between those points. This isn’t about perfection; it’s about revealing your personal kitchen organization quirks.
Here’s what you’re looking for:
- Your repeat path. Measure the distance from fridge to prep spot to rangetop. If you’re crossing the room to grab a pan, that’s hidden friction you can fix by moving that *drawer or cabinet* closer to the cooktop.
- Bottlenecks. Time those after-school rushes. Does the dishwasher door block the fridge? Mark those collisions to reroute your flow.
- Functional zones. Map where you prep, cook, and clean. Keep the sink tight to the dishwasher for easy cleanup. Store essentials right where your hands land first. For the smoothest workflow, your sink, refrigerator, and stove should total no more than 26 feet apart when walking the full triangle path.
Identify Movement Patterns
Once you’ve tracked your daily routines, it’s time to map the actual movement patterns that shape your kitchen experience. Grab your floor plan and mark where you grab ingredients, chop, cook, and clean.
Count how many times you dash between the fridge and sink; you’ll spot your main traffic jam. Notice if you’re constantly pivoting between a knife block and a cooktop that’s miles apart? That’s a friction point costing you time.
Watch for your busiest corridor, usually the sink, prep, cook line. Protect it from obstacles; you don’t want an open dishwasher door blocking your flow.
Also, check if your waste bin sits near your prep area—if not, you’re making extra trips.
Once you see these patterns, rethink where you store things. Group similar tasks close together, like keeping your most-used tools in easy-reach drawers or cabinets near the cooktop.
This keeps your moves short and your cooking seamless. Aim to position your stove and prep area 4–6 feet apart so you can maintain a natural tasting and rebalancing rhythm without breaking your stride mid-cook.
Zone-Based Activity Mapping
Now, let’s talk about zone-based activity mapping. It’s the secret to making your kitchen feel like it’s working with you, not against you.
You’ll divide your space into clear activity zones that mirror your daily flow. Here’s how to map yours:
- Prep meets cook: Place your prepping zone right next to the cooking zone, near the rangetop. This way, chopping flows straight into stovetop action—no wasted steps.
- Clean-up triangle: Use your sink and dishwasher to define the clean-up zone. Keep the “dirty-to-wash-to-dry” path short, so dishes don’t clutter your main kitchen layout.
- Put-away by fridge: Build your putting-away zone close to the fridge, so storage runs after meals stay in one direction—away from the cooking path.
Also, carve out space for a coffee station near the prepping zone for morning ease. Keep countertops open inside your sink, rangetop, and fridge triangle. Store dish storage near the dishwasher so your counters don’t become dumping grounds that eat into your functional zone space.
Measure Your Tallest Items Before Setting Shelf Heights
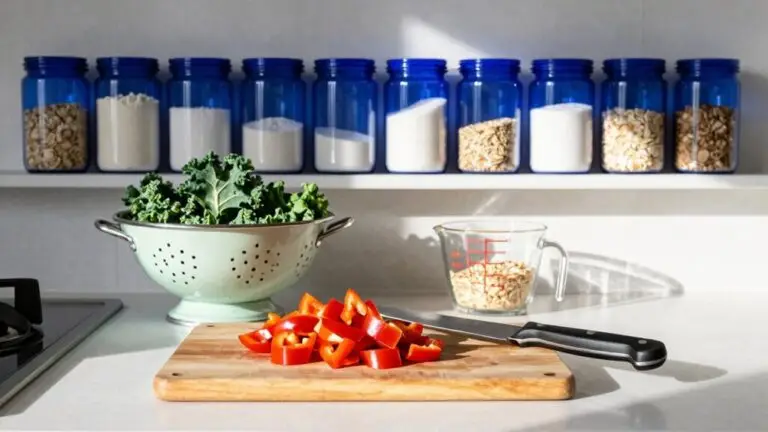
Grab your tape measure and start with your tallest bottle, often a bulky oil container, measuring from the base to the very top, cap included. This measurement becomes your golden rule for setting pull-out shelves in your custom kitchen layout.
Grab your tape measure and start with your tallest bottle—cap included—for the golden rule of pull-out shelves.
Don’t forget to add a little wiggle room so the bottle slides out easily without scraping. If you have multiple tall items like vinegars or syrups, measure the tallest category and double-check the next tallest will also fit.
Focus on the shelf in your most-used zone, say near the rangetop, where you need everyday items within arm’s reach. Before you commit, test-fit the real bottles against the planned height.
Watch for handles, pour spouts, and label thickness—those tiny details can ruin a perfect fit. You’ll save yourself a headache later.
Assign Every Item to Its Best Home With a Simple Spreadsheet
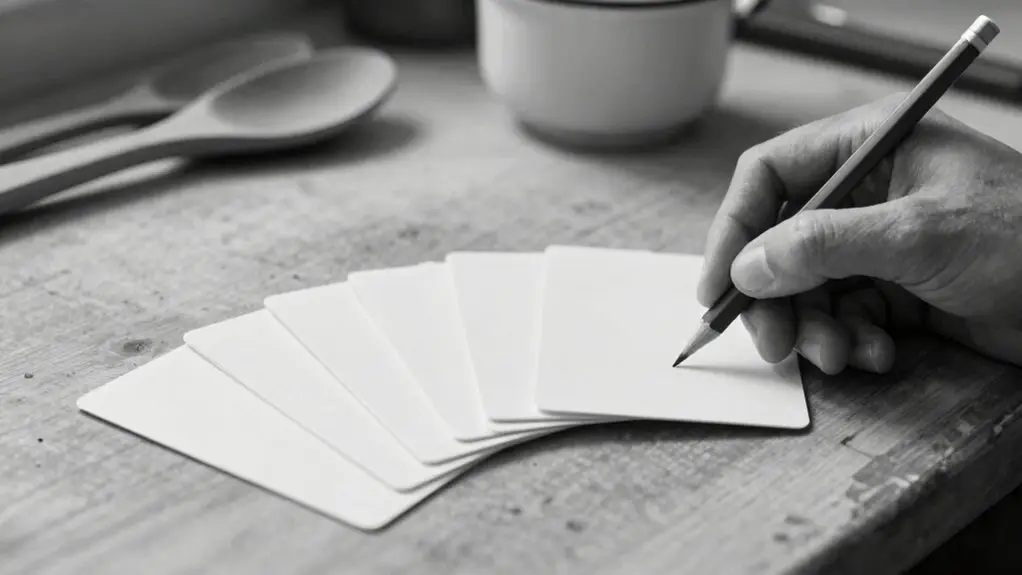
Before you can build a smart kitchen workflow, you’ve got to know exactly what you’re working with. Start by opening every single drawer and cabinet and recording every item in a simple spreadsheet.
Now, assign each item to its best home based on how often you use it and where you’ll need it most. Don’t just sort by category; think about task proximity.
- Group by task – Place prep items near your cutting board, cooking tools by the stove, and clean-up gear by the sink.
- Match storage space – Decide if each item needs a cabinet, pull-out shelf, or drawer based on how often you grab it.
- Check for conflicts – Flag duplicates or items fighting for the same shelf height. Then, adjust your storage space plan before buying organizers.
This simple step transforms your kitchen from chaotic to efficient. No more hunting for measuring cups during dinner.
Run a Mock Meal to Test Traffic Flow and Storage Reach
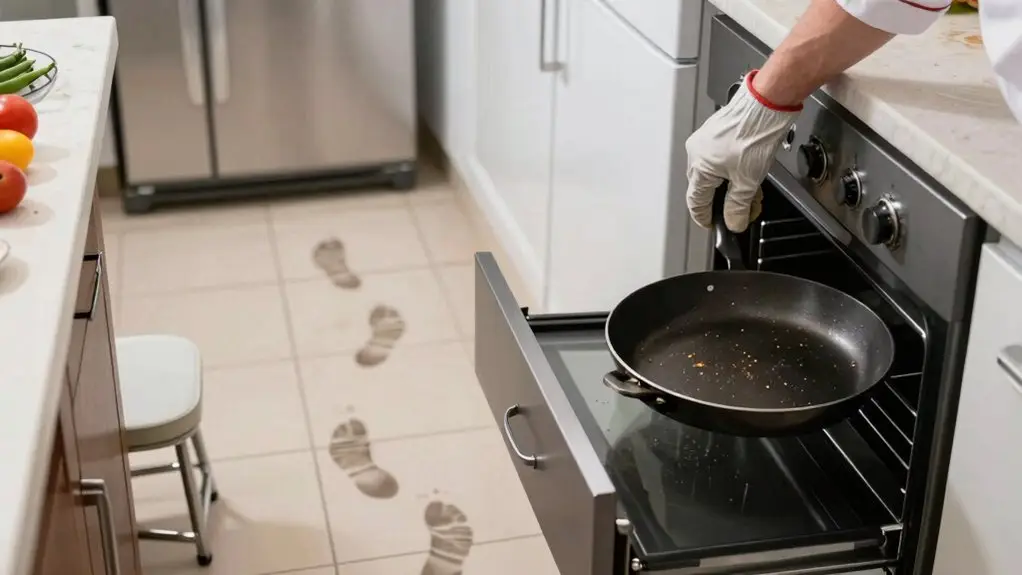
Once you’ve mapped out your zones on paper, it’s time to put them to the test with a real recipe.
Pick a multi-step meal, like roast chicken with salad and dessert, and run through it step by step.
Stand where you’d prep, cook, and clean, noting every pivot or backtrack.
Does your kitchen island create a bottleneck or help you flow seamlessly?
Test your layout ideas by measuring reach: can you grab tools from cabinets without stretching, and does the dishwasher door open without forcing you to dodge someone?
Do a counter load test too—simulate where pans and cutting boards land.
Time each loop, from gathering ingredients to loading dishes.
You’ll spot one or two hidden friction points to fix first.
Final Thoughts
So, you’ve mapped your kitchen like a pro—congrats! Your workflow’s now dialed in, saving you steps and sanity. That “working triangle” might feel a bit nerdy, but trust me, it pays off when you’re not sprinting between sink and stove.
Sure, assigning every spatula a home sounds obsessive, but you’ll love it during a frantic dinner rush. Run that mock meal, tweak what feels off, and don’t stress perfection. Your kitchen’s finally working for you, not against you.