
The Best Fluffy Pancakes recipe you will fall in love with. Full of tips and tricks to help you make the best pancakes.


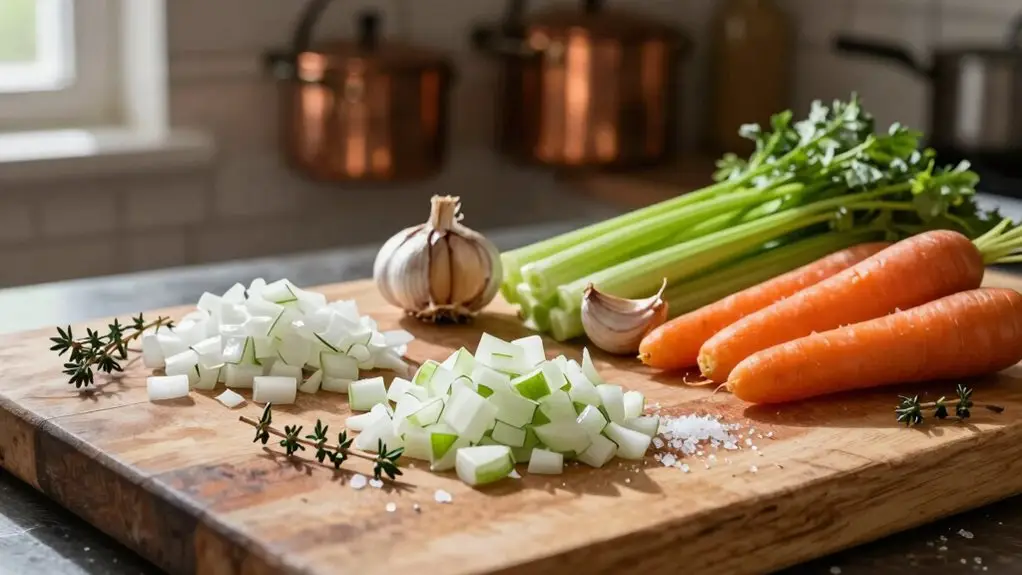
You’re using your cooking triangle wrong if you’re only counting steps. You should be tasting hotter and fixing flavors while they still listen. Keep your stove practically bumping elbows with prep, stash your sink inside that 4-to-9-foot sweet spot, and stage finishers where you grab without stopping.
Taste while steam’s still rising, adjust with drops and pinches, and move like you’re conducting, not counting. There’s a whole rhythm waiting once you stop treating your kitchen like a racetrack.
What the Cooking Triangle Really Means
You’ve probably heard kitchen designers obsess over the “work triangle,” but here’s the thing—it’s not simply about saving your steps. You’re actually building a Flavor Triangle when you keep your heat source, prep area, and sink tight together.
The work triangle isn’t about steps—it’s a Flavor Triangle that keeps your flow intact.
Think about it: you’re cooking a classic dish like beef stew, and you need to taste, adjust, taste again. When those zones sit close, you grab soy sauce or a splash of vinegar without breaking your flow.
You toast aromatics, deglaze, and balance with acid or honey—all while the pot’s still singing.
Your base, supporting, and finishing flavors land right on time. But spread them out? You’re scrambling, and that perfect layering slips away.
You’re not just cooking; you’re conducting.
Keep Your Stove Near Prep Space
You’ll want your stove and prep area practically bumping elbows, since every step you don’t take means more time tasting and fixing before dinner turns into a disaster.
Keep your tasting spoons, microplane, and those little bowls of lemon juice and soy sauce within arm’s reach. No one’s got time to play treasure hunt when the sauce is screaming for acid.
When your setup flows this seamlessly, you’re not cooking, you’re dancing, and your flavors will thank you for it. Just like a plate compactor presses everything into a solid, stable foundation, a well-organized kitchen compacts your workflow so nothing shifts out of place mid-cook.
Minimize Walking Distance
In the thick of cooking dinner, every step you don’t take is a small victory. That’s exactly why keeping your stove close to your prep space matters more than most folks realize.
Design your cooking triangle so prep, stove, and sink sit close together. You’ll dash less and taste more.
When you’re tweaking flavor profiles, seconds count. Leave the heat to grab vinegar, and your sauce might scorch or overshoot that perfect balance.
Keep finishers like lemon, herbs, and Parmesan within arm’s reach. You’ll catch “too acidic” or “too salty” fast, adjusting on the fly instead of chasing ingredients across the kitchen.
Treat walking distance like a constraint that shapes how well you cook. Less movement means more attention where it belongs: on the food. Just as light grout minimizes edge definition to create a seamless, distraction-free surface, a tighter cooking triangle removes visual and physical clutter so your focus stays on building flavor.
Organize Tools Nearby
At the stove, you’re juggling heat, timing, and a dozen little decisions, so don’t let a missing spatula throw off your rhythm.
Keep your most-used transfer tools right there: tongs, spatula, ladle, and that bottle of olive oil you reach for constantly.
Stage ingredients on the counter closest to the burner, like your aromatics for that fried garlic you’re about to toss in.
When your prep space sits one or two steps away, you grab what you need without breaking focus.
Tight on space? Use magnetic racks or hooks to hang tools vertically.
This setup lets you taste and tweak flavors fast—adding acid, salt, or a drizzle of honey—without wandering across the kitchen and burning dinner.
For a cleaner, clutter-free counter, consider mounting a floating shelf nearby to keep frequently used spices and tools within arm’s reach.
Streamline Cooking Flow
Once your tools are within arm’s reach, the real magic happens when your stove and prep space become neighbors. Position your main hot zone about 4–6 feet from your prep ingredients. You’ll stay in the tasting and rebalancing rhythm that builds deep, complex flavors.
Arrange your cooking triangle so you flow easily: fridge to prep station to stove. Quick access lets you season, brown, and deglaze without letting food sit and lose its spark. Keep pans and aromatics—garlic, ginger, onions, soy sauce—right beside the cooktop. You’ll layer flavors exactly when they’re needed.
FACE YOUR COOKTOP TOWARD YOUR PREP AREA IF POSSIBLE. Stirring, adding stock, or grating Parmesan becomes seamless without twisting around. Keep the sink nearby too, so rinsing between steps keeps your next flavor layer clean and controlled. For precision layout work during a kitchen renovation, a professional laser level kit can help you align your cooktop and prep counter at the exact same height for a truly seamless workflow.
Put Your Sink Inside the Triangle for Easy Cleanup
Because nothing kills the cooking groove quite like sprinting across the kitchen with a boiling pot, you’ll want to tuck your sink right inside that work triangle.
Your triangle consists of stove, fridge, and sink working together, so you can rinse, drain, and deglaze without missing a beat.
Envision this: you’ve just squeezed lime juice into a pan sauce, and now you need that same citrusy cutting board washed before raw chicken touches it. With the sink nearby, you’re back at the stove in seconds.
Aim for 4–9 feet between sink and stove—close enough for quick stock refills, but not so tight you’re bumping elbows.
If your layout forces a hike, add a cleanup landing pad beside the sink for hot lids and messy spoons. Keep that adjacent counter deep enough for a cutting board, and cleanup becomes part of your flow, not a frustrating detour. Having the right commercial kitchen cleaning equipment on hand near your sink also keeps grease, food residue, and cross-contamination risks under control between cooking sessions.
Stage Ingredients Where You Can Grab Them Without Stopping
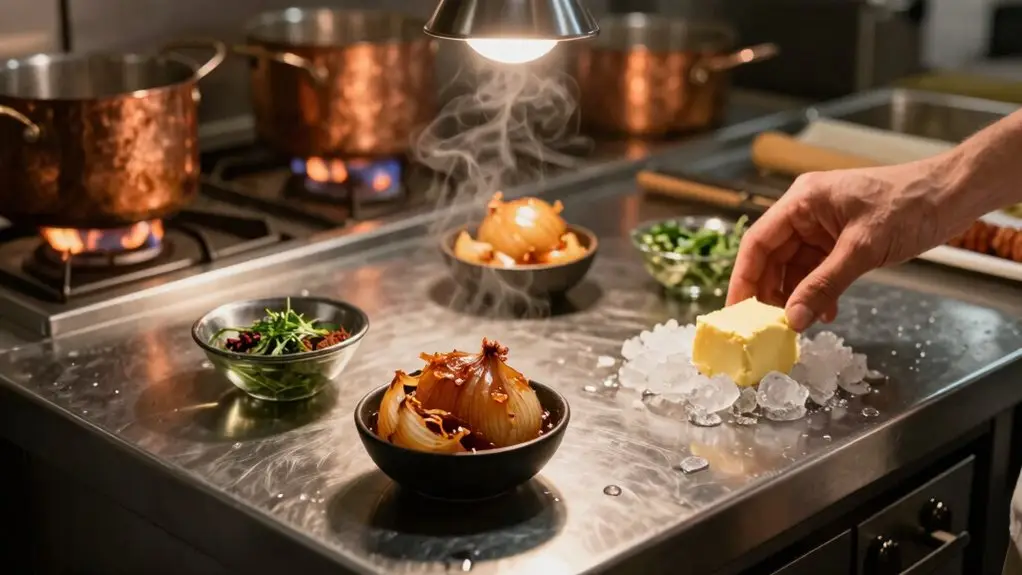
You’ve probably burned garlic at least once while hunting down the soy sauce, and that’s exactly why staging matters. Set up your cooking triangle so everything you need is literally within arm’s reach—no mad dashes across the kitchen.
Place your base ingredients right by the stove for those pivotal first minutes. Drop a “grab-and-go” tray between the sink and stove with your soy sauce, vinegars, and honey for adding sugar or balancing acidity mid-cook. Use two labeled bowls: “start” for browning aromatics and “finish” for bright, fresh flavors—so you just slide them into your hand path when the moment hits. A smart home hub system can even automate your kitchen timers and connected appliances so you stay focused on the food, not the clock.
FEEL THE PANIC FADE WHEN YOU REALIZE YOU WON’T SCORCH ANOTHER PAN. TASTE THE VICTORY OF SEAMLESS FLAVOR ADJUSTMENTS.
LAUGH REMEMBERING THAT TIME YOU NEARLY SET OFF THE SMOKE ALARM.
Move Continuously to Preserve Heat and Rhythm
Heat slips away the second you stop moving, so map out your “heat path” before you fire up the stove. You’ll want to slide from burner to prep zone to plate without wandering around like you’re lost at a party.
Keep that seared chicken cozy in a warm spot while you whip up the sauce, right? Batch your actions inside each triangle corner—brown at the heat point, build depth with prep, then brighten with acid and herbs at the finish line.
Set out fish sauce, Worcestershire sauce, and your other umami bombs near your tasting station so you’re not trekking across the kitchen mid-sizzle. Treat every triangle crossing like it counts on the clock.
Clean your tools first, then cook with flow. Just as peel-and-stick backsplash panels let you cover a kitchen wall quickly without grout or mortar, organizing your workflow into efficient zones means less wasted movement and more time focused on building flavor.
Taste and Adjust Before Temperature Drops
You know that lukewarm leftovers never taste quite as bright as the hot stuff, right?
That’s exactly why you’ve got to taste and tweak while your dish is still piping.
Because once it cools, your carefully built flavors can go flat and sleepy on you.
Just like how rapid temperature swings can cause expansion and contraction problems that ruin a bond, drastic heat changes in cooking can destabilize the delicate balance of flavors you’ve worked to build.
Stick around, and you’ll learn how to nail those final adjustments when it still counts.
Taste While Hot
Because your tongue perceives flavors differently as temperatures shift, tasting while your dish is still steaming hot isn’t just a chef’s habit: it’s your secret weapon.
You’ll catch those dull moments now, before they settle into disappointment later.
Use your Flavor browser for the next move: feel something flat? Splash in umami. Too heavy? Brighten with acid. Sharp and sour? A pinch of sugar rounds it out.
Work in tiny bursts—drops, pinches, spoonfuls—stir for a minute, then taste again.
That moment when a flat sauce suddenly sings is pure kitchen magic.
The panic of serving a dish that tastes perfect hot but bland on the plate can be overwhelming.
The confidence of knowing you’ve locked in balance before it cools is invaluable.
Just as a painter achieves crisp, clean lines by working with precision tools and making adjustments in small, controlled strokes, the same methodical approach applied to seasoning ensures nothing is overlooked.
Let it rest a minute, then taste once more.
Salt settles, and you’ll want to know exactly what you’re serving.
Final Adjustments
Right before you pull the pot off the burner, there’s this tiny window where everything’s still alive and talking to you. You need to grab that moment, because flavors get shy when they cool down.
Taste now, while it’s hot, and don’t be afraid to fix what’s off. Flat and boring? A pinch of salt, a squeeze of lemon, or a little honey wakes things right up.
If it’s too sharp, sugar tames that beast teaspoon by teaspoon. If it’s screaming salty, fight back with acid instead of more salt.
If you want, you can email your questions about weird flavor emergencies.
Just like kitchen humidity and cooking steam can compromise a painted surface over time, heat and moisture in your kitchen affect how flavors develop and hold, so always do your final tasting while the dish is still at full temperature.
Toss your red pepper flakes or crunchy herbs in at the very end, give it one last taste, and you’re golden.
Salvage Dishes Gone Wrong Without Stepping Away
A dish that’s gone sideways doesn’t have to end in takeout. When you taste something off, don’t just keep cooking: you’re usually just messing up the texture. Instead, use the cooking triangle to figure out what’s missing.
That sinking feeling when you’ve spent an hour on dinner and it tastes like nothing can be overwhelming.
The panic of an overly sharp sauce that makes your face pucker is real.
That sharp, face-puckering sauce panic? Absolutely real.
The dread of a muddy, heavy stew that sits in your stomach like a brick can ruin your evening.
For flat flavors, brown some garlic or deglaze with wine.
If it’s too acidic, add a pinch of sugar.
If it’s too sweet, hit it with soy or fish sauce.
If it’s heavy and one-note, brighten it up with fresh herbs or lemon at the very end, off the heat.
Save this website in this browser, and you’ll nail it next time.
Final Thoughts
You’ve got this! The cooking triangle isn’t just kitchen geometry: it’s your secret weapon for meals that actually taste amazing. When you stop running marathons between stove and sink, you keep the heat, the rhythm, and your sanity intact.
Sure, you’ll still burn the garlic sometimes. We all do, but now you’ll catch it faster. So rearrange that space, trust your tongue, and cook like you mean it. Your dinner guests will notice.



