The Best Fluffy Pancakes recipe you will fall in love with. Full of tips and tricks to help you make the best pancakes.


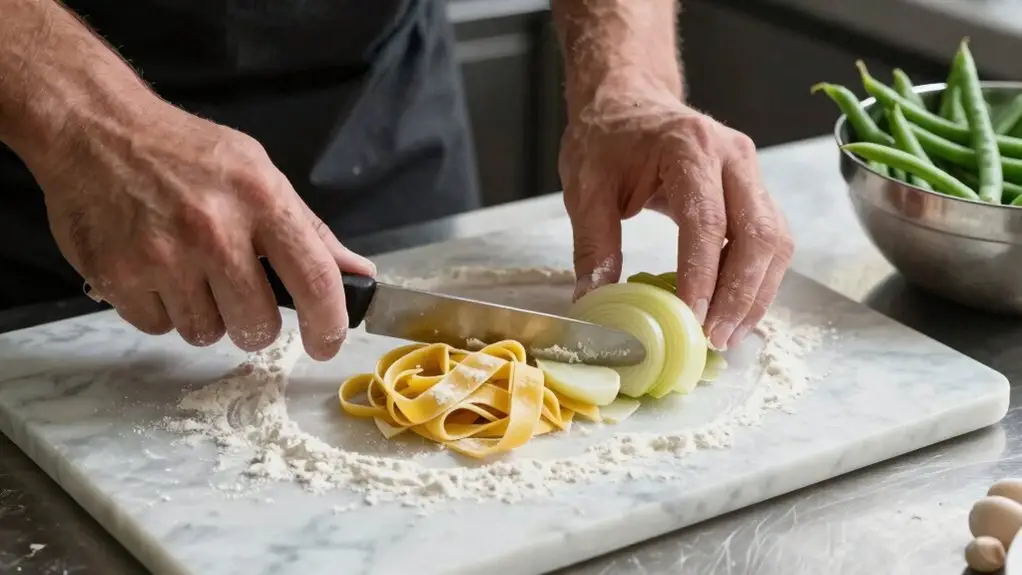
You’ll start by planning your workflow before any box arrives. Then, receive, inspect, and log each delivery. Next, sort ingredients and store them properly, keeping raw proteins on lower shelves.
Then perform mise en place, prepping cold items first, and set up cooking stations with pre-portioned ingredients. Finally, diagnose bottlenecks and lock it all in with a clean, restock, and verify routine.
Stick around—there’s more to streamline out your kitchen flow.
Plan Your Prep Workflow Before the First Box Arrives
Before the first box even arrives, you’ll want to map out your kitchen’s entire workflow from start to finish—receiving, storage, preparation, plating, and service—so every station is sequenced and ready to go.
That means defining your prep areas with a raw-to-ready logic, keeping raw handling far from your final plating zone.
Because once deliveries arrive, you won’t have time to rearrange.
Your prep list should batch similar tasks: dice all your onions, then portion all your proteins.
This reduces tool swaps and prevents last-minute shortages.
This smart station setup helps your food preparation flow smoothly into food service.
You’ll assign time slots and responsibilities with checklists, so every step is complete before the rush.
Daily updates keep your kitchen workflow nimble, avoiding chaos when menu changes pop up.
This planning prevents backtracking during peak periods and keeps your team humming.
Skipping organized prep invites chaos that can extend active cooking time by disrupting momentum and forcing your team into stop-and-go scrambles throughout service.
Receive, Check, and Log Every Delivery to Start Your Prep Workflow
As soon as that delivery truck rolls up, you’re kickstarting your whole kitchen workflow, so you’ve got to receive, check, and log everything like a pro. First, verify each box matches your purchase order: correct item, grade, quantity, and delivery time, before any staff movement starts dragging stuff into prep.
Don’t let bad ingredients sneak past your food safety radar. Check for damaged packaging, missing labels, and proper temps—keep cold items cold, hot items hot.
Don’t let bad ingredients sneak past your food safety radar—check temps, packaging, and labels every time.
Log every delivery right away, noting date, supplier, batch numbers, and quantities. That’s your golden ticket for seamless inventory management in any commercial kitchen.
Use designated receiving equipment to keep raw and ready-to-use items separate, preventing cross-contamination. Label everything with contents and use-by dates immediately, so your prep stations stay fast and waste-free. A well-organized approach also means applying category headers to shelves in addition to item labels, so every ingredient has a clear, permanent home the moment it enters your kitchen.
Sort and Store Ingredients to Keep Your Prep Workflow Moving
Once you’ve checked in that delivery, it’s time to sort ingredients right in your receiving zone, grouping dry goods, produce, and proteins separately.
You’ll want to get cold storage items into the fridge or freezer first, because letting them sit out wastes both time and food safety.
Keep raw items away from ready-to-eat foods from the start.
This will help you avoid cross-contamination hassles later on.
In the fridge, always place raw proteins on the bottom shelf of the fridge to prevent drips from contaminating ready-to-eat items stored above.
Receiving Zone Organization
When you’ve got a receiving zone that’s set up right, you’re not just sorting boxes: you’re building the foundation for a clean, fast prep shift.
Proper receiving zone organization starts with immediate triage: refrigerated items go to cold storage, dry goods to dry storage, and rejects head to a marked return area. This keeps health and safety regulations in check and cuts food waste straight away.
Use FIFO storage for everything: your newest ingredients go behind older ones, so prep starts with what’s freshest.
Confirm arrival temperatures on cold items and note any out-of-range readings before stashing them.
Design short, direct routes with clear pathways and staging tables to avoid backtracking, speeding up kitchen operations.
Finally, reconcile your delivery against the purchase order and do an inventory update immediately.
That way, your prep lists match real stock, and you’re not scrambling mid-shift. For dry storage areas specifically, install pull-out shelves for deep pantries so older stock stays visible and nothing expires unnoticed at the back.
Cold Storage First
You’re right to think cold storage is just about keeping things cool, but it’s actually your first chance to sort and store ingredients so your whole prep workflow stays on track.
After receiving, immediately separate food into labeled categories—raw items, ready-to-use, and allergen-containing ones—to avoid interruptions later.
Use FIFO and check each delivery’s date and temperature. This guarantees items flow from cold storage to prep without missing components during peak service.
Store everything in correct storage zones with dedicated bins for dry goods, covered pans for cut items, and tight-lid containers for liquids. That’s your compliance with health made easy.
Plan cold storage around your prep cycle stages: receiving to storage to prep—so refrigeration feeds directly into preparation.
Match your cold storage capacity to menu volume, or you’ll bottleneck when multiple stations need the same refrigerated components at once. Just as substrate moisture testing can affect flooring material costs and timelines in a kitchen remodel, checking cold storage conditions during receiving prevents costly workflow disruptions down the line.
Perform Mise En Place That Accelerates Your Kitchen Prep Workflow
Now it’s time to organize your station and map out your prep sequence so nothing slows you down.
By grouping similar tasks and arranging your tools within arm’s reach, you’ll cut out wasted steps and keep your momentum rolling.
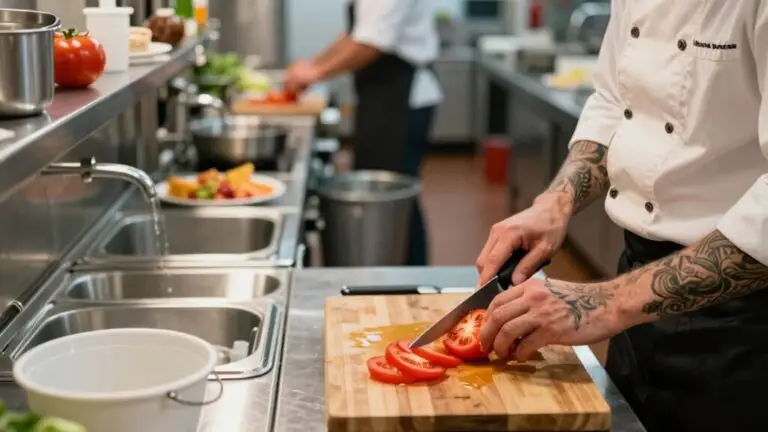
Breaking each menu item into wash, chop, sauce, cook stages lets you move through prep in a logical sequence that mirrors how each dish actually comes together.
SORT YOUR INGREDIENTS BY PREP STAGE AND LOCK IN A LOGICAL FLOW. YOU’LL FLY THROUGH SERVICE WITHOUT THOSE FRUSTRATING LAST-MINUTE SCRAMBLES.
Station Organization
Although organizing your station might feel like a chore, it’s actually the secret weapon that transforms a chaotic kitchen into a streamlined, fast machine.
Smart station organization starts with the prep-to-service sequence: receive, store, prep, cook, plate.
Stage your mise en place exactly where you need it, so your efficient kitchen lets staff move without colliding or backtracking during a rush.
Put common ingredients and seasonings within easy access near cooking stations.
Don’t force repeated trips that waste hours.
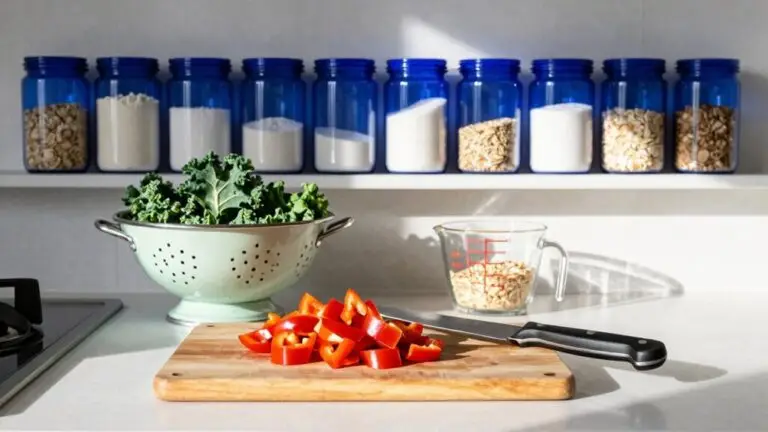
Use labeled containers with clear portions and checkboxes per task, so sauces and garnishes are quick to grab.
Keep clean components away from dirty-dish returns, following food-safety flow from raw to ready-to-eat.
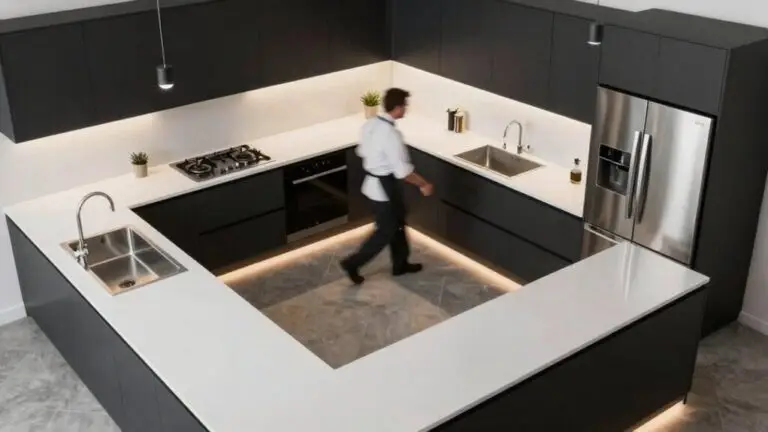
Remember kitchen design: leave minimum 48-inch aisles so two staff pass safely, preventing cramped choke points.
Position your refrigerator, sink, and stove so the kitchen work triangle stays between 13 and 26 feet in total perimeter, reducing unnecessary steps during high-volume prep.
This setup makes your prep flow effortless, not stressful.
Prep Sequence Mapping
Mapping out your prep sequence isn’t just about making a list, it’s about staging every ingredient so you’re never scrambling when the heat’s on.
Start with receiving, then move into storage, then tackle the bulk of your preparation (mise en place).
DO COLD-FIRST MISE EN BEFORE CHOPPING SO YOU’RE NOT BACKTRACKING MID-SHIFT.
Wash ingredients only as needed, keeping your sink area free for dishwork.
Use a time-and-dependency order on your prep sequence to prevent bottlenecks.
Portion, label, and pre-measure everything into labeled containers.
That way, your cooking stations stay stocked, and you boost operational efficiency during peak service.
Add checkbox accountability with time estimates per task.
Your team can verify mise en readiness before tickets hit the line.
No scrambling, just fluent flow.
Building base sauces in bulk that can be twisted into multiple meals means your labeled containers always have a versatile foundation ready to deploy across the week.
Set Up Cooking Support Stations That Feed Your Prep Workflow
Because your cook moves at the speed of light during a dinner rush, you’ve got to set up those cooking support stations within arm’s reach. You’ll save time and deliver exceptional service when every tool and ingredient is pre-staged for your restaurant or commercial kitchen.
- Pre-station oil, seasoning, and sauces right where your cook grabs them, no wandering for salt mid-fire.
- Use workflow mapping to place ingredients first, then cooking, then plating. This keeps dirty items away from food, leaving the kitchen.
- Label containers with exact portions for each protein station, so your staff can work consistently and errors drop.
- Keep aisles at least 48 inches wide around stations, letting two staff move freely without bottlenecking.
When designing your support stations around a central island, cap the island at 10% of total floor space to prevent cramped movement that slows down your crew during peak service.
Diagnose Where Your Kitchen Prep Workflow Breaks Down (Before Service)
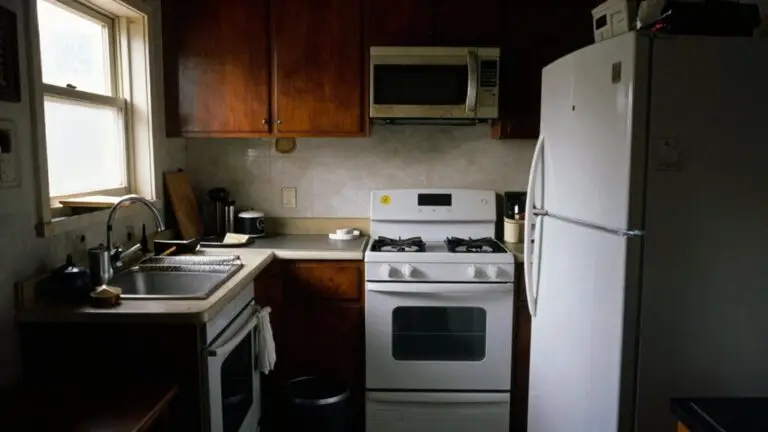
So, where exactly does your kitchen prep workflow start to trip over its own feet before service even kicks off? Look at your receiving-to-storage path. If your kitchen team drags deliveries past the cookline, you’re creating unnecessary movement that wastes time.
Next, map your storage-to-prep flow. If your fridge sits a mile from your cutting board, your kitchen operates slower than it should, risking cross-contamination.
During ingredient prep, watch for backtracking staff bumping into each other at shared stations. Those friction signals kill consistent service before it starts.
Don’t forget warewashing readiness either. If dirty dishes pile up near the entrance, your working environment forces pauses in plating.
Finally, check your prep list for missing time minimums per task. A vague schedule invites a late-stage crunch.
Run a single-ticket observation before service begins to physically trace one order from receipt to plate and confirm exactly where your prep flow breaks down.
Spot these breaks early, and you’ll optimise kitchen speed in your restaurant kitchen.
Clean, Restock, and Verify: Final Steps to Lock In Your Prep Workflow
Lock in your prep workflow by finishing strong with three non-negotiable steps: clean, restock, and verify. Without them, your kitchen designed for efficiency falls apart mid-service.
CLEAN every surface and cooking equipment now. Sanitize cutting boards so raw and ready-to-eat components never touch. Your staff will thank you for preventing cross-contamination.
RESTOCK labeled containers with prepped weights, garnishes, and sauces. Confirm counts match your prep list. Under-prepping creates chaos during peak dining hours.
VERIFY everything is covered, dated, and stored in correct cold or hot zones. Spot-check sinks, bins, and dish staging areas; they better be clear for service.
UPDATE your prep list in real time. Log what ran short so tomorrow’s production cycle stays accurate. This hand-off keeps control tight and your cooking equipment ready.
Finish strong, and prep becomes your secret weapon, not a stress point.
Final Thoughts
So, you’ve mapped out your entire kitchen prep workflow, from delivery to clean-up. That’s the hard part, but it’s also the best part. You’ll catch recipe mistakes before they happen, and you’ll stop scrambling like a cartoon chef with ten pans on fire.
Stick with these stages, and your pre-service hours turn into a seamless, almost boring routine. And honestly? Boring is beautiful when your ticket machine starts screaming at you.