The Best Fluffy Pancakes recipe you will fall in love with. Full of tips and tricks to help you make the best pancakes.


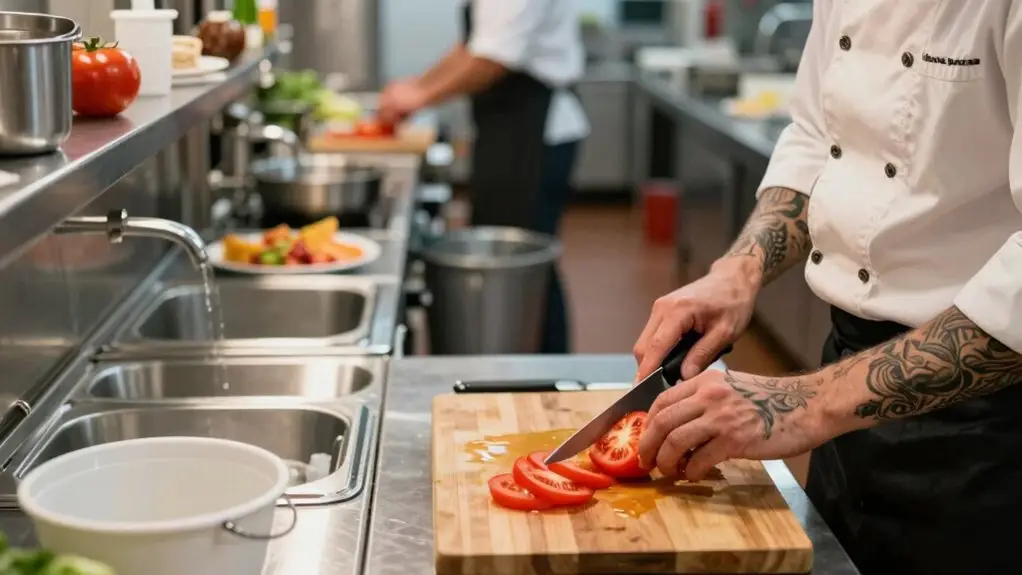
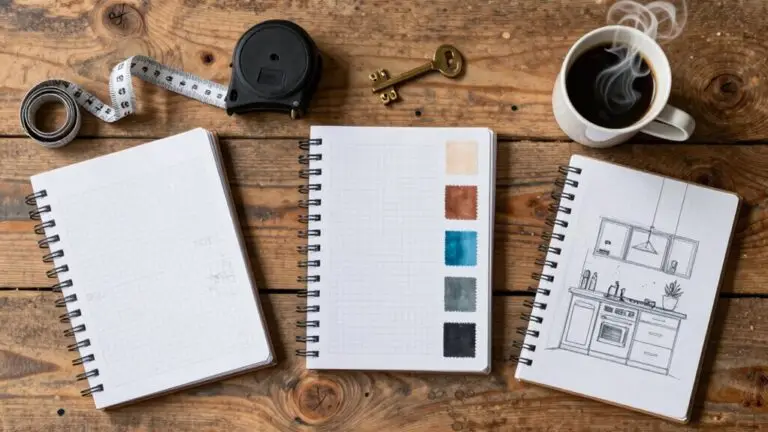
Kitchen flow mapping tracks how ingredients and cooks actually move through a space, flagging crossed paths and backtracking before you buy a single shelf. You get safer 48-inch aisles, fewer collision risks, and easier ticket times.
It’s your blueprint for avoiding redesign headaches and wasted labor. Stick around: there’s more on fixing those bottlenecks.
What Kitchen Flow Mapping Is and Why It Matters First
Before you buy a single shelf or oven, you’ve got to map out how everything—and everyone—will move through your kitchen. Kitchen flow mapping isn’t just a fancy drawing; it’s charting the actual path from receiving ingredients to washing dirty dishes. You’ll trace arrows for materials and staff, and if those arrows cross or backtrack, you’ve found friction.
That friction slows ticket times and wastes capacity, even with top-tier gear. Why does kitchen workflow matter first? Because it prevents chaos. You don’t want raw chicken paths bumping into ready-to-serve plates.
Plus, those 48-inch aisles aren’t just for passing; they keep your crew safe from burns and knife mishaps. Poor layout is a top cause of injuries in bustling kitchens. Map your flow now, and you’ll dodge those headaches later. Anchoring your layout around the natural sequence of food storage, preparation, and cooking—what residential designers call the kitchen work triangle—can eliminate unnecessary steps and reduce friction before it starts.
The Three Core Work Zones Every Smooth Kitchen Needs
Once you’ve nailed down your kitchen’s overall flow, it’s time to break it into three core work zones: storage, prep, and cooking. Your Work Triangle for a seamless Kitchen Layout starts with storage: keep your fridge and pantry near main prep areas to avoid backtracking.
Next, the prep zone needs clear paths, ideally 48 inches wide, so you can chop and move safely without bumping into hot surfaces. Finally, the cooking zone works best with nearby staging for plating, preventing you from carrying dishes through conflicting traffic.
When you link these zones logically, you’ll reduce cross-traffic and spills, making your kitchen feel like a well-oiled machine. No more awkward sidesteps or burned fingers. Before finalizing your zone layout, consider dry-run testing with tape on the floor to simulate real clearances and catch bottlenecks before any work begins.
How to Spot Bottlenecks and Friction Points in Your Layout
Now that you’ve got your three core zones mapped out, it’s time to put on your detective hat and look for bottlenecks and friction points in your layout. These problem areas kill Kitchen Efficiency and mess up traffic patterns. Here’s what to watch for:
- Crossed paths: Draw arrows for ingredient flow. If they backtrack or cross, you’ve got a bottleneck.
- Blocked triangle: Your sink, fridge, and cooking zone need a clear, direct relationship. Distance or obstacles force extra steps.
- Zone overlap: Shared workstations with door swings or appliance bays reduce landing space, causing collisions and delays.
- Tight aisles: Minimum 48-inch clearance lets two staff pass safely. Anything less chokes workflow.
- Dirty-dish routes: Make sure they don’t cut across paths to ready-to-eat areas. That’s a contamination and traffic friction point.
- Missing landing space: A 15-inch landing zone beside the refrigerator is essential for convenient food retrieval and prevents prep zone congestion when pulling ingredients.
A Simple Test to Measure Whether Your Kitchen Flow Triangle Works?
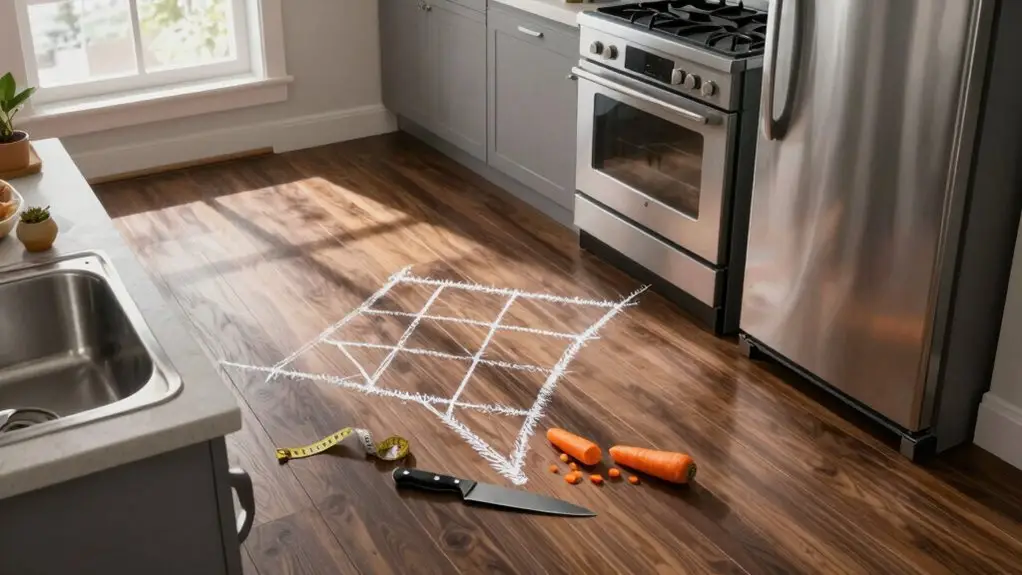
To check if your kitchen flow triangle really works, run a simple timed test. Stand at the refrigerator and move to the sink, then to the cooktop, and see if each leg feels direct and uninterrupted, without weaving around traffic, doors, or work zones.
You’re aiming for unobstructed paths that don’t force you into awkward sidesteps.
Next, test your dirty-to-ready workflow: grab raw items, hit the sink, prep at a landing, then cook. If you’re backtracking or crossing routes, your kitchen triangle is failing you.
Also, open the dishwasher and drawers mid-route. If they block your way, that’s a red flag.
Finally, check for nearby counter space at each endpoint. Without landing spots, the triangle feels broken.
Walk it with another person, too. If you’re squeezing by instead of flowing, it’s time to redesign. According to NKBA planning guidelines, each leg of the triangle should measure between 4 and 9 feet, with the total perimeter falling between 13 and 26 feet to ensure efficient movement without cramping or excessive walking.
Collision Prevention and Adapting Flow for Multiple Cooks
You’ll avoid collisions by keeping your traffic lanes clear, think of them as one-way streets for cooks. Zone overlap risks spike when multiple people try to work in the same prep or cook area.
So, you need to stagger tasks and designate specific spots for each person.
Adapt your multi-cook movement patterns by planning where each cook goes. You’ll dodge those annoying shoulder bumps and dropped spatulas. During busy periods, shared equipment conflicts — like two cooks converging on the fryer at peak time — are one of the most common sources of dangerous zone overlap.
Clear Traffic Lanes
From the fridge to the stove to the sink, every step in your kitchen should feel like a well-planned dance, not a crowded hallway. Clear traffic lanes are your collision-prevention superpower, keeping you safe from hot surfaces and sharp tools.
Plan direct circulation paths between storage, prep, cooking, and cleanup—no cutting through active work zones.
Keep aisles at least 48 inches wide so two cooks can pass safely without bumping elbows.
Protect main traffic lanes by pushing hot and sharp zones away from walk paths.
Provide appliance doors and drawers enough clearance so they don’t smack people or other doors.
Study how different users move, then position tools on practical sides to reduce awkward reaching and traffic jams.
Design for parallel, non-overlapping routes so you and a second cook can work side by side without stepping on each other’s toes.
Zone Overlap Risks
Even with the best-laid plans, zone overlap can turn your dream kitchen into a bustling obstacle course. You’ve got two cooks heading for the sink, someone’s elbow in the knife-prep zone, and the oven door blocking the only path to the fridge. That’s collision central, not a functional workspace.
In kitchen design, you can’t ignore these hotspots. The cooktop, open appliance doors, and wet-prep areas become high-risk zones when multiple people work at once. You’ll see backtracking and waiting instead of seamless flow.
For better kitchen layouts, keep circulation routes clear and aim for at least 48-inch aisles so two cooks pass safely.
Plan landing space next to your sink and cooktop, and position appliances so doors open fully without hitting anyone. This isn’t just about convenience; 93,800 nonfatal injuries in restaurants prove poor flow hurts.
When two islands are used in larger kitchens, allocating roughly 10% of floor space to each island helps preserve breathing room and prevents the layout from feeling like a maze.
Prioritize collision prevention in your kitchen layouts, and you’ll dodge the chaos.
Multi-Cook Movement Patterns
When multiple cooks share a kitchen, mapping their movement patterns becomes your best tool for preventing collisions. You’ll quickly spot where crossing paths cause chaos, especially near the sink or oven doors.
To keep everyone safe and efficient, focus on these strategies:
- Trace each cook’s circulation between work areas like storage, prep, cooking, and cleanup, then flag those “crossing arrows” for collision risks.
- Keep aisles at least 48 inches wide so two cooks can pass without squeezing, and make sure doors open clear of another’s travel lane.
- Create separate, parallel landing spaces near the stove and sink to avoid backtracking and bottlenecks during busy moments.
- Adapt the classic triangle into multi-user zones, placing fridge, sink, and cook stations with unobstructed paths to reduce queuing.
- Recognize the safety stakes. Cramped multi-cook kitchens have high injury rates, so collision-aware flow mapping is a design must, not an afterthought.
- In island-equipped kitchens, maintaining 42–48 inches of circulation space around the island ensures two cooks can move freely without disrupting each other’s workflow.
How to Adapt Flow for Different Cooks, Families, and Abilities
Watch how different cooks actually move through the kitchen, the constant back-and-forth for grabbing, rinsing, chopping, and serving. Then tweak your layout so everyone’s gather-prep-cook-clean path stays short and predictable.
For multi-cook families, you’ll design open circulation routes that let one person work the sink while another tackles the prep areas without bumping elbows. Think of it like a calm dance, not a mosh pit.
Adapt for ability differences by reducing reach and bending hazards. Swap deep cabinets for pull-out drawers, and place everyday tools where kids and elders can grab them safely.
You’ll align counter and cabinet heights with the primary user’s body mechanics, cutting down shoulder strain during chopping. Finally, zone high-use items on the practical side, left or right, to keep hot surfaces, sharp tools, and appliance doors out of everyone’s way. Positioning the fridge, sink, and stove within close proximity of one another shortens the distance every cook travels during the most repeated kitchen tasks.
How Counter Heights and Cabinet Reach Prevent Daily Strain

Because your counter height and cabinet reach directly shape how your body feels after a long cooking session, getting them right is the secret to avoiding daily aches and pains. Here’s how to prevent strain:
Getting your counter height and cabinet reach right is the secret to avoiding daily aches and pains.
- Match counter heights to you, not an average. Repetitive bending lowers fatigue and long-term risk.
- Plan cabinet reach so daily items sit within easy arm’s length, ditching awkward stretching.
- Position wall cabinet bottoms in your sight-and-grab zone. No more step stool dance.
- Align appliance landing zones at working height for seamless transfers. This allows for twist-free movements.
- Avoid tall cabinets that break continuous counters. Fragmented surfaces force extra reaching.
Storing everyday dishes and silverware in cabinets closest to the dishwasher means your body travels less distance during unloading path efficiency, cutting repetitive strain from stacking and sorting after every meal.
These tweaks keep your kitchen working with you.
A Step-by-Step Route Mapping Guide for Your Next Project
You’ll kick off your project by mapping zone sequences, sketching a unidirectional storyboard that moves from receiving to warewashing so you can spot crossed paths early.
Next, you’ll plan traffic routes between your refrigerator, sink, and stove, aiming for steady triangles that cut out unnecessary steps and queue jams. Keep those aisle widths at least 48 inches.
Don’t forget to add landing zones near each station. Your dirty dishes will thank you for a dedicated path that avoids the clean food flow.
Keeping dish storage near the dishwasher prevents counters from becoming dumping grounds and reduces travel distance when handling hot food or dripping produce.
Step 1: Zone Sequence Mapping
Start by mapping your kitchen’s zone sequence in the logical task order—Receiving → Storage → Preparation → Cooking → Plating/Assembly → Service → Warewashing—so you’re drawing ingredient and dish movement arrows that follow actual work, not guessing from equipment layouts. This step is where you create kitchens that feel natural to move through, not cramped or confusing.
When you nail this spatial planning, you’re already ahead.
Label your three core points—refrigerator, sink, and cooking zone—then chart direct routes between them to confirm a continuous wash/prep/cook loop.
Cross or backtrack arrows on your sketch? That’s a red flag for wasted steps and bottleneck risks near hot surfaces or open doors.
Verify 48-inch walkways so two staff can pass safely.
Make sure dirty dish paths stay far from raw-to-ready food flow.
Confirm landing space next to critical appliances—especially prep-to-cook and sink-to-prep passages—so your team never has to work around gaps.
Step 2: Traffic Route Planning
Now it’s time to turn your zone map into an even, safe traffic route. Start your traffic route planning by marking the unidirectional “deliver → storage → prep → cooking → plating/service → warewashing” flow. Add arrows for ingredients and used dishes; any backtracking or crossed paths will jump right out.
Define primary routes between the sink, prep work surfaces, fridge, and cooktop. Mark “must-not-block” corridors to avoid collisions with hot surfaces, sharp tools, or open appliance doors. In commercial kitchens, plan 48-inch-wide aisles so two people can pass safely during peak chaos.
Keep through-traffic away from cooking zone landing spaces and staging areas. Finally, walk through the plan: simulate peak service with arrows. Note where arrows overlap or spills risk crowding.
Check that cabinetry pulls out without blocking your path. You’ll catch problems before anyone trips over them.
How Good Flow Saves Square Footage and Cuts Wasteful Space
Because you’ve mapped out your kitchen’s actual movement patterns—gather, prep, cook, clean—you can now link the fridge, sink, and cooktop with clear, direct routes that eliminate unnecessary steps.
This cuts wasteful space by keeping your work flowing easily within distinct cooking zones.
You shrink “holding” areas, those temporary stand-by spots for dishes, since efficient adjacency means each square foot supports a real step, not dead storage.
Block-free circulation often lets you avoid adding extra cabinets or appliances to compensate for friction.
Mapping routes early detects bottlenecks like dirty-dish return paths.
This helps you waste less space on corrective redesign.
Clearer aisles and uninterrupted landings reduce collision risk, cutting the “dead space” dedicated to obstacle clearance.
A practical outcome is safer, faster motion in your open-plan kitchen, reclaiming square footage for counters you’ll actually use.
What Poor Flow Costs You in Commercial Labor and Safety
You’re paying for poor flow twice: once in labor, once in safety. When your team fights bottlenecks and cross-traffic, you lose covers per hour and rack up overtime. This makes higher labor expense and slower ticket times your new normal.
Increased injury risk from cramped, disorganized workspaces means you’re not merely losing money; you’re risking your crew’s well-being every shift.
Higher Labor Expense
Poor kitchen flow doesn’t just slow you down, it quietly drains your labor budget with every unnecessary step. You’re paying staff to walk extra miles each shift, and that adds up fast.
When your layout forces constant backtracking, you’re burning hours you can’t afford.
Staff waste time getting through congestion between storage and prep areas. Cramped stations increase collision risk with hot surfaces or sharp tools.
Dirty-dish routes crossing food paths force detours, wasting minutes per trip.
Bottlenecks during peak service require extra hands just to maintain pace. Unnecessary movement near open oven doors creates safety stoppages.
Each flaw in your kitchen flow compounds labor costs without you noticing. You’re funding inefficiency.
Fix the layout and you’ll reclaim those wasted hours, and keep your team safer while you’re at it.
Slower Ticket Times
The extra labor costs from poor kitchen flow are bad enough, but they come with a partner in crime: slower ticket times. When bottlenecks form near prep or cooking stations, you’re stuck waiting or backtracking instead of moving plates.
Cross-traffic between dirty dishes and food routes creates friction that delays service, leading to more remakes and longer cycles.
Cramped aisles—ignoring that 48-inch minimum—force slower turns and more collisions, eating up precious seconds.
Even fancy equipment becomes a liability if it’s misplaced.
That’s why kitchen flow mapping is your secret weapon.
It spots trouble zones before they trigger slower ticket times, keeping meals moving and your bottom line happier.
Increased Injury Risk
When your kitchen flow is cramped and chaotic, it’s not solely tickets that slow down: your staff’s safety takes a real hit. Poor kitchen flow directly spikes injury risk, from burns to back strains. Here’s what you’re up against:
- Cross-contamination paths expose staff to raw-ready-to-eat hazards, upping injury exposure during cleanup.
- Cramped layouts cause slips, trips, and strains. 93,800 nonfatal injuries hit full-service restaurants in 2019 alone.
- Bottlenecks near sinks or hand-offs create rushed moves, leading to burns from hot surfaces or collisions with open appliance doors.
- Unclearances under 48-inch aisles force squeezing through, increasing contact with sharp tools or spilled hot liquids.
- Repetitive reaching and twisting due to poor workflow slows throughput and raises musculoskeletal strain risk.
Final Thoughts
So, you’ve seen how a smart kitchen flow stops chaos and saves your back. Don’t overthink it—just map out those work zones, watch for bottlenecks, and test your triangle.
You’ll dodge collisions, cut wasted steps, and keep your team (or yourself) way happier. Good flow isn’t fancy; it’s just practical kindness to the people using the space.
Get it right, and your kitchen practically runs itself.