The Best Fluffy Pancakes recipe you will fall in love with. Full of tips and tricks to help you make the best pancakes.


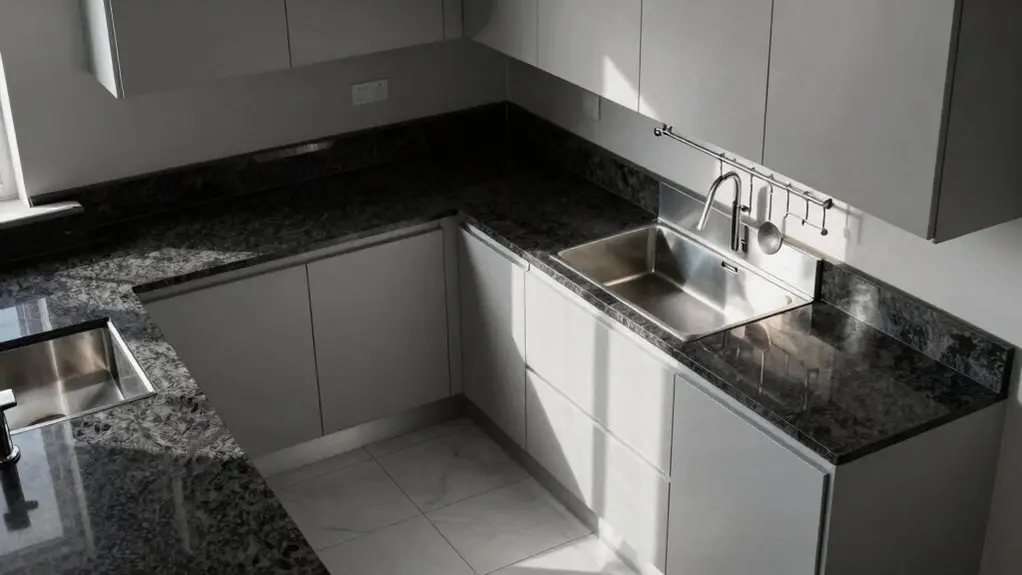
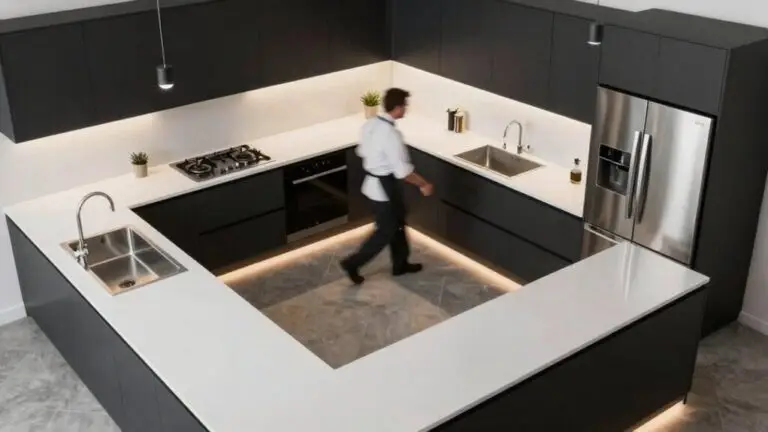
You’re probably mixing up kitchen layout with workflow design, but they solve different problems. Layout decides *where* work happens—equipment placement and fixed zones.
Workflow controls *how* things move—timing, step sequencing, and crew flow between stations. A bad layout breaks even the best workflow ideas, while good workflow optimizes what’s already working.
Layout adds capacity; workflow adds standardization. Together, they clear the path from receiving to plating.
Stick around to see how these differences play out in your own kitchen.
Kitchen Layout vs. Workflow: Where Work Happens vs. How
The old Work Triangle assumes you’ll walk less, but real Workflow planning maps every step of ingredient flow, from receiving to plating. That’s why you must create specific zones to reduce backtracking.
Nothing kills speed like crossing paths with dirty dishes. A smart layout won’t save you if your station placement forces cooks to queue up.
By prioritizing movement patterns, you directly enhance workflow and cut down on those frustrating reaches and turns. Remember, 93,800 injuries happened in 2019 partly because “how” work flowed was ignored.
The classic guideline keeps each kitchen triangle leg between 4 and 9 feet so that the path from refrigerator to sink to stove stays tight enough for convenience without forcing unnecessary movement across the room.
Don’t let your kitchen be one of them.
Menu Dictates Layout; People Habits Dictate Workflow
5. Positioning pots, pans, and cooking tools near the stove reduces unnecessary crossings between the sink and cooking surface, cutting wasted movement during high-demand service.
Layout Controls Physical Space; Workflow Controls Timing
That’s where step sequencing takes over, setting the timing for each task so raw ingredients don’t get in the way of a finished plate.
Station layout might keep your tools close, but task flow keeps your team moving at the right speed.
This ensures no one’s waiting or bumping elbows during the rush.
For home kitchens, the kitchen work triangle connects the refrigerator, sink, and stove as the three primary zones, reducing unnecessary steps and fatigue during meal prep.
Physical Zones vs. Step Sequencing
- Zones are static, but workflow is dynamic: your crew moves through them.
- Circulation paths need to flow in one direction; crossed arrows create chaos.
- Prep areas may be close to cooking stations, but if step sequencing forces back-and-forth trips, you’ve got a jam.
- Spacing only helps if your workflow uses that space efficiently; otherwise, you’re just building a pretty traffic jam.
- Tracing a single ticket from receipt to plate can reveal exactly where your layout and workflow stop working together.
Layout handles the *where*: you still need to plan the *when*.
Station Layout Versus Task Flow
Station layout drops the anchor for where everything lives: grill over here, fryer over there, expo up front.
But task flow is the quiet conductor that decides *when* each move happens.
You might nail layout efficiency by placing cooking zones side by side, yet still suffer from unnecessary movement if the timing’s off.
For instance, if your fryer sits far from assembly, you’ll watch cooks stuck waiting instead of plating right away.
Task flow cuts that friction by engineering the order of actions, so you grab ingredients just when needed.
Smart station layout reduces fatigue by keeping tools at arm’s reach.
But pairing it with solid workflow prevents backtracking during rush hour.
Keeping dish storage near the dishwasher ensures counters don’t become dumping grounds that interrupt both layout and flow.
Together, they’re the secret sauce for a kitchen that hums.
Bad Layout Breaks Workflow; Good Workflow Can’t Fix It
When your kitchen’s layout creates structural friction, even the best workflow ideas can’t save you.
You can’t just “plan better” around aisles that are too tight or prep stations that force backtracking.
The hard truth: LAYOUT FOLLOWS a non-negotiable foundation. It’s the skeleton your workflow hangs on.
The hard truth: Layout is the skeleton your workflow hangs on.
You need to fix these four layout killers before you ever train a single move:
- Unload smartly—missing unloading countertop space near cooking forces unnecessary steps no process can soothe.
- Minimize cross-traffic—raw and ready-to-eat paths shouldn’t share aisles. Even perfect task flow can’t dodge contamination risks.
- Get aisles right—skip the 48-inch minimum and you’ll create collisions your crew can’t queue around.
- Reduce unnecessary movement—an efficient kitchen layout maps equipment so cooks aren’t walking laps mid-shift.
That’s why you test layouts before construction begins.
Positioning your refrigerator, sink, and stove within easy reach of one another keeps the most-traveled path in your kitchen short, predictable, and collision-free.
Workflow optimizes good layouts; it can’t resurrect bad ones.
Zones Are for Stationary Work; Workflow Maps Movement Between Them
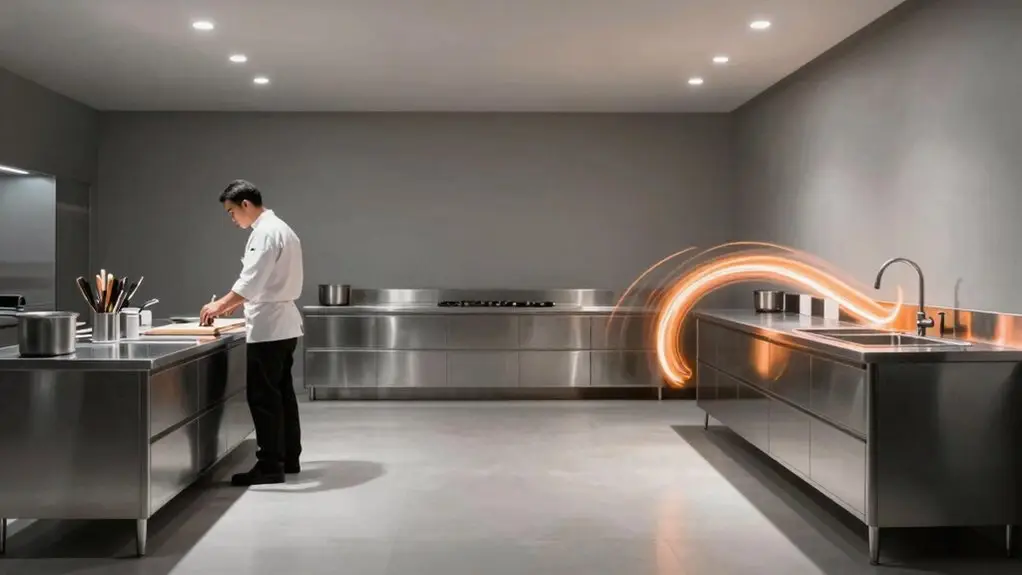
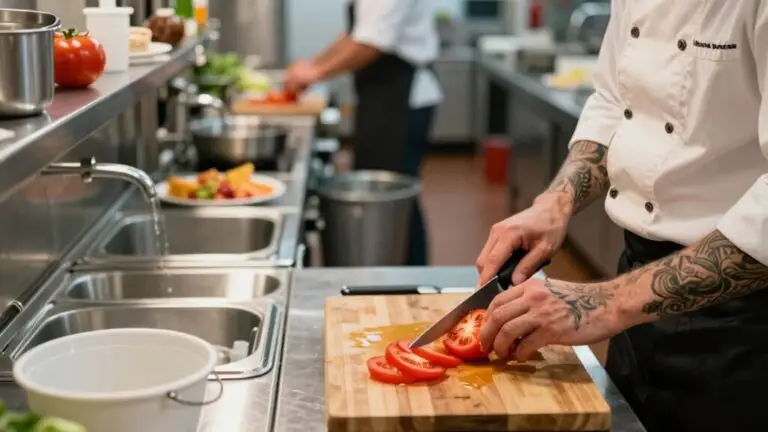
You set up zones for the stationary work: prep, cooking, plating, where everything you need sits right at hand.
But a workflow map shows you the arrows of movement between those zones, tracing each item and person from receiving all the way to warewashing.
If those arrows cross or backtrack, you’ve got friction.
Mapping reveals where your zone adjacencies, like frying next to assembly, need to be tighter for a seamless, one-direction flow.
The classic kitchen work triangle connects the sink, stove, and refrigerator into an efficient three-point path where each leg should measure between four and nine feet to minimize wasted steps.
Stationary Zone Logic
Keeping ingredients grouped by recipe step within each zone eliminates mid-cook searching and maintains steady momentum throughout service.
This isn’t rocket science: it’s just smart placement for efficiency.
Movement Mapping Necessity
Stationary zones give you the *where*, but movement mapping delivers the *how*. With a workflow map, you’ll draw arrows tracking every step—receiving to storage, prep to cooking, then plating/service, and finally warewashing.
Now look for crossed or backtracking arrows; those signal wasted steps and congestion waiting to happen. If your map shows raw items sneaking into the plating/service path, you’ve got a possible FDA violation risk—even with perfect zones.
Run friction tests on shared touchpoints, like a fridge near plating where arrows collide. Those are your bottleneck spots.
And don’t forget spacing: aim for at least 48-inch aisles so your mapped movement doesn’t force staff to detour or queue.
In the same way that work triangle placement keeps the sink, stove, and fridge within efficient reach, movement mapping ensures every step between zones follows the shortest, safest path.
Movement mapping turns your kitchen’s static zones into a seamless, safe flow.
Work Zone Adjacencies
Because work zones handle stationary tasks while workflow maps chart the movement between them, nailing adjacency is all about connecting the dots, literally. Think of it as rush-hour traffic etiquette: you wouldn’t put a school zone next to a drag strip.
To truly reduce unnecessary movement, follow these four adjacency rules:
- Park prep right at cooking’s doorstep so raw ingredients hop directly to your heat source without crossing finished food.
- Plant warewashing on the dirty side so soiled dishes retreat without interrupting plating.
- Align fryer, grill, and sauté with your assembly point—fast-cooked items need quick handoff, not a cross-kitchen marathon.
- Reserve dirty staging space at the warewashing edge so returns don’t clog your service flow.
When your workflow map shows no backtracking arrows, you’ve got food preparation and cooking singing in harmony. Keeping your sink, prep station, and stove within a 4–9 foot range of one another tightens this harmony further, so stock refills, rinsing between steps, and last-minute deglazing never pull you out of your cooking rhythm.
Where You Put Equipment Is Layout; How You Sequence It Is Workflow
Your kitchen’s equipment placement is its layout, but how you sequence that equipment is its workflow, and they’re two sides of the same coin. Getting layout decisions right means pairing your dishwasher near the sink to cut needless steps.
But it’s workflow that orders each stage—receiving, storage, prep, then cooking, then plating, so raw ingredients never cross paths with ready-to-eat food. That’s where the 48-inch aisle comes in: it gives your team room to move along those planned paths without bottlenecking.
Even if your equipment placement looks perfect, forgetting workflow lets dirty dishes cross paths with fresh plates, and that kills your ticket times faster than a dropped fry basket. Sequence matters every bit as much as where you put things.
Boosting Throughput: Layout Adds Capacity, Workflow Adds Standardization
If you want to get more orders out the door without your team running in circles, layout adds capacity while workflow adds standardization. They work together like a two-lane highway and a set of traffic lights. Here’s how they boost throughput:
Layout adds capacity; workflow adds standardization—together they clear the path for throughput.
- Layout begins by carving clean, unidirectional zones—receiving to plating—so you reduce unnecessary movement and cut “lost seconds” from backtracking.
- Workflow mapping then standardizes the sequence across those zones, turning chaos into predictable cycles that handle peak ticket volume without burnout.
- Designed around micro-layouts, stations where cooks grab components within arm’s reach, labor time per order drops and output steadies.
- Kitchen design that separates dirty from clean paths, plus workflow mapping, can significantly improve functionality without new equipment: just smarter flow.
You’re not asking your team to work harder; you’re asking them to work smarter. That’s the throughput win.
Layout Prevents Physical Collisions; Workflow Prevents Task Confusion
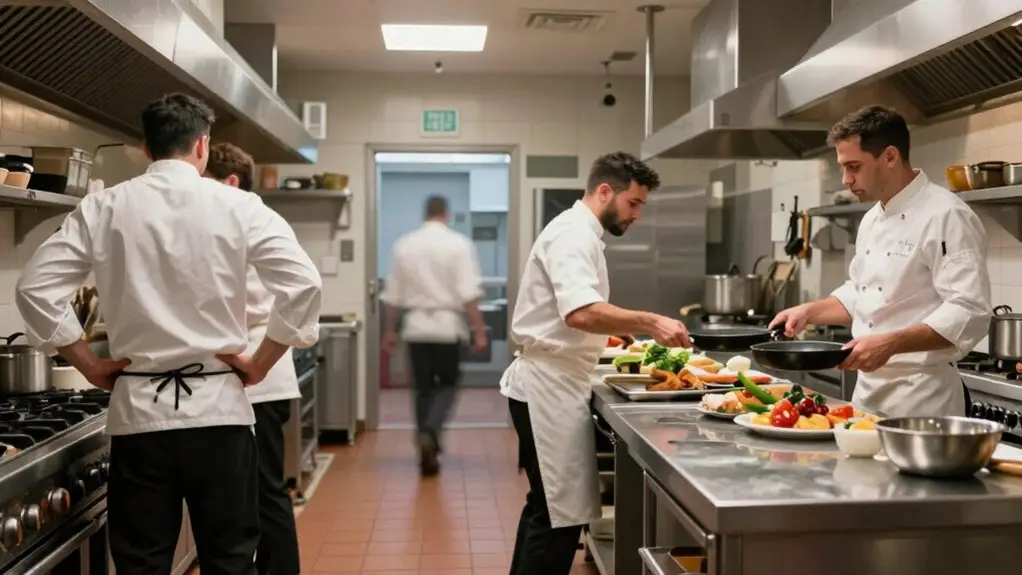
When you map out a kitchen layout with clear, 48-inch aisles, you’re fundamentally building a highway system that keeps your team from bumping into each other. No more squeezed passes near the fryer or frantic sidesteps around the prep table. That space is your silent safety net, and the right kitchen layout lets you reduce unnecessary movement in the physical sense, like avoiding collisions that cause injuries.
But it’s your workflow that tackles the mental mess. A solid workflow should reduce unnecessary confusion by enforcing a clean-to-dirty food flow—raw moves forward, never backward—so no one’s guessing where the cooked chicken goes next. Without that, you’ve got a safe kitchen that’s still chaotic, with staff asking “what’s next?” instead of just executing.
Layout Exists to Handle Peak Volume; Workflow Projects to Handle It
- Layout minimizes unnecessary movement by positioning stations logically, but workflow sequences tasks so cooks don’t crowd each other during rushes.
- Without proper workflow design, inefficiencies become dangerous. Cramped paths raise injury risk when volume spikes.
- Layout handles the “where”; workflow handles the “when” and “who” to prevent bottlenecks.
- Even with perfect zones, poor workflow makes you work harder, not smarter, during peak.
Structure prevents chaos. Process prevents collapse. Both matter—but layout builds the highway, workflow manages the traffic.
Why Kitchen Layout and Workflow Both Need Regular Redesign
You can’t just set your kitchen layout once and call it done. Your daily routines shift, and so should your space.
An aging kitchen flow traps inefficiencies you didn’t even notice, like backtracking during a busy dinner rush or fighting for counter space.
That’s why both your layout and workflow need regular redesigns to keep pace with your actual cooking habits and prevent small annoyances from becoming big headaches.
Aging Kitchen Flows
Here’s what regular redesign tackles:
- Shorten your steps – Re-zone tasks so fridge → prep → cook → clean-up flows one way.
- Arm’s reach rule: Keep daily tools within easy grab, without overloading counters.
- Clear the clutter: Remove bottlenecks from that air fryer you added last year.
- Recheck spacing: Older “work triangle” widths can force dangerous twisting.
Your body’s changing, and your kitchen should too.
A workflow update keeps you cooking comfortably.
Dual Design Updates
An aging kitchen flow isn’t your only concern; sometimes a perfectly good floor plan just doesn’t match how you really work. That’s where dual design updates come in.
You can’t just rearrange floor plans and call it done; you must also rethink your workflow.
For example, mapping how ingredients travel from storage to plating shows where backtracking slows you down.
Updating both helps reduce unnecessary movement, especially in a busy commercial kitchen.
You’ll also need to reconsider equipment selection—placing the fryer near the plating station, not across the aisle.
Remember, even modern gear won’t save you if your dirty dish returns cut through your cook’s prep zone.
Regular reassessment keeps your kitchen efficient and your staff safer, without expensive structural fixes later.
Final Thoughts
So, you’ve got the layout down and your workflow running. But here’s the secret: they’re a team that needs regular tune-ups. Your menu changes, your crew grows, and suddenly that perfect plan feels tight.
Don’t wait for a slammed Saturday to realize it. Check in on both every few months. A tweak now beats a breakdown later. You’ve got this—keep serving effortlessly.