The Best Fluffy Pancakes recipe you will fall in love with. Full of tips and tricks to help you make the best pancakes.


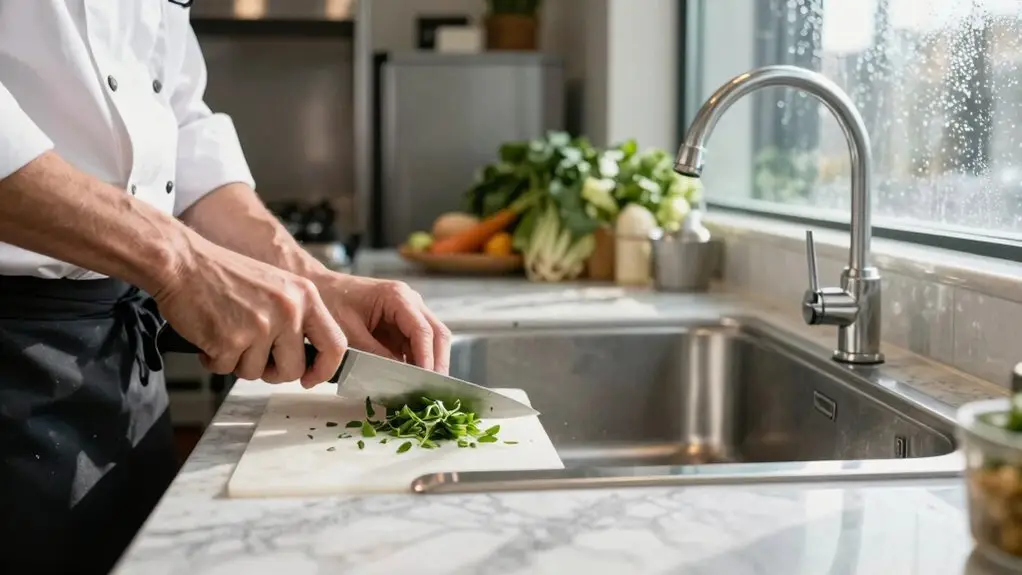
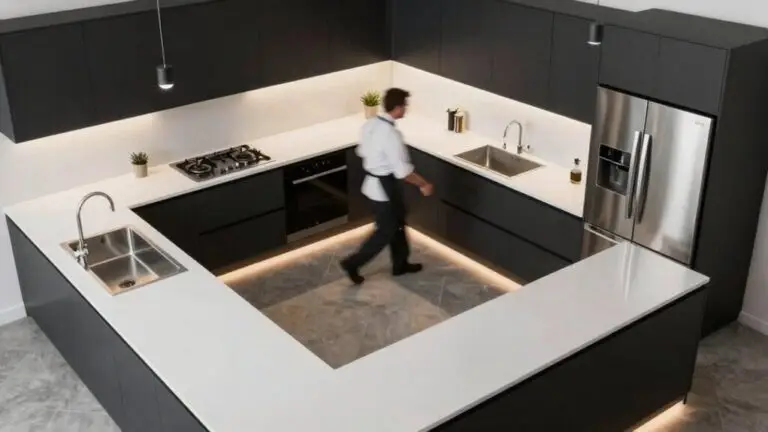
Kitchen flow mapping is planning how you move between the fridge, sink, and stove before you pick any cabinets or appliances. It’s the secret to avoiding awkward backtracking or mid-reach collisions.
Designers care because ignoring it turns a dream kitchen into a bottleneck. Think cramped aisles, wasted steps, and even 93,800 accidents a year. You’ll create safer, faster workflows instead.
There’s more to uncover about nailing that perfect triangle.
Why Kitchen Flow Mapping Matters More Than Appliance Selection
Before you even start drooling over that six-burner range or those pro-grade fridge drawers, you need to get real about how your kitchen actually moves. Kitchen flow determines everything: it’s the heartbeat of Kitchen Design.
A premium appliance can’t fix a lousy layout where you’re constantly backtracking or bumping into someone mid-reach.
That’s why mapping your Work Triangle—the key routes between fridge, sink, and cooktop—matters first.
It guarantees unobstructed paths and clear circulation paths, so washing flows into prep and cooking without collisions.
Without this, Kitchen Efficiency tanks, no matter how shiny your gear looks.
Think of it this way: a smart Kitchen Layout prevents 93,800 potential injuries linked to cramped station congestion.
Don’t gamble on specs; let your kitchen workflow dictate the design, not the other way around.
According to NKBA planning guidelines, each leg of the work triangle should measure between 4 and 9 feet, with the total perimeter falling between 13 and 26 feet to prevent both cramped collisions and exhausting cross-kitchen treks.
How to Map Movement Patterns Before Placing Cabinets?
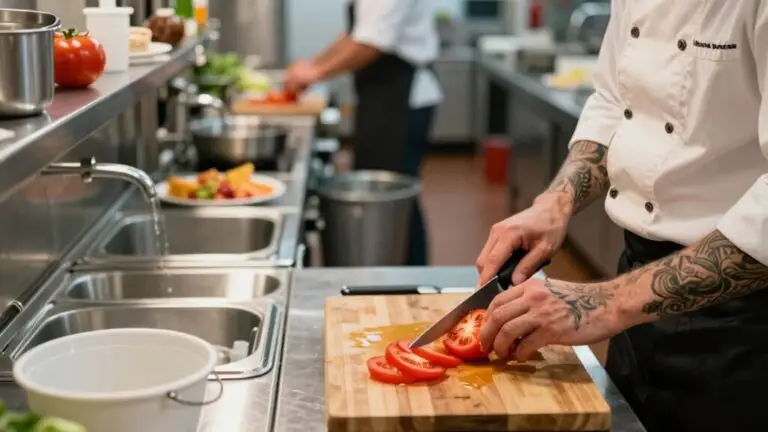
When you’re ready to figure out how your kitchen will really work, start by diagramming a unidirectional workflow cycle: receiving leads to storage, which flows into preparation, then cooking, plating, service, and finally warewashing. Now, draw arrows to trace how your team and ingredients move.
Spot “friction points” where arrows cross or backtrack, especially near hot surfaces or sharp tools. It’s a red flag for collision risk.
Focus on these three steps to cut unnecessary movement:
1. Map your kitchen triangle (fridge, sink, stove) with clear, unobstructed paths between them.
2. Measure circulation routes like real traffic, aiming for 48-inch aisles so two people can pass without blocking key entry points.
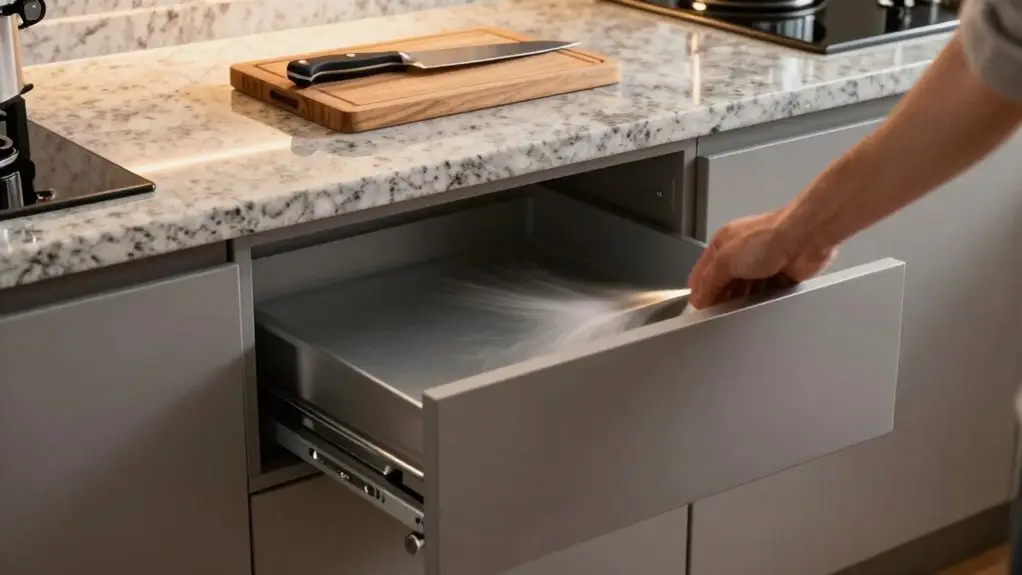
3. Keep landing areas open near prep areas and work surfaces before placing cabinets. Drawers must swing free.
Only after confirming routes and landing zones should you place cabinets. This approach turns chaotic kitchen layouts into steady traffic patterns. Installing under-cabinet strip lights along countertops further supports this approach by reducing shadows across food prep and cooking areas, improving visibility where movement is most concentrated.
The Cost of Ignoring Kitchen Flow Mapping in Layouts
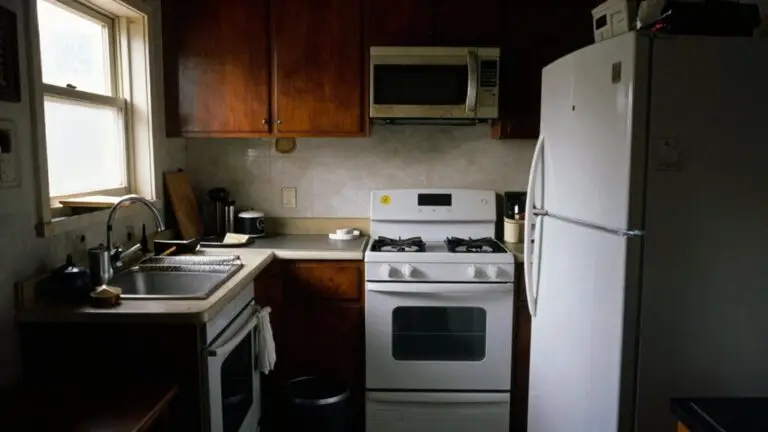
You’ve just mapped your kitchen flow and spotted those friction points, good. Ignoring that mapping costs you big. Without spatial planning, you create “equipment-first” layouts where staff backtrack between the five primary cooking zones.
That daily dance turns into measurable throughput losses during peak service. Cramped areas also hike injury risk—think 93,800 nonfatal kitchen accidents in 2019 alone. Cross-traffic near hot surfaces and sharp tools? You’re begging for spills and collisions, forcing time-consuming workarounds.
Bottlenecks at shared stations slow ticket times, limiting covers. Wasted square footage from poor cooking zones means extra steps and less safe landing space. Your work suffers, and labor costs climb. Poor layout also creates station ownership confusion, where multiple cooks collide at shared equipment without clear roles, turning a single bottleneck into a full-service breakdown.
Skip the flow map, and your kitchen’s efficiency tanks, so don’t let your layout fight your workflow.
When to Follow (and Break) the Kitchen Triangle for Flow
3. FREQUENTLY USED.
4. YOUR COOKING STYLE DEMANDS IT – COMMON MISTAKES INCLUDE FORCING A TRIANGLE ACROSS A BUSY AISLE. Instead, abandon it to avoid “friction points.” Maintain at least 3.5 feet of clearance around any island to prevent forced detours that disrupt your cooking route.
How Workflow Mapping Adapts Kitchens for Any Cook or Family
Leaving the classic kitchen triangle behind doesn’t mean abandoning order, it means building a layout that actually fits your life. Workflow mapping tailors every part of kitchen movement to the primary user, so your daily kitchen feels intuitive instead of frustrating.
You chart routes between storage, sink, and cooktop for minimal backtracking, ensuring sink, prep, and cooking transitions match your routine.
For households with kids or elders, mapping prioritizes reduced reach and bending, placing critical tools in lower pull-outs with near-clear aisles. It also creates parallel circulation routes so one person can prep while another cooks without collisions.
Countertops and appliances align with your body mechanics, reducing strain. Designers applying workflow mapping also recommend maintaining 42 to 48 inches of walkway clearance to prevent bottlenecks caused by door swings and to keep movement comfortable throughout the kitchen. With these adaptations, kitchens that feel like they’re designed for you bring everyone together—no more dodging one another by the hot stove.
Final Thoughts
So, you’ve seen how kitchen flow mapping isn’t just fancy theory, it’s your secret weapon against a cramped, frustrating space. Don’t obsess over fancy appliances first. Instead, watch how you really move. You’ll dodge costly mistakes and create a room that actually works for your family.
Break the triangle when it makes sense. Remember, a kitchen that flows well isn’t just pretty; it makes cooking feel easy, not like an obstacle course.