The Best Fluffy Pancakes recipe you will fall in love with. Full of tips and tricks to help you make the best pancakes.


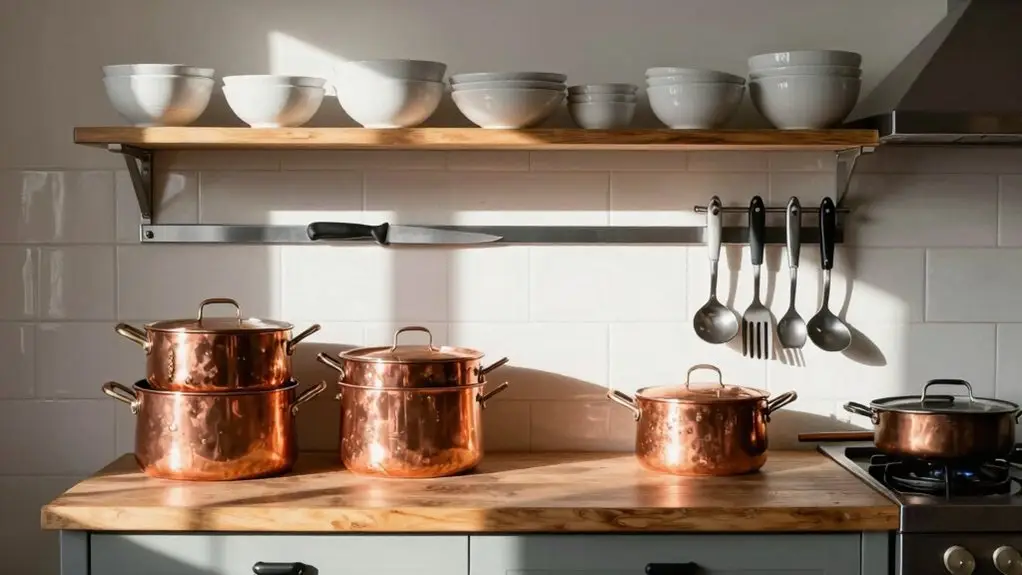
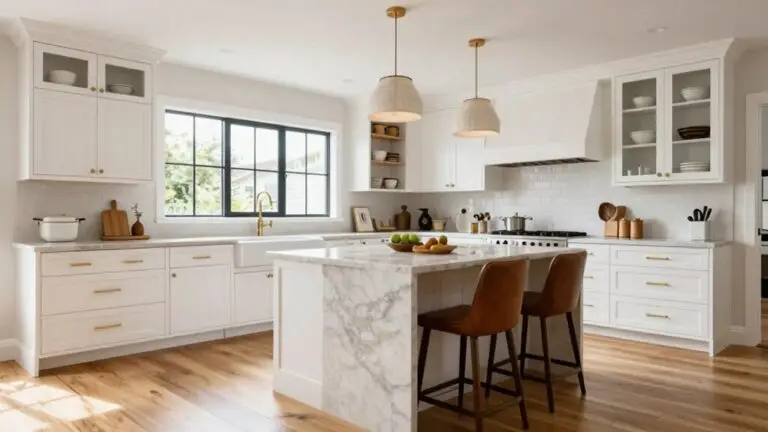
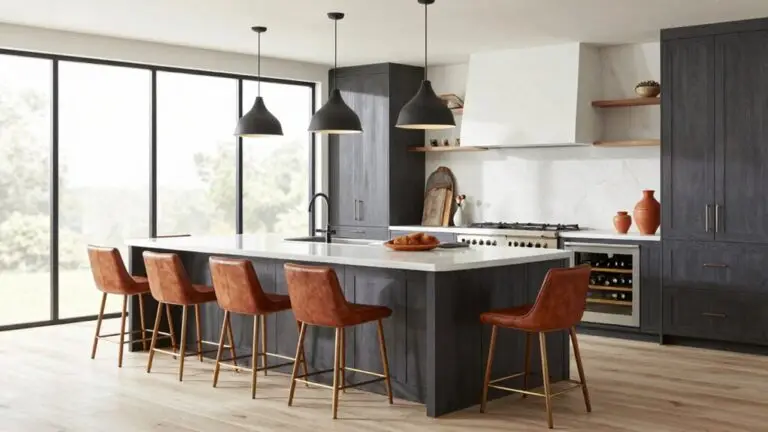
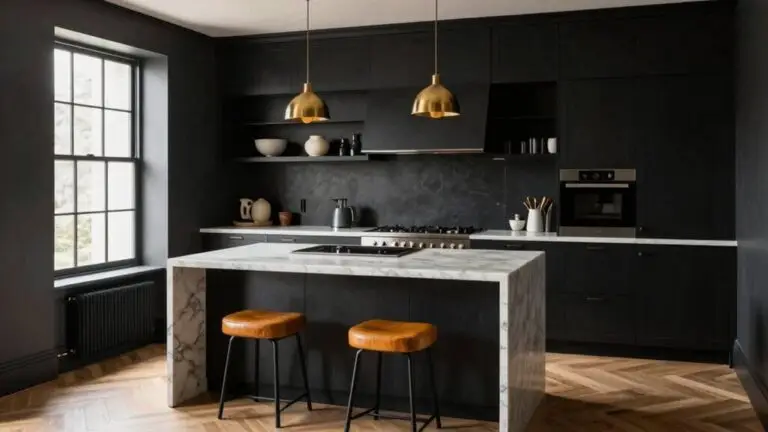
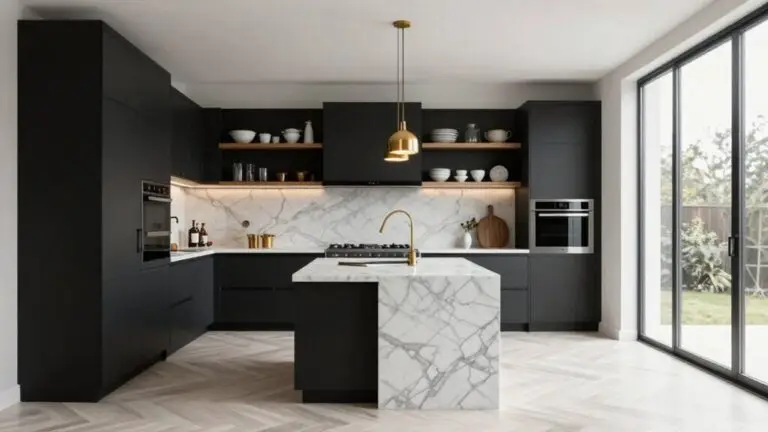
You don’t need to gut your kitchen to fix a frustrating layout. Start by mapping your work triangle: sink, stove, fridge, and cut down wasted steps.
Swap in a high-arc faucet and under-cabinet lighting to banish shadows and make tasks easier. Add pull-out shelves or a rolling island to reclaim dead space without touching walls.
Small hardware swaps and better zone planning will transform how your kitchen flows. Stick around—there’s a lot more where that came from.
How to Diagnose a Poor Kitchen Layout Without a Full Renovation
Why does your kitchen feel so awkward to cook in? You’re probably dealing with a layout problem, not a diagnosis you can tackle without touching a single wall. Start by mapping your work triangle—stove, sink, fridge—and note where you backtrack or run into obstacles. That backtracking is your clue.
Next, audit your lighting at different times of day. Glare or shadows can make a cramped feeling. Spot visual choke points too, like awkward cabinets over the stove breaking sightlines. You’ll know exactly what to highlight.
Then check storage flow: count steps from where food lands to where you prep and store dishes. Clutter can be a symptom of poor flow. Mark potential. Measure everything and mark “no-demolition” fixes, like shifting cabinet placement or swapping uppers for open shelving. According to NKBA planning guidelines, each leg of your work triangle should measure between 4 and 9 feet, with the total perimeter falling between 13 and 26 feet—a quick measurement can reveal whether your layout is simply too spread out or too cramped. That’s how kitchen update ideas without remodeling become real.
Fix a Poor Kitchen Layout by Creating Smart Work Zones
You’ll start by defining your work zones—clean-up, prep, cooking, and storage—so you’re not running a marathon every time you make a sandwich.
Then, focus on zone placement strategies, like putting your prep counter right next to the sink and your landing space beside the cooktop, to keep everything within arm’s reach.
Once your zones are mapped, store items like pots, pans, and cooking utensils in a lower cabinet near the stove so the distance between grabbing a tool and using it stays as short as possible.
With these smart zones in place, your kitchen will feel bigger and more efficient, even if you haven’t moved a single wall.
Defining Work Zones
Since you can’t exactly move your sink or stove without a major reno, the next best trick is to carve out dedicated work zones so your kitchen actually flows.
Start by defining work zones around key appliances.
Your prep zone lives near the sink with your cutting board, knives, and oils grouped together.
Keep your cooking zone right by the range, and create a clean-up zone around the dishwasher with detergent, brushes, and a drying rack within easy reach.
Don’t forget landing zones on both sides of the cooktop; just a few inches of counter space let you set down hot pans without blocking your path.
Reserve a storage zone for pantry items near your main work area, pots near the range, and baking supplies near the oven.
To prevent cross-contamination, use color-coded boards and utensils for each zone, keeping red for raw meat, green for produce, and yellow for ready-to-eat foods.
With zones in place, your whole kitchen feels fresh and new, even without moving a pipe.
Zone Placement Strategies
By mapping your kitchen into clear work zones and placing them in a logical path, like from fridge to prep surface to cooktop to sink, you can cut out wasted steps and awkward turns without moving a single pipe. Smart zone placement means centering the cooking zone for better symmetry and visibility. Align your range between two windows so lighting and traffic flow serve you, not fight your layout.
Put daily-use items in the “between zones” landing area. Store frequently grabbed tools near the prep-to-cook passage, and keep bulk stuff far away so the kitchen feels less cluttered.
If your sink’s mislocated, reposition its “reach radius” with task lighting and keep dishware on one side so you can rinse without crossing the room.
Use cabinetry to reinforce boundaries, like shifting upper storage away from above the range. This keeps the cooking zone open and your workflow seamless. When islands or cabinetry do exist near your cooking path, make sure they don’t intrude more than twelve inches into the work triangle, or they’ll force awkward detours that undo all your zoning efforts.
Use Storage Upgrades to Fix Awkward Wasted Kitchen Space
Even when your kitchen layout feels like a puzzle with missing pieces, you don’t have to knock down walls to fix it: just rethink your storage.
Smart storage solutions target those awkward wasted spots without any structural changes.
Install pull-out pantry drawers or lazy Susans in corner kitchen cabinets, turning dead space into reachable, usable areas.
Inside cabinet doors, add vertical racks or pegboards to keep your favorite tools off the counter and improve your workflow.
Under the sink, use stackable bins with a sliding tray to reclaim that cluttered cleaning zone.
Don’t stop there—add floating shelves above existing cabinets to capture unused wall space, or swap in drawer dividers and clear containers for your pantry.
These targeted upgrades make your awkward layout feel instantly functional, no demolition required.
Adding shelf risers or extra shelves to upper cabinets can split the gap between standard shelving and effectively double your usable storage layers for under $20.
Fix a Poor Kitchen Layout by Swapping Cabinet Hardware and Drawers
Swap out your old, bulky cabinet hardware for sleek new pulls, and you’ll instantly change how your kitchen feels, no demolition required. Think of cabinet hardware as the jewelry for your cabinets. Switching to matte black or polished nickel pulls gives everything a modern face-lift.
To update a kitchen without moving a single wall, replace bulky drawer fronts too. You can transform wasted space by adding drawer dividers for pots, pans, and utensils. That creates dedicated zones matching how you actually cook.
Measure existing screw-hole spacing before ordering replacements, so you skip patching holes.
Matching hardware finishes across the room visually tightens the space, reducing that chaotic feeling. You can even pair darker pulls in black or bronze with a gold faucet finish for a mixed-metal look that feels intentional rather than mismatched. You won’t believe how much a few new pulls and organized drawers change your workflow, no contractor needed, just a screwdriver.
Change Your Sink and Faucet to Improve Kitchen Workflow
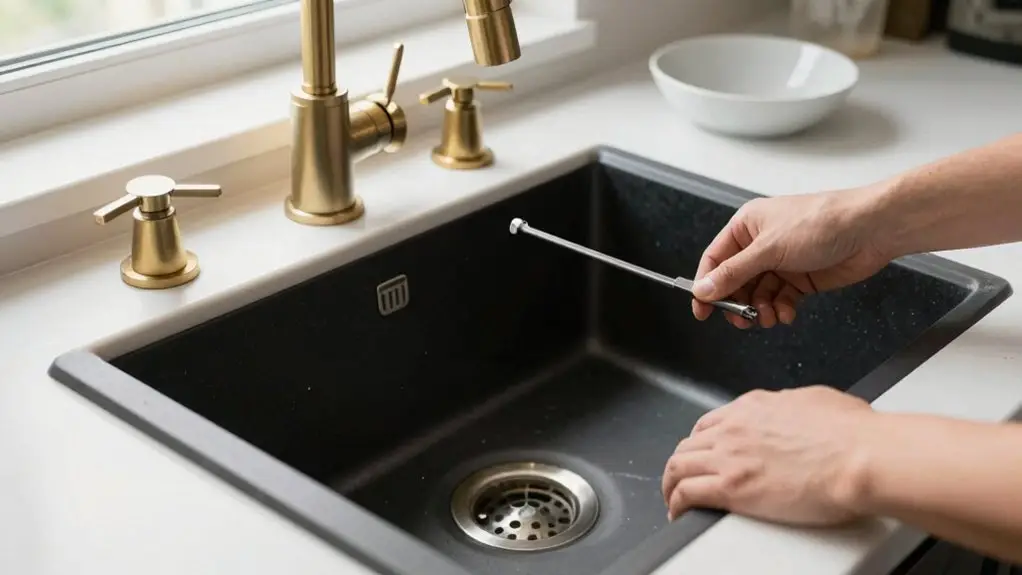
You can instantly improve your kitchen’s workflow by upgrading your sink placement, even without moving the plumbing.
Pair that with a deep basin to reduce splashing and make washing large items a breeze.
Then top it off with a hands-free faucet for effortless multitasking.
Ideally, position your sink within the cooking triangle so you can rinse, drain, and deglaze without ever missing a beat at the stove.
These three changes will save you steps and keep your countertops cleaner, turning your sink into the hardworking hub it was meant to be.
Upgrade Sink Placement
If your sink placement forces you to zig-zag between the fridge, stove, and prep area, it’s time for a workflow-first change. To upgrade sink placement, align it with your dishwasher and a landing zone for dirty-to-clean moves.
Even without moving plumbing, you can update your kitchen without major demolition by choosing a high-arc pull-down faucet. It’ll reach big pots so you stop juggling them.
Just measure cabinet depth and verify drain access before you commit; you don’t want your faucet’s swing blocked by a trash can.
Pairing the sink with a counter on each side—one for chopping, one for rinsing—keeps your path streamlined. That simple shift saves steps and cuts frustration, making your kitchen feel bigger without touching the walls. For the best results, position your sink and stove in close proximity so that the sink-to-stove path stays clear and unobstructed, reducing the strain of carrying heavy pots across the kitchen.
Deep Basin Selection
Why settle for a sink that fights back every time you wash a big pot? Instead, choose a deep, wide basin, often 9–10 inches deep. That extra depth reduces countertop splashing and lets you soak pots or load your stacked dishwasher without constant mess.
Pair it with a high-arc gooseneck or pull-down sprayer for better reach to back corners. You’ll fill tall pots and rinse plates faster than a low-swing faucet ever could.
For true improvement, pick a deep basin with sound-dampening insulation, common in stainless models, to cut noise and vibration.
A new faucet with adjustable spray modes lets you switch from basin filling to targeted rinsing. Just check your countertop cutout and cabinet space first.
This simple swap transforms your kitchen without a full renovation. If you also cook large cuts of meat regularly, a reliable thermometer with certified accuracy ±0.5°F ensures your roasts and grills hit safe internal temperatures without guesswork.
Install Hands-Free Faucet
Replacing an old, hard-to-reach faucet with a hands-free motion or foot-activated model transforms your sink into a true workflow hub. This simple update lets you start or stop water without touching handles when your hands are dirty or slippery.
Choose a pull-down or high-arc hands-free design with a sprayer and ergonomic reach to make rinsing dishes and filling pots faster. Look for a model that uses standard supply lines and fits your existing sink cutout, so you avoid major countertop or plumbing renovations.
Prioritize an easy-to-clean, fingerprint-resistant finish with splash-control features to reduce residue buildup. Pair your new hands-free faucet with smart sink placement and nearby storage, so your prep-to-rinse steps become a seamless, uninterrupted routine. For the best results, position your sink so it sits 4 to 9 feet from both the refrigerator and stove, keeping your three core workflow points within comfortable reach of each other.
Why get your sticky fingers all over the handle when you don’t have to?
Fix a Poor Kitchen Layout by Clearing Traffic Flow Without Walls
While you might think fixing a poor kitchen layout means tearing down walls, there’s a smarter way: clearing traffic flow without any demolition.
Start by mapping your typical routes—entry to fridge, sink, stove, and trash—to pinpoint choke points where you often bump into someone.
Then, rebalance your work triangle by shifting the stove zone, even with a freestanding hood, so it sits between natural approach paths and doesn’t force detours around doors or islands.
Here’s how to clear the way:
- Swap upper cabinets for open shelving near travel lines to reduce visual barriers and make items accessible.
- Widen narrow walkways to about 36 inches for safer, easy passage.
- Use under-cabinet lighting and wall-mounted organizers to soften cleared routes, making them feel intentional, not cluttered.
You’ll regain flow without a sledgehammer.
Use Lighting to Fix Dark Corners and Rework a Poor Kitchen Layout
You don’t need to move a single cabinet to fix those frustrating dark corners. Just add bright task lights under your upper cabinets to banish shadows and make your counters work for you.
A targeted pendant over the sink or an accent light fixture can also visually re-center a dim zone, turning an awkward layout into a functional one.
Task Lighting Placement
By mapping your kitchen into work zones—cooktop, sink, and prep counters—you can target task lighting exactly where it’s needed, instead of relying on a single overhead fixture that leaves dark corners.
You’ll want to focus on three key moves:
- Dedicate a dimmable switch for your main task lighting over the prep area and sink, so you can dial up brightness when chopping or dial it down for a calm cleanup.
- Install adjustable puck lights directly under your wall cabinets, aimed squarely at your countertops, not the floor. This banishes those frustrating shadow pockets.
- Test your positioning at night with a cutting board and pots in hand. Moving your arms creates new shadows, especially around an induction cooktop, where your body blocks overhead light.
Shift your task lighting angle or add a small recessed light to wash the surface clean.
Under-Cabinet Lighting
Since your kitchen layout can make some areas feel like dark caves, under-cabinet lighting is the easiest way to banish those shadowy corners without moving a single wall. You’ll wash your countertops in light, not your cabinets. Aim those LED strips or puck lights down with a diffuser lens to kill glare and boost visibility in awkward spots.
Choose a warm 2700K–3000K for cozy vibes or brighter 3500K–4000K for serious chopping. Add dimmers or motion controls so you can dial it up for prepping spaghetti or dim it down for a glass of wine.
Match your existing fixtures to make your kitchen feel fresh and new, and stagger the lights over your sink, stove, and prep zones.
No more fumbling in the dark—just a smarter, safer space you’ll love.
Accent Light Fixtures
Under-cabinet lighting already gets your countertops glowing, but now it’s time to tackle those stubborn dark corners that a poor layout leaves behind.
Swap in brighter accent light fixtures to push light into “dead zones” near the sink or pantry. You can rework a poor kitchen without a full renovation by layering these lights strategically.
Here’s how:
- Install toe-kick lights along lower cabinets to brighten dark floor zones, making tight spaces feel bigger.
- Use adjustable spotlights aimed at vertical surfaces like backsplashes or artwork to break up awkward layout lines.
- Choose 2700K–3000K bulbs for warm, crisp light that reduces gloomy shadows on counters.
These simple shifts turn dead spots into functional areas. They give your kitchen a whole new vibe without moving a single wall.
Solve Your Broken Work Triangle to Fix a Poor Kitchen Layout
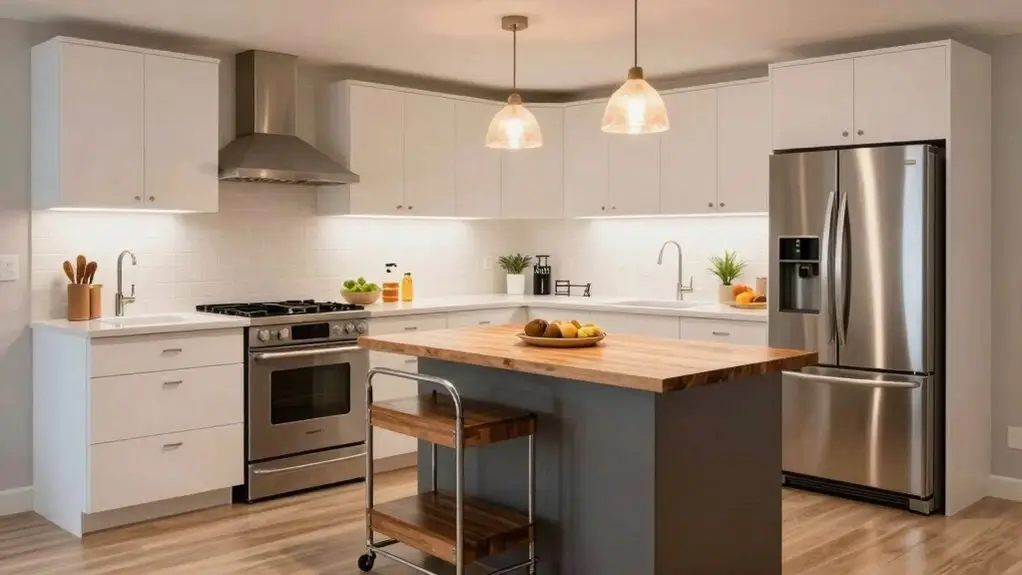
If you’ve ever felt like you’re playing a frustrating game of kitchen shuffle, darting from the fridge to the sink, then back to the stove, chances are your work triangle is out of whack.
First, map your fridge, sink, and range triangle and keep that total walking distance under 12 feet. A longer path or crossing routes creates a poor layout. If dead corners or doors block access, adjust clearances around the sink and range first.
You can often re-center workflow by shifting landing zones and storage without moving plumbing. When the fridge sits too far, create a closer prep staging area with a mobile cart or pull-out drawer zone.
This effectively shortens the work triangle, giving you a much-needed refresher kitchen without any major demo.
Upgrade Appliances to Fix a Poor Layout Without Moving Walls
- Pick the right fit: Choose a refrigerator, range, or dishwasher that matches your existing cabinet cutouts. Measure first, then order, no demo required.
- Streamline cooking zones: Swap to an induction cooktop or counter-depth range. Induction heats faster than old coil tops, giving you quicker, safer control.
- Boost ventilation: Install an updated over-the-range microwave or a better-sized range hood. You’ll cut smoke and odors while keeping the same footprint.
Also, REPLACE MISMATCHED MODELS WITH A CONSISTENT FINISH, LIKE FINGERPRINT-RESISTANT STAINLESS STEEL. A COORDINATED PACKAGE—DOORS, TRIMS, AND COLORS ALIGNED—VISUALLY TIGHTENS A DISJOINTED LAYOUT WITHOUT SHIFTING A SINGLE WALL.
Add a Rolling Island to Fix Counter Space and Kitchen Layout
When your kitchen feels more like a tight hallway than a place to cook, a rolling island can be a total game changer. You don’t need to move plumbing or walls—just add a mobile piece with a butcher-block top, and you’ve instantly got extra counter space for chopping, serving, or stacking groceries.
Look for a rolling kitchen island with locking casters so it stays put when you’re prepping. You can still roll it aside when you need more room to breathe.
Before you buy, measure your space and aim for about 36 inches of clearance around it—don’t block your fridge or oven.
A compact size, like 24 inches deep, fits tight spots without making things worse. It’s a quick fix that really works.
Final Thoughts
You don’t need a sledgehammer to fix a frustrating kitchen. Start with just one smart swap, maybe pull-out shelves or a rolling island, and watch the flow improve. Little changes add up fast, turning wasted space into your favorite spot for morning coffee.
Remember, you’re not stuck with bad design forever. A few clever tweaks can make your kitchen finally feel like it works for you, not against you.