The Best Fluffy Pancakes recipe you will fall in love with. Full of tips and tricks to help you make the best pancakes.


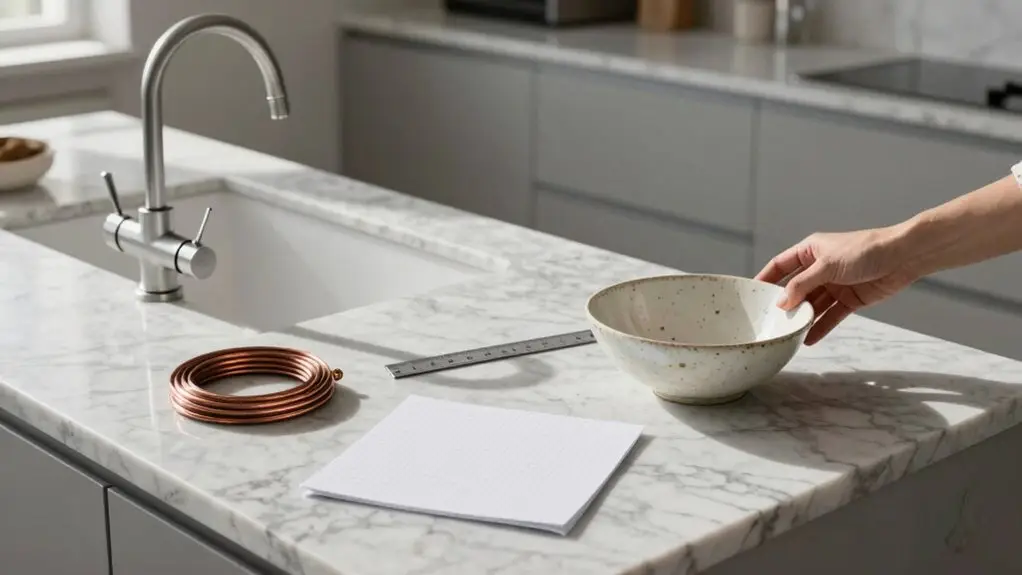
You’ll save serious frustration by mapping your kitchen’s daily flow before you pick a single cabinet. Start with the work triangle: sink, stove, fridge, keeping each leg between four and nine feet.
Then measure your space, especially walkways: aim for 42–48 inches so two cooks don’t bump hips. Don’t forget dead corners; swap deep cupboards for pull-out drawers or lazy Susans.
Order your backsplash and faucet early, but install the backsplash last to avoid scratches. Stick around: the next steps will keep your remodel on track.
Map Your Kitchen’s Daily Flow Before You Remodel
Before you even pick out a single cabinet or tile, map your kitchen’s daily flow the way you actually use it.
Before you pick cabinets or tile, map your kitchen flow around how you actually cook and move.
List your real “work zones” in order: think food storage, prep/cooking, and dining or relaxation—so your kitchen design matches your routine.
Use a work-triangle mindset by marking where your sink, stove, and refrigerator sit.
This keeps your movement tight and reduces backtracking.
Plan clear traffic flow with at least 42–48 inches of walk space for two cooks, especially in main aisles.
Don’t forget scent containment in an open-plan home; tucking the kitchen away limits cooking smells from drifting.
Prioritize workflow details like drawers over shelves and full-extension soft-close glides, making frequently used items reachable without detours.
According to NKBA guidelines, each leg of your work triangle should measure between 4–9 feet, with a total perimeter of 13–26 feet to avoid both cramped conditions and excessive walking.
You’ll thank yourself later.
Find the Three Spots Where Your Kitchen Flow Stops Dead
You’ve probably noticed your own flow stalling in three classic spots: the sink zone, a cold corner, and the stove.
At the sink, if you don’t have instant hot water or a hands-free faucet, you’ll make endless trips just to wash and prep.
A cold corner dead ends your movement when you store pots or spices far from where you actually cook.
Your stove reach suffers if there’s no uninterrupted counter space nearby.
Keeping your refrigerator, sink, and stove within a total perimeter of 13–26 feet helps eliminate these dead zones by reducing the distance you travel between each key station.
Sink Zone Blockages
Because your sink zone is the busiest intersection in your kitchen, it’s also where workflow tends to grind to a halt at three predictable spots.
First, you’re stuck waiting on water or soap at the sink work area. Solve this during your Kitchen Remodeling by keeping soap and sponge right there—no trips to a drawer.
Second, the dishwashing loop: you need a clean path from sink to dishwasher. Avoid crossing traffic; a raised dishwasher helps match your loading motion.
Third, the waste drop-off. Don’t make yourself backtrack. Install a countertop compost bucket and pull-out trash so you scrape and toss in one fluid move.
Fitting a sturdy chopping board over the sink basin instantly creates prep space that positions cutting and rinsing in the same spot, eliminating unnecessary movement across your sink zone.
If you’re using a Temporary Kitchen during kitchen renovations, test these zones. Give two cooks 48 inches of walkway clearance to prevent bottlenecks. It’s all about keeping that flow tight.
Cold Corner Dead Ends
While your sink zone might be the busiest intersection, the real flow-killers often lurk in the cold corners, those awkward dead ends where you’re forced to stop, stretch, and hunt for stuff. You’ve got three classic spots: the dead corner by the sink, the blind cabinet near the range, and the far end of your countertop space where last-used tools vanish. Each one turns an effortless move into a frustrating reach.
Here’s the fix: swap shelves for full-extension drawers in those kitchen cabinets. You don’t want to rake through deep corners; you want items sliding right to you.
Give each dead corner a job: spices near the hob, pull-out bins by the sink. And leave at least 48 inches of walk space so you’re not bumping hips. That “cold corner” becomes a pass-through, not a stop sign. Your workflow will thank you. For deep corner cabinets specifically, a two-tier lazy Susan can rotate your stored items into reach without any digging or stretching.
Stove Reach Limitations
Once you’ve turned those cold corners into flowing pass-throughs, it’s time to look at the stove, the heart of your cooking action.
Now, measure your “stove reach” by checking three stop-points: front burners, back burners, and the controls.
If you lean or cross your body to grab a hot plate or adjust heat, your kitchen workflow stops dead.
Grab a heavy skillet or a pot of water and test where you run out of comfortable grip.
Plan a clear landing spot beside the range for hot items, aiming for about 48 inches of walk space so two cooks don’t collide.
Map your work triangle: fridge to sink to counter to range, to avoid a poorly aligned stove that ruins efficiency.
Positioning your stove and fridge on opposite ends of the kitchen keeps the sink naturally centered and reduces the steps you take during every cooking session.
Small reach fixes make a big difference.
Which Kitchen Layout Actually Works for How You Cook?
Ever wondered if you’ve got a dream kitchen? The layout can make or break your cooking flow.
Start with the classic work triangle: connect your sink, stove, and refrigerator tightly enough to move efficiently, but leave breathing room so you’re not bumping elbows.
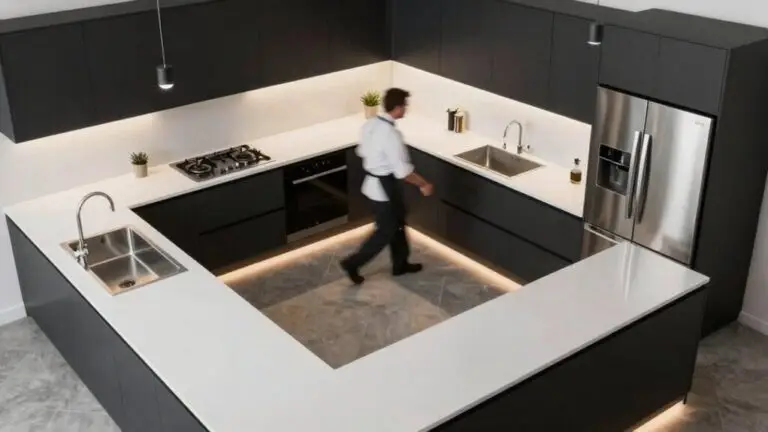
A galley layout nails this in small spaces, lining everything along two walls for a straight shot.
For open-concept homes, an L-shaped design bends around a corner, perfect for extra storage while keeping traffic free.
If you love prep space, add an island or peninsula, but leave at least 42 to 48 inches of walk room so you and a second cook don’t play bumper cars.
Design around daily work zones—storage, prep, cooking—so you’re not sprinting from fridge to hob endlessly.
The work triangle’s total perimeter should stay between thirteen and twenty-six feet to keep your movement efficient and your steps to a minimum.
Clear those pathways, and your kitchen will actually work with you, not against you.
Measure Your Kitchen Before You Design the Cabinet Layout
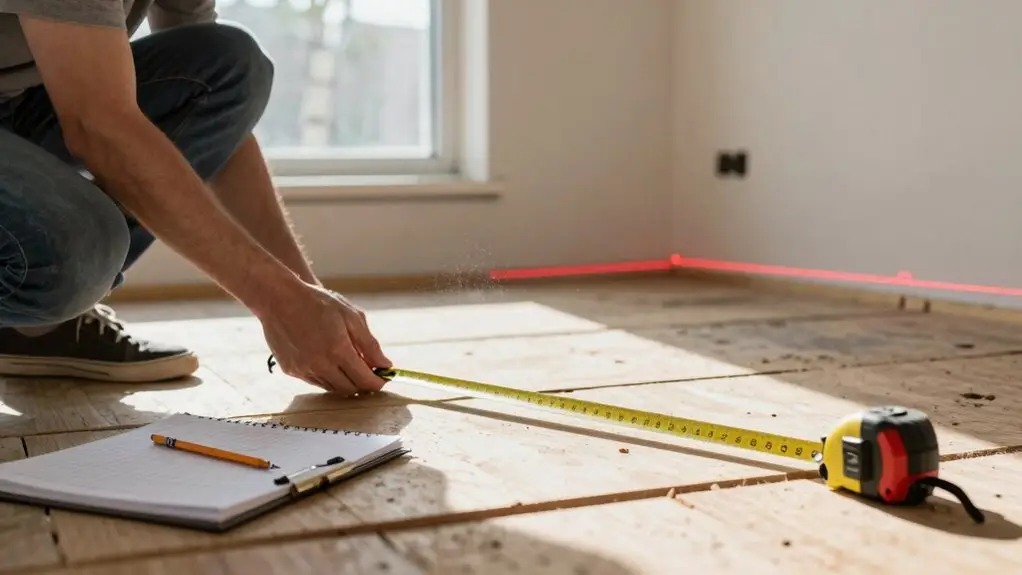
Before you sketch a single cabinet, you need to measure your counter dimensions and appliance clearances with laser focus.
Write down the exact counter dimensions and leave enough room around the fridge, range, and sink so you aren’t bumping elbows when you cook.
Trust me, it’s way easier to fix numbers on paper than to shove a too-big range into a too-tight space.
Record all measurements wall-to-wall in millimetres so your cabinet layout stays accurate and avoids costly sizing surprises down the line.
Measure Counter Dimensions
Start with your counter dimensions. Measure every continuous counter run in inches—both length and depth—and note any breaks from walls, windows, or doors. You’ll need these numbers before you choose cabinet sizes or select materials for your new kitchen.
Don’t forget to record “clearance for two cooks” too. Aim for about 42–48 inches of walk space; anything less and you’ll force compromises in your workflow.
Sketch your measurements on a simple floor plan, including base-cabinet widths, corner depths, and any soffits or ceiling obstructions. This makes sure your cabinet layout fits perfectly without surprises. When sketching, note both the highest and lowest floor-to-ceiling points throughout the space, as variations can affect cabinet and soffit planning.
Measuring isn’t glamorous, but it beats realizing your dream island blocks the fridge. Trust us, your future self will thank you.
Capture Appliance Clearances
Once you’ve got your counter measurements down, it’s time to shift focus to your appliances.
Start by recording precise appliance clearances—those gaps around your fridge, range, and sink that allow for safe door swings, heat ventilation, and easy cleaning.
During your kitchen renovation, don’t skip checking local building codes; they often dictate minimum spacing for safety.
Measure the exact footprint and depth of each appliance, including refrigerator door swings and handle protrusions, so your cabinet layout doesn’t block access.
Confirm your work triangle—sink, stove, fridge—is spaced for practical reachability, not cramped corners.
Also, note electrical and plumbing rough-ins, like outlet placements, to plan counter runs correctly.
Aim for 42–48 inches of walk space between parallel areas, giving you breathing room for two cooks without bottlenecks.
Before finalizing your layout, evaluate your subfloor condition because unevenness can contribute to future cracking, cupping, and premature wear.
Trust us, a little measuring now saves major headaches later.
Choose Countertops That Handle Hot Pans and Red Wine Stains

Picking countertops that can handle both hot pans and red wine spills is like hiring a superhero to proof your kitchen. For a mid-range kitchen remodel, make sure every decision revolves around stain and heat resistance.
Quartz wins here; it’s nonporous, so red wine won’t sink in, and it tolerates heat better than many softer stones. Granite works too, but you’ve got to confirm it’s sealed properly and re-sealed on schedule. Untreated surfaces absorb wine pigments like a sponge.
Even with tough counters, don’t push your luck. Always set hot pans on a trivet to avoid thermal shock near seams or edges.
Coordinate with your fabricator on the finish type; polished surfaces often resist stains better than honed ones.
Premium stone options like Calacatta and Carrara marble carry prestige but are far more porous and high-maintenance than quartz or granite, making them a riskier choice for households prone to spills and heavy cooking.
This isn’t just practical; it’s your kitchen’s best defense.
Order Your Backsplash and Faucet First: They Take Longest
You’ll want to order your backsplash and faucet before almost anything else because they often have the longest lead times, sometimes weeks or more.
Don’t assume you can pick them up at the last minute, as custom sizes or special finishes can take even longer.
Prioritizing these early orders saves you from frustrating delays that could halt your whole kitchen workflow.
Lead Time Considerations
A little planning up front saves a ton of headaches later. Lead times are no joke; some can sink your timeline before you break ground.
From design to final, every piece must align or you’ll pay later.
- Know your lead times before you order. Custom tile and unique faucet finishes can take weeks longer than standard stock.
- Pull out your building permits early while you wait. Building permits on materials prevent last-minute stops when cabinets arrive and rough-ins need fitting.
- Work backward from your cabinet install date. If cabinets come Oct 1, confirm backsplash and faucet specs by late August.
- Build in contingency for backlogs or shipping delays. A two-week buffer saves you from frantic calls and rework costs.
- Track everything you order (item, ship date, received date). This keeps trades in sync and avoids “demo without supplies” panic.
Do this, and you’ll skip that chain reaction of delays.
Prioritize Early Orders
Since your backsplash and faucet often carry the longest lead times, ordering them first is your smartest move. You’re not just buying one pretty surface and one shiny fixture; you’re securing the schedule for your entire remodeling project.
Your backsplash’s arrival dictates when your countertops can be templated, and your faucet’s tech (like instant hot water) demands specific plumbing rough-ins.
Don’t let a backordered tile stall your progress; it eats up precious time and patience.
Create a “finished look” order list immediately, treating these items as your longest lead components. This strategy minimizes schedule slips and keeps your kitchen’s flow on track.
Trust me, you’ll thank yourself later when you’re not just waiting weeks for that one perfect piece to arrive.
Set Up a Temporary Kitchen That Keeps Meals Simple
While your main kitchen is out of commission, setting up a temporary prep space in the basement or a spare room keeps meals surprisingly simple. Think of it as your guide to planning a low-stress cooking zone during the remodeling process.
Stock a mini fridge, toaster oven, and hot plate near a power outlet and a utility sink for easy cleanup.
Stock a mini fridge, toaster oven, and hot plate near a power outlet and utility sink for easy cleanup.
Keep it close to water and power so you can heat, reheat, and wash up fast without trekking back to the job site.
Pre-pack essentials – plates, mugs, utensils, paper towels, and trash bags – so you’re not hunting for them mid-demo.
Cook in small batches using your toaster oven or hot plate to minimize mess and avoid lingering odors.
Contain waste quickly by bagging trash right away, keeping your temporary kitchen functional.
Plan daily routines – coffee, lunches, dinners – since you’ll lose kitchen access repeatedly as work progresses.
Confirm All Outlet Locations With Your Contractor Before Demo Day
Before demo crews start swinging hammers, you’ve got to nail down exactly where every outlet will live—right down to the inch. Walk your kitchen layout with your contractor and confirm every outlet position against appliances, backsplash height, and drawer spaces so cabinet installation won’t block them later.
Ask your electrician to sneak in uninterrupted backsplash power, like under-cabinet strips, keeping your tile display clean.
Planning an island? Request hidden USB or a pop-up power station during rough-in. Adding those after the design phase means opening fresh surfaces.
Don’t forget specialty controls, like a flush-mount disposal switch, placed safely away from little hands.
Before construction begins, demand a final outlet “as-built” check with counts and switch locations documented. This simple step prevents frustrating rework when walls close up.
Add Extra Weeks to Your Timeline: Renovations Always Go Wrong
- Set up a temporary kitchen before demo, because you’ll lose your sink and stove for longer than you think.
- Custom cabinetry orders can stall your whole project if you wait until after demolition to place them.
- Hidden issues like black mold or old wiring pop up once walls open, demanding time you didn’t plan for.
- Plumbing and electrical rerouting always takes longer.
Even “minor” changes swallow days.
– Rushing finish stages, like flooring before cabinet leveling, forces rework, which eats those add extra weeks you swore you’d avoid.
You’ll thank yourself when a surprise pops up and you’ve already padded your timeline.
Install Your Backsplash Last to Avoid Costly Damage
Since your kitchen will thank you if you install your backsplash last. Why? Why risk it? Every other step, from cabinets to countertops and electrical tweaks, can scratch or crack that fragile backsplash material.
You’ll dodge costly rework by letting the pro finish the countertop edge first, then aligning your backsplash perfectly. No awkward gaps that caulk can’t hide. Even that sleek “no grout” solid sheet?
Wait until you’re sure outlet boxes are final, or you’ll reorder a fixed piece.
Make your life easier and wait to install your backsplash last. You’ll finish with final sealing and caulking then, blocking water intrusion at that counter-wall seam. No demolition needed later. Save your wallet and your sanity by holding off.
Final Thoughts
So, you’ve mapped your flow, measured your space, and planned for chaos. That’s half the battle. Remember, your kitchen’s not merely about looks—it’s about how it works for YOU.
Don’t sweat the small stuff; a crooked tile or a late delivery won’t ruin your dream setup. Stay flexible, keep that temporary kitchen humming, and soon you’ll be cooking in a space that feels like it was built just for you.
You’ve got this.