The Best Fluffy Pancakes recipe you will fall in love with. Full of tips and tricks to help you make the best pancakes.


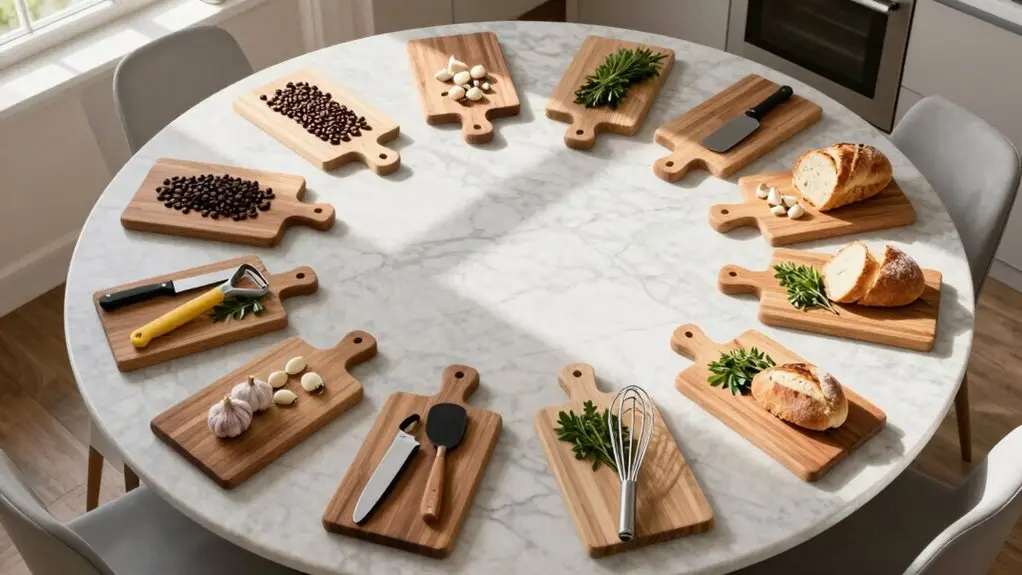
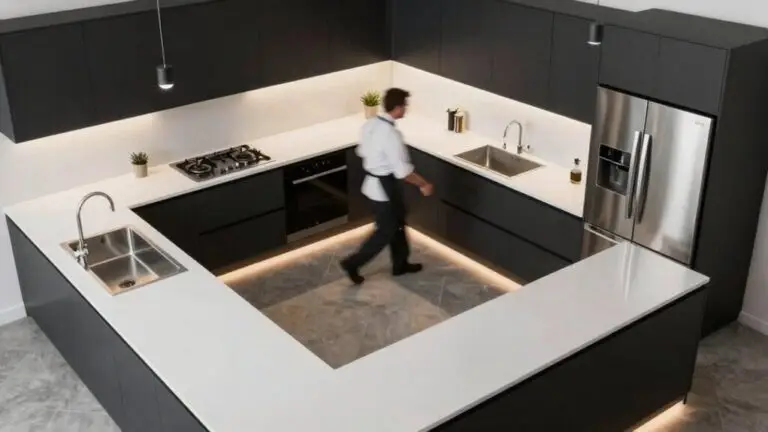
Ready to ditch that old kitchen triangle? Start by mapping five smart zones: storage, prep, cooking, cleaning, and services, based on how you actually move. First, watch your daily routine. Then, declutter ruthlessly so each zone gets a dedicated home.
Sketch your floor plan on paper, using colored pencils to mark each area. Set up your prep zone between the fridge and stove, and anchor cleaning around the sink. Finally, test your layout by cooking a simple meal to spot wasted steps.
Stick around to see exactly how to tweak each zone for more seamless flow.
Why Zoning Beats the Old Kitchen Triangle
The kitchen work triangle‘s days are numbered, and zoning’s flexibility is why. You’re not stuck shuffling between three fixed points anymore. Instead, you map out work zones based on what you actually do. Your kitchen layout becomes a flow between areas like the food prep zone and the cleaning zone, letting you move naturally from chopping to rinsing without backtracking.
The old triangle forces fridge, sink, and cooker routes that ignore your real habits. Zoning cuts your kitchen “miles” by placing tools where your hands need them—salt near the cooktop, a trash bin by the cleanup sink.
You decide what tasks matter most, maybe a baking or beverage station, without breaking efficiency.
It’s flexible, not rigid, so your workflow matches your life. For example, a dedicated beverage zone setup groups your coffee maker, kettle, and mugs together in one spot so your morning routine never interrupts active cooking or prep work.
The 5 Core Kitchen Zones: Storage, Prep, Cooking, Cleaning, Services
When you map out your five core kitchen zones—storage, prep, cooking, cleaning, and services—you’re basically giving your kitchen a brain.
Start with the storage zone: assign your pantry and food storage containers near the fridge so staples are easy to grab.
Your prep zone sits between cooking and cleaning, right by the fridge, keeping knives, boards, and mixing bowls within arm’s reach for an effortless flow.
The cooking zone centers around the hob and oven with pots, pans, and spices, minimizing those long reaches across the kitchen.
Your cleaning zone huddles around the sink: dishwasher, trash, and sponges cut steps from cooking to washing up.
Finally, the services zone, or your coffee zone, places plates, mugs, and serving items near the dining area so you’re not hunting for a cup when you’re ready to serve.
If you’re working with an island, keep 42–48 inches of clearance around it to maintain smooth traffic flow between zones.
Simple, right?
Watch How You Move in Your Kitchen for One Day
Spend one full day tracking your own movements as you cook. Note every time you dash from the fridge to the sink or backtrack for a forgotten tool.
Mark those repeat patterns on a simple floor plan with tape or a sketch, so you can see exactly where you’re wasting steps and creating bottlenecks.
You’ll quickly spot the busiest routes you need, like your prep-to-trash-to-dishwasher loop.
Pin down the zones that should sit closest together for easier flow.
To keep your three busiest zones efficient, the kitchen work triangle connecting your sink, refrigerator, and stove should total no more than 26 feet combined.
Track Daily Movements
You’ll often want to shadow your own feet for just one day. Seriously, grab a notepad and become a kitchen spy.
Watch your kitchen workflow: during meal prep, notice your natural rhythm from prep to cooking to cleaning.
Do you dart back for spices while stirring? That’s a red flag.
Time how long you search for utensils, and mark where you stop most—near the sink or fridge.
Your highest-traffic paths, like from drinks to lunch-prep zone, shouldn’t force you to squeeze past cabinets.
By day’s end, list your top five movement problems.
Maybe too many pans in one spot or no easy access to hot-item landing space.
These clues will shape smarter zones. Consider placing undercounter refrigeration within reach of your prep surfaces to cut down on those back-and-forth trips that quietly eat up your time.
Note Traffic Patterns
Grab a pen and a piece of paper, and for one full day, trace your walk path from fridge to prep bench to stove and then to the sink.
You’ll notice your traffic patterns quickly—mark every place you pause for 10+ seconds (searching for a spatula, opening a cabinet).
Those spots reveal bottlenecks in your zone setup.
Count how many times you cross in front of the fridge or sink; frequent crossings mean your zones are too far apart.
Watch if your dominant workflow is counterclockwise or straight-line.
Zig-zagging means you need to resize the lunch prep zone or baking zone.
Check peak-time patterns (weekday breakfast vs. weekend baking) and make sure your most-used path lines up with daily priorities, not occasional tasks.
Remember the work triangle?
If you’re constantly backtracking, reposition zones so the prep-to-cook sequence is a single efficient movement.
Aim to keep the total triangle perimeter between 13 and 26 feet so every key point stays within easy reach without forcing marathon trips across the room.
You’re building a kitchen that moves with you, not against you.
Identify Key Task Spots
Once you’ve clocked your traffic patterns and seen where you zig-zag, it’s time to zero in on the exact spots where you do most of your work. Spend one day in automatic mode, noting every step from fridge to prep bench, then to stove or sink.
Those repeated “reach-and-turn” moments, like grabbing oil while sautéing, reveal your highest-frequency task spots.
Use those to start dividing your kitchen into logical zones: stash spices within easy reach of the stove, and keep lunch items near the fridge to cut down wasted back and forth.
Mark your natural stopping points, say between the fridge and your main preparation zone.
Don’t forget to watch for bottlenecks during peak times, especially if you’re sharing the space.
Clear access ensures everyone stays safe and efficient. Keeping your tools and ingredients within arms reach of each task zone eliminates the mid-cook scrambling that can add several wasted minutes to your dinner routine.
Declutter First: Then Let Each Zone Have a Home
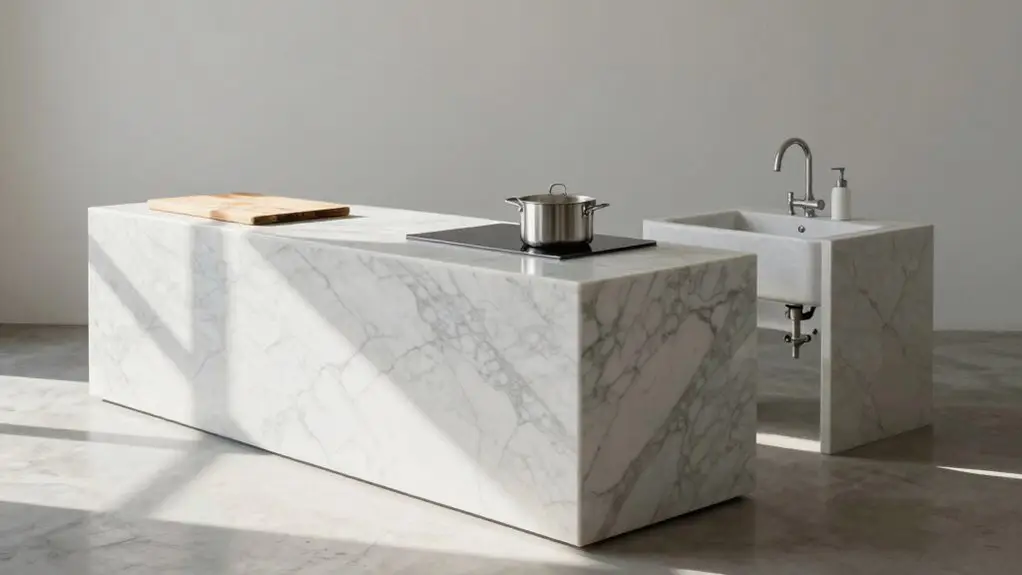
Before you map out your zones, clear the clutter first so you’re only moving what you’ll actually keep. Then, group every item by the task it supports: cooking utensils stay by the stove, for example, and that’s how each zone gets its own home. To make the most of limited space, try mounting wall rails above the stove to hang pots and pans, keeping them visible and within arm’s reach without eating into counter or cabinet room.
You’ll save yourself a ton of planning time and end up with a kitchen that actually works for you.
Declutter Before Zoning
Clear your kitchen countertops and pull everything out of the cabinets, yep, every last spatula and stray tea bag. This initial declutter is the secret to a lasting kitchen organization.
You’ll only relocate items you truly want to keep, not move excess clutter into new homes.
Empty one cabinet at a time and place donation bins near the front door for easy transport.
Use your dining table as a staging area for items heading elsewhere.
Clean every empty drawer first to prevent crumb buildup from re-seeding chaos.
- Donate or discard anything broken or unused—don’t let guilt clutter your storage zone.
- Use baskets to keep similar items together, ensuring they’re easy to find.
- Limit each spot to what fits comfortably, so mystery piles don’t take over.
Sort every pulled item into keep, donate, or toss piles, and be ruthless—nostalgia has no place in an organized kitchen where every item must earn its spot.
Organize your kitchen this way, and each zone will serve you, not the other way around.
Group Items by Task
When you cluster cookware around the heat source, you stop wandering around searching for a pot lid. You also cut down clutter because each zone only holds what you genuinely need for that job.
Your cleaning supplies live under the sink. Your lunch-prep containers settle near the fridge.
Assign each zone its own “home” using the one-step rule: place frequently paired items close together, so unloading the dishwasher feels like a single, effortless motion. No more extra steps, no more chaos. Color-coding each zone — such as red for raw meat and green for produce — helps prevent cross-contamination by keeping matching boards, bowls, and utensils tied to their dedicated area.
Map Your Kitchen Zones on Paper in 15 Minutes
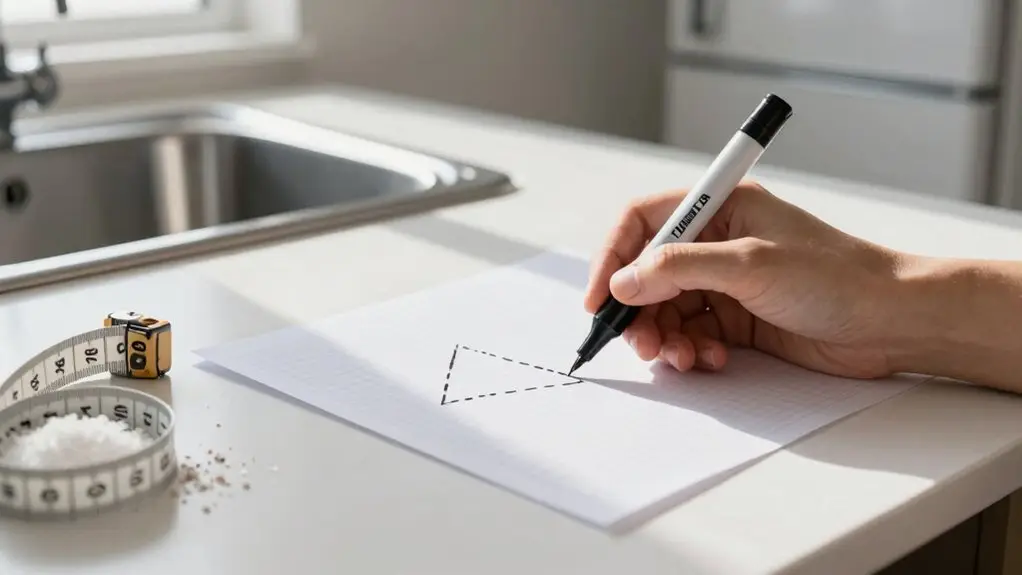
Since you’ve already got your zone ideas in mind, grab a pencil and a sheet of paper.
You’re about to turn that mental map into a real kitchen plan in just 15 minutes.
Start by sketching your kitchen’s floor plan, keeping fixed items like the sink and stove right where they are.
Then, divide that sketch into zones for cleaning, prep, cooking, and storage.
Use a quick “zone sprint” with colored pencils—blue for cleaning, yellow for prep, red for cooking, grey for food storage, and orange for other storage—to show where each activity will happen.
Anchor your cleaning zone around the sink and dishwasher.
Place your cooking zone around the hob, oven, and microwave.
Fit cooking utensils and storage near the prep zone, close to the fridge for easy put-away.
Finally, trace a simple meal on paper (prep to cook to clean) to spot any wasted steps.
As you trace that path, check that your refrigerator, sink, and stove form a triangle where each leg measures between 4 and 9 feet, keeping movement efficient and fatigue low.
Then, adjust your boundaries right away.
Organize Your Cooking Kitchen Zone for Speed
You’ll often cook faster and with less frustration when your pans, spices, and lids all live right where you need them. Keep your pots and pans near the stove for easy grabbing, and store cooking utensils in one drawer. Grouping your items together prevents frantic searching.
Don’t forget your spices in a drawer next to the stove, labeled so you can season without a cross-kitchen trek. Toss lids into a separate basket; it’s a simple trick that saves time you didn’t know you were wasting. Plan a heat-safe hot items landing spot on the benchtop, so you’re not dodging traffic from oven to kitchen sink.
Test your workflow: walk from prep to stove to cleanup. If anything’s out of reach, move it closer. That’s speed, simplified.
Set Up a Prep Kitchen Zone That Saves Steps
Place your prep zone smack-dab between the cooking and cleaning zones, and keep it close to the fridge: that’s the gold-medal setup for saving steps.
This about 1-metre-wide bench (or a kitchen island) becomes your command center.
You’ll chop, measure, and mix without zigzagging across the room.
Stage hot steps early by leaving clear bench space right next to the stove for quick transfers.
Stage hot steps early by leaving clear bench space right next to the stove for quick transfers.
Keep your core tools within arm’s reach. Here’s what’s non-negotiable:
- Store cutting boards, knives, and mixing bowls right in the zone.
- Tuck measuring spoons, peelers, and small must-haves like trash bags and containers nearby.
- Park frequently used herbs, spices, oils, and sauces at the prep zone’s edge so you’re not hunting mid-recipe.
This setup cuts wasted steps and makes cooking feel like a dance, not a marathon.
Build a Cleaning Kitchen Zone for Easy Cleanup
Now that your prep zone is humming, it’s time to make cleanup just as effortless. Anchor your cleaning zone around the sink and dishwasher, so dirty dishes move in one short, logical flow.
Keep dish soap, sponges, and the sprayer within arm’s reach—no stretching for supplies. Store trash and recycling bags right under the sink too. You’ll find the whole routine becomes much easier when everything’s within grabbing distance.
Position the sink where you have clear bench space nearby, ideally under a window. Avoid a sink in the middle of an island; it splashes onto prep areas and makes containment harder.
Keep plates, bowls, and cutlery close to the dishwasher for quick unloading. Add a small drawer for scrub brushes and a dust-buster under the counter.
A quick wipe-down keeps the bench tidy, and you’ll finally love your cleanup zone.
Add Optional Kitchen Zones for Baking, Drinks, or Family
- Keep only consistently used baking supplies in your baking zone. Store the rest elsewhere.
- Add a strawless basket to your drink zone for quick blender access.
- Set up a lunch prep zone across from it for napkins and to-go flatware.
Now your optional zones work like a charm without crowding the cleaning zone.
Test Your Zone Layout and Fix What Doesn’t Flow
Once you’ve set up your zones, it’s time to put them through a real workout: think of it as a dress rehearsal before the big dinner party. Run a “prep → cook → clean” walk-through.
> Once you’ve set up your zones, run a “prep → cook → clean” dress rehearsal before the big dinner.
Make certain the shortest path moves you from fridge to prep bench to stove, then to sink without awkward backtracking.
Test your zone layout and fix what doesn’t flow by placing trial items like spices near the stove.
Then check you can reach them within one step.
If your sink sits on the island, adjust with a small tap or reposition cleanup tools.
Do an arm’s reach check around fixed items, and keep a heat-proof surface ready near the cooking zone.
Move failing items, re-map with color notes (blue=cleaning, yellow=prep, red=cooking) until it feels easy.
Then repeat next meal to confirm it sticks.
Final Thoughts
So there you have it, your kitchen’s about to get a whole lot smarter. You’ve ditched the old triangle and mapped out zones that actually work.
Give yourself a few days to test the flow, then tweak what feels clunky. Your counters will thank you, and so will your feet. A little planning now means less wasted motion later, plus more time for the good stuff—like actually enjoying that cup of coffee.