The Best Fluffy Pancakes recipe you will fall in love with. Full of tips and tricks to help you make the best pancakes.


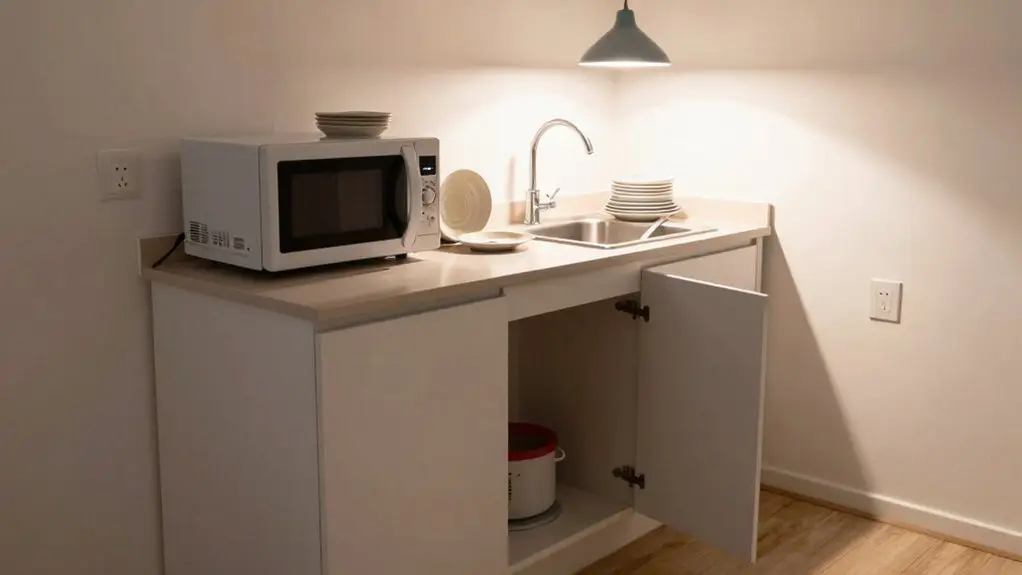
You’re not a messy cook: your layout is sabotaging you. Cluttered counters happen when everyday tools lack a home near where you actually use them. Ignoring the work triangle wastes your minutes with unnecessary trips between sink, stove, and fridge.
Wrong appliance placement creates traffic jams, and one overhead light won’t cut it for chopping. Designing drawers without mapping your pots first is a recipe for frustration. Fix these common mistakes, and your kitchen finally works with you instead of against you.
Stick around to uncover the full list.
Why Cluttered Counters Are a Layout Mistake, Not a Cleaning Problem
Because you didn’t plan specific homes in your cabinetry, cluttered counters aren’t a sign you’re a messy cook—they’re a layout mistake that sabotages your workflow every time you prep, cook, or clean. Your kitchen layout needs defined zones, not countertops acting as catch-alls.
Without dedicated kitchen storage solutions for spices near the stove or cutlery by the dishwasher, you grab what you need, then drop it on the nearest surface. That pileup isn’t laziness; it’s poor storage space planning.
That pileup isn’t laziness; it’s poor storage space planning.
Deep shelves hide items, so you leave frequently used stuff out.
But smart pull-out organizers and charging drawers can fix that if you specify them before installation. Don’t blame your habits; blame the cabinet design that never gave your stuff a real home. The same principle applies inside your pantry, where grouping items by category before returning them to shelves prevents the same surface-clutter cycle from repeating in a different room.
How Skipping the Work Triangle Wastes Your Minutes
If you’ve ever found yourself zigzagging from the fridge to the sink, then over to the stove, just to grab a single ingredient, YOU’RE LIVING WITHOUT THE WORK TRIANGLE AND IT’S COSTING YOU TIME.
Skipping this classic setup is one of those kitchen design mistakes that turns simple meals into exhausting marathons.
With your layout wrong, you’re crisscrossing hot food, dirty dishes, and ingredients repeatedly.
The work triangle should connect your cooktop, sink, and fridge with efficient spacing—not force you to walk a football field between tasks.
When those points are too tight, you bump into everything; too far apart, and every step drags.
Plus, opening a fridge door into a dishwasher path? That’s just friction you don’t need.
According to NKBA planning guidelines, each leg of the triangle should measure between 4 and 9 feet, with a total perimeter kept between 13 and 26 feet to balance comfort and efficiency.
Fixing these kitchen design mistakes early saves you minutes every day.
Where to Place Your Stove First for Faster Venting
When you place your stove first on an outside wall, you’re setting yourself up for faster, simpler venting. That direct route to the exterior means fewer bends and shorter duct runs, keeping your range hood working at its best.
Trust me, choosing that position early saves you from ugly ductwork and poor airflow later. Pairing this decision with work triangle balance ensures your stove, sink, and fridge stay within easy reach for a smoother cooking workflow.
Stove Placement Priority
While you might dream of a sleek stove nestled perfectly into your kitchen island, placing your range first on an outside wall is the smarter move for faster, simpler venting. This priority saves you from costly duct rerouting later, and it keeps your workflow effortless from day one.
When planning your kitchen, think of your range hood as the star—align your stove to it, not the other way around. Here’s how to hook that efficiency:
- Center your cooktop under the hood early to avoid awkward clearances and messy ductwork.
- Pick your hood model first—choose its style and rough-in spot before cabinetry hides the walls.
- Confirm measurements now for your exact stove and hood, or you’ll lose venting power later.
Prioritizing stove placement upfront makes your range hood work effortlessly, cutting cooking smells fast. Locking in your stove position before cabinets are installed also ensures your kitchen layout decisions are finalized before expensive stone countertops and cabinetry work begins, protecting your remodel budget from costly rework.
Outside Wall Venting Benefits
Placing your stove first on an outside wall gives you a major win: way faster venting. Those outside wall venting benefits mean your hood doesn’t fight long, twisted ducts; it blasts smoke right outside.
When you’re designing a kitchen, this early choice saves you from pricey relocations later, and it makes your range a natural focal point.
Tie your hood to that outside wall, and you get a cleaner architectural look alongside serious efficiency.
Don’t forget to check clearance constraints early, like duct routes and hood height, or you’ll end up with a less effective setup.
Also, make sure there’s enough light and counter space around your stove so you still have a practical prep zone.
It’s a small planning win that keeps your workflow seamless. Once your stove position is locked in, keep the kitchen triangle perimeter between 13 and 26 feet total so the distance from your fridge to sink to stove stays efficient.
Why Wrong Appliance Spacing Creates Traffic Jams
You’ll create a traffic jam the moment you put the fridge first without checking its door swing, because that single mistake can block the entire walkway every time someone grabs a drink.
Without keeping at least 36 inches clear in main paths and 42 to 48 inches near the cooktop, you’re basically asking family members to squeeze past each other like they’re on a crowded bus.
Prioritizing appliance placement means you’ve got to map out those clearance zones upfront. Otherwise, you’ll be sidestepping open doors instead of seamlessly cooking. Placing a 15-inch landing space beside the fridge keeps food retrieval smooth and prevents that corner of your kitchen from becoming another bottleneck.
Appliance Placement Priority
Since your stove, sink, and refrigerator form the backbone of your kitchen workflow, getting their spacing wrong is like setting up a traffic jam right at the heart of your home. You need these three to work in a seamless triangle, not force you into long “yard walks” that turn simple prep into a marathon.
Avoid awkward angles that make you spin like crazy when cooking. Check door swings early—nothing kills a functional kitchen like a fridge door blocking everything.
Here’s what you should prioritize:
- Plan your work triangle with enough spacing between each appliance so you’re not constantly crossing your own path.
- Check door clearances for fridges and dishwashers—they can trap you behind open doors if you don’t.
- Mind appliance depth—an oversized fridge can crush circulation and ruin access to nearby storage.
Treat your kitchen island as a helper, not a roadblock, to keep your functional kitchen flowing. Keeping each leg of the triangle within the 4 to 9 foot range prevents both the wasted steps of oversized spacing and the cramped movement that comes from pushing appliances too close together. Small spacing errors here create big headaches.
Walkway Clearance Requirements
Thirty-six inches might sound like plenty of elbow room, but in a real working kitchen, it’s the bare minimum for steady traffic flow. You really need to study walkway clearance requirements, especially when planning a kitchen renovation.
Aim for at least 39 inches in small kitchens, but push those cooking zones closer to 42–48 inches. Otherwise, you’ll create traffic jams around the range and prep areas.
Don’t forget door swing clearance for the fridge and dishwasher. Tight spacing forces awkward reverse moves that bottleneck everyone.
If your kitchen becomes a thoroughfare, those clearance rules tighten instantly. A good interior design firm will warn you not to let appliance doors overlap the same walking corridor.
Blocked pathways ruin efficiency, making it impossible for two people to comfortably share the space. Plan those 4-foot gaps between countertop runs, and you’ll dodge the daily gridlock. In seating areas specifically, plan for 44 inches of clearance so stools can slide out freely without blocking the main traffic path.
Don’t Design Drawers Without Mapping Your Pots and Pans
Before you even think about drawer specs, take everything out of your cabinets—yes, every pot, pan, lid, and baking tray you own—and lay them on the floor. This reality check stops you from guessing your storage needs. Map each item to a specific drawer width and depth so nothing gets shoved into a too-small space.
Before you pick drawer sizes, empty every cabinet onto the floor for a real storage reality check.
- Lower drawers work best for heavy pots and lids, saving your back from awkward lifting.
- Drawers near your cook zone should fit your most-used pans, so you’re not hunting mid-recipe.
- Skip organizers until you’ve measured actual cookware. A Custom Kitchen’s design flows better when you’ve planned for small appliances too.
Confirm clearances with real dimensions, or pan handles and lid rims will block each other. You’ll avoid daily frustration and keep your workflow easy from stove to sink. Once your cookware is mapped, store lids separately using a vertical lid organizer inside a cabinet door or drawer to prevent stacking chaos from eating into your usable space.
How to Plan Storage That Matches Your Cooking Style
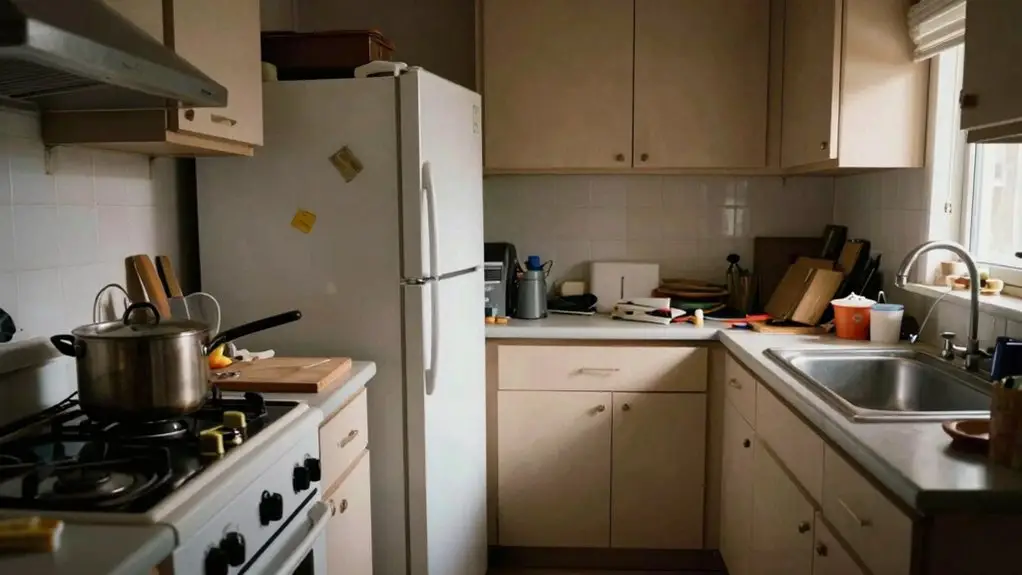
When you plan storage around your actual cooking style, rather than just filling empty space, you’ll save time and frustration every single day. Start by inventorying what you use most. Then zone those pots, spices, and gadgets where you’ll actually reach.
Vertical storage is your friend. Extend cabinets toward the ceiling to capture valuable wall space.
Use pull-out organizers in base cabinets so nothing hides in deep, unused back corners.
Install a charging drawer for your tablet or phone, keeping countertops clear.
And here’s a smart trick: store your most-used oils and spices behind a sliding glass door on the back wall. That way, you grab them without rummaging through a common kitchen cabinet that’s a jumbled mess.
For awkward corner cabinets, a lazy susan turntable spins items into view so you never have to dig through the back of a shelf again.
Match drawer types to tasks, and you’ll cook with flow, not frustration.
Stop Using One Overhead Light for Food Prep
Relying on that single overhead fixture is a recipe for shadowy chaos the second you start chopping onions or reading a recipe. It’s one of the biggest workflow killers in the heart of the home, casting your own silhouette right where you need light most.
That one light fixture just can’t cut it for serious food prep.
HERE’S WHAT ACTUALLY TRANSFORMS YOUR COUNTERS:
- Position pendant lights at least 24 inches above the counter, centered over main prep zones, not the walkway.
- Install multiple switches so you can brighten the sink for scrubbing produce without blinding yourself at the stove.
- Choose warm white bulbs (2700–3000 Kelvin) to avoid harsh glare while keeping colors true for reading recipes.
Don’t rely on that single overhead; your knife work and your eyes will thank you.
Why Task Lighting Belongs Under Every Cabinet
That one overhead light might let you see the kitchen, but it won’t let you *work* in it—not without casting your own shadow across the cutting board.
That’s why task lighting belongs under every cabinet.
It beams light directly onto your counter, so you chop, measure, and read recipes without squinting or shifting around.
Pretty pendants add ambiance and boost your kitchen feel, but they don’t deliver enough lumens for serious prep work.
You need a layered approach: under-cabinet lights as your primary work layer, with pendants and other fixtures playing supporting roles.
Mount the strips slightly in front of where you stand, this keeps your body and utensils from blocking the beam.
The result? Less eye strain, faster cleanup, and a kitchen that actually works as hard as you do.
How Trendy Finishes Distract From Poor Workflow
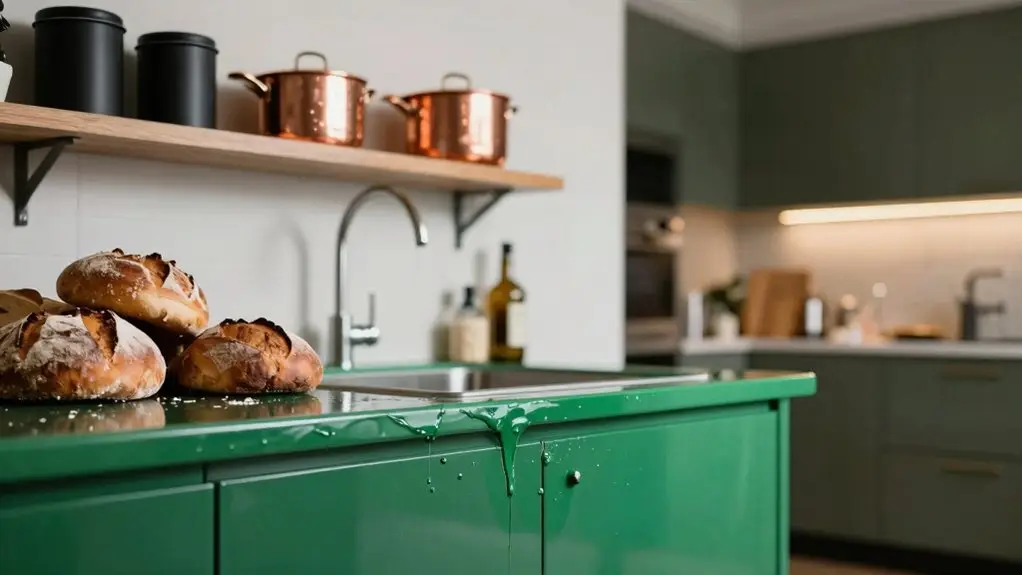
You might be tempted to choose that stunning, trendy backsplash first. But let’s be honest—it won’t fix a sink that’s miles from your fridge.
When you blow your budget on Instagram-worthy finishes, you often skip the layout fixes that actually save you steps each day.
That gorgeous look can’t hide the fact you’re now constantly walking back and forth.
Your poor workflow becomes the real star of the show.
Design Looks Over Flow
- Clearance chaos: If your fridge and dishwasher doors clash, you’re wrestling with them every day. Pretty hardware doesn’t soften that bottleneck.
- Shadowy surfaces: Relying only on decorative lights leaves dark spots over your cutting board.
- Clutter trap: Without functional storage near the sink for trash and knives, your beautiful countertops become staging areas.
Don’t let a trendy finish distract you from a workflow that’ll fight you daily.
Budget Prioritizes Trends
When you blow your budget on trendy finishes, like that popular neutral countertop, tile, and flooring combo, it’s easy to overlook workflow requirements that make your kitchen actually functional.
Let’s be real: letting your budget prioritize trends over crucial elements is a huge mistake.
You’ll end up with stunning surfaces but shadows on your prep zone because those pretty pendants don’t replace under-cabinet lighting.
You’ll also face traffic jams from a mis-sized island, blocking drawer pulls and door swings.
Worse, you can’t fix that awkward cooktop-sink gap without gutting everything later.
Instead, partner with Design services early.
They’ll help you balance that neutral look with smart electrical updates and storage inserts.
Save the trend splurge for accessories, not your workflow foundation.
Why You Must Measure Your Actual Movement Before Buying Cabinets
Before you even think about ordering cabinets, grab a measuring tape and physically walk through your kitchen’s key movement paths. It’s a pain in the early stages, but skipping this step is how you end up with a layout that kills your flow.
Tight circulation around the fridge or dishwasher means you’ll be slamming doors into cabinets—a mess that never looks fresh. Real estate pros know a cramped kitchen repels buyers, so get this right.
You need clear space that actually works. Here’s what to measure:
- Aim for 48 inches between countertops for comfortable movement; don’t go below 39 inches unless you hate your elbows.
- Map your work triangle (fridge, sink, cooktop) to make certain you’re not walking yards between tasks.
- Check that drawers and appliance swing open fully without blocking walkways. Oversized appliances can steal clearance fast.
Measure now, not after cabinets arrive.
Final Thoughts
So, don’t beat yourself up over a messy kitchen. It’s probably your layout’s fault, not your laziness. You’ve got the tools now to fix it. Measure your actual moves, light up those countertops, and ditch the trendy nonsense that gets in your way.
Your workflow will thank you, and you’ll actually enjoy cooking again. Just remember: a smart design saves you time, energy, and that one drawer full of chaos.