The Best Fluffy Pancakes recipe you will fall in love with. Full of tips and tricks to help you make the best pancakes.


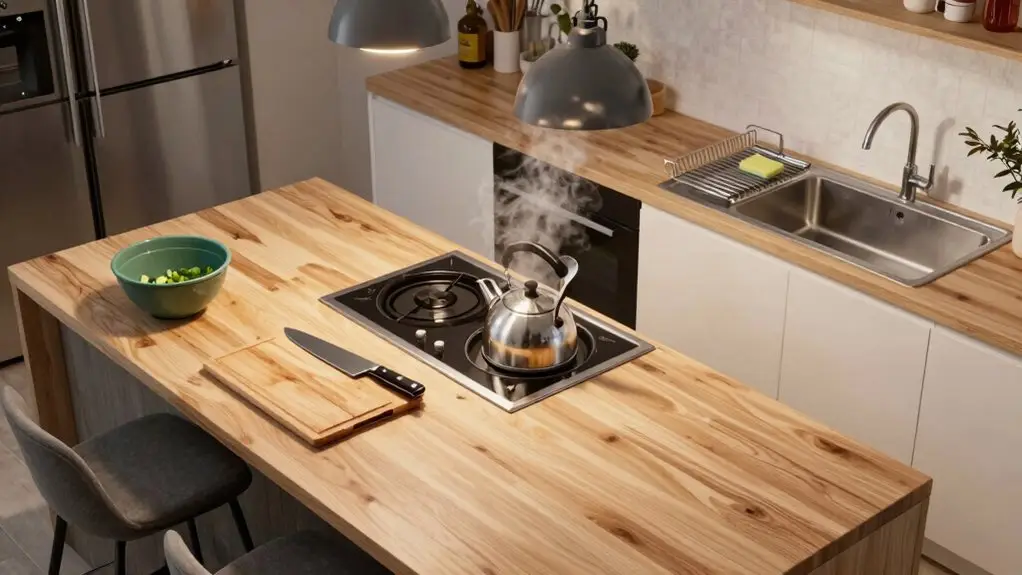
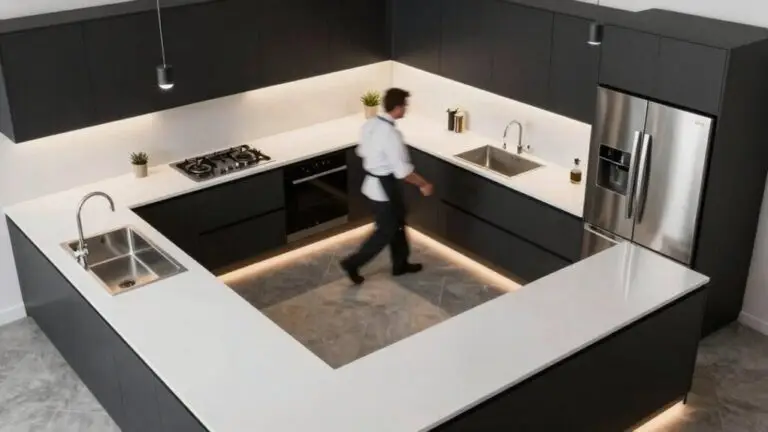
Start by tracking your real steps between the sink, stove, and fridge. That’s where you waste the most time. Then map four clear zones: prep, cooking, cleanup, and storage.
Place your cutting board right next to the sink. Keep tongs and spices near the rangetop, and tuck the dishwasher tight to the sink for seamless rinsing and loading.
Keep your work triangle under 20 feet. Getting this right transforms your flow—stick around to see which layout fits best.
Why Your Kitchen Work Zones Need a Real-World Map
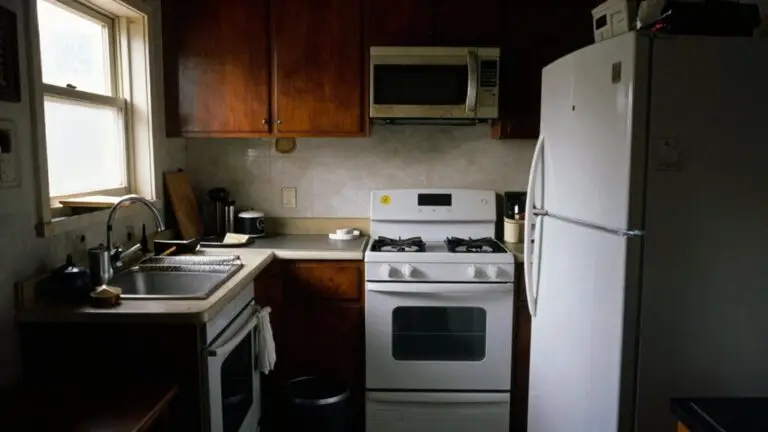
Why stick with an outdated kitchen work triangle when your real-life cooking habits deserve a better guide? That classic rule might work in theory, but your actual kitchen traffic tells a different story.
Instead, create a real-world movement map that captures your true workspace zones. Mark where you prep, cook, clean, and put things away. This way, you can group your tools near each action center, making efficient work feel natural.
Focus on your busiest hubs: the sink, range, and fridge. Then, check that your sink and dishwasher zone sits close together, so rinsing and loading flow seamlessly without blocking your path. Each zone should sit roughly 4 to 9 feet apart. The kitchen work triangle concept traces back to the 1920s, when efficiency experts like Lillian Moller Gilbreth studied unnecessary walking patterns to reduce wasted steps in the kitchen.
Track Your Real Steps Before You Change a Thing
Before you start moving cabinets or dreaming of a new island, put down the hammer and pick up a notepad. You’ve got to physically map your normal cooking sequence first.
Trace real movement between the sink, rangetop, and fridge—those are the kitchen triangle’s three busiest points.
Check if each leg falls within a comfortable 4–9 ft range (total under 20 ft).
Watch where cleanup truly happens; your sink, dishwasher, and trash should stay tight.
Also, time yourself pausing to chop or measure.
Your prep zone must sit near your cooking zone to cut steps during efficient cooking.
If your island interrupts flow or an extra microwave interrupts flow, track those trips too.
Modern kitchens often break the classic triangle because daily usage patterns are messier than you’d think.
Traffic paths and cabinets should never cut through the triangle, as any obstruction between the three points defeats the efficiency the layout was designed to create—this is one of the core NKBA planning guidelines used to evaluate whether a kitchen triangle is functioning as intended.
Meet the 4 Zones: Prep, Cooking, Cleanup, and Storage
Now that you’ve tracked your actual kitchen movements, it’s time to meet the four zones that’ll organize that chaos: prep, cooking, cleanup, and storage.
Now that you’ve tracked your real movements, meet the four zones to organize the chaos: prep, cooking, cleanup, and storage.
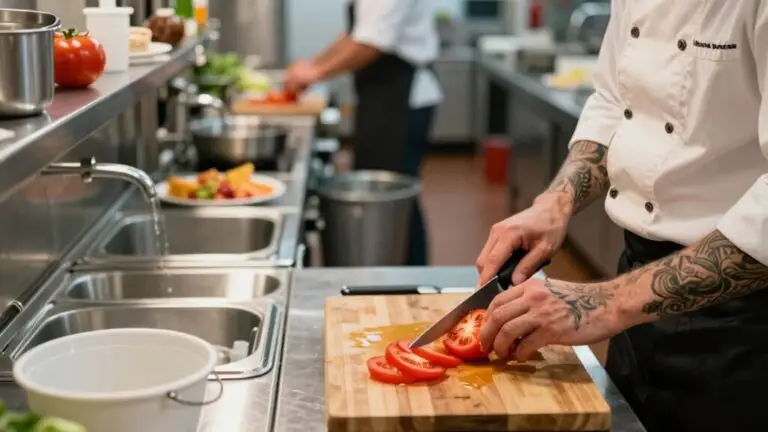
Your prep zone lives near the cooking area, so chopping and measuring flow effortlessly. Keep cutting boards, knives, and towels handy, maybe with a towel under the board to stop slips.
The cooking zone centers on your range, oven, or microwave. Stash daily seasoning like salt, pepper, and cooking fats right there, plus tongs and wooden spoons you grab every time.
For the cleanup zone, build it around your sink and dishwasher. Keep trash and towels close so washing and loading mean less wandering.
Finally, the storage zone sits near where you finish eating, typically by the fridge, so Tupperware, wraps, and foil have a consistent home. This real flow—prep, cook, clean, store—trumps that old sink, stove, fridge triangle every time. To keep the system from unraveling, a 5-minute daily reset at the end of each day helps return items to their correct zones before clutter builds up.
Zone the Best Square Footage for Your Prep Area
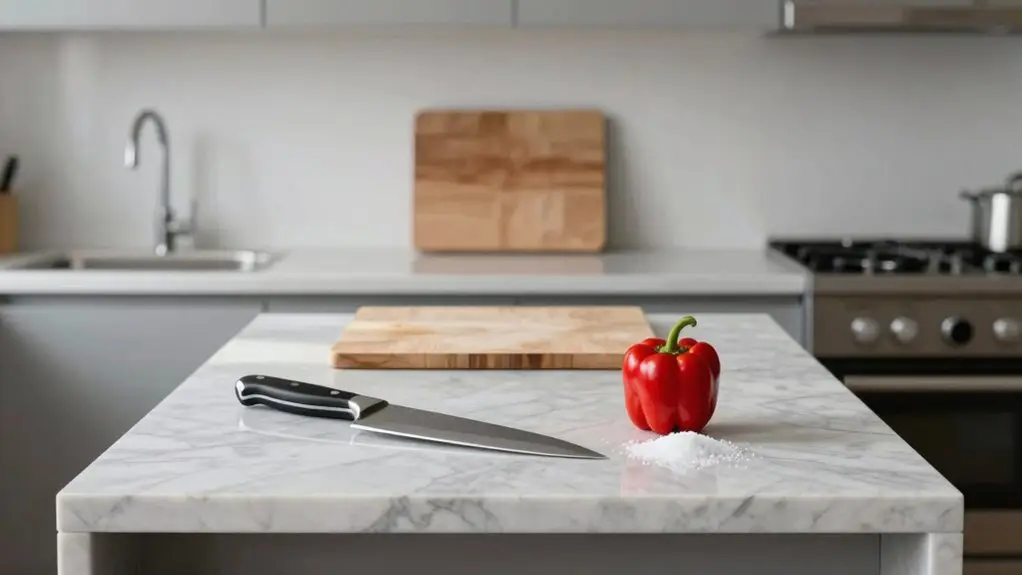
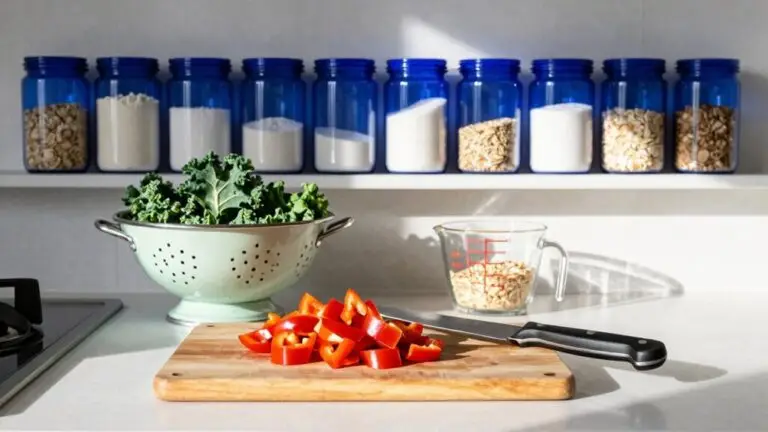
Place your prep area right next to the cooking zone so you’re not sprinting back and forth while your onions are sizzling. You’ll want the largest uninterrupted countertop stretch between the sink and the rangetop, because that’s where all the chopping, mixing, and seasoning magic happens.
Keep your most-used tools—cutting board, knives, measuring cups—within arm’s reach in that footprint, so you grab what you need instead of hunting across the kitchen. For complex dishes, aim for 48 inches of uninterrupted prep space to give yourself enough room to handle multiple components at once without crowding your workflow.
Prep Zone Location
Since you’re already spending so much time chopping, measuring, and mixing, you’ll want your prep zone to sit right beside your cooking zone, ideally hugging the rangetop. This prep zone location slashes your workflow and turns jumbled kitchen layouts into a seamless assembly line.
Use the sink’s edge as your starting line of scrimmage: rinse produce there, then shift directly and pivot to your prep pad without crisscrossing the space.
Keep that counter real estate firmly within the working triangle but leave it unobstructed and open—no piles of mail or small appliances cluttering your main work surface.
Store your cutting board, knives, measuring cups, and prep bowls right inside that zone, not across the room.
Anchor your prep area storage with a pull-out shelf for bowls or a cabinet with pantry basics. That way, you won’t interrupt cooking to hunt for a bowl, a peeler, or a towel.
Pre-measuring your spices, liquids, and dry ingredients into stackable ramekins or bowls before heat turns on keeps your prep zone functional and eliminates the mid-cook pantry sprints that silently add 5–15 minutes to any dish.
Counter Space Needs
You’ve got your prep zone nailed down right beside the cooking zone, so now let’s zero in on making that counter space work for you.
Aim for a continuous stretch of countertop space—at least 36 inches—so your cutting boards and mixing bowls don’t spar for real estate.
Keep your most-used food prep tools within arm’s reach; that means placing your knives, can opener, and measuring cups just a grab away.
For storage drawers, use them for quick-access items like oils or spices, sized to your tallest bottle.
Position your sink close by to anchor the cleanup side, letting you rinse produce and clear boards without crossing traffic.
Prioritize a single, unbroken surface over tiny, scattered counters.
Your future self will thank you when you’re chopping, not hunting.
In larger kitchens, a peninsula anchored to the wall can extend your prep surface without consuming floor space or disrupting the flow between your fridge, sink, and range.
Tool Storage Access
Because your prep zone should cozy right up to the rangetop, you’ll want to claim the best square footage around that cutting board for your most-used tools. That means designating a dedicated “tool strip” so your knives, peelers, and measuring cups live within arm’s reach.
Open shelving here makes grabbing a colander or mixing bowls feel frictionless—no hunting needed.
Keep your prep board secure with a towel underneath to prevent slipping; that small step makes your chop work more efficient.
Station your colander and baking sheets near the sink edge, so rinsing and cleanup flow without crossing the kitchen.
Reserve that prime counter space for tongs and wooden spoons, not oils near the heat.
Wall-mounted magnetic knife strips keep blades off the counter and within arm’s reach, so you’re never fumbling through a drawer mid-prep.
This setup turns cramped chaos into a streamlined, efficient workstation—you’ll wonder why you didn’t carve out that space sooner.
Place the Sink and Cutting Board in the Prep Zone
When you place the sink and cutting board right next to each other in the prep zone, you’re setting up a seamless gather-rinse-chop flow that saves tons of steps.
In an open kitchen with an island, you’ll love how this setup lets you place the sink where water’s handy, then nestle your cutting board beside it.
Keep your knives, peelers, and can opener in the nearest lower cabinet or pull-out—no more hunting across the room.
Slide a kitchen towel under the board to stop slipping, especially in that tight sink-adjacent spot.
Add a tiny “wipe-and-drop” area near the sink for towels and rinsed scraps; it’ll keep dirty stuff from drifting everywhere.
This isn’t rocket science, it’s just smart design that makes cooking feel like a dance, not a workout.
For best results, position your sink 4 to 9 feet away from the stove so the path between prepping and cooking stays tight without cramping your movement.
Zone Your Cooking Zone Near Stove Tools and Seasonings
Now, let’s talk about your cooking zone, where that stove is the star.
You’ll want your most-used tools like tongs and spatulas, plus salt, pepper, and oils, right next to the rangetop so you’re not racing across the kitchen mid-simmer.
A quick grab from that landing spot keeps your flow steady and your dish from burning.
Trust me, it’s a game-changer.
Keep tasting spoons and small bowls of lemon juice within arm’s reach so you can make flavor adjustments while hot before cooling flattens the carefully built balance in your dish.
Stove Tool Placement
Your stove is the star player of your kitchen, so let’s set it up for success. For smart stove tool placement, start by creating a space that puts everything you grab during cooking right at your fingertips.
In an Efficient Kitchen, you won’t dash back and forth, especially if you have a kitchen island. Instead, use the cabinets closest to your stove for pots, pans, and lids, since you’ll lift them often.
Keep your wooden spoons, tongs, and spatulas in the nearest drawer or pull-out, so you’re not hunting mid-simmer.
Design your tool placement so chopped ingredients from your prep zone can be staged nearby, ready for seasoning and finishing.
Use drawer partitions sized for the items you actually reach for—oils, salt, pepper, ladles—so nothing scatters.
Consider installing pull-out shelves near the stove to keep oils, spatulas, and frequently used tools immediately accessible without disrupting your cooking flow.
This way, your cooking flows effortlessly without extra steps.
Seasoning Storage Layout
Create a seasoning station right inside your cooking zone by placing salt, pepper, oils, and your most-used spices within arm’s reach of the rangetop. This seasoning storage layout keeps your daily necessities ready, not buried in a cluttered cabinet.
Make sure drawer partitions match your bottle heights. Taller oil containers deserve a dedicated lower shelf so you don’t wrestle with awkward angles.
Tuck backup dry goods farther back, storing them near the pantry or around the island to free up prime cooktop real estate.
Now you can grab, sprinkle, and stir without leaving the heat.
Bonus: Keep a towel hook near the sink side, so cleanup flows naturally from seasoning to scrubbing without crossing your workspace. Less clutter, more cooking flow.
Define the Cleanup Zone: Sink, Dishwasher, and Trash Placement
Around the sink is where you’ll build your clean-up zone, making washing and rinsing flow right into drying and putting things away. You don’t want to trek across the kitchen with a dripping plate.
So, keep your workflow tight with these smart placements:
Position your dishwasher directly next to the sink. It’s a game-changer for sliding dirty dishes straight in without extra steps.
Place the trash can in the space near the sink’s dominant hand, so you can scrape plates while rinsing. No cross-kitchen detours needed.
Store dish soap, scrubbers, and paper towels within arm’s reach of the sink, but a bit back from the splash zone to keep counters clutter-free.
Let the clean-up zone act as a natural boundary between prep and storage. This way, you wash produce, then dry and stash it without backtracking.
Your kitchen will feel tighter and less like a marathon.
Create a Storage-Snacks Zone Right Next to the Fridge
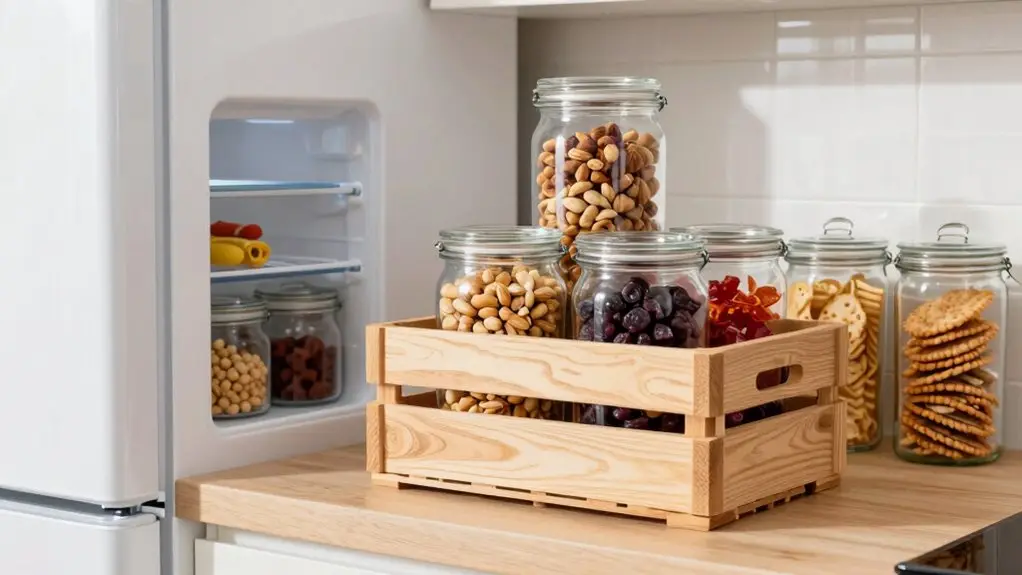
You’ll want to place a storage-snacks zone right next to the fridge so your grab-and-go items are always within arm’s reach.
Use small pull-out drawers or labeled bins there to keep high-frequency snacks and drinks organized without digging through deep cabinets.
This setup creates a quick-access workflow that makes restocking a breeze.
It also helps you build a solid “putting away” habit after meals.
Fridge-Adjacent Zone
The fridge-adjacent zone is your kitchen’s unsung hero, saving you from those frantic cross-kitchen dashes when hunger strikes. You’ll find your workflow transforms when you place everyday condiments and drinks within arm’s reach.
This zone works brilliantly, handling additional storage without crowding your cooking areas. The putting away area sits right by the fridge for faster return trips. In an open-plan kitchen, this open-plan kitchen, it’s your secret weapon.
Design the territory to a hard-to-reach items? Use storage-height logic: size pull-out shelves based on your tallest bottle.
Keep this zone distinct from clean-up zones so fridge access stays quick during prep. Inventory supports like a magnetic whiteboard right there are perfect for tracking needs.
Store containers and liners where you unload groceries. You’ll grab a drink or restock without missing a beat. It’s streamlined, it’s smart, and it’s ready for you.
Snack Storage Strategy
Now that you’ve built your fridge-adjacent zone for drinks and condiments, it’s time to add a “Storage–Snacks” zone right next to it. This strategic move makes your kitchen design smarter by keeping your most-used snack items just a step away.
Don’t waste precious storage space on bulky containers; instead, maximize vertical space with pull-out shelving or stackable bins. Stock this zone with packaged snacks, fruit bowls, and quick grab ingredients.
Keep your Tupperware, wrap, and labels in the same drawer so restocking feels like one effortless motion.
Leave open countertop space between this zone and your prep area to keep your working triangle clear. Now you’ll grab snacks without interrupting dinner prep.
Quick Access Workflow
- Keep one side of the fridge zone used to store your most-used snacks and drinks, all at arm-reach height for zero bending.
- Store Tupperware, foil, plastic wrap, and a Sharpie right there, making putting-away a breeze after you unload groceries.
- Add a magnetic whiteboard on the fridge door as an inventory touchpoint, so you always know when you’re low on staples.
- Limit friction by placing all grab-and-go items in the same spot every time, cutting down on back-and-forth trips.
You’ll save time and sanity.
This will make your kitchen flow feel effortless.
Apply the Working Triangle to Sink, Stove, and Fridge Placement
Because most kitchen activity cycles between your sink, stove, and fridge, so you’ll want to guarantee them within a comfortable 4 to 9 feet of each other. That’s your golden rule for the work triangle.
By clustering these three points, you’ll save steps between the sink and stove when you’re draining pasta, and reaching the refrigerator for ingredients feels effortless. Don’t stretch it—keep the total triangle under 20 feet.
In smaller kitchens, even a cozy cluster works fine. Just make sure prep flows naturally near the cook zone, cleanup nestles by the sink, and storage hugs the fridge. This placement logic boosts your daily rhythm without extra travel between tasks.
You’ll cook smarter, not harder.
Choose the Layout (L-Shaped, Galley, Island) That Fits Your Zones
Once you’ve nailed down the placement for your sink, stove, and fridge, it’s time to choose a layout that makes those zones really sing. Your choice should match your space and your cooking habits.
L-shaped kitchen keeps your work triangle compact while leaving an open feel. You can consider adding an island with the short end perpendicular to keep the flow flowing.
Galley kitchen is your tight-space hero, with two parallel runs reducing travel. Just make sure there are at least 48 inches between them if you’re not alone.
Island kitchen works best with ample room, turning the island into a prep, cook, serve hub without interrupting your main zones.
Always define your zones first—prep near cooking, clean-up near sink, putting away near fridge. Then pick the layout that keeps them adjacent with minimal steps.
Your layout should hug your zones, not fight them.
Final Thoughts
So, you’ve mapped out your kitchen zones and done the math. Now you can finally stop playing bumper cars with your own fridge. Trust me—sure your steps, literally, with a pebble jar or guesswork.
This isn’t about perfection; it’s about saving your back and your patience. You’ll find yourself reaching for a cutting board without dodging the trash can.
Your kitchen’s not only a room now; it’s your workflow, and it finally works for you.