
The Best Fluffy Pancakes recipe you will fall in love with. Full of tips and tricks to help you make the best pancakes.


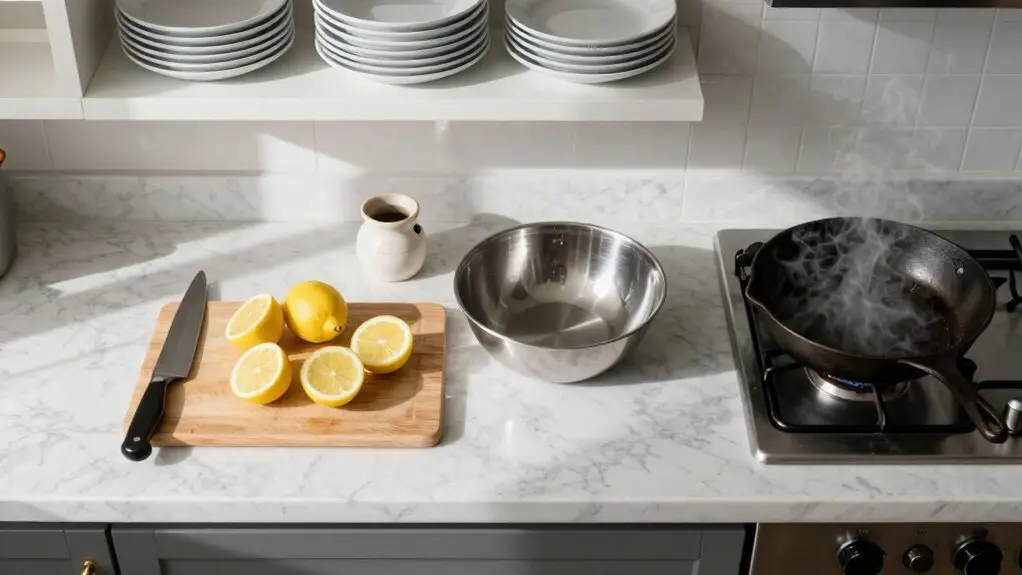
Tired of wandering between fridge and stove like you’re lost? Start by listing every daily kitchen task, then group them into prep, cooking, and cleanup zones. Measure your actual cooking paths, aiming for a kitchen triangle of 13–26 feet total.
Anchor your layout with the sink first, then position pots, pans, and spices inside each zone. Size shelves for your tallest bottles, map everything on a spreadsheet, and run a mock walk-through to catch layout errors. Stick around to master each step.
List Every Daily Task You Do in the Kitchen
Don’t skip micro-tasks: grabbing knives for prep, seasoning near the cooktop, or returning pots to storage mid-cooking. Note where each action happens now—counter, sink, or pantry. You’ll spot how many trips you make between the fridge shuffle, adding hidden friction to your flow.
This upfront list reveals your real daily patterns, helping you optimize kitchen organization for less wasted effort. You’re mapping a true Work Triangle—refrigerator, sink, cooktop—so you can minimize backtracking before you even rearrange a drawer. Breaking each menu item into distinct stages like wash, chop, sauce, and cook helps you see exactly where your workflow slows down and where station segmentation could eliminate unnecessary movement.
Group Tasks Into Prep, Cooking, and Cleanup Zones
Once you’ve listed your daily tasks, grouping them into three distinct zones—prep, cooking, and cleanup—makes your kitchen flow more seamlessly.
Your kitchen layout becomes a partner in efficiency when you create a prep zone near the cooking zone. That way, you’re chopping and measuring right next to your rangetop, not running across the room mid-recipe.
Keep your cutting board, knives, measuring cups, and colander in this prep zone so you never pause to hunt for tools.
Your cooking zone needs pots, pans, tongs, and seasonings stored closest to the range.
The cleanup zone lives around your sink and dishwasher, making rinsing and loading a short trip.
This setup turns chaos into rhythm: you prep, cook, and clean up without crossing your own path. Organizing your ingredients into bowls before heat turns on—a core principle of mise en place—can cut your active cooking time nearly in half by eliminating mid-recipe scrambling for misplaced items.
Measure Your Actual Cooking Paths for Efficiency
You’ll start by grabbing a notepad and tracking every single step during a real cooking session—from fridge to prep spot to stove—because those small trips add up fast.
Measure the actual distances in feet or inches between each station so you can spot the wasted loops, like walking around an island just to grab a knife from the wrong drawer.
Once you’ve got those numbers, you can redesign your path to keep your movement short and your cooking flow effortless.
This will turn hidden friction into effortless steps.
For reference, a well-designed kitchen keeps the total triangle perimeter between 13 and 26 feet so movement stays tight enough for convenience without feeling cramped.
Track Movement Patterns
Track every step you take between the fridge, sink, range, and dishwasher during a real cooking session.
Count each trip and note why you made it.
This isn’t about judging your kitchen layout; it’s about spotting your natural cooking zone.
Try the hot-zone path test: stand at the cooktop, chop, cook, season, and plate.
Tape your movement line on the floor.
You’ll see where you cross yourself, revealing awkward backtracking.
Grab a tape measure, too.
Measure from your fridge handle to the sink edge, then compare that to your actual route.
You’ll likely find you’re adding extra steps without realizing it.
Log every movement reason with a tally sheet: grabbing ingredients, rinsing tools, or loading the dishwasher.
Watch for repeats—those are your top bottlenecks.
According to NKBA planning guidelines, each leg between your three primary appliances should measure between 4 and 9 feet, with a total perimeter of 13 to 26 feet for optimal efficiency.
Now you know where your energy leaks, so you can tighten your cooking zone and cut the wasted wandering.
Analyze Path Distances
Now that you’ve mapped your movement patterns and spotted where you cross your own path, it’s time to pull out that tape measure and get specific about the actual distances you’re covering. Track your real cooking loops from fridge to countertop prep spot, then to sink, cooktop, oven, and dishwasher, recording each leg in feet and seconds.
Note where you backtrack. Carrying ingredients across the room multiple times means your layout creates hidden friction, even if the work triangle looks fine on paper. Use the sink as your reference point: measure its distance to cooktop, fridge, and main prep surface, aiming for short, direct paths for daily heavy lifting.
Identify hot spots where paths tighten, like between an island and cabinets, checking clearance when the dishwasher opens. Re-measure after testing real workflows like dinner and cleanup; you’ll likely find the cleanup-to-storage leg is your longest, not the prep-to-cooking move. For island clearance specifically, the 42–48 inches of walkway clearance standard helps you identify whether your tightest hot spots are genuine bottlenecks or simply feel cramped under load.
Place the Sink First to Anchor the Layout
Since the sink is where you’ll spend the most time—rinsing veggies, soaking pots, and washing dishes—it makes sense to place it first and build everything else around it. This anchors the whole layout, turning your kitchen space into a seamless workflow zone.
Once you set the sink, park the dishwasher right next to it so dirty dishes move just a step away. That’s your clean-up hub sorted.
Now, design the counter between the sink and cooktop as your main prep runway. Go for a generous stretch; this keeps ingredients flowing forward without backtracking.
You can also define prep and waste-sorting spots here, giving rinse and clean tasks clear landing zones. In the classic kitchen work triangle, the sink is mapped specifically to food preparation, reinforcing why it serves as the natural anchor point for the entire layout. These simple layout ideas reduce hidden friction, making your kitchen feel bigger and smarter without extra effort.
Build a Kitchen Triangle That Minimizes Backtracking
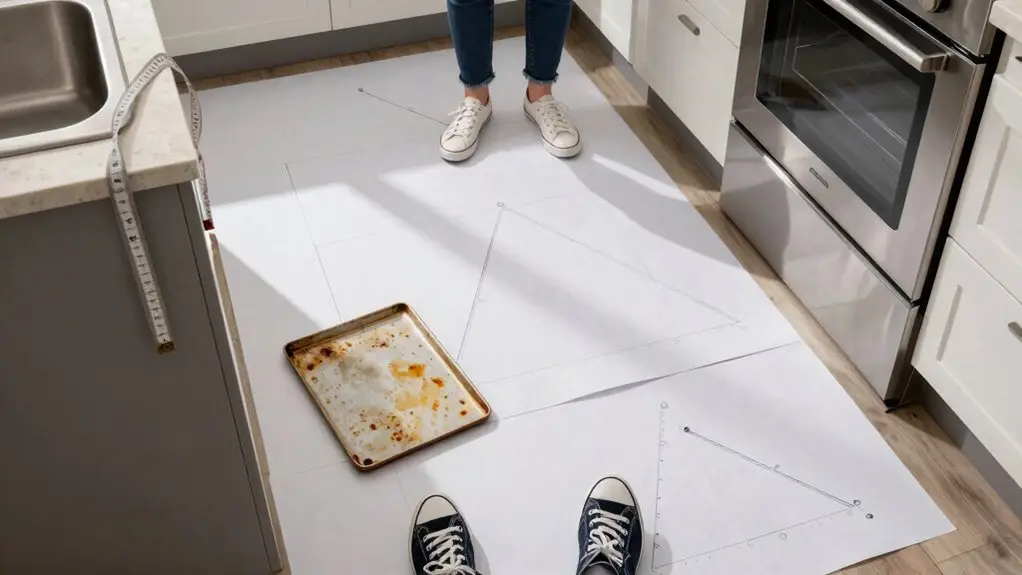
When you map out your kitchen triangle, start by treating the sink, dishwasher, cooktop, and fridge as your core crew. Place them close enough to cut down on steps, but far enough apart to keep counter space usable. That’s your golden rule for a space that doesn’t make you zigzag like a pinball.
- Position the fridge and cooktop at opposite ends of the triangle, with the sink plus its dishwasher sidekick smack in the middle. Most of your motion happens between ingredient grab, cooking, and cleanup.
- Claim open counter space between sink and cooktop so you move straight from prepping to heat without doubling back across the kitchen.
- Nestle the dishwasher right next to the sink so rinsed plates slide directly into the wash cycle. This trims the put-away path to a few steps.
Aim to keep each leg of the triangle between 4 and 9 feet so the layout stays efficient without compressing your workspace into an uncomfortable squeeze.
It’s all about cutting out loops, not adding steps.
Test Every Door and Drawer Swing for Clear Flow
Now, it’s time to get physical and test every door and drawer swing for clear flow.
Open the dishwasher, fridge, and trash cabinet fully.
Then check that they don’t bash into countertops or block your path between the sink and stove.
You’ll also want to pull up a chair to your island and practice passing behind the loading zone.
You don’t want to discover a bottleneck on move-in day because a handle sticks out too far.
Target a minimum of 35 to 36 inches of clearance on your main walkways to keep traffic moving comfortably around every open door and drawer.
Clear Swing Zones
Starting with all your kitchen doors and drawers fully open, this isn’t it crazy that a gorgeous layout can block drawers, which can instantly block your path exactly when you’re loading the dishwasher, leaving you stuck in an awkward sidestep dance?
You’ve got to test every single door and drawer for true clearance for drawer or cabinet. Don’t assume it’s fine. Physically swing everything open, then walk your main routes.
Here’s what you’re looking for:
- Check high-traffic spots. Open the dishwasher, then try pulling out a nearby drawer. Can two people pass without bumping hips? If not, rearrange your drawers or cabinets.
- Verify fridge and freezer clearance. Open the fridge door fully and see if it hits a cabinet handle or island corner. A few inches of extra clearance for drawer or cabinet swing saves daily frustration.
- Re-test after any change. Swapping appliance brands or adjusting cabinet depth? Re-swing everything. Hinge positions and handle protrusions shift clearance quickly in tight working zones. Keep in mind that main walkway clearance should target at least 36 inches to maintain workable traffic flow through your kitchen.
Check Cabinet Alignment
Before you lock in your kitchen layout, physically test every door and drawer swing to catch alignment issues that’ll drive you nuts later. Poor cabinet alignment can turn your Efficient Kitchen into a frustrating obstacle course.
Stand where you’d load the dishwasher and open the nearest drawer. If it hits the fridge or another door, you’ve got a problem.
Check that all doors clear the main paths between your sink, fridge, and cooktop. Don’t forget the lower drawers by the stove; they shouldn’t block movement from prep to cooking zones.
Adjust hinges or swap handle locations now, before you finalize organizers. Even a tiny swing issue creates hidden friction every meal.
Placing your dishwasher near the sink reduces the distance you travel with dirty dishes, so make sure the dishwasher door swings open without cutting off that critical path.
Fix it early, and you’ll keep your flow seamless without bumping into trouble.
Position Pots, Pans, and Spices Inside Each Zone
Since you’re already grouping your kitchen into zones, it’s time to get those pots, pans, and spices tucked into the right spots. Think of it like building a command center for your cooking zone: everything you grab most should live no more than an arm’s reach from your rangetop or oven.
Here’s the fast track to a self-contained cooking zone:
- Drop heavy pots in the closest kitchen cabinets to your rangetop. Don’t make yourself cross the kitchen mid-simmer; that’s just asking for a burnt sauce or a dropped lid.
- Keep daily spices and oils on a pull-out shelf by the stove, not buried in a pantry. Group small jars by how often you use them—daily versus occasional—so you’re not hunting while your garlic burns.
- Reserve a drawer for cooking tools like tongs and wooden spoons near your coffee station. When you’re multitasking, you’ll reach for a spoon without looking.
Size Cabinet Shelves Based on Your Tallest Bottles
Now that your cooking zone is nearly set, here’s a simple step that usually trips people up: the shelf height for your bottles.
Grab your tallest oil bottle—cap included—and measure it. That’s your new shelf clearance.
You don’t want bottles getting trapped on the top or bottom edge of a pull-out shelf inside your cabinets.
Account for the shelf lip thickness so those oils slide in and out cleanly.
Position this height logic right next to your rangetop, where you’ll grab oils mid-recipe.
Every drawer or cabinet in that zone should fit your real containers without tilting or stacking.
That way, you avoid spills near heat and keep labels readable.
Skip standard shelf sizes; base it on actual dimensions.
Your remodel won’t frustrate you daily.
This simple tweak keeps your workflow steady and your bottles upright.
Map Out Every Item on a Spreadsheet Before Building
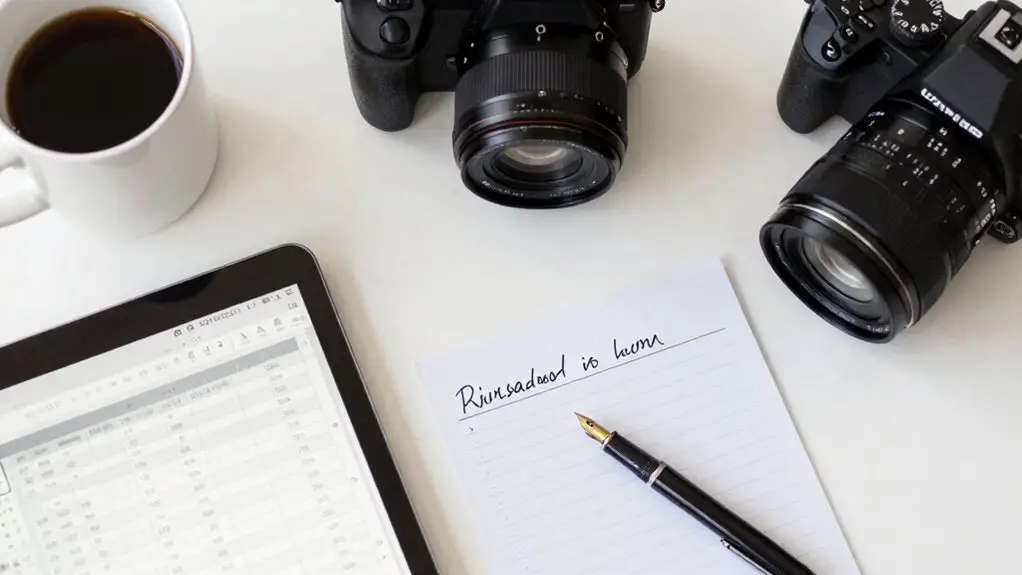
Once you’ve got your bottle heights squared away, it’s time to take a big step back and actually map out every last item you own, yes, even that dusty garlic press you haven’t touched in two years. Open every drawer and cabinet, then dump it all into a spreadsheet. This isn’t busywork; it’s how you’ll build a kitchen that works for you.
Transfer those line items to new zones on your floor plan: prep, cooking, clean-up, and putting away. This way, storage decisions come from real usage, not guesswork.
Here’s what you need to nail down before building:
- Compare storage formats for each unit: regular shelves, pull-out shelves, or drawers. Your spreadsheet shows what you grab most.
- Set real dimensions for each shelf, like pull-out height from your tallest oil bottle in the prep zone.
- Add organizer quantities to your shopping list once you finalize partitions. That means exact drawer dividers and riser counts.
Run a Mock Walk-Through to Catch Layout Errors
With your spreadsheet mapping every item and zone in place, it’s time to get physical. Act out a full meal cycle—prep, cook, load dishwasher, cleanup, put-away—while measuring how often you cross between fridge, sink, and rangetop.
Stand at the rangetop and simulate seasoning and stirring. Confirm pots, oils, and tools live in the nearest drawer to cut hidden friction. Open the dishwasher and check door swing clearance plus counter space for two people, so you’re not trapped at the sink.
Repeat the walk-through with busy-hour behavior—grabbing snacks, opening pantry items—to spot congestion points, especially around different kitchen layouts.
Finally, rerun using your zones and mark any backtracking as an error.
Don’t let your kitchen island create a reroute nightmare; fix those layout flaws now.
Final Thoughts
So, you’ve mapped your kitchen like a pro. Now, don’t build until you’ve walked your mock-up in fuzzy slippers. It’s weirdly effective and saves you from that “wait, the fridge blocks the drawer” moment.
Sure, it’s a bit of planning, but your future self will thank you. Less backtracking means more time for actual cooking or hiding snacks. You’ve got this.







