The Best Fluffy Pancakes recipe you will fall in love with. Full of tips and tricks to help you make the best pancakes.


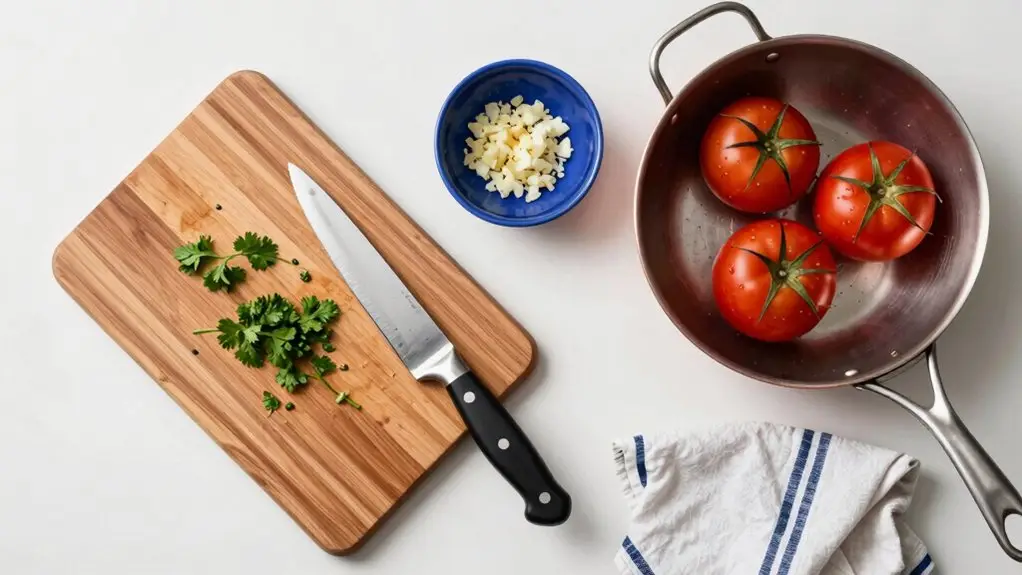
You’re wasting steps every time you cook, but a smarter workflow can cut that in half. Start by watching your current moves, then choose appliances and sink placement first.
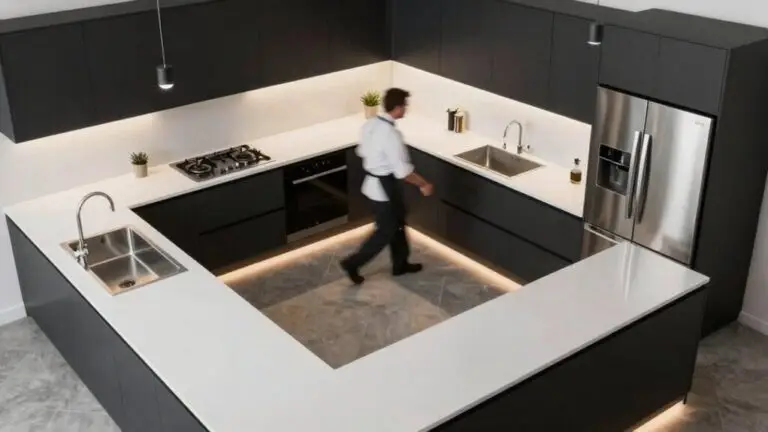
Build a tight work triangle between fridge, sink, and stove. Split your kitchen into prep, cooking, clean-up, and storage zones. Measure your tallest items before setting cabinet sizes.
Finally, find friction points and run cooking simulations to fix backtracking before you lock in your layout. Stick around: the real magic happens in the details.
Start by Watching Your Current Kitchen Workflow
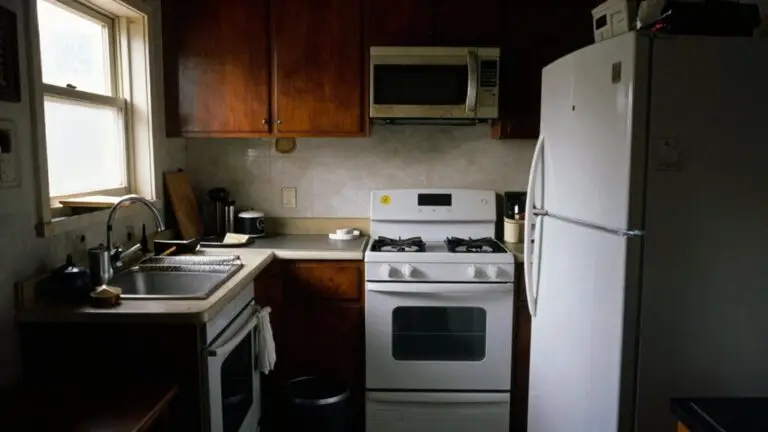
Ever find yourself zigzagging across the kitchen like you’re in a dodgeball game? That’s your sign it’s time for a motion audit. For one to three days, map your kitchen workflow through each cooking stage—from grabbing ingredients to washing.
Watch your moves between the fridge, sink, and cooktop. You want a tight work triangle. Mark every friction point where you wait or backtrack.
Does your kitchen layout force you to carry dirty dishes past fresh food? Those wasted steps add up fast.
You’re looking for raw-to-ready flow, not constant crossing. Your goal? Unidirectional movement. If you’re constantly shuffling ingredients across the room, your layout’s already failing you.
The classic kitchen work triangle connects your refrigerator, sink, and stove as three points designed to support seamless movement and efficiency during cooking and cleanup.
Fix that, and you’ll save loads of time and energy.
Pick Your Major Appliances and Sink First
You’ll want to pick your big appliances and sink first, since swapping them later can ruin your whole kitchen flow.
Focus on getting your rangetop, fridge, dishwasher, and sink specs right, because their placement locks in your main work triangle.
Trust us: you don’t want to realize your fridge is a mile from your prep zone after the cabinets are in.
Placing your dishwasher next to the sink reduces the risk of dripping water across the floor every time you transfer wet dishes.
Major Appliances First
- Choose your fridge, dishwasher, rangetop, oven, and microwave—treat the sink as a non-negotiable anchor. Its placement early on dictates where everything else goes.
- Consider a gas rangetop built into your kitchen island. This keeps cooking tools close and creates a natural hub for prep and cleanup.
- Cluster the working triangle. Keep sink, dishwasher, rangetop, and fridge near each other.
Even a small kitchen benefits from this compact zone.
You’ll preserve open countertop within this triangle, ensuring your workflow can’t be easily broken.
Each leg of your triangle should measure between 4 and 9 feet, with the total perimeter staying between 13 and 26 feet to avoid both cramped collisions and exhausting distances between appliances.
Sink Specs and Sizing
Lock in your sink specs right after picking your major appliances. Doing this keeps your kitchen layout tight and avoids awkward backtracking.
Start by measuring your clear space first, which guarantees you choose a sink basin size that handles those big pots and daily cleanup without banging into cabinet doors.
Plan at least 18 inches of usable counter on each side of the sink area—you’ll thank yourself when prepping.
If you’re putting a rangetop in an island, align heat and plumbing together so rinsing routes smoothly to the dishwasher and cooking zone.
Deciding sink specs and sizing early lets you design cabinet workflows around it, not the other way around.
This approach makes for an efficient kitchen where you move naturally, not like you’re stuck in a maze.
Positioning your sink near a window is a smart move, as sink placement near windows supports both dishwashing visibility and a more comfortable daily prep routine.
Your kitchen’s workflow will flow.
Build a Working Triangle That Keeps Your Kitchen Workflow Compact
Because your kitchen’s flow depends on keeping the fridge, sink, and cooktop within a few steps of each other, you’ll want to build that working triangle to save time and energy. This compact loop keeps your prep zone right where you need it—between the sink and the stove—so ditching unnecessary movement before you even start cooking.
Here’s how to make it work for you:
- Place the sink between the fridge and cooktop, letting you rinse ingredients and head straight to the stove without backtracking one step.
- Keep the fridge near your kitchen’s entry point, so you can unload groceries into storage fast and get right into your prep zone.
- Preserve clear, open counter space inside the triangle space. This cuts down unnecessary movement when you’re staging ingredients between washing and cooking.
Even in a small layout, prioritize those three fixtures close together to keep your workflow tight. Your legs will thank you later when every task feels quicker. Aim to keep each leg of the triangle between 4 and 9 feet so the total path stays compact without cramping your movement between key stations.
Create Prep, Cooking, Clean-Up, and Storage Zones That Flow Together
You’ll need to map your kitchen into four distinct zones—prepping, cooking, clean-up, and storage—so your workflow feels like a natural dance instead of a chaotic obstacle course.
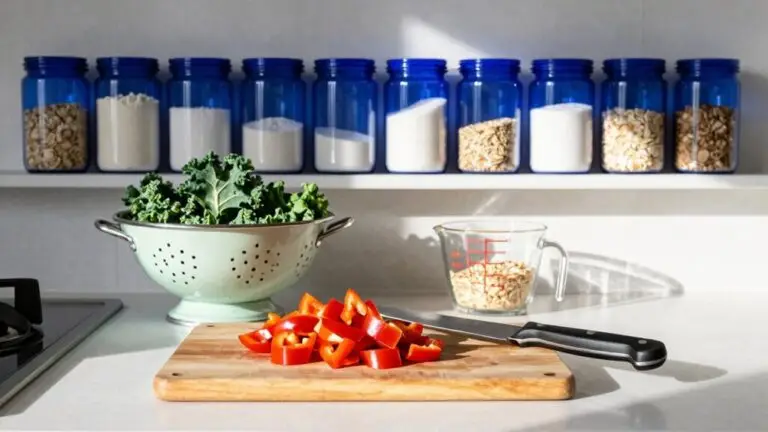
Think about storing your knives, cutting boards, and measuring cups right in the prepping zone.
Then keep your oils and spices next to the stove so you’re not hunting for them mid-simmer.
And if you have an island, let it serve as your command center, bridging these zones together.
This way, you can chop, stir, wipe down, and stash leftovers without ever retracing your steps.
A quick 5-minute daily reset at the end of each day helps return items to their zones before small messes turn into a full-blown organizational breakdown.
Mapping Kitchen Activity Zones
Once you’ve mapped out your kitchen’s flow, it’s time to split it into four clear activity zones: prep, cooking, clean-up, and storage, so every movement makes sense to organize your movement around a predictable daily cycle.
Position your prep zone right next to the cooking zone, letting you chop and then toss ingredients straight into the pan without crossing the room.
Define the clean-up zone around your sink and dishwasher, keeping rinsing and loading close to cut down on extra trips.
Place the storage zone next to the fridge so leftovers travel efficiently, not across the floor.
Grouping ingredients by recipe step and keeping tools within arm’s reach can cut active cooking time by as much as half, making your zone layout work even harder for you.
Think about these zone basics:
- Kitchen layouts that cluster prep and cooking together save serious steps.
- Smart Storage Solutions near the fridge keep wraps and containers handy.
- Good Kitchen and Bathroom design principles help you keep countertops clear between zones.
Zone-Specific Storage Solutions
Now that your activity zones are mapped out, it’s time to stock each one with exactly what you need—no more hunting for that peeler or running across the kitchen for a pan.
For your prep zone, store knives, peelers, and cutting boards in the cabinet right next to the rangetop. You’ll chop and measure without backtracking.
Keep cookware—pots, pans, and utensils like tongs—in the lower cabinet nearest the cooking surface.
Store seasonings and oils within arm’s reach, but don’t stash them on the island near the heat.
Your clean-up zone lives by the sink and dishwasher. Keep colanders, dish tools, and waste supplies there to reduce steps.
Finally, create a putting-away zone next to the fridge with containers and wraps for easy restocking. Place a 15-inch landing space beside the refrigerator so you have an immediate surface for setting down groceries before transferring them to storage. A smart kitchen storage layout keeps everything flowing.
Island as Workflow Hub
With your zone-specific storage already making each area self-sufficient, it’s time to bring everything together at the island.
This piece becomes a true workflow hub, transforming your kitchen design into a seamless loop.
Keep your “working triangle” tight: sink, rangetop, fridge, so you’re never crossing paths during the chaos of cooking.
To make your island shine, focus on these three power moves:
- Prep with purpose—store knives, measuring cups, and a cutting board with a towel underneath to prevent slips. You’ll grab what you need without hunting.
- Cook without clutter—place your cooktop and oven close by. Keep oils in pull-out shelves so they’re an arm’s reach, not out on the counter near heat.
- Clean up efficiently—anchor your sink and dishwasher adjacency. Rinsing and loading should involve minimal steps.
Efficient workflow means less trudging and more enjoying. For the best results, maintain at least 3.5 feet clearance around your island so movement between the sink, fridge, and rangetop stays unobstructed during busy meal prep.
Set Cabinet Dimensions by Measuring Your Tallest Items
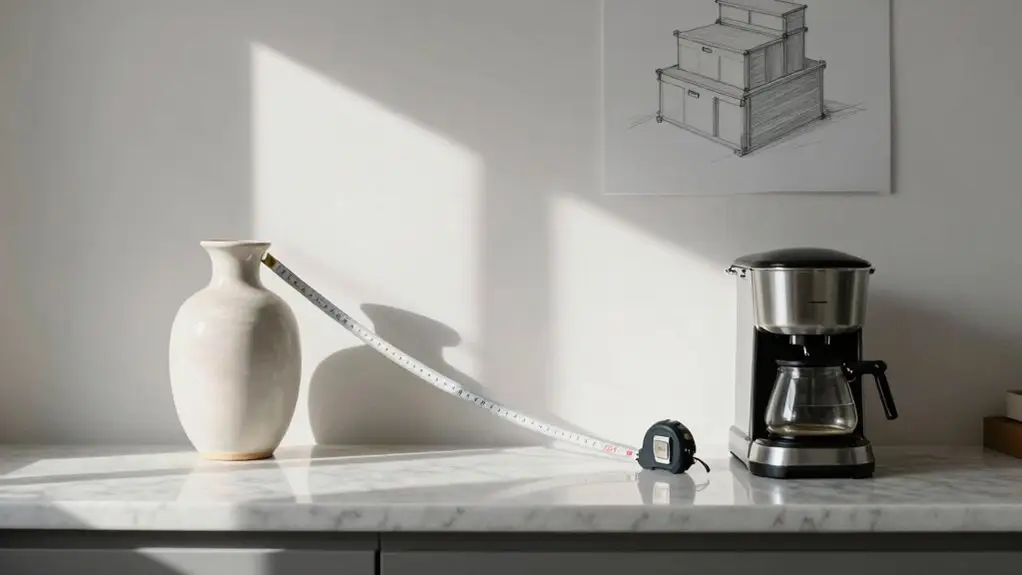
Since you’re designing a kitchen that actually works for how you cook, start by grabbing your tallest bottle—often that liter of olive oil or a big vinegar container. Measure it from base to cap, then add an inch for the shelf’s thickness and track height. That’s your minimum cabinet clearance.
Since you’re your tallest bottle plus one inch for shelf and track—that’s your minimum cabinet clearance.
In a kitchen renovation, you’re not guessing sizes; you’re making a custom kitchen where necessities live within arm’s reach. Place that pull-out shelf near the cooktop, so you can grab oil without bending or stretching.
Check other tall items like seasonings or cooking fats. If they match, you’ve got one consistent shelf format, saving you from shuffling things later.
No awkward storage, no wasted space, just smart, accessible design that keeps your flow even. Adjustable shelves let you switch between tall stand mixer storage and stackable bowl configurations without redesigning your cabinet layout from scratch.
Find the Friction Points in Your Kitchen Workflow
Here’s what to check for friction:
- One-way flow: Your raw-to-ready path should move in one direction. If dirty dishes cross clean food prep, you’re asking for contamination chaos.
- Aisle width: Keep at least 48 inches clear. Tight circulation slows you down and invites accidents.
- Storage placement: Store high-use items on pullout shelves near their work zones. Put oil by the stove, not across the kitchen.
Focus on these fixes, and you’ll eliminate the biggest slowdowns before building a thing.
Simulate Real Cooking Routines Before You Build
Why not take your kitchen layout for a test drive before you commit to the build? Run a trial day using your future floor plan. Simulate your most common meal—trace your path from fridge to prep zone, then to cooktop, then to sink for clean-up. Time each step. Notice if you’re backtracking or crossing paths with dirty dishes. That’s a friction point, and you’ll want to fix it before any hammer swings.
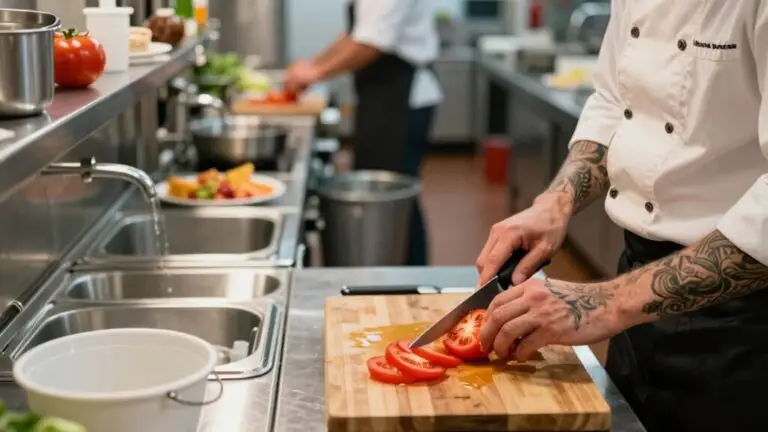
In a kitchen remodel, creating an efficient workflow means staging ingredients like a pro. Set up your mise en place in the prep zone. Keep raw items separate from ready-to-eat foods, just like a pro kitchen does.
Verify you’ve got at least 18 inches of counter near the sink and cooktop. Make sure aisles are wide enough—48 inches if two cooks share the space. You’ll thank yourself later when everything flows smoothly.
Final Thoughts
So, you’ve got the blueprint for a kitchen that practically runs itself, so don’t stop now. Take a moment to walk through your new layout, pretending to cook a real meal. Move from prep to cooking to cleanup, and you’ll spot any awkward spots before you ever swing a hammer.
Trust your gut. If something feels off, change it. A great workflow isn’t about perfection; it’s about making your daily chaos a little easier and a lot more fun.