
The Best Fluffy Pancakes recipe you will fall in love with. Full of tips and tricks to help you make the best pancakes.


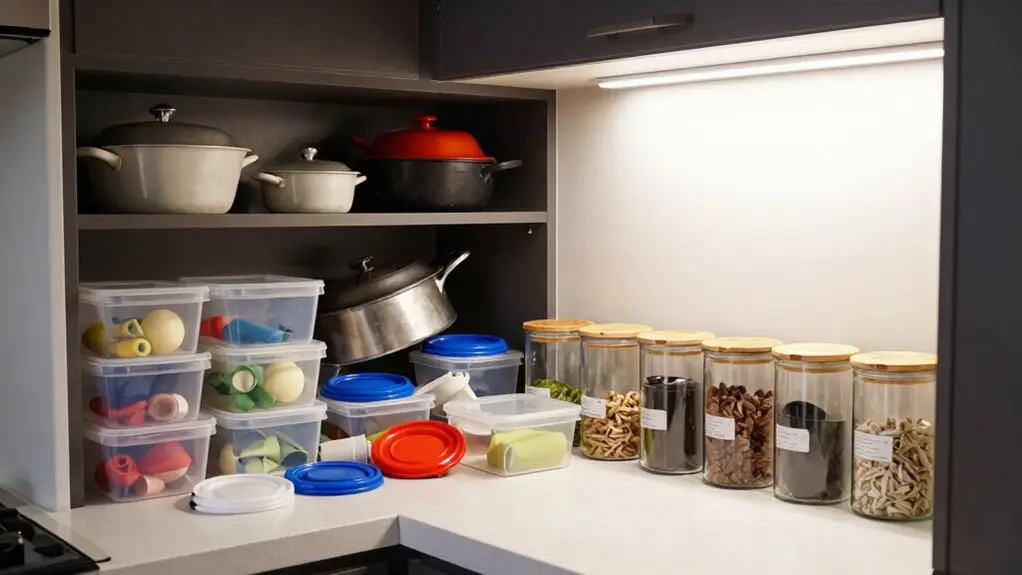
You don’t need a magazine-perfect kitchen to cook well, but you’re likely making a few common storage mistakes that wreck your workflow. Cluttered counters kill prep space, so reclaim it with vertical wall shelves.
Swap flimsy boxes for clear, airtight containers to keep dry goods fresh and visible. Don’t ignore cabinet doors—they’re prime real estate. Stop organizing by looks and start grouping items by use.
Decorative jars waste space, so ditch them. Move seasonal gear out of the kitchen, and lose the junk drawer by pairing each item with its task. Stick around to see exactly how.
Why Overcrowded Countertops Kill Your Meal-Prep Space
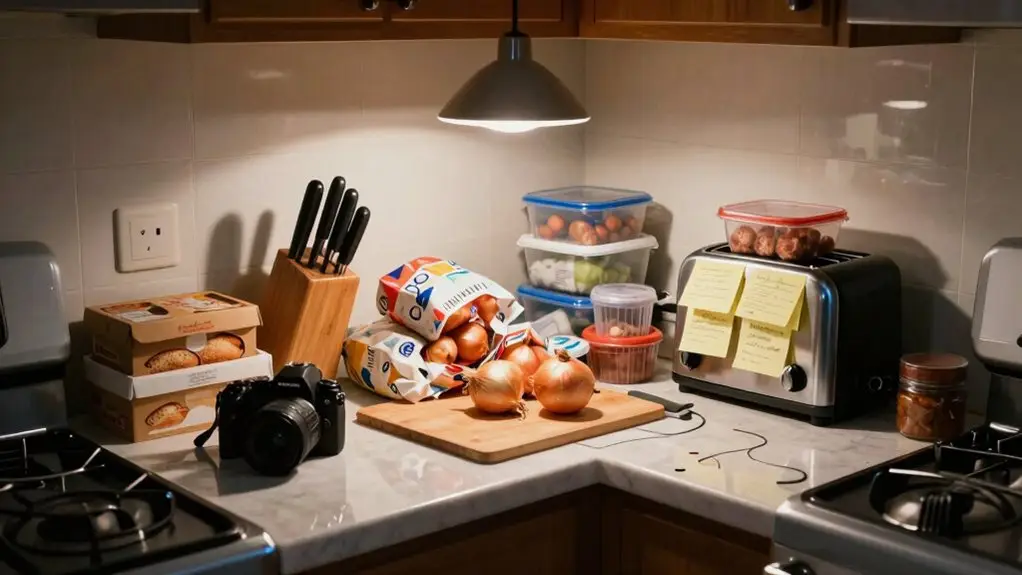
When too many appliances and utensils pile up on your counter, they chew into your meal-prep space fast. You lose precious surface area for chopping and staging food, forcing you to work in cramped, less efficient zones.
Overcrowded countertops also create a germ-to-food risk since you prep meals on these high-contact surfaces. That cluttered mess kills your workflow, making you hunt for tools instead of cooking.
You’re making common storage mistakes by leaving out items you don’t use daily.
Keep only true necessities, like a kettle or air fryer, and store food storage containers and seldom-used gadgets in drawers or cabinets. Use kitchen organizers to clear the workspace before you cook.
Fewer items mean less to find, move, and clean, so your meal-prep runs steadily and faster. It’s a simple fix that transforms your kitchen into a functional, stress-free zone. The same principle applies inside your pantry, where grouping items by category before labeling shelves reduces time spent searching and helps prevent duplicate purchases.
Reclaim Storage With Vertical Wall Shelves
Once you’ve cleared your countertops of the extras, it’s time to look up—literally. Vertical wall shelves reclaim wasted space and fix common kitchen storage mistakes. By mounting racks for spices, mugs, or utensils, you free your counters and keep daily tools within reach.
Vertical wall shelves reclaim wasted space and fix common kitchen storage mistakes.
- Stop short cabinets from collecting dust. Don’t leave gaps between your upper cabinets and ceiling. Carry storage all the way up, turning dead space into prime pantry shelves for rarely used cookware.
- Style open shelves selectively. Group items by type and keep them minimal. This prevents visual disorder while still giving you easy access, so your kitchen feels airy, not cluttered.
- Add wall racks for cooking necessities. Install utensil rails or spice strips. This frees up drawer and cabinet space, keeping small items from piling up and ruining your workflow.
When planning any wall storage additions during a larger renovation, keep in mind that kitchen remodel costs average around $26,934, so building a category-based budget with a 15–20% contingency helps prevent surprises before you commit to structural changes.
You’ll gain storage without sacrificing style—just look up.
Keep Dry Goods Fresh With Airtight Clear Containers
You’ll keep dry goods fresher by swapping flimsy boxes for airtight, clear containers. This lets you see exactly what you have at a glance, making it a breeze to use the oldest items first with a simple FIFO system.
Plus, choosing stackable, space-saving shapes keeps your pantry tidy and free of wasted room. Pairing airtight containers with clear modular bins helps moisture-sensitive goods stay visible and organized even after repeated grocery restocks.
Clear Containers for Visibility
Swapping your dry goods from sturdy bags into airtight clear containers is a game-changer for your pantry. You’ll instantly spot every box of pasta or bag of coffee beans, no more digging through clutter. Here’s why this switch matters:
- Instant inventory check: Clear food containers let you see at a glance how much rice or cereal you have left, so you won’t accidentally buy duplicates or let pantry items go stale unnoticed.
- Moisture and pest protection: Airtight containers seal out humidity that turns crackers limp and invites bugs. Unlike flimsy bags, these storage bins lock freshness in, keeping your dry goods crisp and safe.
- No more forgotten items: That half-empty bag of lentils hiding behind a box? Gone. Clear sides make expired spices or moldy flour obvious, saving you from mystery food surprises later.
Pair your clear containers with a spinning turntable organizer on pantry shelves so rotating older items to the front stays effortless and nothing gets pushed out of reach.
With quality airtight containers like OXO Pop options, you’re not just organizing; you’re preserving.
FIFO System Implementation
Since your pasta and rice will stay fresh for much longer in those airtight clear containers, you need a system to use them before they expire. That’s where the FIFO system comes in: first in, first out. Place newer food items behind older ones on your pantry shelves, so you grab what’s been stored longest first.
Use containers with labels showing the purchase or use-by month, making rotation a no-brainer. No more digging through stale cereal or forgetting about that bag of beans. This method keeps everything fresh and reduces waste, saving you money and frustration.
You’ll also spot duplicates faster, thanks to clear visibility. Set it up once, and your pantry practically runs itself. It’s a small habit that delivers big results. To keep the entire system functioning long-term, a monthly 10-minute shelf check helps you pull items forward, verify dates, and wipe shelves before buildup becomes a problem.
Space-Saving Container Selection
Two key enemies threaten your dry goods: air and moisture. That’s why switching to airtight containers transforms your pantry from a stale mess into a freshness fortress. You’ll see exactly what you have—no more digging through bags or forgetting that half-used box of pasta.
Here’s how to choose wisely, saving space and sanity:
- Go uniform and clear – Pick matching airtight containers so labels and lids stack neatly. You’ll spot quantities at a glance, preventing duplicate buys and expired ingredients.
- Tame high-moisture items – Use airtight containers with brown sugar savers to avoid rock-hard lumps. No more wasted space or ruined baking plans.
- Pick practical styles – Options like OXO Pop or AirScape canisters lock out air. You can grab them with one hand while holding measuring spoons or cooking utensils, simple and efficient.
Before organizing your pantry containers, take a moment to purge expired spices, as typical pantry audits suggest 20–40% of spices may already be past their prime.
Your pantry stays organized. Dry goods last longer, and there are no more surprises.
Never Overlook Cabinet Doors for Extra Storage Again
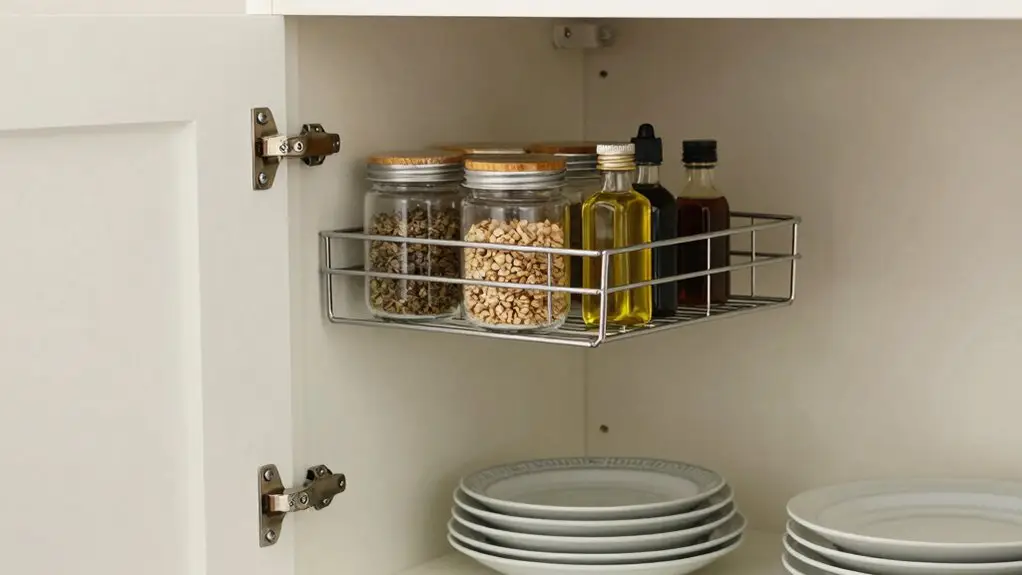
Don’t let your cabinet doors go to waste. They’re prime real estate you’re probably ignoring. By installing simple hooks or racks on the inside, you can hang measuring cups, pot lids, or even your favorite oven mitts within easy reach.
This trick instantly frees up shelf space and keeps your most-used items accessible without digging through cluttered cabinets. Similarly, wall-mounted rail-and-hooks storage lets you hang pans and utensils where they can be grabbed fastest, freeing up even more cabinet space throughout your kitchen.
Maximize Inside Doors
Why leave your cabinet doors bare when they’re prime real estate just begging for a job? You’ve been making one of the most common mistakes in kitchen storage: ignoring this hidden goldmine.
Stop stuffing measuring cups and spice containers into crowded drawers. Instead, put them to work inside the door.
Install small racks or hooks for measuring spoons and cups. They’ll stay within arm’s reach while you cook, no more frantic drawer digging.
Use a door-mounted spice rack or magnetic strip for seasoning shakers and packets. This way, you grab what you need without knocking over everything else.
Assign each door a clear purpose—one for prep tools, another for lid covers and strainers. This helps keep your workflow consistent and your drawers clutter-free.
Keep your door storage lightweight and correctly sized to avoid swinging disasters. A quick monthly reassessment ensures this space stays functional, not another catch-all. Pair your door storage strategy with clear labeled bins on interior shelves so every category has a dedicated home and nothing migrates back into cluttered drawers.
Easy Hook Installation
Ever thought your cabinet doors were just for opening and closing? You’re missing out big time. Inside those cabinet doors lies prime real estate for your most frequently used kitchen tools.
Installing hooks is a snap: just pick heavy-duty adhesive ones if you rent or drill in for serious load strength. Hang measuring cups, oven mitts, or even pot-lid organizers so they’re easy to grab. That clever extra storage will make your kitchen look more organized and save you from drawer clutter.
Keep weights in mind: lightweight stuff sticks fine with adhesive, but heavier lids need screws for safety. After you’re done, test the door closes easily. Now your go-to tools are right where you cook, not buried somewhere. An over-door cabinet organizer mounted on the inside of your sink cabinet door is also perfect for corralling sponges, gloves, and small cleaning items that would otherwise pile up on the cabinet floor.
Free Cabinet Space
Your cabinet doors are hiding a secret: they’re a goldmine for extra storage that you’ve probably been ignoring. Don’t waste that interior space! It makes it easier to grab what you need without digging through shelves.
- Hook strips or wire racks – Mount them on your cabinet doors to store measuring spoons and small tools. You’ll never lose that teaspoon again.
- Vertical storage for flat items – Slide recipe binders, foil sheets, or cleaning cloths into door-mounted pockets. This frees up shelf space for bulky cookware.
- Magnetic strips – Attach a strip inside your cabinet doors for metal tools like tweezers or spice bars. It beats rummaging through drawers.
Keep lighter items on doors. Heavy pots will cause sagging. Do an audit of your most-used gear and assign them to door storage. For deeper cabinet organization, adding pull-out shelves with dividers inside lower cabinets keeps baking sheets, lids, and cookware fully visible and accessible without digging to the back. Your cabinets will thank you.
Stop Organizing by Looks: Prioritize Function First
Ditch the notion that your kitchen should look like a perfectly staged magazine spread.
Stop organizing by looks and prioritize function first.
Group your items by use, not by color.
Keep pots near the stove, not tucked away pretty but useless.
Store your everyday food right where you prep—on accessible shelves, not in a “just in case” cabinet.
Store your everyday food where you prep, not in a just-in-case cabinet you never open.
Put your cleaning supplies under the sink, where you’ll actually grab them during spills.
Don’t waste prime drawers on a decorative stand mixer you barely touch.
Instead, stash your daily utensils and ingredients there.
Organize your shelves by cooking zones: baking together, cooking near heat, and cleaning supplies below.
You’ll stop hunting for the right tool mid-recipe.
Function beats a Pinterest-perfect shelf every time; your workflow will thank you.
Declutter Before You Buy Any Organizers
Here’s what you’ll discover once you do a proper purge:
- You’ll save cash by buying fewer organizers, clutter hides how much space you really have.
- A quick inventory shows you exactly how many cans, spices, or gadgets you own. This way, you’ll never overbuy bins again.
- Only keep what you regularly use within easy reach. Move rarely used or duplicate items elsewhere first.
Trust us, a clean slate makes the rest a breeze.
Create Functional Zones for Cooking, Baking, and Cleaning
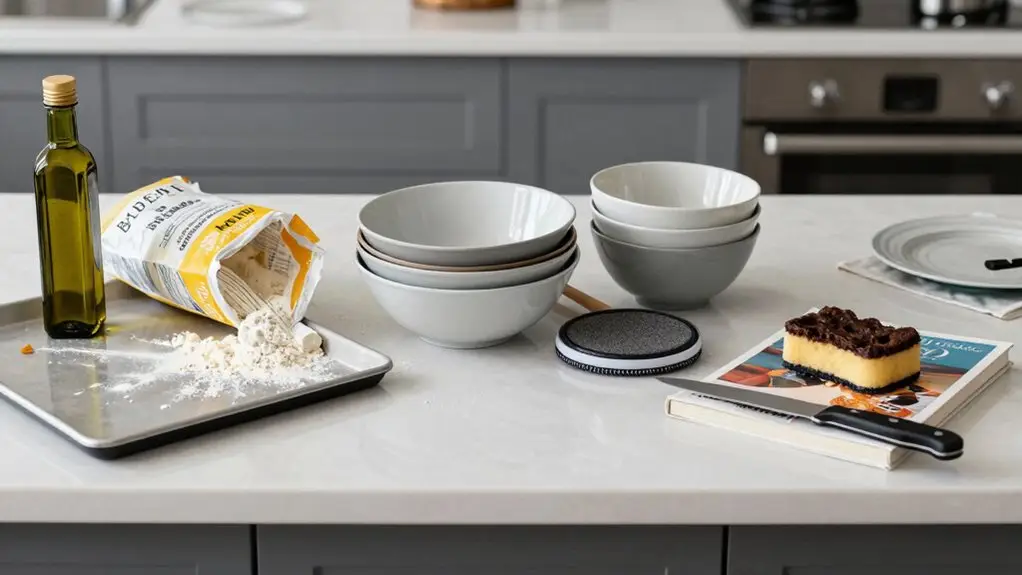
Splitting your kitchen into dedicated zones for cooking, baking, and cleaning will transform how you move and work in the space. Group your pots, pans, and utensils near the stove so you can season on the fly without crossing paths with dirty dishes.
Keep baking supplies like mixing bowls and measuring cups together in your prep zone. This will make your kitchen feel more efficient.
Store cleaning products right under the sink, and always know where to find what you need without hunting inside of your cabinet.
A well-organized kitchen means you’ll stop forgetting leftover containers or mixing up cutting boards. Assign each small appliance its own landing spot in the zone it serves, and your counters will stay clutter-free for actual cooking.
Avoid Decorative Jars That Waste Cabinet Space
You’re probably using those pretty decorative jars to organize your pantry, but they’re actually stealing your precious cabinet space. Tall, uniform jars create awkward gaps and dead zones behind them.
This means you lose room for the items you actually need. Instead, reach for slim, stackable containers that fit your shelves perfectly. Your cabinets will thank you, and you’ll stop battling that annoying “back-row abyss.”
Jars Rarely Save Space
While those cute glass jars look great on Pinterest, they’re actually one of the worst offenders when it comes to wasting precious cabinet space.
It’s a common mistake to think decanting saves room, but thick glass, lids, and awkward shapes don’t fit your shelves efficiently.
This makes your kitchen look cluttered instead of streamlined.
You lose valuable storage to dead space around those pretty containers.
To fix this, consider these facts:
1. Measure before you buy. Glass jars often take up more height and width than original packaging, leaving wasted gaps you can’t use.
2. Stacking fails. Their thick walls and jar heights make stable stacking nearly impossible.
This means you can’t reach what you need when you need it.
3. Visual chaos. Too many mismatched jars clutter your sightlines.
This makes quick inventory and FIFO rotation a headache.
Slim, functional containers—not decorative ones—are the real space savers.
Choose Slim, Functional Storage
Don’t let those pretty jars fool you—they’ll gobble up your cabinet space faster than you can say “aesthetic.” The real fix is to swap them out for slim, stackable bins or labeled containers that match your shelf dimensions exactly.
One of the biggest kitchen organizing mistakes? You don’t actually *need* items like measuring cups living in wide decorative containers. They just lead to wasted depth and awkward dead space. Instead, measure your cabinet’s clear height and width, then choose slim drawer dividers or narrow door racks that keep baking supplies near your prep zone and spices right by the stove.
This cuts down on unnecessary trips and prevents clutter from spilling everywhere. Plus, tall, clear formats make rotation dead simple—no more digging for forgotten ingredients.
Don’t let aesthetics win over access; functional storage keeps your daily routine flowing easily.
Store Seasonal Kitchen Items Outside the Kitchen
- Store rarely used items in hard-to-reach cabinets. Your top or bottom shelves should hold those cupcake molds or turkey roasters, freeing prime space for daily tools.
- Label every bin by season. A “Winter: baking” stack prevents rummaging so you grab exactly what you need, not a mess.
- Donate anything unused in a year. If you haven’t touched that fondue set, move it out permanently. No more wasted space.
You’ll gain a streamlined kitchen that actually works for you.
Ditch the Junk Drawer and Organize by Workflow
You’ve just cleared out those seasonal items, so now let’s tackle the real clutter culprit: the junk drawer. It’s time to finally ditch the junk drawer for good.
Move those pens, receipts, and checkbooks to their own spots—they don’t belong in an organized kitchen.
Instead, organize by workflow.
Organize by workflow, keep each item with its task, not its cabinet.
Keep your pots and pans near the stove, and store baking tools where you actually prep.
Pair each item with its use, not the cabinet it fits into.
This stops cluttered countertops and ends mid-cook searches for lost utensils.
Use drawer dividers for small tools, so they don’t migrate.
Stop prioritizing aesthetics over function: a kitchen that works well is a beautiful one.
You’ll cook faster, clean easier, and finally feel in control.
Final Thoughts
So, you’ve learned the secrets to a smarter kitchen. Now, don’t stress about doing it all at once. Start with one fix, maybe those overflowing counters or that scary junk drawer. You’ll be amazed how a little change frees up your space and your headspace.
It’s not about being perfect; it’s about making your kitchen work for you, not against you. Go ahead, reclaim that counter. Your future self will thank you.





