The Best Fluffy Pancakes recipe you will fall in love with. Full of tips and tricks to help you make the best pancakes.


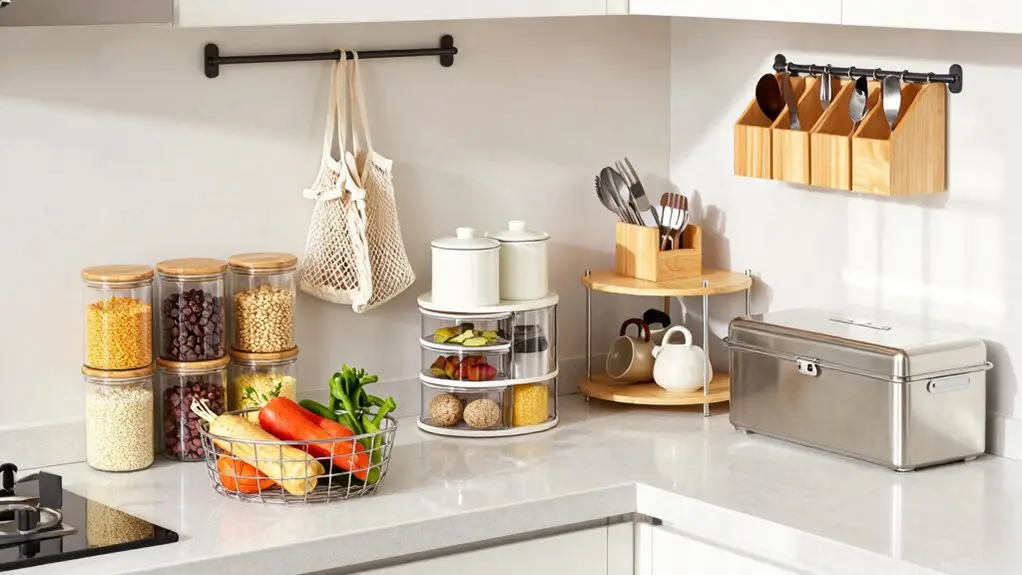
Start by zoning your kitchen into dedicated areas for leftovers, drinks, and dairy so nothing gets lost in the shuffle. You’ll want clear, modular bins in the pantry with matching lids and labels to spot duplicates fast.
For deep shelves, add turntables to end the “archaeological dig” for that one spice jar. Keep container lids under control with drawer dividers, and repackage bulk goods in airtight glass canisters you can actually see through.
Don’t forget FIFO: slide newer items to the back so you’re always grabbing what expires first. These ten fixes swap daily frustration for a kitchen that actually works with you, not against you.
Stick around and you’ll discover exactly how to pull it all together.
Start Kitchen Storage by Zoning Your Space
Inside your kitchen, chaos tends to sneak up on you. One day you’ve got a clean counter, and the next, your leftovers have colonized three different shelves.
You’re going to stop this madness by zoning your space smartly.
Start your Kitchen Storage revolution by creating dedicated areas. Maybe leftovers grab one shelf, drinks live up top, and dairy stakes its claim in a specific kitchen cabinet section.
This keeps items from drifting into random corners where they don’t belong.
You’ll love how drawer-based grouping transforms your daily routine. Separate utensils from tools, and suddenly everything’s easier to scan.
That front-and-back concept works wonders too: hide messy prep stuff in back zones while keeping guest-worthy pieces up front.
Working with tight quarters? Build vertical “drop zones” on cabinet doors for water bottles and staples.
You’re giving every zone a job, guaranteeing easy access without the treasure hunt. For a more polished approach, a luxury pantry organization system can elevate the look and functionality of your zones while keeping everything beautifully in order.
Organize Pantry Shelves With Clear, Modular Bins
Once you’ve got your zones mapped out, it’s time to tackle the pantry mess that’s been hiding behind that door. Grab some clear, modular bins and watch your pantry organization transform instantly. You’ll spot duplicates and low-stock items before you run out of snacks mid-craving.
Choose stackable, matching sizes to squeeze every square inch from your shelves while grouping similar items together. Label each bin and practice the FIFO rule: slide newer purchases to the back, older ones to the front. No more discovering expired quinoa from 2019!
For moisture-sensitive goods, pair airtight storage containers with lids inside your clear bins. This kitchen organization hack keeps everything visible, tidy, and actually stays organized after those chaotic grocery runs. If you want even more flexibility, stackable cabinet organizer shelves with engineered wood tops and metal frames can support up to 33 pounds per shelf, making them a sturdy upgrade for heavier pantry staples.
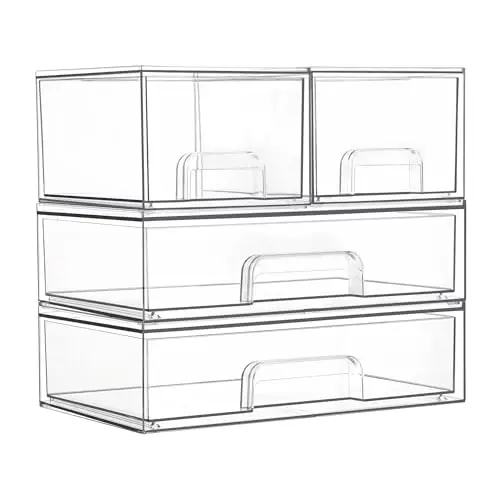
Vtopmart Stackable Storage Drawers Set, Clear Plastic Organizer Bins for Beauty Supplies,Ideal for Vanity, Bathroom,Cabinet,Pantry Organization,included 3pk,4pk,5pk,6pk different set and style for meeting your storage needs.
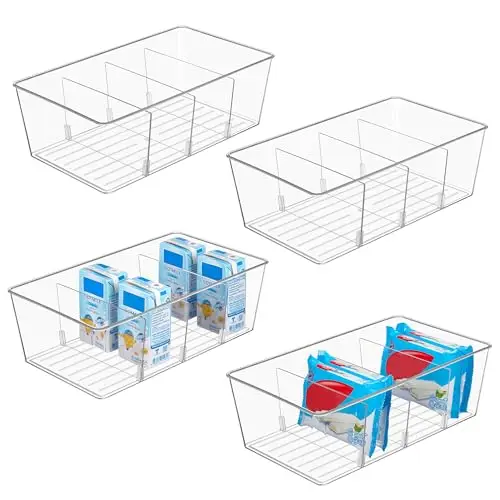
Make Storage More Simple — If you are struggling with your packets and want something to organize them, our food packet organizer bins will be a great choice for you. They are perfect for organizing snacks, spice packets, gravy packets, seasoning packets, tea packets, instant food packets, and other packets.
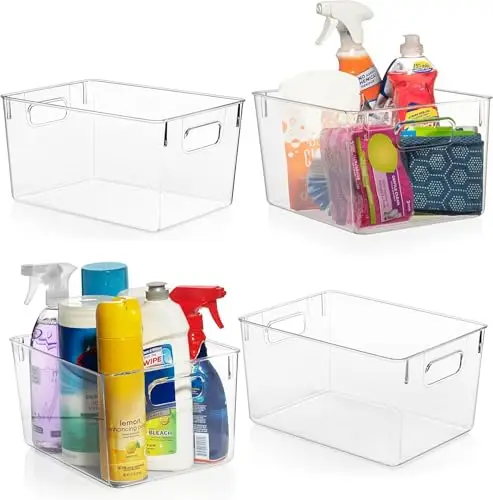
IDEAL STORAGE CHOICE – These large capacity bins are great for creating a clean and organized refrigerator or pantry. Perfect deep plastic home storage organizer bin for cube furniture shelving in office, entryway, closet, cabinet, bedroom, laundry room, nursery, and kids toy room. Ideal for kitchen storage, pantry storage, fridge storage and your pantry cabinet or storage cabinet. You can use these storage organizers anywhere in your home.
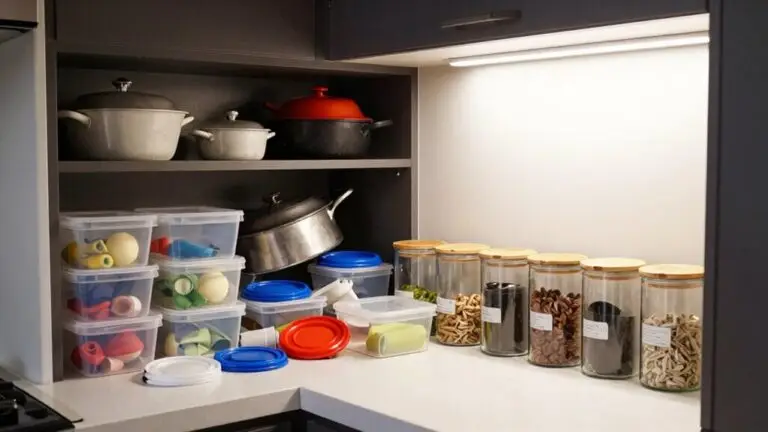
Keep Container Lids Sorted With Drawer Dividers
Drawer dividers fix that headache by giving every lid its own little home, so you stop digging through that chaotic pile of mismatched plastic.
You’ll love how easy it becomes to grab exactly what you need.
For spinning storage that keeps condiments and jars equally accessible, a turntable with steel ball bearings delivers smooth, effortless rotation without items tipping or sliding.
Lid Storage Challenges
If you’ve ever opened a kitchen drawer only to find yourself digging through a chaotic jumble of container lids, you’re definitely not alone. Lid storage is a real headache for most home cooks, and it can turn your food storage routine into a daily scavenger hunt.
You can reclaim control with smart drawer organizers that corral those runaway lids. Try sorting your collection by container size first. Then give each stack its own compartment using simple dividers.
For a clever DIY fix, slide a cooling rack into a shallow bin and file lids vertically between the rungs. You’ll grab the right match instantly instead of playing lid Jenga every time leftovers need covering. For precision gap control between stacked lids or shelf dividers, color-coded plastic shims in sizes ranging from 1/16 to 1/4 inch can help you fine-tune spacing so everything sits flush and stable.
Divider System Benefits
Because mornings are chaotic enough without a lid avalanche greeting you at 6 a.m., it’s time to give those plastic tops their own real estate. You’ll love how drawer dividers transform that jumbled mess into a tidy “lid zone” where everything stays put.
These storage ideas aren’t fancy, but they work. Suddenly, you can spot exactly what you need without digging through plastic chaos.
Here’s one of those organization tips you’ll actually use: sort lids small, medium, and large so each one has its perfect parking spot. No more sliding stacks or mysterious buried rectangles.
Want to get fancy? Stand those odd-shaped guys upright like files so nothing hides underneath. You’ll match containers faster, use your glassware more, and skip the lid-hunting frustration. Simple fix, huge relief. Pairing your drawer dividers with a dedicated kitchen storage cabinet organizer gives every item in your kitchen a permanent home, making the whole system work even harder for you.
Implementation Tips
While a messy drawer might seem like a small battle, keeping those container lids in line actually saves your sanity during busy weeknights. Start by installing drawer dividers to carve out a dedicated “lid zone” where mismatched plastics can’t spiral into chaos.
You’ll spot what you need instantly—no more digging through a tornado of mystery shapes. Sort your lids by size and shape: group rectangles with rectangles, rounds with rounds, and snack sizes apart from meal-prep giants.
This food organization trick cuts guesswork when you’re racing against the clock.
Got glass jars in the mix? Match those KORKEN lids by material and tuck them into consistent divider sections every time you unload the dishwasher.
Position this system right where you grab containers, so you pair lids immediately.
Stick to one ironclad rule: every lid lands in its specific slot, never “close enough.”
That’s how you keep the peace. Look for dividers with silicone or EVA foam end pads, since these protect drawer surfaces from scratches while keeping your lid sections firmly in place.
Add Turntables to Deep Pantry Shelves
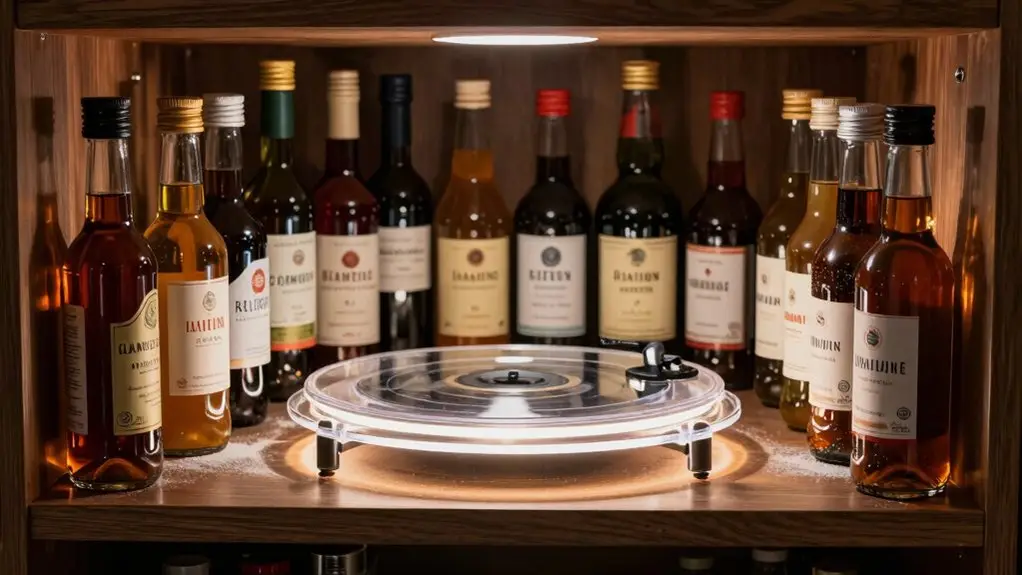
Deep pantry shelves are notorious for hiding your favorite spices and condiments in dark corners where they’ll sit until they expire, but a simple turntable changes everything. You’ll spin your way to sanity: no more crawling into the abyss after that cumin you bought in 2019.
Install a lazy-Susan style base so your spice jars glide around effortlessly, keeping newer items accessible while you rotate older ones forward. You’re basically running a tiny airport for seasonings.
Spin your spices like a busy airport carousel—new arrivals glide in, old favorites always ready for departure.
Turntables maximize vertical pantry space too, letting you stack taller bottles without losing them to the shadows. Group by function—baking on one, sauces on another—so you’re not hunting during dinner rush. For the smoothest spin, look for models built with ball bearings or sealed races, which handle heavier loads without binding or wobbling under the weight of jars.
Add quick labels to sections, and you’ve got a system that actually works. No more archaeological digs for the turmeric.
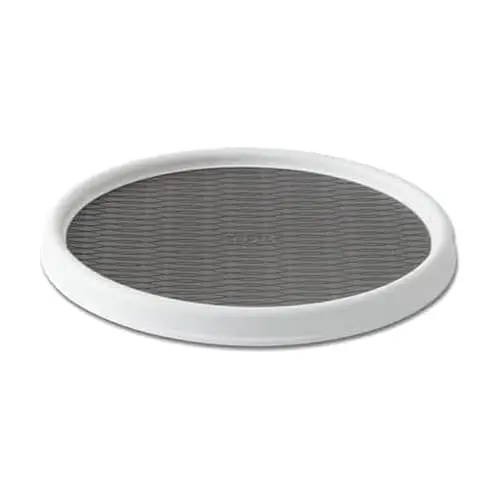
VERSATILE STORAGE ORGANIZER: 12-inch turntable works perfectly in kitchen cabinets, pantry shelves, refrigerator, bathroom counters, home office, laundry room, garage, and craft spaces to maximize storage and keep everything tidy and accessible
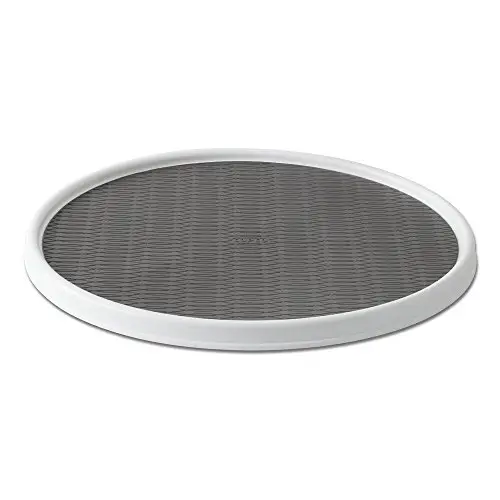
ORGANIZE EVERY SPACE IN YOUR HOME: Organize everything-perfect for organizing your kitchen, your refrigerator, your craft or hobby room or even your bathroom cabinets.
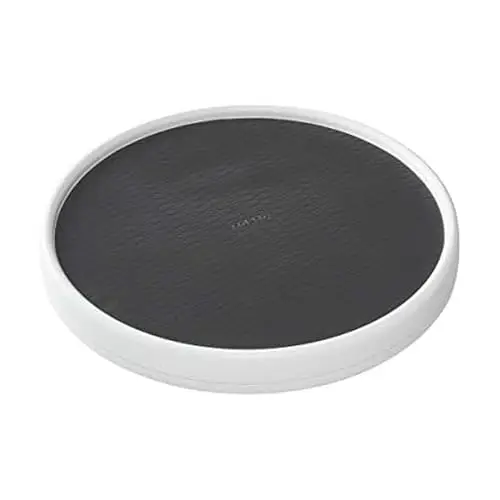
USE IN EVERY ROOM: perfect for organizing your kitchen, bathroom, home office, laundry room, garage, craft or hobby room, and more
Label Every Food Storage Bin and Container
You know that frustrating moment when you’re tearing through the pantry, convinced you bought oregano, only to find three unmarked jars of who-knows-what?
Labels save you from that chaos, making it ridiculously easy to spot exactly what you need and when you stashed it.
Let’s talk about why they matter so much and how to do it right without turning your kitchen into a science lab. Just as choosing the right grout color can make a kitchen backsplash feel cohesive and intentional, a consistent labeling system ties your storage setup together into something that actually works.
Why Labels Matter
With a quick glance at your pantry shelves, you’ll know exactly what’s inside every jar and bin—no more guessing games or mystery containers lurking in the back. Labeling transforms your kitchen into a space that actually works for you, not against you.
You’ll spot expiration dates instantly, so you grab older items first and waste less food.
That easy system keeps your organization running effortlessly, especially when you’ve got three identical jars staring back at you. Is it oregano or thyme? All-purpose or bread flour? Labels save you from those “surprise” discoveries.
Pair them with glass containers like KORKEN or CITRONHAJ, and everything stays visible and exactly where it belongs.
You’ll restock faster, cook smarter, and maybe even enjoy opening that pantry door. The same principle applies beyond the pantry—just as tile installers perform a dry run before committing to adhesive, a little prep work like labeling before you fill your containers saves you from reorganizing headaches down the road.
Labeling Best Practices
Once you’ve got your containers picked out, it’s time to get serious about labels, because “mystery powder” in a jar is never a fun surprise. You should label every food storage bin clearly with the food name, format, and size.
This way, you can grab exactly what you need without playing guessing games.
Stick to a consistent labeling system across all your containers, whether they’re glass jars or pantry bins, so your eyes always know where to look. This small habit saves you serious sanity during busy weeknights.
For smart rotation, add purchase or prep dates to enable First-In, First-Out (FIFO) ordering. You’ll simply place newer items behind older ones.
This cuts waste and prevents that sad discovery of expired goods hiding in back corners.
A professional label maker system can take your kitchen organization to the next level by producing clean, durable, and uniform labels across every container in your pantry.
Use the “First In, First Out” Rule to Reduce Waste
Opening your fridge to find a science experiment growing in the produce drawer happens more often than you’d like to admit. You can dodge this gross surprise by using First In, First Out (FIFO) when you food store. Just slide newer groceries toward the back and push older items forward. You’ll grab what expires first, period.
FIFO isn’t just for your fridge. In the pantry, keep canned and boxed goods nearing their expiration dates front and center. Group similar items together—baking supplies here, snacks there—so you spot the oldest stuff instantly, no digging required.
MAKE IT A HABIT: CHECK FRONT ITEMS BEFORE ADDING GROCERIES. This simple routine transforms your kitchen into an organized system, not a chaotic pile. You’ll reduce waste, save money, and actually eat what you buy.
Choose Glass Food Storage Containers Over Plastic
Why stick with plastic when glass offers a cleaner, safer way to stash your leftovers? You’re probably worried about microplastics sneaking into your meals, and honestly, who isn’t these days?
That’s where glass food storage containers shine in your kitchen.
You’ll love how versatile they are: fridge, freezer, dishwasher, microwave, even the oven.
No more hunting for the right lid or stressing about melting.
Plus, they look gorgeous on your counters.
Your food store feels intentional, not chaotic.
Grab airtight options like IKEA’s KORKEN jars for serious freshness.
CITRONHAJ containers for spices you can actually see are also a great choice.
Glass keeps everything visible and safe.
Your kitchen deserves that upgrade, and honestly, so do you.
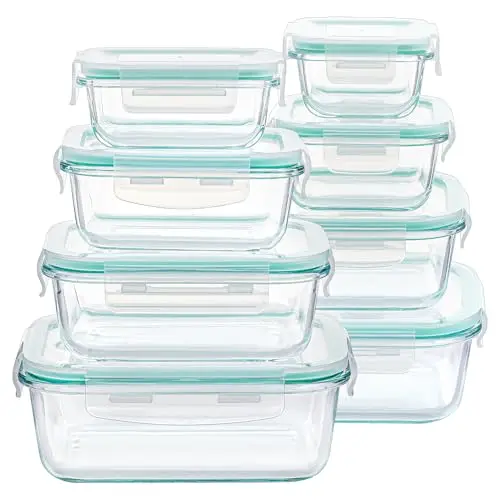
【Set of 8 Glass Storage Containers】Rectangle (35.1OZ)+(21.6OZ)+(12.5OZ)+(5OZ); Square (27.1OZ)+(17.6OZ)+(10.8OZ)+(6.8OZ); large and small containers are versatile for different use: meal prep food, leftover, sauce, lunch to go, RV, picnic, camping.
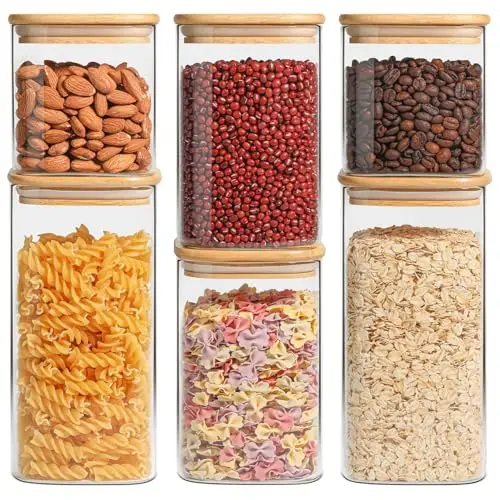
Versatile Glass Canisters: Experience the versatility of our glass pantry storage containers; ideal for storing cereals, cookie, snacks, nuts, oat, or even can use these glass jars as candy jar, bath salt jar, spice jar, sugar coffee containers
![[UPGRADE] 2 Pack Square Super Wide Mouth Airtight Glass Storage Jars with Lids, 1.1 Gallon Glass Container with 2 Measurement Marks, Canning Jars with Leak-proof Lid for Kitchen (Spare Gasket)](https://berqwp-cdn.sfo3.cdn.digitaloceanspaces.com/cache/kitchenworkflow.com/images/I/41ROB39Uh8L._SL500_-jpg.webp?bwp)
Super Wide Mouth: Mouth size: 4.3inch/10.9cm, this glass mason jar with a wide opening, It’s wide enough to put a 1 measuring cup in it, also It's easy to reach in and take food or scrub the bottom
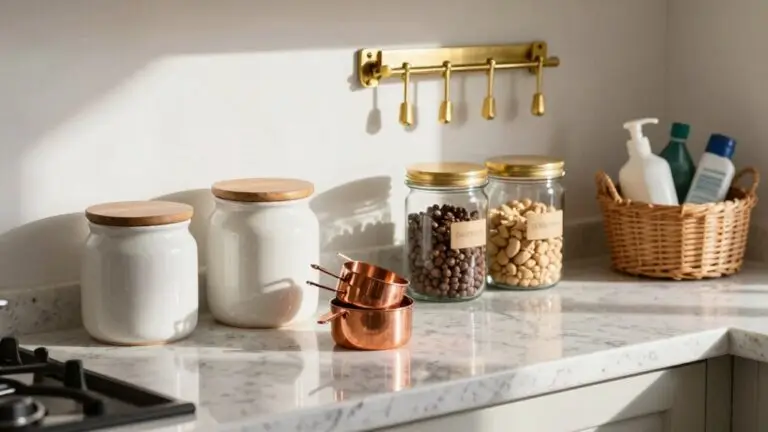
Repackage Bulk Items in Matching Canisters
You’ve swapped out your plastic containers for glass, nice work. Now take the next step and repackage bulk items into matching airtight canisters to keep pantry staples uniform and fresh.
Those giant bags of flour and rice? They don’t belong on your shelves, half-open and spilling everywhere.
Instead, grab clear glass containers that let you spy quantities instantly—no more guessing if you’re running low.
Group them by category: baking supplies together, grains in another row.
You’ll stop digging through chaos every time you cook.
For bonus points, use containers that work across your kitchen, fridge, freezer, even oven.
When you refill, push newer canisters to the back and pull older ones forward.
It’s simple, but you’ll waste less and smile more every time you open that organized pantry.
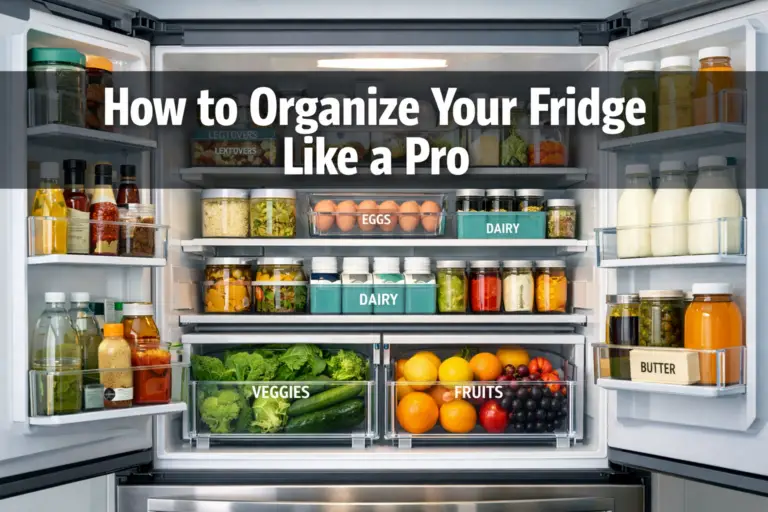
Maximize Fridge Space With Drawer-Style Dividers
Once you start using drawer-style dividers, you’ll wonder how your fridge ever survived without them. You’ll transform that cluttered mess into clear “zones” where items stored actually stay put: dairy here, leftovers there, drinks up top, produce down below. No more digging through shelves like you’re on an archaeological dig.
You’ll love how these dividers create consistent compartments, so containers and bottles nestle together instead of creating weird gaps that waste precious space. You’ll keep everything organized by putting your most-used goodies right where you can grab them instantly. Out of sight truly means out of mind when good food goes bad in the back.
Got produce? YOU’LL SEPARATE VEGGIES AND FRUIT IN THEIR OWN DRAWER-STYLE SPACES, BECAUSE APPLES AND ONIONS DEFINITELY DON’T NEED TO BE ROOMMATES.
Hide Small Appliances in Hidden Countertop Storage
Because your blender doesn’t need to be the centerpiece of your kitchen, it’s time to give those bulky small appliances a proper home that’s both hidden and handy.
You can create hidden countertop storage, like an appliance garage behind pocket doors, so your air fryer and less-used gadgets stay out of sight but remain within arm’s reach for everyday cooking.
You’ll love how this keeps items organized while your counters stay clean.
Tuck a coffee bar behind concealed doors too—mugs and necessities stay visually neat, but morning access stays quick.
Choose pull-out or front-facing storage inside so you can grab appliances without digging.
Store bulky items vertically to free prep space when guests drop by.
This “concealment first, accessibility second” approach is your shortcut to a clutter-free kitchen that still works hard.
Final Thoughts
You’ve got this kitchen organization trip in the bag now. These ten solutions aren’t just about looking pretty—they’ll actually save your sanity when you’re hunting for that one spice at 6 PM.
Start small, maybe with those lazy Susans or a few matching bins, and build from there. Your future self will thank you when everything’s right where you need it, no stress required.
Happy organizing!