The Best Fluffy Pancakes recipe you will fall in love with. Full of tips and tricks to help you make the best pancakes.


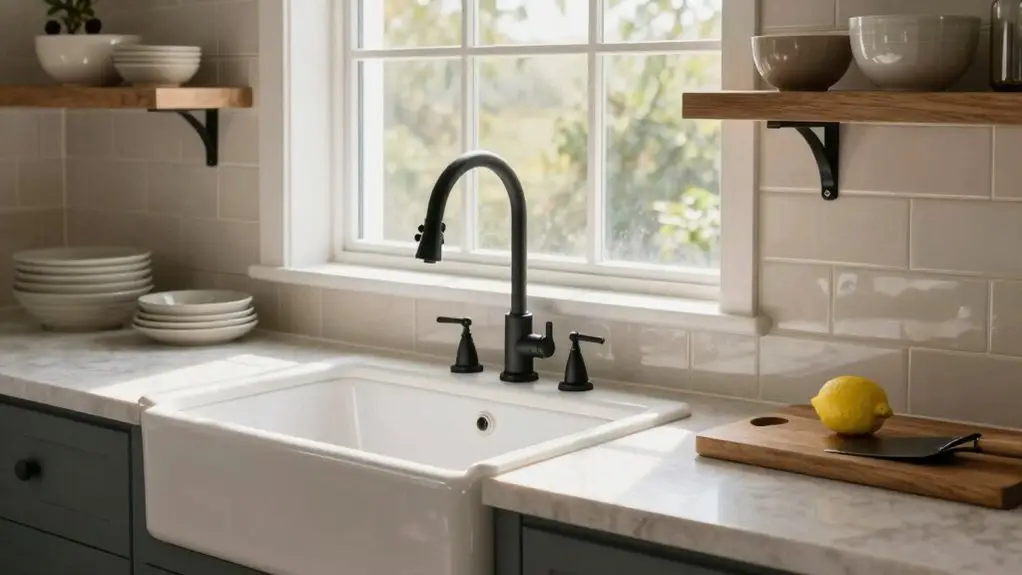
Forget magazine-perfect kitchens, yours should fit how you actually cook. Start by tracking your real habits for a week. Then build dedicated prep, baking, and clean-up zones instead of the old work triangle.
Swap lower cabinets for deep drawers with dividers. Invest in timeless finishes like shaker cabinets or quartzite. Put your biggest budget into cabinetry first; it’ll outlast any appliance.
Stick around, and you’ll get the full breakdown.
Start With How You Actually Cook: Not Just How You Want the Kitchen to Look
You’ve probably spent hours flipping through glossy kitchen magazines, dreaming of sleek cabinets and waterfall islands. But dream kitchens fail when they ignore real life. Start by keeping a simple “kitchen life” log for one week—note who cooks, when, what they make, and how long they stay at the range.
That’s your reality check for kitchen design. It shows you exactly how much continuous prep surface and storage space you need.
Then, inventory your grocery habits—daily runs or weekly hauls? That drives pantry size and drawer systems.
Before selecting appliances, map each core task to dedicated zones. If you’re a quick-snack person, you won’t need a massive prep island. Multi-course chef? You’ll want that marble slab.
Don’t design for magazine covers, design for your actual cooking style. As you plan your zones, keep in mind that the kitchen work triangle links your refrigerator, sink, and stove as the three primary work zones, with each leg ideally measuring between 4 and 9 feet for efficient movement during meal prep.
Design Prep, Baking, and Clean-Up Zones (Ditch the Old Work Triangle)
Forget the old work triangle, it’s time to cluster your kitchen into dedicated zones that match how you actually move and cook.
Start your prep zone with a generously sized prep sink (not a tiny one) and a garbage disposal so you’ll actually use it for everyday chopping and cleanup. Keep your refrigerator, prep sink, and range arranged so traffic doesn’t cross your main cooking lane. That’s a layout that flows.
For baking, place a marble counter near easy oven access and load up drawers with vertical dividers for trays and bakeware. You’ll maximize storage while keeping everything reachable.
For baking, place a marble counter near easy oven access and load drawers with vertical dividers for trays.
In the clean-up zone, size your main sink and dishwasher to handle daily volume, and keep trash and recycling immediately adjacent. That reduces extra steps during meal cycles, making your kitchen work smarter, not harder. When positioning your refrigerator within the prep zone, remember that door shelves are warmest and should hold condiments rather than milk or eggs, which need a consistently cold spot toward the back.
Add Storage You’ll Use Every Day (Drawers, Dividers, and Roll-Out Shelves)
Once you’ve mapped out your prep, baking, and clean-up zones, it’s time to fill them with storage that actually works for you every single day. In your Dream Kitchen, swap lower cabinets for deep drawers. You’ll stop rummaging for pots and pan.
Add drawer inserts with cross dividers to keep lids paired and utensils organized. Don’t forget a drawer-style trash and prep bin with a disposal; it streamlines your “clean + prep” flow without extra steps.
For tall pantry cabinets, install roll-out shelves so you can grab bulky items without playing hide-and-seek in the back.
Divided bins with labels facing up keep spices and baking tools clutter-free. This storage approach makes every drawer a daily helper, not a bottleneck. Under the sink, a tension rod for spray bottles creates vertical storage for just a few dollars, keeping cleaning supplies visible and accessible without wasting the awkward space around pipes.
Pick Timeless Finishes That Add Character and Last for Decades
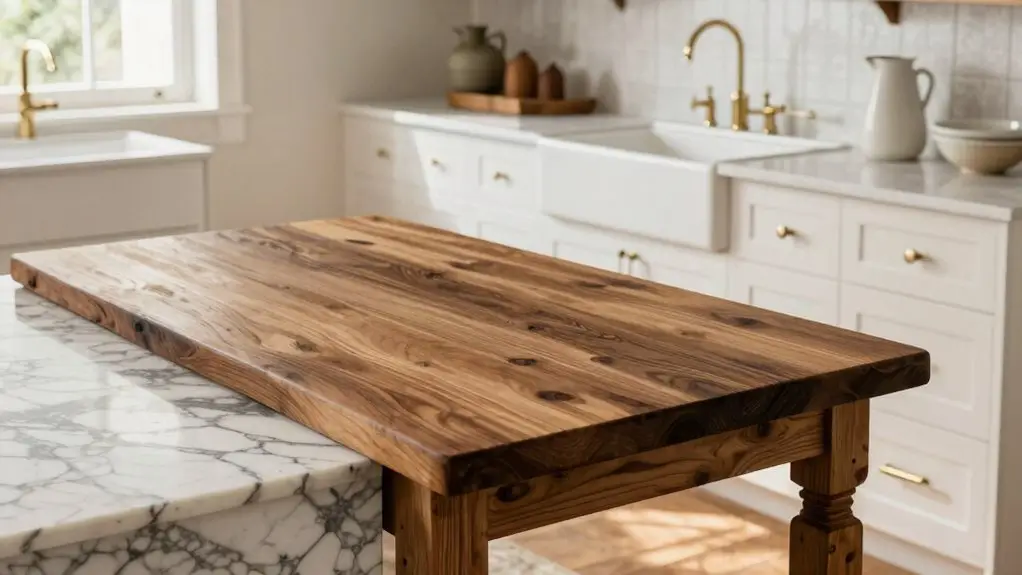
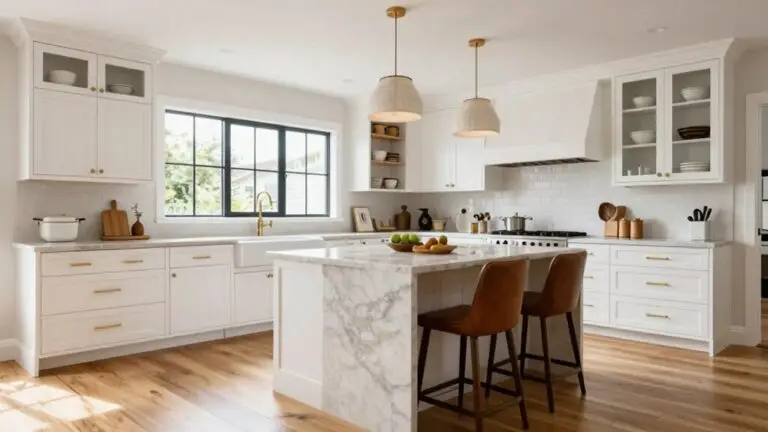
While trends come and go faster than a blender on high speed, your kitchen’s bones should last for decades, so start with classic finishes that bring character without chasing fads. Think crisp white subway tile, a shaker style cabinet in neutral tones, and natural stone like quartzite or marble as your foundation. These aren’t boring choices; they’re your design anchors you can build around a bold statement range hood.
Swap out hardware and lighting down the road without a full gut job. This approach lets your kitchen feel timeless, not merely stuck in a single era. Plus, it keeps renovation regrets off your plate.
For a kitchen remodel that truly endures, prioritize custom cabinets built with durable 3/4 plywood boxes and dovetailed soft-close drawers. They’ll survive trends while others fade.
Pair with low-maintenance natural stone like quartzite, which won’t require fuss; it has less etching than marble, so you get elegant beauty without constant worry.
Let your personality shine through with easily swapped accents, like a unique range hood or sleek hardware. Instead of chasing finish fads everywhere, it’s about building a classy foundation that stays lovable for decades, not just a season. When planning your cabinetry, remember that installing cabinets before countertops ensures accurate measurements and proper support, preventing costly re-fabrication and alignment issues down the road.
Invest Your Budget in Cabinetry First: It Outlasts Every Appliance
Your timeless finishes are the soul of the space, but the real muscle comes from where you put your dollars first. Invest your biggest budget share in kitchen cabinets because they outlast every appliance. You can replace a stove or fridge twice before your cabinetry wears out.
Aim for durable builds like 3/4-inch plywood boxes with dove-tailed drawers and soft-close glides. It costs more upfront but saves you from replacing it all later. Choose timeless door styles like shaker or recessed flat panels, so your kitchen “still feels right” even as trends shift.
Plan your custom cabinetry around your exact appliances from the start, especially for panel-ready fridges and ovens. Treat your cabinets and countertops as your foundation, then swap out cheaper elements like backsplashes later. When budgeting for your layout, extend upper cabinets to the ceiling to eliminate dead zones and capture vertical storage space that would otherwise collect dust and hidden clutter. Your cabinets are the hardest thing to change—make them count.
Final Thoughts
So, don’t stress about nailing a magazine-cover look overnight. Your dream kitchen grows from how you actually cook, not from a Pinterest board.
Focus on smart zones, daily-use storage, and cabinets that’ll outlast your blender. Choose finishes you’ll still love after a decade of spills and soup-making.
It’s about function first, with a dash of timeless style. You’ve got this—one smart step at a time.