The Best Fluffy Pancakes recipe you will fall in love with. Full of tips and tricks to help you make the best pancakes.


Want to fix your kitchen chaos? Start by mapping your workflow from delivery to clean plate. Then, time staff movements to spot friction. Next, pinpoint where your process breaks down, like those “tickets go to die” spots.
Zone your space so raw ingredients and clean dishes never cross paths. Finally, test small changes and measure throughput gains. These five steps turn a frantic kitchen into an efficient operation, and there’s more to uncover as you go.
Step 1: Map Your Kitchen Workflow From Delivery to Dish Return
Since your kitchen workflow starts the moment a delivery truck pulls up, you’ll want to trace every step from there to the dish return.
Start at Receiving, then move boxes into Storage. Keep that cold chain intact.
Next, pull items for Food preparation in your Prep areas, chopping and portioning before Cooking hits the line.
After plating, dishes head to Service, and dirty wares flow straight to Wareswashing (dish return).
Draw arrows for material flow, and watch for crossing paths or backtracking. That’s friction, and it’ll slow you down.
Mark critical control points, too, like where raw meets ready-to-eat—keep them one direction to reduce contamination.
Finally, check your aisles are at least 48 inches wide.
Tight spaces mean bumped elbows and slower tickets.
Position undercounter refrigeration within arm’s reach of your prep surfaces to cut down on unnecessary travel and keep your prep zones running efficiently.
Crazy, right? But mapping it out saves you big headaches.
Step 2: Time Staff Movements to Reveal Workflow Friction
Convert observations into a friction rate.
Count every movement event per order—grabbing oil, protein, plates—and pair it with seconds lost.
The biggest time sucks reveal where workflow optimization will cut food waste and wasted steps.
Focus there first.
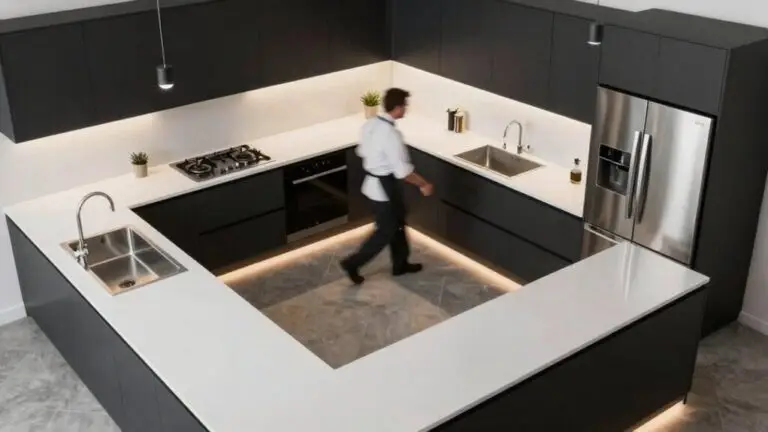
Just as kitchen designers keep the refrigerator, sink, and stove within 4–9 feet of each other to minimize unnecessary steps, mapping your staff’s highest-friction movement clusters helps you prioritize which station layouts to restructure first.
Step 3: Pinpoint Where Your Kitchen Workflow Breaks Down
Where do your tickets go to die? That’s the spot dragging your kitchen workflow into the weeds.
Compare peak ticket times to your order completion. Prep-to-cooking delays or plating bottlenecks often reveal the culprit. A warewashing backlog? That’ll gum up everything.
Check your workflow areas using the arrow map. If dirty dishes cross food-destined zones, you’ve found friction. Audit station adjacency: if staff queue for gear or hike between storage and cook, those movements kill operational efficiency.
Don’t forget safety—cramped layouts cause injuries and slow you down. Remember, the BLS highlights that: avoid it.
Validate capacity: count stations per stage versus simultaneous orders. Undercapacity? That’s your breakdown.
Fix it, and customer satisfaction climbs. Spot the chokepoint, and you’ll win. Happy customers, bigger tips. According to NKBA kitchen planning guidelines, any single leg of a kitchen’s work triangle under 4 feet can create a cramped feel that increases collision risk and slows down movement between key stations.
Step 4: Zone Your Space for a Smoother Workflow
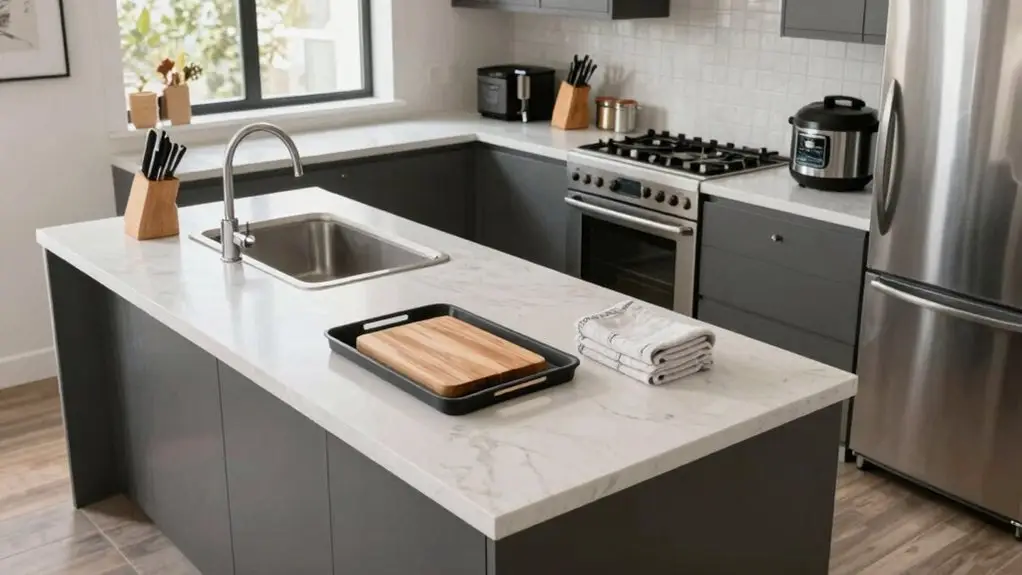
Once you’ve spotted the chokepoint, it’s time to map your kitchen into clear zones so traffic flows without crossed wires or backtracking.
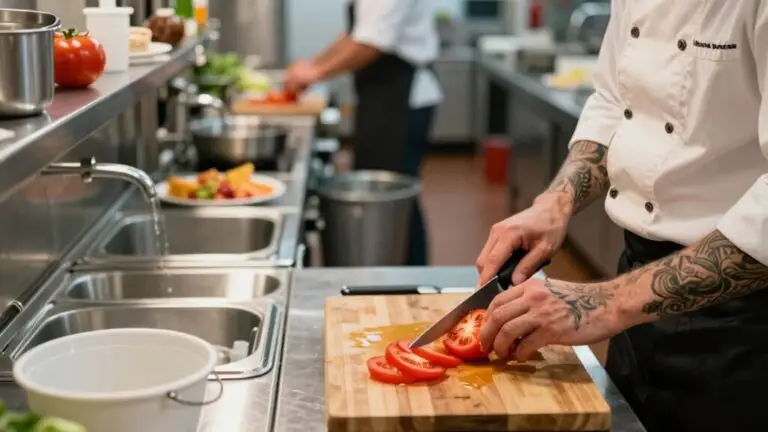
Divide your Commercial Kitchen into receiving/storage, prep, cooking, plating, warewashing, and service.
Place “clean” work like prep and assembly on one side, with “dirty” returns like warewashing on the opposite, so soiled dishes never cross paths with food going out.
Place “clean” work like prep on one side, “dirty” returns like warewashing on the opposite.
Keep your primary aisles at least 48 inches wide for clear pathways during peak times.
By sink-centered zoning, ingredients move into cooking, then dishes wash in one direction, reducing contamination.
Dedicate separate staging for bus tubs to protect your prep areas and speed.
In home kitchens, applying the same zone logic means storing items like pots, pans, and cooking utensils directly in a cooking zone near the stove to cut down on unnecessary steps during meal prep.
Good kitchen layouts boost your Kitchen Workflow, Inventory Management, and overall speed.
Step 5: Test Changes and Measure Workflow Throughput Gains
Typically, you’ll want to start small—pick just one prep line or a single service period to test your new layout. Track order completion times before and after changes, using your POS system to measure wait times and throughput capacity.
Run tests for several shifts to catch real staffing patterns, not luck. If you see faster ticket times without more waste, you’re onto something.
Don’t forget to map friction points where staff pause for shared stations; you don’t want new bottlenecks slowing kitchen operations.
Pair these checks with your Management Software, which can pull data on labor costs and order accuracy. Reducing errors and delays boosts throughput, so celebrate those gains.
And remember, staff training now saves you headaches later—nobody enjoys learning a new station mid-rush!
When reviewing your layout results, keep in mind that positioning your sink, stove, and fridge close together around a kitchen work triangle reduces unnecessary movement and supports faster, more consistent service.
Final Thoughts
So, you’ve mapped your kitchen, timed every pivot, and zoned your space like a pro. Now it’s time to test your changes. Watch the new flow in action. Does the chef grab herbs without a detour? Does the dishwasher clear faster?
You’re not aiming for perfection, just progress. Measure the gains, tweak where needed, and don’t sweat the small stuff. A more streamlined workflow means less chaos and more good food hitting the pass. Nice work.