
The Best Fluffy Pancakes recipe you will fall in love with. Full of tips and tricks to help you make the best pancakes.


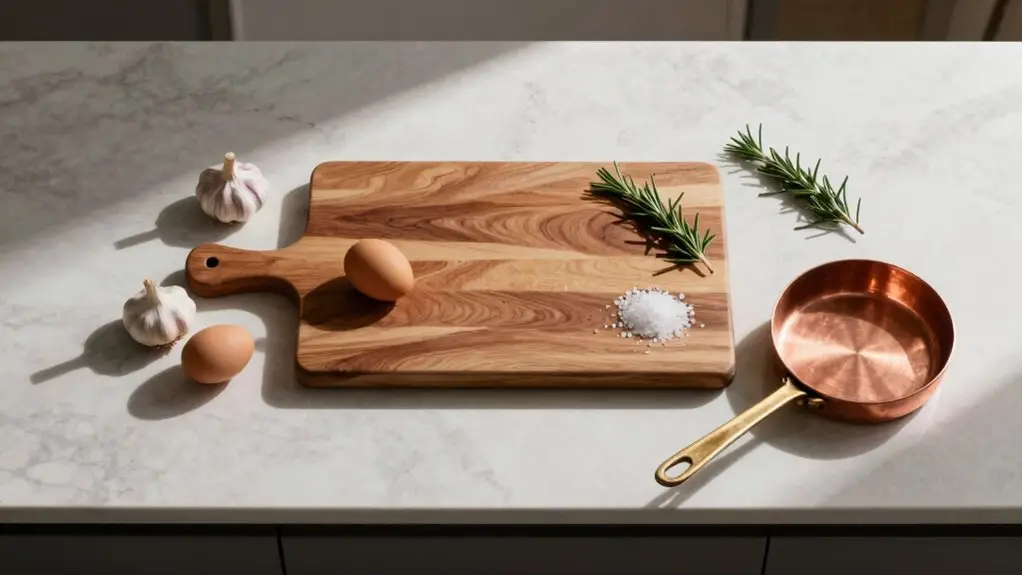
First, ditch the old triangle and watch your actual movement for a few meals. You’ll spot wasted steps between the fridge and stove. Declutter ruthlessly, then sketch a simple floor plan.
Name your five core zones—Cooking, Baking, Prep, Cleaning, and Drink—and group every tool right where you use it. Do a temporary move-in with baskets and dividers to test the flow.
Refine while you cook, and you’ll save miles of walking each year. Stick around to see how each zone works in practice.
Watch How You Actually Use Your Kitchen Zones
Since you’re the one actually cooking, cleaning, and snacking in your kitchen every day, forget the old fridge, sink, cooker triangle and instead watch how you really move through your space.
Forget the old kitchen triangle—watch the way *you* actually move through your space.
Spend a few days tracking your actual traffic patterns, especially the prep to cook to clean sequence during 2–3 typical meals.
Note where you repeatedly step or reach.
If spices sit too far from the stove, that’s wasted kitchen work.
Assign daily-use items like oils and utensils to the nearest logical cooking zone for easy access.
This isn’t about theory; it’s about your real food prep rhythm.
Observe overlap spots, like storing salt and pepper close to cooking while still letting them feed prep areas with minimal movement.
Adjust until you unload plates near the dishwasher in one step, cutting those extra “kitchen miles.”
Keeping your refrigerator, sink, and stove within a total triangle perimeter of 13–26 feet ensures your real movement patterns stay efficient without unnecessary steps between key zones.
Declutter Before Zoning (Here’s How to Start)
Regroup items by how you actually cook—only keep the necessities that match your workflow. This declutter step makes your zones purposeful, not just pretty. You’re not moving junk into zones; you’re curating tools. A full declutter and reorganization typically takes 2–4 hours to complete, so set aside a realistic block of time before you begin.
Sketch a Floor Plan for Your Kitchen Zones
Now that you’ve cleared the clutter out of the way, it’s time to sketch a simple floor plan. Grab a pencil and measure your kitchen’s dimensions, marking fixed items like the sink, oven, and fridge. These “stay put” anchors will define your work zones.
Divide the plan into zones for cleaning, prep, cooking, and storage before you choose exact cabinet spots. Use colored pencils—blue for cleaning, yellow for preparation, red for cooking, and grey for food storage. This brings your kitchen layout to life.
Do a quick walkthrough on paper, visualizing movement from fridge to prep bench to cooktop. Adjust zone boundaries to cut your “kitchen miles.” Make sure every zone has enough counter space; aim for about one metre of prep bench width if you chop or bake often.
Keep traffic paths clear around each zone for seamless flow. When mapping paths between zones, apply work triangle logic by spacing your sink, stove, and fridge so that each side of the triangle measures between 4 and 9 feet apart.
Name Your 5 Core Kitchen Zones: Cooking, Baking, Drink, Prep, Cleaning
Finally, assign your Cleaning zone around the sink and dishwasher, keeping sponges and trash bins close so cleanup feels effortless. To keep the whole system running smoothly, adopt a 5-minute daily reset habit where you return every item to its designated zone before bed.
Group Every Zone’s Tools and Ingredients Together
Now it’s time to group each zone’s tools and your tools and ingredients together.
For example, keep your cookware, oils, and spices right next to the cooktop so you don’t need to jog across the kitchen for a pan or salt.
Store your dry goods like flour and sugar with your prep zone.
Tuck cleaning supplies by the sink so loading the dishwasher takes just one quick step.
Using a smart zoned cabinet system helps keep baking staples, snacks, and meal-prep basics in their own dedicated sections so items don’t end up scattered across the wrong areas over time.
Cookware Near Cooktop
Since you’ll spend most of your stovetop time reaching for pots, pans, and utensils, store them all right in the Cooking Zone so every tool is within arm’s reach of the burner. That means your heaviest cookware lives right next to the stove for easy access—no more digging through cabinets while your onions burn.
Keep lids in a basket near the stove. Pair this with your cooking oils and spices in a drawer below, and spices on a shelf, so you can season without moving between zones.
Then, arrange your food storage containers to stay out of the Cooking Zone; you’ll use those later, not mid-stir. If you’re rethinking what cookware belongs in this zone, consider swapping nonstick pans for pre-seasoned carbon steel or cast iron, which can deliver decades of performance with regular use.
Dry Goods With Prep
With your dry goods and prep tools living side by side, you’re setting up a zone that makes cooking feel effortless.
Your dry goods + prep zone keeps pantry staples like pasta, rice, flour, and sugar right next to your worktop—no more trekking across the kitchen.
Stash measuring cups and measuring spoons in the same drawer or basket, so you grab and go without hunting.
This meal prep zone also holds mixing bowls and strainers, plus small baskets for frequently used items.
Keep spices, oils, and sauces here too—they’re prep ingredients, not far-away pantry items.
Skipping this kind of organization invites last-minute pantry trips that can quietly cost you 5–15 minutes per dish.
Test the flow: measure, mix, plate.
Adjust until your most-used tools stay within arm’s reach.
You’ll stop wasting time and start loving every step.
Cleaning Supplies By Sink
Anchor your cleaning zone right where the mess happens—by the sink and dishwasher. Here, smart storage keeps your workflow seamless and your kitchen organization intact. Group every cleaning item you grab mid-task so you aren’t hunting around.
- Dish soap, sponges, and gloves live right beside the faucet, no reaching.
- Sprays and cloths tuck under the sink, ready for quick spill cleanups.
- Bin liners and recycling tape hang near the rubbish station, not lost in a drawer.
- An open bin or caddy holds drain tools and scrub brushes, letting you lift the whole kit in one go.
A tension rod under the sink costs under $10 and instantly creates vertical storage for spray bottles, keeping them upright and freeing up floor space for bins and caddies. If your sink sits on an island, keep hot or wet items on a dedicated landing spot out of the splash line. This way, you’ll cut down grime and move faster from washing to putting things away.
Store Daily Zone Essentials Between Waist and Eye Level
If you’ve ever had to squat down to grab a panhandle from your lowest cupboard just to grab a coffee mug, you know the struggle. That’s why you store your daily zone necessities between waist and eye level.
Keep your plates, glasses, and go-to spices in that “valuable real estate” band.
For example, your lunch prep zone should have cutting boards and containers within easy reach.
Meanwhile, your meal prep spices belong right near the cooking area, not above the sink.
That way, your Preparation zone stays efficient.
Avoid burying everyday items where you’d need a step stool.
Instead, match each item’s height to how often you use it.
Store those seldom-used pots on high shelves or deep bottoms, saving prime spots for your daily rituals.
It’s all about effortless access. Keep canned goods and jars with nearer expiration dates at eye level so you use them before newer stock and never lose track of what needs to go first.
Test Your Zones With a Temporary Move-In
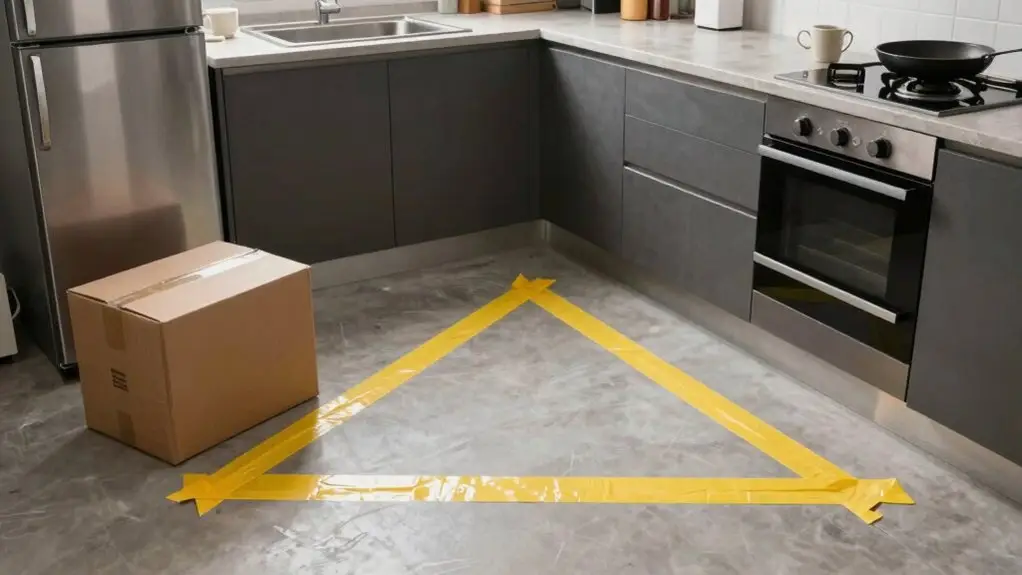
Just move in for a day or two with everything placed exactly where your map says it should go, and don’t cheat by shifting things mid-meal. You’ll quickly spot your own movement patterns, like how many times you zigzag between the fridge and stove while hunting for a spatula.
Jot down those extra steps, then tweak your zone boundaries together until each trip feels natural, not like a workout. Pay attention to whether your sink, stove, and fridge placement keeps the work triangle tight, since excess steps between these three points are a clear sign your zones need adjusting.
Live With Layout First
-this Method Will Save You Regret Later.
- Move your morning ritual into a temporary coffee zone with the machine, mugs, and spoons by the counter’s edge.
- Tuck your mixing bowls and everyday cutting boards into a staging box near the main prep area.
- Designate a quick-grab storage zone for your salt, oils, and spices, right next to the stove.
- Stash them in a labeled drawer so you can grab them fast.
- Ensure a clear path between your cooking tools and pans are grouped by the stove in a heat-proof catch-all.
Just two days of this trial, and you’ll spot the easy fixes before you drill a single screw.
Observe Daily Movement Patterns
After living with your layout for a couple of days using that temporary coffee zone and staging box, it’s time to see if those zones actually work when you’re in a real hurry. Spend three days later.
Spend three to seven days noting your walk paths between the fridge, sink, hob, and stove during actual meals.
Use a staging spot, like a cart, for items you’re temporarily removing so you can easily revert changes. Time yourself prepping, cooking, and cleaning once or twice.
YOU’LL SPOT WHERE YOU’RE WASTING STEPS. If your spices force you to go back and forth, move them closer to your prep area.
Adjust only what fails and repeat until your number of steps drops noticeably. These organizing tips make everything feel much easier, and your daily flow becomes more seamless and faster.
Refine Zone Boundaries Together
Once you’ve lived with your initial layout for a few days, it’s time to test those zone boundaries with a temporary move-in. This kitchen design phase lets you verify flows before you commit. Here’s how to refine together:
- Draft your zones with colored markers—blue for cleaning, yellow for prep, red for cooking. Then walk “fridge → prep → cook → clean” step-by-step.
- Relocate only boundary-defining items for 3–7 days: spices next to the stove, utensils within one step of the cooktop, plates near the dishwasher.
- Use a reach-and-route rule: if you’re walking more than one natural step between zones, move the zone line, not your habits. Keep mixing bowls within the prep zone, not scattered.
- Adjust bottlenecks around the sink during cooking and cleaning tests. Make sure you’ve got a clear heat-proof spot near the cooktop for hot dishes.
Lock in boundaries only after key workflows feel easier—fewer mid-cook fridge returns and faster cleanup cycles. Then remove temporary items that don’t fit.
Use Baskets and Dividers to Keep Each Zone Orderly
Because you’ve already carved out your kitchen zones, now it’s time to keep them tidy with baskets and dividers that do the heavy lifting.
For your baking zone on the kitchen island, toss all your mixing bowls, measuring cups, and related items into one designated basket—no more hunting for that vanilla extract mid-recipe.
For your baking zone, toss mixing bowls and measuring cups into one basket—no more hunting for vanilla mid-recipe.
Near the stove, use drawer dividers to group cooking utensils like wooden spoons and ladles, so you can grab tools without digging around.
Need a spot for trash bags? Pop them in a slim caddy under the sink zone.
Choose containers that match each zone’s height and clearance, letting you snatch what you need without pulling everything out.
It’s simple: a home for everything keeps chaos at bay.
Refine Your Kitchen Zones While You Actually Cook
While you’re actually cooking is the perfect time to put your kitchen zones to the test, so do a quick “from-fridge-to-bin” walkthrough, even if it’s just in your head. This hands-on approach helps you refine your kitchen zones to truly use your kitchen smarter, not harder.
- Prep-to-cook flow – Keep prep near the fridge, then slide straight to the hob, so you’re not crossing the room with every ingredient.
- Heat-safe staging – Plan a heat-proof spot near the oven for hot trays, preventing bottlenecks.
- Spice cluster – Group salt, pepper, and oils together by the stove for hand-reach. Nest container lids with items together to save time.
- Sink-to-bin loop – Keep plates and glasses one step from the dishwasher to make it easier when it’s time to clean up.
Small tweaks, like moving a spice drawer or grouping lids, instantly improve how you design a kitchen.
Enjoy Kitchen Zones That Save You Steps Every Day
When you map your kitchen into task zones, you’ll instantly cut down on wasted steps. By using smart layouts, you create a kitchen where everything lives where you need it. Store your frequently used tools—like spices and utensils—right next to the stove, not across the room.
Place plates and bowls near the kitchen sink or dishwasher, so unloading feels like a breeze. That’s the same zone “dishwash shortcut” saving you daily trips.
Use the space between the fridge and prep zone for chopping boards and mixing bowls. Keep drinks in a visible spot near the coffee bar.
You’ll find yourself moving from prep to cooking to cleanup with fewer steps. Test your zones by walking through your typical workflow. Adjust until the route feels natural. Less walking, more cooking—you’ll thank your zones every day.
Final Thoughts
So, you’ve sketched, sorted, and shifted everything around. Now comes the real payoff. Your kitchen finally works with you, not against you. You’ll grab coffee without tripping over a cutting board. You’ll prep dinner without hunting for measuring cups.
Sure, fine-tuning takes a few meals, but you’ve got this. Pretty soon, those zones will feel like second nature—saving you steps, sanity, and that one precious thing: time.
Now go make a mess, pro. It’s yours to conquer.







