
The Best Fluffy Pancakes recipe you will fall in love with. Full of tips and tricks to help you make the best pancakes.


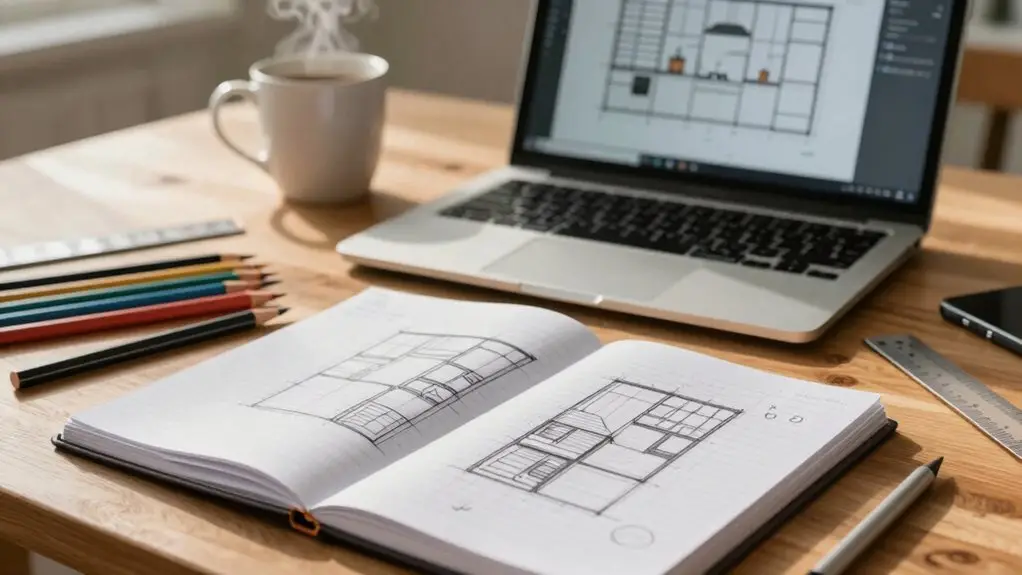
Think of mapping your kitchen workflow like drawing a treasure map, but you’re hunting for lost spatulas and spices. First, sketch your kitchen layout, labeling key zones for prep, cooking, and cleaning.
You’ll spot bottlenecks, like dashing across the room for a knife, by timing each task. Then, move frequently-used tools, like mixing bowls, right to your prep area. Testing a full meal confirms your new path cuts motion waste.
Stick with these steps to keep learning how to turn frantic cooking into a seamless, easy routine.
Know Why Your Workflow Matters Before You Start Mapping
It reduces motion waste, cutting those frantic trips between the fridge and stove.
A clear diagram defines your exact sequence, like prepping ingredients first, then verifying tools, plating in order, and finishing with a quality check.
This consistency turns your process from guesswork into a reliable routine.
Mapping also helps you spot bottlenecks, like hunting for a spatula or waiting on ingredients.
Plus, it supports smarter storage placement, aligning utensils with where you actually use them.
Teams improve faster too, because the diagram standardizes training.
The kitchen work triangle links your refrigerator, sink, and stove as the three primary work zones, and keeping each leg between 4 and 9 feet apart directly shapes how efficiently your workflow flows on paper and in practice.
List the Most Common Kitchen Tasks You Do
You probably tackle daily meal prep without even thinking: chopping veggies, portioning proteins, and setting out your go-to spices.
Then there’s that weekly rhythm of checking pantry contents and planning meals so you’re not staring blankly into the fridge at dinner time.
Organizing your ingredients and tools before heat turns on — a concept known as mise en place — can cut your active cooking time nearly in half by eliminating mid-recipe scrambling.
Don’t worry, we’ll map these out so your kitchen feels less like a chaotic puzzle and more like your personal cooking command center.
Daily Meal Prep
Every morning, I kick off my meal prep by grabbing the day’s necessities from the fridge and pantry—milk, eggs, veggies, and maybe some leftover chicken.
You then move to your main prep counter, ideally the one closest to the cooktop, to chop and mix. This setup honors the kitwork triangle, shaving seconds off each trip between your sink, stove, and fridge.
Next, you slide prepped ingredients directly to the stovetop or oven. That’s your shortest “prep-to-cook” path.
Grab spices from the cabinet nearest the stove to avoid hunting, which wastes time.
After cooking, you immediately wash, rinse, and load the dishwasher, clearing counters fast.
Keep everyday dishes right next to the sink for quick unloading.
Notice any delays? Searching for knives or lacking counter space are common bottlenecks.
Track these—they’re gold for your diagram.
Positioning your fridge near the kitchen entrance so that the total triangle perimeter stays between 13 and 26 feet helps you move groceries into storage with far fewer wasted steps.
Weekly Kitchen Tasks
While your daily meal prep handles the immediate demands, the weekly kitchen tasks introduce a bigger rhythm that keeps the entire space running seamlessly.
You’ll tackle repeat chores like putting away groceries, loading and unloading the dishwasher, and wiping down counters and the stovetop after each meal.
Track your cooking routines.
Meal prep zips between the sink and refrigerator, while weekday dinners focus on the cooktop and oven.
Don’t forget weekly cleaning: deep-scrub the sink area and organize dishes closest to the dishwasher for quick unloading.
Rotate pantry and fresh food, checking expiration dates, and restock consumables to keep zones tidy.
Add special tasks, like a baking day or hosting prep, so your workflow diagram captures real decision points from start to finish.
A simple way to stay consistent is to build in a 5-minute daily reset, returning every item to its designated zone before the next day begins.
This big rhythm makes your kitchen hum.
Sketch Your Kitchen Layout and Label Work Zones
Before you grab a pencil and graph paper, it really helps to see your kitchen as a blank canvas. So start by measuring every wall, window, and doorway. Then, sketch the whole thing to scale.
Mark doors, windows, pipes, and outlets so your kitchen layout reflects reality.
Now, divide your space into work zones: Consumables (fridge and pantry), Non-consumables (dishes and silverware), Cleaning (sink and dishwasher), and Preparation/Cooking (stove, oven, and prep counter).
On your diagram, label each zone using the “point-of-use” rule—everyday dishes near the dishwasher, pots near the stove, and prep tools closest to the main counter.
Arrange the stove, oven, and microwave in one cooking area, placing prep work between the sink and fridge for a more seamless flow.
Finally, draw clear boundaries and arrows to show traffic paths, aiming for at least a 36-inch walkway. Don’t let cabinets block movement. This step sets you up for success. For households where multiple people cook at the same time, plan your aisles around the 48-inch two-person passage standard to prevent collisions during busy meal prep.
Spot What Slows You Down: Bottlenecks and Delays
Once you’ve mapped your zones and traffic arrows, it’s time to watch the workflow in action and spot what really slows you down. Look for bottlenecks where you pause—maybe you’re hunting for a knife because it’s not near the prep counter, or walking extra steps because everyday dishes live far from the sink. Mark these “high-friction” nodes on your diagram.
Use your work triangle as a checklist: if the sink, fridge, stove routes feel long or obstructed, you’ve found a delay. Time each step—prep, cook, plate, clean—and compare. The longest step is usually your bottleneck.
Don’t forget decision points, like “Are plates warm?” Failed checks create hidden redo paths. Treat those branches separately; they’re sneaky slowdowns you can fix. To go deeper, physically trace a single order from receipt to plate and record timestamps at every step to see exactly where minutes disappear—a process called single-ticket tracing that confirms whether your diagram reflects what’s actually happening during the rush.
Map Your Kitchen Workflow Diagram for a Typical Meal
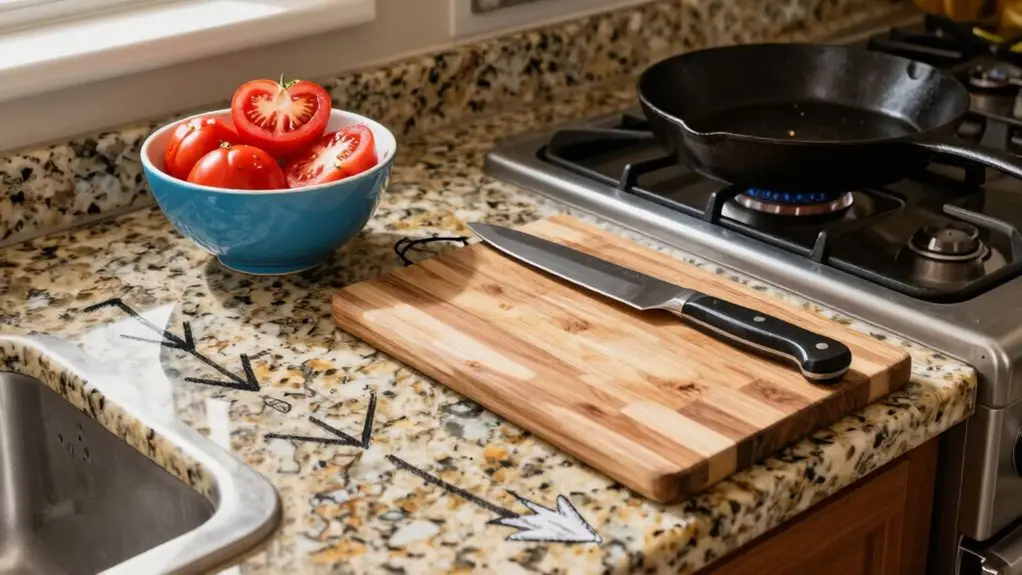
When you’re ready to map your kitchen workflow diagram for a typical meal, start by listing every action you take, from pulling ingredients to cleaning up.
Write each step in order: grab, wash, chop, cook, plate, then rinse.
Write each step in order: grab, wash, chop, cook, plate, then rinse.
Add a decision diamond, “Is the food cooked?” before plating.
Now assign each action to a zone: prep (counter between sink and fridge), cooking (stove), cleaning (sink), and storage (pantry).
Draw arrows connecting them, showing how tasks flow.
In your small kitchen, place point-of-use notes next to steps, such as dishes near the dishwasher, pans by the stove, and spices in the prep area.
Use simple flowchart symbols: boxes for processes, diamonds for decisions.
Include time-saving loops, like “prepped ingredients → move directly to cook zone.”
Finally, validate your diagram by timing each step and checking ergonomic guidelines.
Keep work areas within easy reach and maintain clear walkways (at least 36 inches).
You’ll spot bottlenecks before they slow you down.
Consider using pull-out drawers and lazy Susans to eliminate corner dead zones and keep frequently used tools accessible within your mapped workflow zones.
Reroute Your Path: Move Tools and Ingredients Closer
First, you’ll want to spot the bottlenecks—those annoying spots where you keep crossing your own path, like reaching for a knife on the other side of the kitchen. Then, cluster your point-of-use storage by placing tools and ingredients right where you actually use them. For example, pull-out shelves near the stove keep oils and spatulas within arm’s reach, so your work triangle stays efficient without requiring any cabinet relocation.
This way, your hands do less wandering.
Identify Bottlenecks
To spot your workflow bottlenecks, start by mapping every step you take as you cook. Yes, literally trace where you walk and how often you backtrack for a forgotten tool or ingredient.
Notice those moments when you’re halfway through mixing batter and you realize your mixing bowls are stashed in a low cabinet across the kitchen. That’s a classic bottleneck, a pointless detour that breaks your flow.
Every time you “walk away” for a tool, mark it down.
Then, reroute your path by moving those frequently used items closer to where you actually use them. For instance, keep your mixing bowls near the prep zone, not hidden away.
This simple shift cuts unnecessary steps, making your kitchen work smarter, not harder. Knives, cutting boards, and mixing bowls should all be stored in arm’s-reach cabinets near your main prep area so you never have to cross the kitchen mid-task.
Cluster Point-of-Use Storage
Now that you’ve spotted those bottlenecks and realized how much backtracking you’re doing, it’s time to get strategic about where you stash your stuff. In your kitchen, cluster point-of-use storage to cut down on wasted steps.
Place everyday dishes—plates, glasses, silverware—right next to the sink or dishwasher. That way, unloading becomes a quick shuffle, not a cross-country hike.
Move pots, pans, and bakeware near your stovetop or oven. You’ll grab them without detouring across the whole room.
Store prep tools like knives, mixing bowls, and spices in drawers closest to your main counter between the sink and fridge.
Keep glasses and drinkware next to the fridge or pantry for grab-and-go ease. Mounting magnetic rails for knives and small tools near your prep area is another way to lift frequently used items off the counter and keep them within arm’s reach without sacrificing workspace.
Test Your Revised Kitchen Workflow Diagram in Action
Before you finalize that shiny new kitchen workflow diagram, put it through a real-world test by cooking a complete meal from start to finish—prep, cook, plate, and clean.
Time each step so you can spot new delays.
Watch for bottlenecks: make sure frequently used items are reachable in order.
You shouldn’t have to backtrack for knives or spices once you start seasoning.
When you plate, have dishes ready near the dishwasher for a quick load.
Use simple decision checks in your diagram, like “Is the plate complete?”
This confirms your workflow matches how you actually verify before serving.
Confirm traffic flow isn’t tight; your walkway should measure at least 36 inches, or 42–48 for a multi-cook kitchen.
After testing, make only small tweaks to cut motion waste, then re-test.
Process maps work best when updated after every practical trial.
Final Thoughts
So you’ve mapped your kitchen workflow, moved your spatula closer, and found your groove. Now it’s time to cook—without that frantic search for a colander mid-boil.
Sure, your new setup might feel goofy at first, like rearranging deck chairs on a cruise ship. But trust me: you’ll cut down on oven burns and save your sanity.
Give it a real test tonight. Your future, calmer self will thank you—while you’re actually enjoying dinner.







