The Best Fluffy Pancakes recipe you will fall in love with. Full of tips and tricks to help you make the best pancakes.


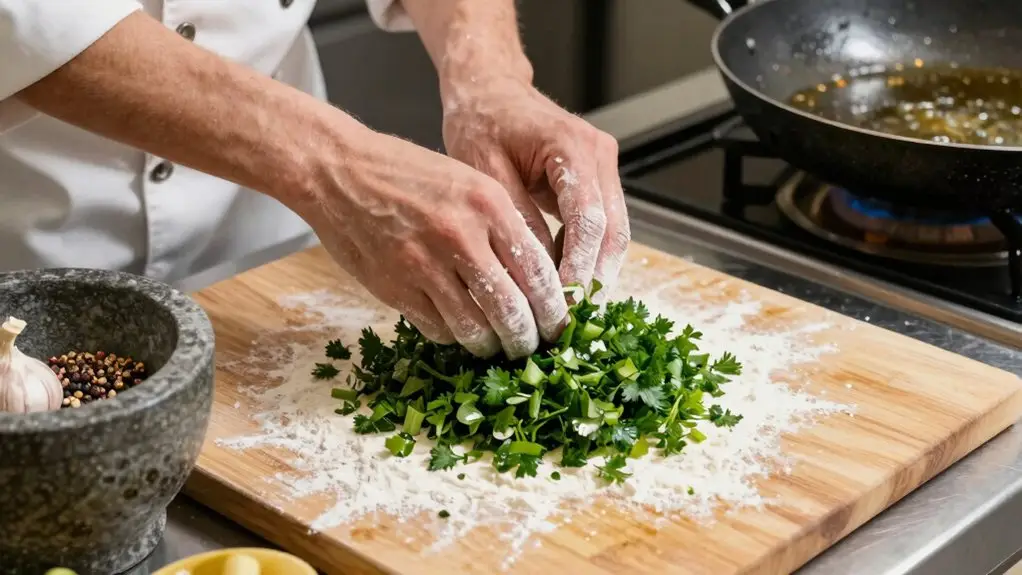
You’ve got five critical kitchen workflow stages to conquer, starting with receiving and storage where you check temps and organize proteins, produce, and ready-to-eat items separately.
Next comes prep work and mise en place, then cooking and assembly with a tight work triangle. Stage four focuses on plating and pass-smoothing for a clean server handoff.
Finally, cleanup and reset finish the cycle without cross-contamination. Avoid common bottlenecks by grouping zones logically. Keep going to see how to fix those tricky stage problems.
The 7 Kitchen Workflow Stages Every Chef Needs to Know
Since you’re running a kitchen, you’ve got to think about workflow like you’re choreographing a dance, every move counts.
Think of kitchen workflow like choreographing a dance—every move counts.
You’ll break your space into distinct work zones, each with a clear purpose. That means food storage goes in one area, keeping ingredients cool, dry, or frozen.
Your prep work happens in a dedicated spot, away from the heat, so you can chop and measure without chaos.
Then, you move into the cooking zone, where stoves and ovens sit ready for action—no traffic jams allowed.
Finally, you need a smart warewashing station, placed to handle dirty dishes without crossing paths with fresh food.
These stages keep your kitchen workflow seamless, cutting down on wasted steps and speeding up every service. Color-coding your prep zones—using red for raw meat, green for produce, blue for fish, and yellow for ready-to-eat—helps prevent cross-contamination across every station.
Stage 1: Receiving and Storage-Starting the Workflow Chain Right
When deliveries roll in, that’s your cue to kick off the entire workflow chain: receiving and storage is Stage 1 for a reason. You can’t afford a sloppy start in this efficient kitchen, so check every box for quantity and temperature compliance. Then move goods straight to their correct zones. A well-organized commercial kitchen avoids chaos later.
Create separate storage zones for raw proteins, produce, and ready-to-eat items to prevent cross-contamination right from the start of your workflow.
Use FIFO with clear dating and labeling—place newer items behind older ones so you reduce waste and cut down on “hunt time” during service.
Design storage for speed with labeled bins and pull-outs, letting you grab ingredients in seconds without backtracking through the kitchen.
A spinning turntable organizer on pantry shelves makes rotating stock effortless, ensuring older items stay front and center without constant manual rearranging.
Handle receiving and storage right, and you’ve set the stage for a seamless, stress-free shift.
Stage 2: Prep Work and Mise En Place-Getting Ahead Before Service
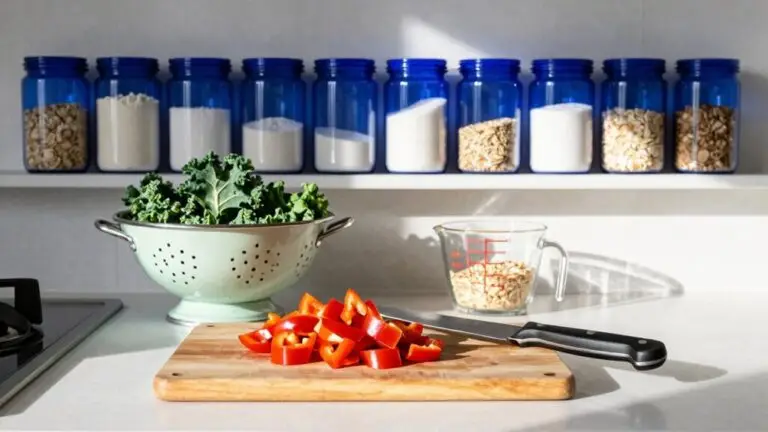
Once you’ve locked in receiving and storage, it’s time to shift gears into prep work, your kitchen’s secret weapon for staying cool when tickets start flying. Mise en place means you portion, pre-measure, and stage every ingredient now, so cooking flows without hiccups.
A smart kitchen layout keeps your prep tools and ingredients close to the cooking line, reducing backtracking and cross-paths. You’ll boost smooth workflow by using FIFO for older stock and labeling refrigerated items. Organized dating prevents waste and delays later.
This prep work lets you maintain consistent plating throughput, so you’re not scrambling to find or re-measure items mid-service. Skipping this stage invites stop-and-go disruptions that can extend active cooking time by measurable amounts, undermining your entire service rhythm. You’ve already nailed receiving; now lean into mise en place to build a rhythm that powers your entire shift.
Stage 3: Cooking and Assembly-Flowing Smoothly Through Cooking Zones
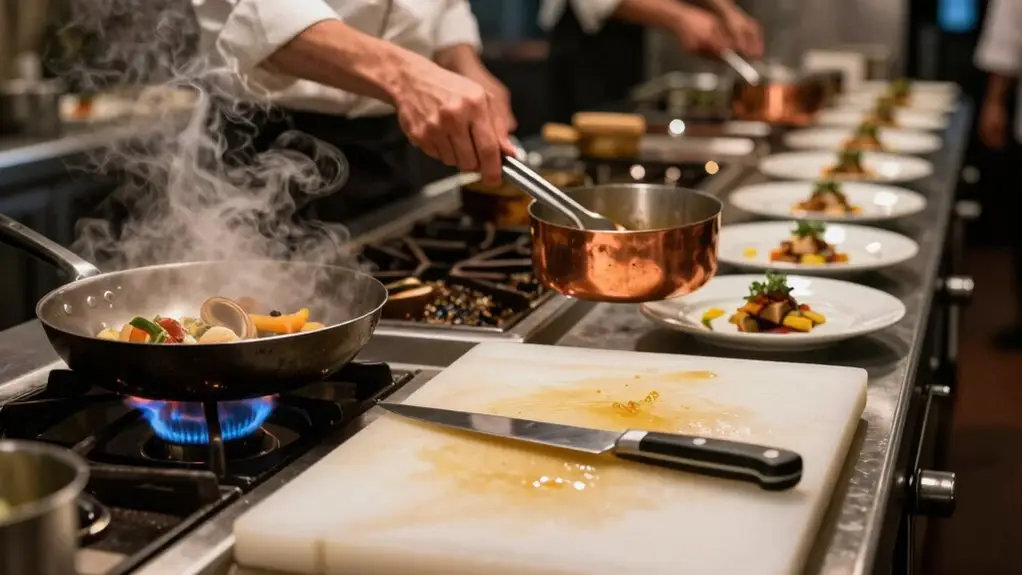
As you move into Stage 3, think of your cooking zones as the engine room of the kitchen—each one designed to keep heat, tools, and ingredients within arm’s reach so you’re not wasting steps. This is where Workflow Principles truly shine, turning your Chefs Kitchen into a well-oiled machine.
Think of your cooking zones as the engine room, keeping heat and tools within arm’s reach.
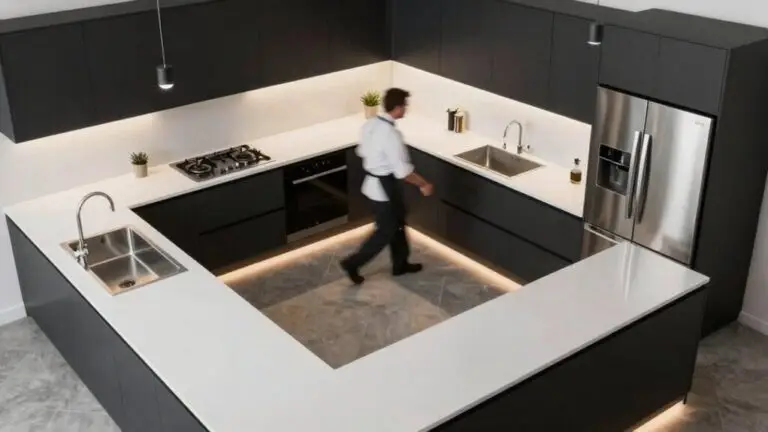
Keep your work triangle tight. Your stove, seasonings, and assembly area should form a small, efficient triangle so you’re not zigzagging through the kitchen design.
Adopt a prep-to-heat sequence. Ingredients arrive in the order you’ll cook them, minimizing waiting during the cooking process. It’s like a cooking assembly line, minus the boredom.
Separate raw from finished zones. Downstream assembly keeps your plating safe from contamination, which is a must in commercial kitchens.
A well-planned cooking zone reduces bottlenecks, letting you run the heat heart continuously. No more clumsy cross-traffic messing up your rhythm. According to NKBA planning guidelines, each leg of the work triangle should measure between 4 and 9 feet, with the total perimeter staying between 13 and 26 feet to prevent excessive walking or cramped appliance placement.
Stage 4: Plating and Pass-Smoothing the Handoff From Kitchen to Server
Now you’re ready to tackle Stage 4, where plating and the pass become your command center for getting food out right.
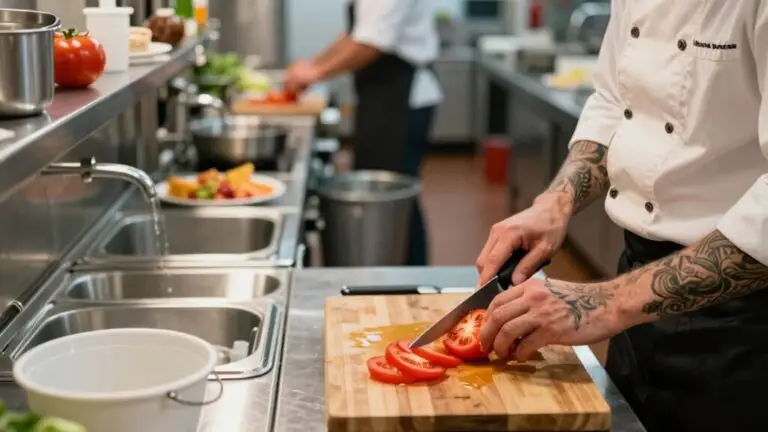
Focus on streamlined plate assembly so every dish meets the spec without slowing down the line.
Use designated pickup zones to keep servers from bumping into your workflow.
Keep finishing touches like lemon, fresh herbs, and Parmesan within arm’s reach so you can make final flavor adjustments right before the plate leaves the pass while everything is still piping hot.
When you nail this handoff, your crew moves like a well-oiled machine, sending out hot, beautiful plates at the speed of service.
Streamlined Plate Assembly
- Zone your space so everything you need is within arm’s reach.
- Garnish and sauce at the same spot, every time.
- Keep dirty dishes out of the plating area to prevent contamination.
- Mount magnetic knife strips nearby so essential tools stay within arm’s reach without cluttering your plating surface.
When you streamline plate assembly, every plate leaves looking consistent and ready to go.
No fumbling, no delays.
Designated Pickup Zones
Once the food’s plated and ready to go, you don’t want your servers weaving back through the kitchen to grab it. That’s a recipe for collisions and cold entrees. That’s where your design of designated pickup zones changes everything.
A dedicated pass ledge or counter, sized for multiple plates per ticket, extends beyond mere convenience; it’s a direct boost to service quality. You get quick access for servers without them meandering through the kitchen searching for their orders.
This setup reduces unnecessary movement and eliminates backtracking, keeping the cook-to-pass flow one-directional.
It also protects your ready-to-eat plates from dirty dish traffic, so you won’t break the “raw-to-ready” separation. When you’re slammed, that clear handoff zone keeps ticket times fast, even under pressure.
You’re not just extending the pass—you’re building consistency into every shift. Positioning your pass counter with 3–4 feet of clearance on either side ensures staff can move freely without bottlenecks, even when multiple servers are picking up orders simultaneously.
Stage 5: Cleanup and Reset-Completing the Workflow Cycle Without Friction
You can’t finish service seamlessly if your return path for dirty dishes cuts right through the action at the pass.
You need a clean zone separation that keeps soiled items heading one way while fresh plates go another, avoiding any chance of recontamination.
Plan your sink and warewashing line so the dirty-to-clean flow never crosses paths with your staff’s main traffic.
You’ll finish each shift without the usual friction.
Reinforcing this separation also means scrubbing your sink basin with baking soda paste and targeting the drain where sludge accumulates fastest before resetting the line for the next service.
Return Path Planning
Because your kitchen’s workflow doesn’t end when the plates leave the pass, it’s only half the battle. Return path planning turns cleanup from chaos into a predictable cycle.
You design dirty dishes to flow straight back to warewashing, using one-direction movement logic that follows FDA Food Code flow. This prevents accidents and keeps soiled items from ever crossing paths with fresh food.
Map a dedicated dish staging zone near warewashing, but not in prep territory, so staff can park soiled items before the next reset step.
Keep aisles at least 48 inches wide to let two people pass during reset. Frictionless movement stops cleanup from becoming a bottleneck.
Time your “finish and reset” micro-cycle as service completion, dirty collection, wash/rinse/sanitize, stack/storage, so the layout supports fast turnover without queueing at shared stations.
Position your dish storage near the warewashing station so that counter space access along high-traffic reset routes stays clear and counters never become dumping grounds between cycles.
It’s simple: plan the return path, and cleanup becomes a reset, not a scramble.
Clean Zone Separation
Return path planning sets the stage, but clean zone separation is where the rubber meets the road in Stage 5. You’ve got to keep dirty dish return and ready-to-eat food areas strictly apart. Soiled items shouldn’t cross paths with that delicious prep you just finished.
Place warewashing in a dedicated spot, not buried near cooking, so dirty flow stays direct and you’re not backtracking.
This clean zone separation connects the three key stations (soil, wash, stage) for different tasks without chaos. Use a unidirectional, workflow-mapped “raw-to-clean” movement; it prevents contamination and minimizes unnecessary steps.
Aim for at least 48-inch aisles to let two people pass safely with hot ware.
Keep tasks sequential: dishes → pre-rinse → staging.
You’ll cut labor costs and avoid slips or burns in cramped spaces. In home kitchens, a similar principle applies, where placing dish soap, sponges, and cleaning sprays in a dedicated cleaning zone around the sink keeps soiled items contained and the rest of your kitchen workflow uncontaminated.
How to Fix Common Workflow Stage Problems (Avoid These Mistakes)
While even the best-laid kitchen plans hit snags, you can sidestep most workflow headaches by spotting the common mistakes early. A messed-up kitchen workflow often stems from unnecessary movement, so fix your floor plan fast.
You’ve got to group your primary zones—like prep, cooking, and plating—in a logical loop.
If your available space is tight, try a hybrid approach: slide a prep table near the stove or park a mini-fridge right by the pass. That way, you’re not zigzagging across the room for a pinch of salt.
Don’t place high-use items like oil or spices across the kitchen. Keep them within arm’s reach of your cooking station to avoid wasted steps.
Ensure aisles are at least 48 inches wide so two cooks can pass without bumping, which prevents traffic jams during peak tickets.
Separate dirty-dish returns from food service paths. Crossing them invites cross-contamination and injury, ruining your seamless flow.
Final Thoughts
So, you’ve got the whole workflow down. It might sound like a lot, but you’re really just building smart habits. Remember, a seamless kitchen isn’t about being perfect, it’s about staying one step ahead.
You’ll mess up a prep list or fumble a plate now and then, and that’s totally fine. Learn from it, laugh it off, and reset. Keep your station clean, your timing tight, and your team supported. That’s the real recipe for a great service.