
The Best Fluffy Pancakes recipe you will fall in love with. Full of tips and tricks to help you make the best pancakes.


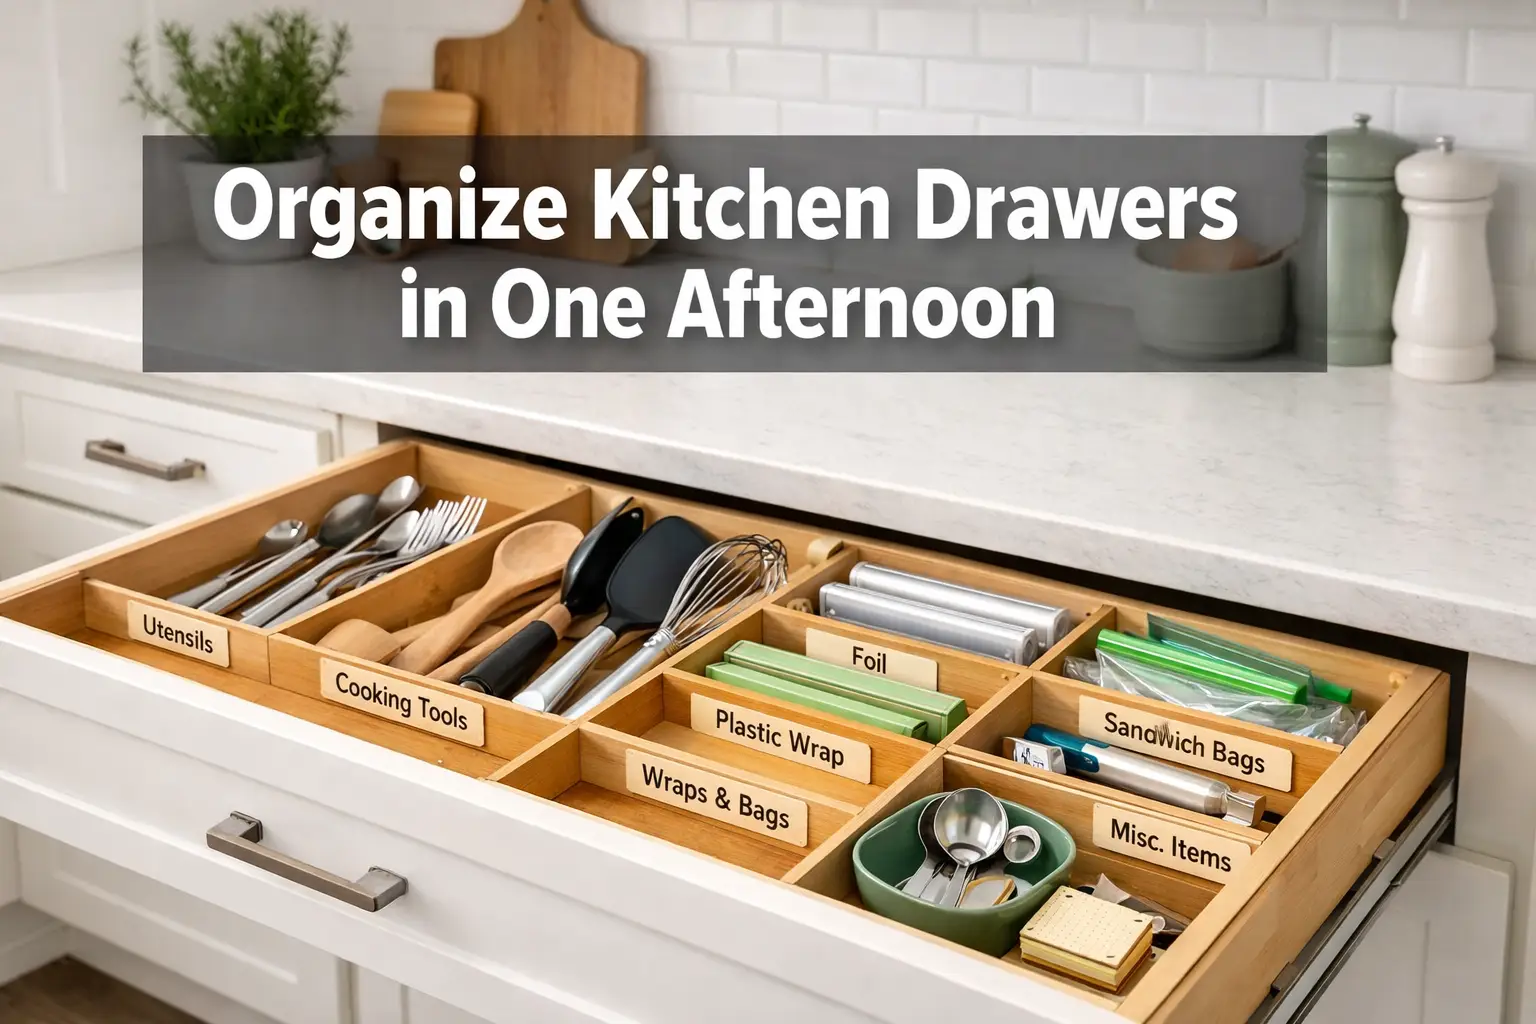
Quick Answer: Organizing kitchen drawers in one afternoon is completely doable with the right approach. Empty each drawer, sort items by how often you use them, remove what doesn’t belong, and use dividers or organizer trays to group similar tools together. Most kitchens can go from chaotic to fully organized in three to four hours.
Key Takeaways
- One afternoon is enough — most kitchens have 5–10 drawers, and each takes 20–30 minutes to sort and reset.
- Start by emptying everything out before making any decisions about what stays.
- Group items by function: cooking tools together, baking tools together, and so on.
- The “junk drawer” is worth keeping — just give it a structure so it doesn’t spread.
- Drawer dividers are the single biggest upgrade for everyday kitchen flow.
- Only keep items in drawers that you actually use. Store the rest or donate it.
- Measure your drawers before buying any organizers — sizes vary more than you’d expect.
- Label bins or zones if multiple people share the kitchen.
- A good kitchen workflow depends on putting things where you reach for them, not where they fit.
- Maintenance takes five minutes a week once the system is set up.
Why Kitchen Drawers Get Out of Control (And What to Do About It)
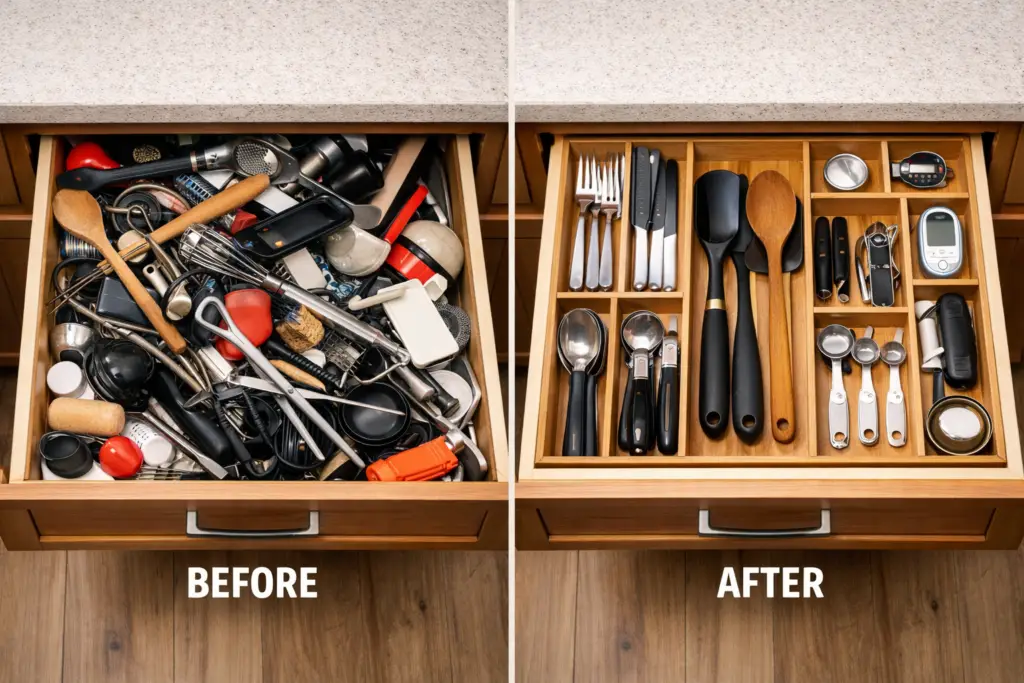
Kitchen drawers get messy because they’re easy to open and easy to ignore. Items get tossed in without a system, and over time the drawer becomes a catch-all for anything that doesn’t have a clear home.
The fix isn’t complicated — it’s just a matter of giving every item a category and every category a zone. Once that’s done, the drawer stays organized because things have somewhere obvious to go.
Common reasons drawers become chaotic:
- No defined zones for different tool types
- Too many items for the available space
- Duplicate tools that never got edited out
- Items that belong elsewhere (batteries, receipts, rubber bands)
What You Need Before You Start
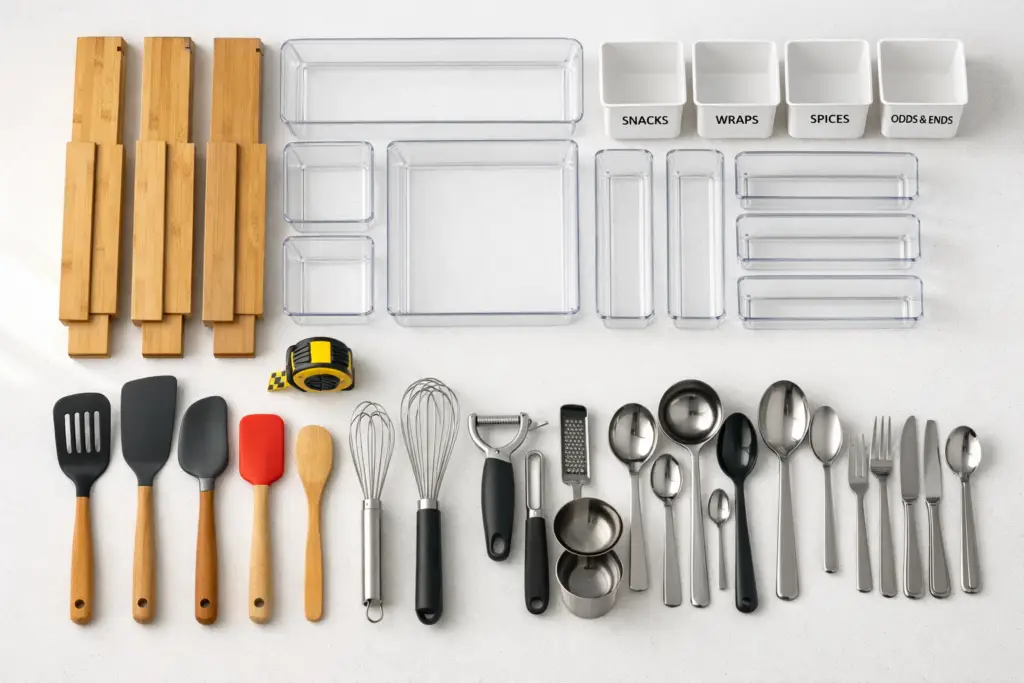
Gather supplies first so the process doesn’t stall halfway through. This whole project works best when done in one focused session.
Supplies to have ready:
- A clean flat surface (kitchen table or countertop) to sort items
- Trash bag and a donation box
- Measuring tape
- Drawer dividers or organizer trays (bamboo, plastic, or adjustable)
- Optional: labels, small bins, shelf liner
Quick tip: Measure drawer width, depth, and height before buying anything. A standard kitchen drawer is roughly 12–24 inches wide, but sizes vary significantly by kitchen.
Choose organizers based on drawer type:
| Drawer Type | Best Organizer Style |
|---|---|
| Utensil drawer | Bamboo divider set or adjustable tray |
| Cutlery drawer | Slotted cutlery tray with sections |
| Junk drawer | Small bins or divided tray with labels |
| Baking tools | Deep drawer insert or pegboard-style divider |
| Spice packets / wraps | Narrow vertical organizer or file-style insert |
🗂 Kitchen Drawer Organizer Planner
Select a drawer type to get a tailored organization plan — what to store, which organizer to use, and a quick setup tip.
← Select a drawer type above to see your plan
Best Location
Recommended Organizer
What to Store Here
How to Organize Kitchen Drawers in One Afternoon: The Step-by-Step Process
This is the core method. Follow it drawer by drawer rather than trying to sort the whole kitchen at once — that’s where most people lose momentum.
Step 1: Empty the drawer completely Pull everything out. Don’t sort as you go — just get it all on the counter. This forces an honest look at what’s actually in there.
Step 2: Clean the drawer Wipe it out. Crumbs and sticky spots are common. A damp cloth takes 30 seconds and makes the whole thing feel fresh.
Step 3: Sort into categories on the counter Group items by type: cooking utensils, baking tools, measuring tools, gadgets, non-kitchen items. Be honest about what you actually use.
Step 4: Edit ruthlessly
- Toss anything broken, rusty, or worn out.
- Donate duplicates (most kitchens have three spatulas when one or two is plenty).
- Relocate items that don’t belong in the kitchen at all.
Step 5: Decide what goes back in Only return items that belong in this drawer and that get used at least occasionally. Rarely-used tools can go in a higher cabinet or storage area.
Step 6: Add dividers or organizer trays Place your organizer in the drawer, then fill each section with the appropriate group. Put the most-used items at the front.
Step 7: Test the layout Open and close the drawer. Reach for something you use daily. If it feels natural, the layout works. If something feels awkward, adjust before moving on.
Repeat for each drawer. Most kitchens have 5–8 drawers. At 20–30 minutes each, the whole project fits comfortably in an afternoon.
How to Organize Kitchen Drawers in One Afternoon Without Buying Anything
Good news: drawer organization doesn’t require a shopping trip. There are practical options using what’s already at home.
- Repurpose small boxes (cereal box inserts, tea boxes, gift boxes) as dividers inside drawers.
- Use rubber bands to bundle similar items like skewers or chopsticks.
- Fold a piece of cardboard into a simple L-shape divider.
- Group items in zip-lock bags for things like twist ties, bag clips, or loose batteries.
This approach works well for renters or anyone who wants to test a layout before investing in organizers. Real-world results show that even a simple cardboard divider reduces rummaging time significantly compared to an unsorted drawer.
Which Drawer Should Hold What? A Practical Zone Guide
Efficient kitchen workflow depends on storing items near where they’re used. This is the principle professional kitchens call “mise en place” — everything in its place.
Recommended drawer assignments by zone:
- Next to the stove: Cooking utensils (spatulas, tongs, ladles, wooden spoons)
- Next to the sink: Dish brushes, peelers, small strainers
- Near the prep area: Measuring cups, measuring spoons, thermometers
- Cutlery drawer: Knives (or a knife block nearby), forks, spoons
- Baking zone: Pastry tools, cookie cutters, piping bags
- One dedicated junk drawer: Batteries, pens, tape, small tools — but with bins so it stays manageable
Decision rule: If you reach for it while standing at the stove, it should be in a drawer near the stove. If you reach for it at the counter, it belongs near the counter. Proximity saves time on every single meal.
The Junk Drawer: Keep It or Kill It?
Keep it — but give it structure. Every household has miscellaneous items that don’t fit neatly into categories, and a single organized junk drawer is far better than that chaos spreading across every other drawer.
How to make a junk drawer work:
- Use small bins or a divided tray to create sections (batteries, writing tools, tape, small tools).
- Set a rule: if the bin is full, something has to leave before anything new goes in.
- Check it once a month and remove anything that’s migrated in without a reason.
A structured junk drawer is a smart choice, not a sign of defeat.
Common Mistakes That Undo All Your Hard Work
Even a well-organized drawer can fall apart quickly if a few habits don’t change.
Mistakes to avoid:
- Skipping the editing step — putting everything back in without removing duplicates defeats the purpose.
- Buying organizers before measuring — wrong-sized trays create wasted space or don’t fit at all.
- Organizing by what fits, not by how you cook — tools should live where you reach for them, not where they happen to fit.
- No maintenance plan — spending 30 seconds returning items to their zone after each cooking session keeps the system intact.
- Over-organizing — too many small categories and bins can make a drawer harder to use, not easier.
How to Maintain Organized Kitchen Drawers Long-Term
Organized drawers stay organized when the system is easy to follow. The simpler the layout, the more likely everyone in the household will actually use it.
Maintenance habits that make life easier:
- Return items to their zone immediately after washing — don’t let them pile up on the counter.
- Do a quick drawer check every few weeks. Remove anything that doesn’t belong.
- Reassess the layout every six months. Cooking habits change, and the drawer should reflect how the kitchen is actually used.
- If a drawer keeps getting messy, that’s a signal the system needs adjusting, not more willpower.
Frequently Asked Questions
How long does it actually take to organize kitchen drawers? Most kitchens take three to four hours total. Individual drawers take 20–30 minutes each, depending on how cluttered they are. The utensil drawer and junk drawer usually take the longest.
Do I need to buy drawer organizers to do this properly? No. Repurposed boxes, small containers, and cardboard dividers work well enough to test a layout. Buy organizers once the layout is confirmed and the project is working.
What’s the best drawer organizer material? Bamboo is durable, looks clean, and holds up well in kitchen environments. Plastic is cheaper and easier to wipe down. Adjustable metal dividers work well for awkward drawer sizes. All three are practical choices depending on budget.
How do I organize a very small kitchen with limited drawer space? Prioritize the tools used most often and store rarely-used items in a cabinet or pantry. Use vertical organizers inside drawers to stack items. A magnetic knife strip on the wall also frees up an entire drawer.
Should cutlery go in the same drawer as cooking utensils? Ideally, no. Cutlery and cooking utensils have different shapes and usage patterns. Separating them makes both easier to access and keeps the drawers from becoming overcrowded.
What do I do with gadgets I never use but feel guilty throwing away? Put them in a box and store them out of the kitchen for 90 days. If they’re not missed, donate or discard them. This removes the guilt and gives a clear answer based on actual behavior.
How do I stop family members from messing up the organized drawers? Label bins or zones clearly. Keep the system simple — the easier it is to understand, the more likely everyone will follow it. A quick walkthrough showing where things go helps more than labels alone.
Is it worth buying expensive drawer organizers? Mid-range organizers (roughly $15–$40 for a set) offer a good balance of durability and value. Expensive options rarely perform better for everyday kitchen use. Focus on fit and function over brand.
Conclusion
Organizing kitchen drawers in one afternoon is one of the highest-return projects a home cook can do. The process is straightforward: empty, edit, group by function, add dividers, and put things back where they’ll actually be used. No major investment required, and the payoff shows up every single day in a smoother kitchen workflow.
Actionable next steps:
- Pick one drawer to start with — ideally the most-used one.
- Set aside two to four hours this weekend.
- Measure the drawers before buying anything.
- Focus on function first: where do you reach for things when you cook?
- Maintain the system with a 30-second tidy after each cooking session.
A well-organized kitchen doesn’t require a renovation. It just requires one focused afternoon and a clear system.
References
No external sources were cited in this article. All guidance is based on established kitchen organization principles and practical home efficiency methods.





