The Best Fluffy Pancakes recipe you will fall in love with. Full of tips and tricks to help you make the best pancakes.


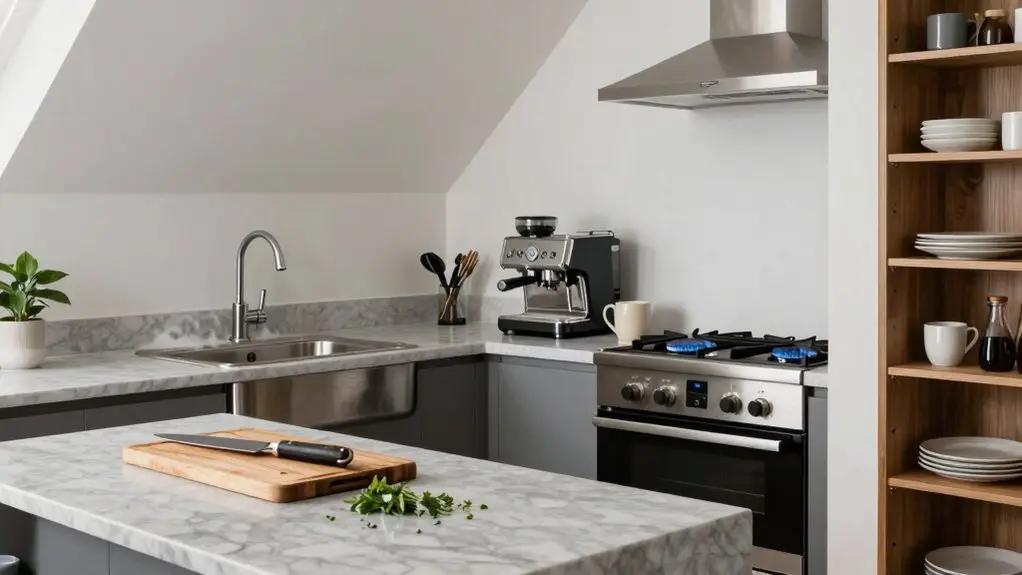
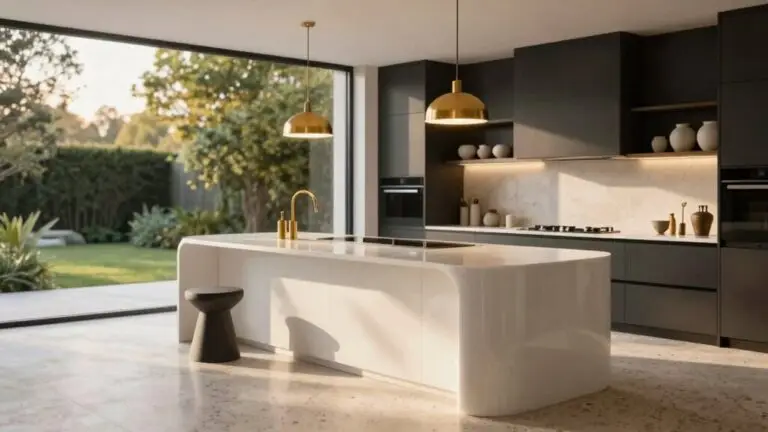
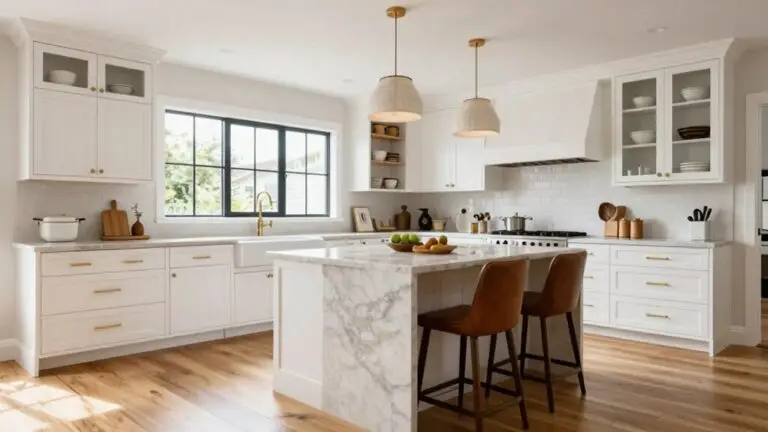
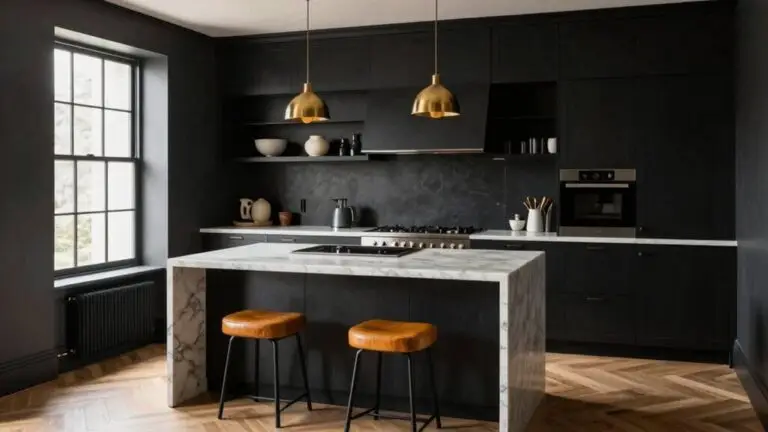
Forget the old work triangle, it’s time to map your kitchen into five smart zones. Start with a quick walk-through to test how you’ll actually move between prep, cooking, and cleaning areas.
Then, position your sink, fridge, and cooktop inside dedicated zones, keeping triangle legs between 4 and 9 feet. Size your prep bench about a meter wide, right next to the rangetop, and add a heat-proof landing spot near the oven.
Stick around to see how these zones transform your daily flow.
Test Your Layout With a Simple Walk-Through First
After you’ve mapped out your rough zones for prep, cooking, cleaning, storage, and serving, it’s time to test that layout with a simple walk-through.
Once you’ve mapped your zones, test the layout with a simple walk-through to catch awkward moves early.
Stand at your prep zone, then mimic grabbing ingredients from the storage zone before chopping.
Move to the cooking zone, then pivot to the cleaning zone: your sink (cleaning) and dishwasher—to unload.
Check your work triangle connects fridge, cooktop, and sink without detours, but don’t cram them.
Test countertop space between each zone: you’ll want a safe landing bench near the oven.
Repeat the walk-through as if two people cook at once—one prepping, one cleaning—to confirm traffic stays clear.
Keep dish storage near the dishwasher so counters don’t become dumping grounds between tasks.
You’ll spot awkward moves before they bug you.
Replace the Work Triangle With Kitchen Work Zones
Once you’ve walked through your test layout, you might feel the old work triangle just doesn’t cut it anymore. It’s time to replace it with kitchen work zones. Instead of bouncing between three lonely points, design your kitchen layout around specific tasks.
Start with a dedicated Preparation zone for food prep, placing it between the sink and dishwasher and the cooking zones.
Group your Food storage near the prep area, so you’ve got quick access to ingredients.
Don’t forget a clean-up zone around the sink and dishwasher; it’ll keep dirty dishes out of your way.
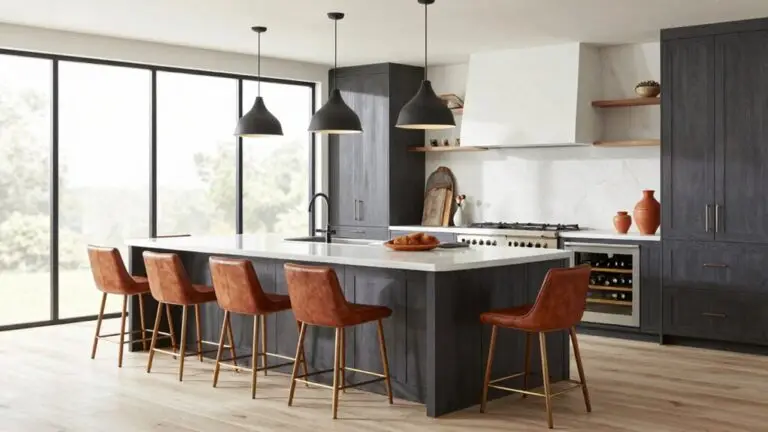
If you’re adding a kitchen island, make sure it doubles as a prep or serving hub.
Overlap your storage areas logically, like keeping oils and spices right next to the cooktop. That way, you won’t have to zone-hop mid-chop.
Fewer steps mean more cooking joy. For the cleanup zone specifically, store silverware in a small upper drawer near the dishwasher and plan space for a pull-out trash cabinet close to the sink so rinsing, tossing, and storing becomes one seamless motion.
Position Appliances Inside Your Kitchen Zones
By placing your fridge, sink, and rangetop inside a compact “working triangle,” you cut down on steps during those frantic prep-to-cook moments. This smart layout saves your legs and keeps your kitchen humming. Here’s how to nail it:
- Anchor your cleaning zone first. Position the sink (cleaning) and dishwasher side by side. Stash bins and scrubbers in easy reach, plus under-sink storage for soaps and sponges. Dirty dishes move one step forward, no backtracking.
- Link prepping and cooking tight. Put your prep zone next to the cooking zone, right near the rangetop. Keep your cutting board, knives, and blender here. You’ll grab everything in one sweep, avoiding cross-kitchen trips.
- Park pots and pans close to the cooking. Use lower cabinets near the cooktop for your heaviest cookware and hot-seasoning oils. That cooking zone becomes your personal command post, with every tool within arm’s reach. No more sprinting for a skillet mid-sizzle. To keep the layout efficient, each leg of your triangle should measure between 4 and 9 feet, ensuring you’re never too cramped or walking too far between your three core appliances.
Size Prep and Cooking Zones for Your Habits
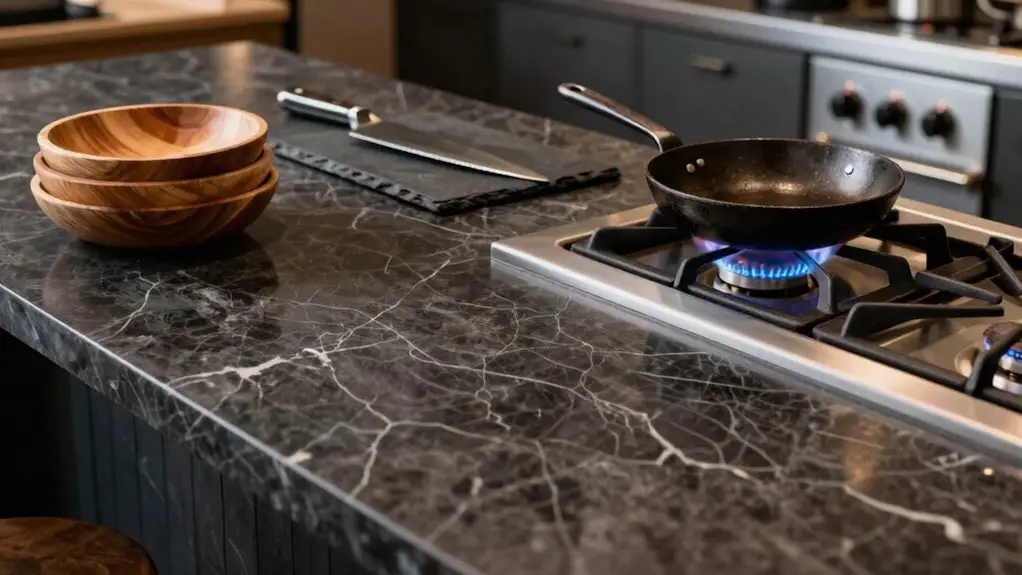
Since your cooking habits dictate the space you actually need, let’s size those prep and cooking zones to match your real-life kitchen rhythm. You’ll want a prep zone worktop about a metre wide, placed between the sink (cleaning, preparing food) and the cooking zone. That way, all the action happens close together.
Position it right next to your rangetop for easy access to measuring and seasoning—no more frantic runs across the kitchen. If you cook with a partner, consider adding multiple prep zones or expanding your counters so you don’t bottleneck by the sink. A breakfast bar can double as extra prep space for everyday tasks.
Don’t forget a heat-proof landing spot near the oven for hot items. Keep your cutting tools in the prep zone, pots and pans in the cooking zone, and you’ll flow like a pro. For task lighting above your prep surfaces, aim for 300–700 lumens per linear foot to keep the workspace bright without creating harsh glare.
Map Your Kitchen Into These 5 Core Work Zones
You’re already thinking like a pro, so let’s put that kitchen rhythm onto paper. Map out these five core work zones to make your kitchen design flow naturally:
You’re already thinking like a pro, so let’s put that kitchen rhythm onto paper.
- Food Storage zone: Anchor this with your pantry and fridge. It’s used to store everyday food items, so keep it near the entryway for easy unloading after grocery runs.
- Non-consumables zone: This holds your plates, bowls, and cups—the frequently used items you grab daily. Place it between the sink and prep area, so unloading the dishwasher becomes a refined, one-motion task.
- Preparation zone: That’s your chopping and mixing bench. Keep it right next to the cooking zone, so you’re not hauling ingredients across the room while preparing food.
- Cooking zone: Your range, oven, or microwave live here. It’s the heart of the action, so make sure there’s immediate counter space for hot pots.
- Cleaning zone: Your sink and dishwasher define this area. Store sponges, scrub brushes, and drying racks nearby. This way, you have everything you need for a quick clean-up after cooking.
Once your zones are mapped, reserve your prime counter real estate for daily-use items only, pushing rarely used tools to high shelves or the back of deep cabinets.
Final Thoughts
So, you’ve got the blueprint for a smarter kitchen. Now, ditch the rigid old triangle and let your habits guide you. Walk your space, size your zones to your cooking style, and place appliances where they actually make sense.
It’s not about perfection, it’s about flow. You’ll wonder why you didn’t do this sooner. A kitchen that works for you? That’s the dream, and you’re already building it. Go make it yours.