The Best Fluffy Pancakes recipe you will fall in love with. Full of tips and tricks to help you make the best pancakes.



You’ll start your kitchen station layout by mapping your actual cooking workflow—not by picking out fancy appliances first. Choose between an L-shape, galley, or U-shape to support that flow. Then center your fridge, sink, and cooktop in a work triangle between 13 and 26 feet.
Split your kitchen into prep, cooking, clean-up, and storage zones, placing tools right where you use them. Keep dirty dish paths separate from clean ones, and plan outlets near your prep area.
Once you’ve drawn it all out, walk through with blue tape to catch real-world collisions before you build. Stick around for the full breakdown.
Map Your Workflow Before You Draw a Thing
Before you pick up a pencil, map your real kitchen workflow by breaking it into zones like prepping, cooking, clean-up, and putting away. Don’t just guess where your fridge goes; trace your actual steps from storage to sink to stove. That classic Kitchen Work Triangle isn’t a myth; it’s your secret weapon for efficiency.
By mapping your kitchen workflow first, you’ll spot where you naturally bump or backtrack. Pretend you’re cooking a big meal and note every handoff: chopping near the sink, stirring at the range, then grabbing a towel for clean-up. This process turns your floor plan from a pretty drawing into a powerhouse.
You’ll avoid designing a space that fights your flow. Remember, a layout that matches your real movements saves headaches later. The total perimeter of your triangle should fall between 13–26 feet total perimeter to prevent exhausting movement and cramped conditions. Trust your tape walk-through; it never lies.
Choose Between L-Shape, Galley, or U-Shape Layouts
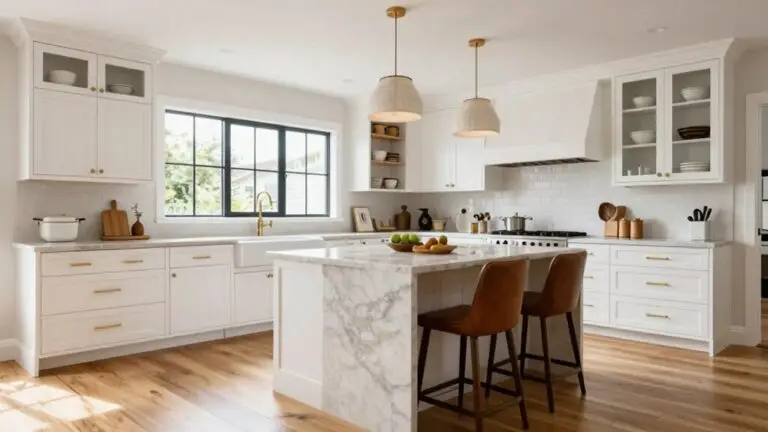
When you’re weighing an L-shape against a Galley layout, you’re really deciding between an open work triangle and tight zone efficiency. The L-shape naturally connects your fridge, sink, and rangetop along two walls, making prep and cooking flow seamlessly while leaving room for guests.
A Galley, on the other hand, forces everything into a straight line or narrow corridor. It’s super efficient for one cook but can create a bottleneck if you’re not careful with traffic. For the best galley performance, use flush-mount appliances and integrated handles to eliminate snag points as you move through the central walkway.
L-Shape Work Triangle
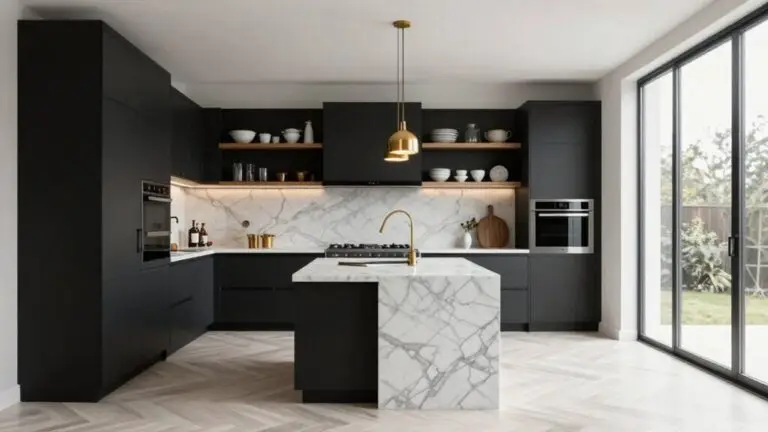
If you’ve got two adjacent walls to work with, an L-shape layout lets you create a continuous counter run that naturally forms a compact “working triangle” between your fridge, sink, and rangetop. This kitchen layout emphasizes efficiency, making your work triangle the star of the show.
You’ll want to keep your sink and dishwasher close to the range, and both near the fridge, to cut down on cross-traffic. Don’t worry about perfect symmetry; prioritize a tight triangle that supports fluid “grab → prep → fire” movement.
In smaller spaces, this layout keeps your countertop free inside the triangle, so you’re not dancing around obstacles. Just make sure your prep zone sits right next to the rangetop for seamless cooking flow. According to NKBA planning guidelines, each leg of your triangle should measure between 4 and 9 feet, with the total perimeter falling between 13 and 26 feet to avoid cramped or overly spread-out appliance placement.
Galley Zone Efficiency
Even though you’ve got a narrow kitchen to work with, a galley layout is your best friend for keeping everything within arm’s reach. With two parallel lines, you’ll set up an assembly line that’s perfect for fast, single-cook action. The fridge, prep sink, and range stay tight, so you won’t waste steps.
This galley layout shines when you need zone layouts that minimize cross-traffic—no bumping into helpers. Just do a masking-tape walk-through: grab from storage, prep at the sink, then cook at the range. If you’re serving solo or feeding a hungry crowd quickly, it’s your winner. For narrow galley kitchens, you can also build a slim prep zone with tall pull-outs behind it to maximize storage and keep countertops clear.
But remember, for more open flow, try an L-shape. For maximum coverage in a compact space, a U-shape might suit you better. Pick what fits your workflow best.
Use a Work Triangle in Your Kitchen Station Layout
Because you’re constantly moving between the fridge, sink, and range while cooking, the work triangle keeps those three key spots close together so your “grab, prep, fire” motions happen in one fluid, unobstructed path. You’ll want those three points—fridge, sink, and cooktop—tucked near each other to slash travel time and dodge bottlenecks.
Maximize uninterrupted counter space inside the triangle to stage ingredients, tools, and pans without crossing other stations’ traffic. Don’t let your sink-to-range route cut across your fridge-to-sink path; crossing paths creates collision risks and slows you down.
Even in a tiny kitchen, position the sink, rangetop, and fridge first, then tweak storage height and prep-zone tools to grease that fast workflow. It’s your grab, prep, fire zone: keep it tight and you’ll cook like a pro. Aim to keep each leg of the triangle between four and nine feet so you stay within the efficient range without overcrowding your movement paths.
Split Your Kitchen Into Work Zones
Once you’ve nailed down the work triangle, the next step is to split your kitchen into clear work zones. This turns chaos into calm, making you feel like the Back of House chef you always wanted to be. You’ll assign a purpose to each zone, reducing those frantic dash trips.
Consider these three crucial work stations:
- Prepping zone – Place it right next to the cooking zone. You’ll chop veggies, then slide them directly onto the heat. No wasted steps.
- Clean-up zone – Anchor this around the sink and dishwasher. Dirty pots stay close, so rinsing feels effortless.
- Putting-away zone – Position it near the fridge. Post-meal storage becomes a single, seamless workflow.
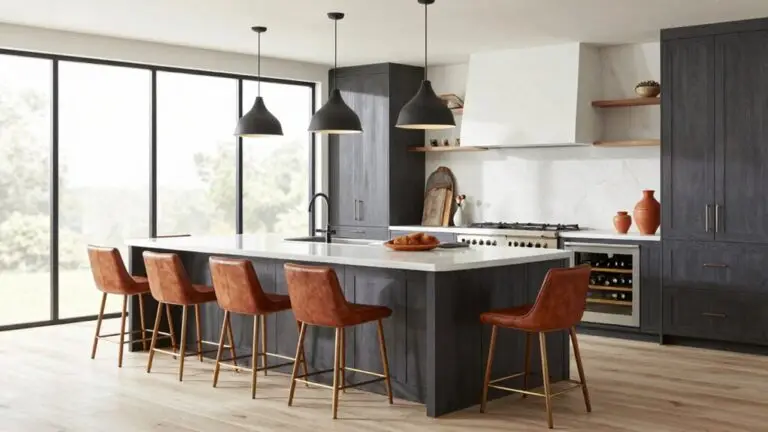
Each zone keeps your tasks next to each other, so you move less and cook more. Leave 3–4 feet of clearance around your island or central workspace so you can move freely between zones without squeezing past family members or blocked appliances. Your kitchen’s efficiency will skyrocket.
Plan Your Cooktop, Oven, and Microwave Placement
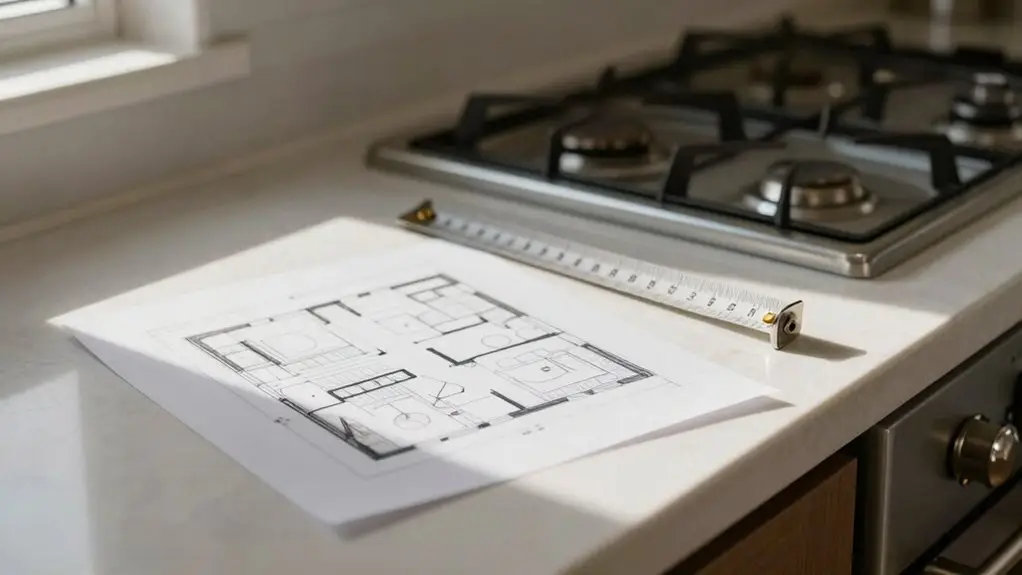
Now that you’ve divided your kitchen into clear work zones, it’s time to focus on where your cooktop, oven, and microwave land, because their placement can make or break your cooking flow.
Keep your cooktop as the main heat source in your cooking zone, with pots and pans stored in a pull-out cabinet right next to it. That’s a serious time-saver: no more stretching across the burners.
Place the microwave nearby, but not where it blocks your path between prep and cooking. You want it within arm’s reach for quick reheats, not creating a traffic jam.
Position the oven inside the same cooking zone footprint, so sheet pans move straight from prep to oven to plating.
To keep movement efficient between your cooktop, sink, and refrigerator, aim for work triangle leg lengths between 4 and 9 feet so you’re never taking unnecessary steps during a busy cook.
And don’t forget to verify clearances and ventilation early, especially for a gas rangetop. You don’t want a hood that’s just for show; your smoke will thank you.
Arrange Your Fridge, Sink, and Prep Counter
To visualize this:
- Fridge → prep counter – Land your cutting board and knife here, using precious countertop space for chopping.
- Prep counter → sink – Rinse veggies without backtracking. Keep soap and scrubber nearby.
- Sink → cooktop – Drain pasta and slide the pot straight to the stove.
This triangle keeps your flow seamless: less wandering, more cooking.
Your kitchen won’t feel like a traffic jam. Placing your dishwasher near the sink prevents you from hauling dirty dishes across the kitchen after meals.
Store Tools and Ingredients Where You Use Them
You’ll save yourself a ton of unnecessary steps by storing your knives, cutting boards, and prep bowls right next to your cutting surface, not across the kitchen.
Keep your most-used cooking tools, like tongs, spatulas, and your salt and pepper, within arm’s reach of the stove, so you’re never scrambling mid-sizzle.
For the clean-up area, position your sponge, dish soap, and drying rack right by the sink, making it a breeze to wipe down tools while you cook.
Mounting magnetic rails for knives and small tools on the wall near your prep area is an easy way to reclaim counter space without disrupting your workflow.
Prep Zone Proximity
Park your prep zone right next to the cooking zone, ideally just a step away from the rangetop. That’s the secret to a truly efficient kitchen layout. You’ll stop wasting steps and start cooking faster. Here’s how to make it work:
- Knife block, cutting board, and measuring cups live within arm’s reach of your chopping surface. You grab, you chop, you cook—no wandering to distant drawers.
- Prep bowls and sheet pans sit beside your cutting area. You fill one with diced onions, another with minced garlic, then slide them straight to the stove.
- Colander and kitchen towels hang near the sink, and your sink’s right there too. You rinse lettuce, spin it, and toss it into a bowl, all within your tight work loop.
This smart kitchen design keeps your prep zone proximity tight. It lets you focus on making dinner, not hunting for tools. Skipping this kind of organization invites the stop-and-go rhythm that disrupts cooking flow and turns a simple weeknight meal into a longer, more stressful routine.
Cooking Tool Storage
Since cooking tools are only helpful when you can grab them without a scavenger hunt, store your wooden spoons, tongs, and spatulas in the drawer or cabinet right beside your rangetop. That way, you’re always in the flow during cooking, just like in a restaurant kitchen layout.
Keep your seasoning, oils, and even that stainless steel sauté pan right there too—no crossing the clean-up path mid-sizzle.
Partition your drawer by task: stirring tools in one section, turning tools in another. You’ll never rummage again.
Measure your tallest bottle so the pull-out shelf fits your oils perfectly.
This saves time and keeps your zone disciplined.
It’s simple: place everything where you actually use it, and you’ll cook faster, cleaner, and with zero frustration.
Clean-Up Area Essentials
In the heart of your kitchen’s clean-up zone, place your sink and dishwasher shoulder to shoulder with your cooking area. This keeps dirty pots and prep dishes on a short, direct path, so you’re never dragging greasy cookware across clean counters.
Now, here’s how your clean-up area key items keep everything seamless:
- Store sponges, brushes, and towels in a dedicated caddy beside the sink. No more hauling grime across your open kitchen’s pristine counters.
- Keep detergents and paper goods in a separate non-food corner so chemical mix-ups stay far from your ingredients.
- Route dirty dishes one way and clean items the other. Your Kitchen Display System can signal when to restock, preventing traffic jams in prep zones.
That tight handoff keeps clutter away from cooking areas. You’re always ready for the next course without dragging yesterday’s mess along.
Separate Clean and Dirty Paths
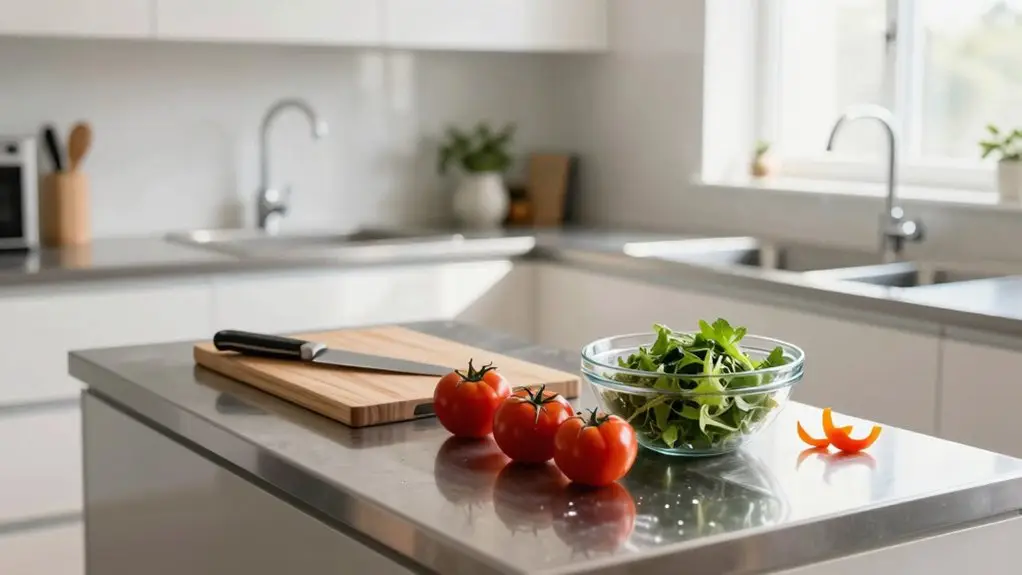
By designing a one-way flow for dishwashing, you keep your clean and dirty paths separate from the start. Soil drops off, then moves through scrape, rinse, scrub, machine, drying, and restocking. This one-way flow is your secret weapon to maintain hygiene, especially in island layouts where traffic can get chaotic.
By designing a one-way flow for dishwashing, you keep clean and dirty paths separate from the start.
You physically isolate the dish pit from prep and expo zones, so steam and splashing never sneak onto ready-to-eat items. Use counter partitions or dedicated corridors as zoning boundaries. Raw handling stays dirty, while clean utensils and garnishes stay on the clean path.
Plan station locations so the pass-through receives clean plates without sharing traffic with dirty dish returns. That cuts collision points during peak service. Route allergens and raw protein prep along the dirty path, keeping cooking and plating touchpoints clean.
It’s all about HACCP alignment, without the fuss.
Where to Place Outlets and Charging Stations
Once you’ve mapped out your clean and dirty paths, it’s time to think about where all those appliances actually plug in. You don’t want to stretch cords across your open layouts or trip over them near the range. Instead, create a setup that feels like a tech-friendly command center.
- Prep-zone plugs: Place GFCI outlets above the counter near the sink, about 18–20 inches high. That’s where you’ll plug in a blender for smoothies or a mixer for batter—right where you’re working, not across the room.
- High-draw power: Give your combi-oven or warming drawer its own dedicated circuit. You don’t want a tripped breaker ruining your dinner timing.
- Charging hub: Add USB ports at the expo area or packing station. Keep phones and tablets charged without cables snaking across walkways.
Run power inside cabinets or overhead. This way, cords stay out of your way and out of sight.
Walk Through Your Design With Blue Tape
Before you buy a single cabinet or appliance, grab a roll of blue masking tape and head to your empty kitchen. Use it to outline your station’s contact points—storage, prep, cook, and the pass—exactly where they’ll sit.
Now simulate a rush. Physically walk through your design with blue tape, grabbing items and moving to the pass. Watch for collision points that blueprints hide. Notice staff movement that directly impacts ticket times, like weaving across hot zones or crossing raw-to-clean paths.
Mark those repeated extra steps and adjust the tape layout immediately.
Re-run this with your whole team at typical order pace. Check cramped areas that force unsafe multitasking.
This simple walkthrough saves you from costly mistakes, proving that a few minutes with tape beats months of regret.
Final Thoughts
So, you’ve mapped your kitchen like a pro. Now, grab that blue tape and test your layout—it’s way cheaper than moving a cabinet later. You’ll save steps, keep your cool while cooking, and maybe even find your spatula on the first try.
It’s not merely about looking good; it’s about making your workflow feel effortless. Trust your plan, adjust as you go, and enjoy a kitchen that actually works with you, not against you.