The Best Fluffy Pancakes recipe you will fall in love with. Full of tips and tricks to help you make the best pancakes.


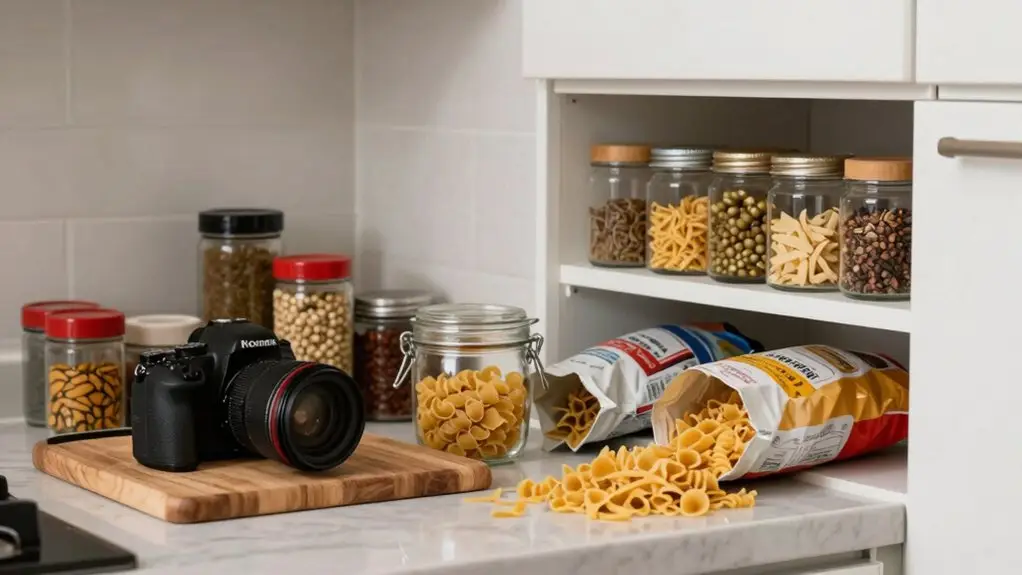
You’re making kitchen organizing harder than it needs to be. Nearly 70% of home cooks waste time hunting for spices or tripping over holiday gear in prime cabinets. Start by decluttering everything: toss expired spices and duplicate containers before buying a single bin.
Move seasonal items like cookie cutters and roasting pans out of the kitchen entirely. Then organize by your actual workflow, keeping spices near the stove and daily tools within arm’s reach. Skip fancy airtight containers for rarely used items—use clear labeled bins instead.
Replace your junk drawer with a purpose-focused zone, and limit reusable grocery bags to five. Finally, clear your counters of bulky appliances you don’t use daily.
If you’re curious how to tackle each step without overwhelm, keep going. There’s a simple system for that.
Declutter Before You Buy Any Storage Bins
Before you even think about buying those cute, matching storage bins, take a hard look at what you actually have. Pull everything out of your pantry, fridge, and cabinets.
You’ll likely find expired spices, duplicate food storage containers, and half-used bags of pasta.
One of the biggest Kitchen Organizing Mistakes is buying organizers for stuff you don’t need or use. So, toss or donate what’s past its prime or broken.
Then, make a quick inventory of what you keep daily—spices, dry goods, and leftovers.
You’ll see your real needs without wasting cash on bins that just store clutter.
Once you declutter, you often free up more space than you thought.
Consolidate the rest into functional zones based on how you cook, and skip the pretty bins until you know your workflow. When restocking your pantry, use the first-in-first-out method by sliding newer purchases to the back and pulling older items forward so nothing gets forgotten and wasted.
Move Holiday and Seasonal Gear Out of the Kitchen
First, you need to identify every holiday-specific item, like that gingerbread kit or those rarely-used BBQ skewers. Once you’ve spotted them, designate a storage zone outside the kitchen, like a basement shelf or a high cabinet you rarely open. Upper shelves work well for this purpose, as they’re best reserved for items used less than once a week or bulk overflow stock. Then, simply rotate these items with the season. This way, your everyday cooking space finally feels calm and uncluttered instead of packed with gear you only need a few times a year.
Identify Seasonal Items
When you take a hard look at your kitchen, you’ll probably notice a bunch of stuff that only comes out a few times a year, like those festive cookie cutters or the big roasting pan you grab every Thanksgiving. So, your first move? Identify those seasonal items.
Check every cabinet and drawer for gingerbread kits, BBQ skewers, and holiday baking tools. Don’t forget random food containers you only use for holiday leftovers. If you haven’t touched them since last winter, they’re cluttering prime space.
Declutter first by tossing expired spices or damaged tins. Then, separate everything that’s seasonal. You don’t need that Valentine’s heart-shaped pan taking up room in March. By clearly spotting these items, you’ll free up everyday storage.
Just label a bin and move them out. When you do return seasonal items to storage, doing a full pantry audit first — emptying shelves completely and wiping them down — makes it easier to see exactly what space you’ve reclaimed. Your kitchen will breathe easier without that holiday clutter hanging around.
Designate Storage Zones
Now that you’ve spotted all that holiday gear, it’s time to kick it out of your kitchen.
One of the biggest storage mistakes beginners make is letting seasonal items hog prime real estate. That gingerbread mold and those BBQ skewers don’t need to live next to your daily spices.
Instead, move them to a labeled bin system in your basement or storage area.
This frees up your kitchen storage for what you actually use year-round.
You’ll avoid wasting precious cabinet space on low-frequency items. Remember, your cooking workflow deserves the easy-access spots.
Once those seasonal items are gone, you’ll see exactly what’s left, and you won’t need as many organizers.
Use shelf risers under twenty dollars to create a second tier in your newly freed cabinets, giving everyday items a proper home without drilling or major investment.
Rotate With Seasonality
Seasonal gear is like that guest who overstays their welcome: fun for a bit, but then they’re just taking up space. Don’t let gingerbread kits or BBQ skewers clutter your everyday cabinets.
Declutter them first, then store those items elsewhere in labeled bins. Your basement or a storage area works perfectly. Keep your kitchen’s “first-access” cabinets for daily tools you actually use.
Use harder-to-reach shelves for truly seasonal stuff, so they don’t hog prime real estate. After the holiday, rotate them back out immediately; old packaging and unused tools accumulate fast.
Limit seasonal clutter to what you’ll actually use during that window.
If you’re planning a full kitchen overhaul, your layout selection should reflect actual cooking patterns and daily traffic flow rather than just appearance or aesthetics.
The goal? Fewer items in the kitchen and more workable storage based on what stays. That’s how you Make Your Kitchen.
Organize by Workflow, Not by Cabinet Size
Stop stuffing cutting boards into the biggest empty cabinet you see. Instead, build your kitchen around how you actually cook: zone your work zones by placing spices near the stove and tools near your prep area.
Plan where each item goes before you put it away, so you cut the confusion and stop crossing the kitchen for every single ingredient. Keeping everything within arm’s reach is a core principle of mise en place, which helps eliminate the mid-recipe scrambling that turns a simple weeknight dinner into a stressful ordeal.
Zone Your Work Zones
Because you naturally reach for a spatula near the stovetop and a cutting board on the counter, your kitchen should mirror that logic. Instead of cramming items into whatever cabinet has space, you’ll want to group them by actual workflow.
Start by creating functional zones: prep, cooking, baking, and cleaning. A well-organized kitchen saves you time and sanity. Keep your cooking tools near the stove, and store spices in that same zone—no more hunting mid-recipe.
Prep items like cutting boards and mixing bowls should live where you chop, even if they don’t fit neatly next to the oven. For baking, group all ingredients and tools together so you’re not dashing to three different cabinets for flour and a whisk.
This setup makes preparing food feel effortless, not chaotic. Professionals take this further by color-coding prep zones for raw meat, produce, fish, and ready-to-eat foods so that each area stays clearly defined and contamination risks are reduced.
When you zone by workflow instead of cabinet size, you’re organizing how you actually move, and that’s the whole point.
Plan Before Placing
Before you start shoving things into cabinets, take a step back and think about how you actually cook. Map your workflow from ingredient arrival to cleanup, and you’ll always find what you need without hunting.
Don’t organize by cabinet size alone; that cutting board might “fit” beside the oven, but if you grab it at the prep counter, store it there. Create functional zones—baking near prep, spices near the range, dishes close to the dishwasher. When you plan before placing, you avoid wasted steps.
If your first setup feels clunky, move items by task, not dimension. One relocation often fixes the entire chain. You’re not cramming stuff in; you’re building a kitchen that works with your rhythm. Reserve your prime cabinet real estate for daily-use items and push rarely used tools to high shelves or the back of deep cabinets.
Cut The Confusion
Forget about how your cabinets measure up and start thinking about how you actually cook. Don’t force your cutting board into a cabinet it fits perfectly in, if you always grab it from across the counter—move it to where your hand naturally goes.
Instead, create workflow zones: prep, cooking, baking. Keep spices near the stove, not buried in a junk drawer. Daily-use tools land close to their task, while rarely used items go high or deep.
When you’re tempted to buy more storage bins, pause. One simple workflow move often fixes the chaos faster than any organizer.
Your kitchen should follow your habits, not your cabinet sizes. Trust your cooking flow—it’s smarter than any measuring tape. Positioning your refrigerator, sink, and stove so that each leg measures between 4 and 9 feet apart keeps movement efficient and reduces fatigue during meal prep.
Skip the Airtight Containers for Items You Use Rarely
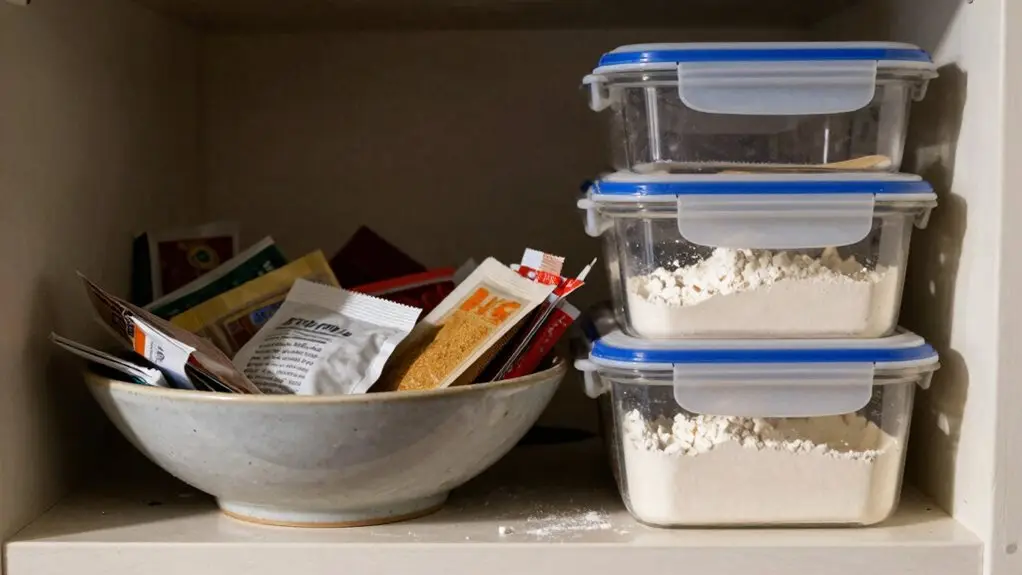
Not every item in your kitchen needs a pricey airtight home. One of the biggest mistakes people make is assuming everything does. You might toss those seasonal BBQ skewers or holiday baking kits into fancy canisters, but that’s a big kitchen mistake. You waste space and money on something you rarely touch.
Stick to airtight containers for items you use weekly, like pasta, coffee, or spices, since moisture and pests sneak into original packaging. For rarely used tools or mixes, just keep them in clearly labeled bins in your storage area. That’s simpler, protects them, and doesn’t force you to decant everything.
Save your premium airtight systems for stuff you check often, not for once-a-year items. When you do use airtight containers for pantry staples, pair them with clear modular bins so you can spot duplicates and low-stock items at a glance without digging through shelves.
Replace Your Junk Drawer With a Purpose-Focused Drawer
Let’s also ditch the idea that a kitchen needs a junk drawer at all. It’s just a trap for clutter.
Empty yours out, then sort those pens, receipts, and random keys into proper homes. You’ll free up prime real estate for something useful.
Instead, create a purpose-focused drawer for frequently used items.
Maybe a tea drawer, with bags, infusers, and honey sticks all together. Or a zone for small measuring tools near your prep area. Kitchen organizers like drawer dividers keep everything in place.
When every drawer serves one clear role, you won’t lose things in a chaotic pile. You’ll grab what you need fast, and your kitchen stays efficient without that junky catch-all.
Less stuff, more function.
Limit Reusable Grocery Bags to Five at Most
If you’ve found yourself with an overflowing stash of reusable grocery bags, it’s time to set a firm limit: five at most. This is a common mistake that eats into valuable storage space. Those extra bags, the freebies from five different stores, don’t make you more prepared; they just create “bag clutter.”
Keep only the bags you actually grab when heading out. Store them in one single, clearly defined spot, like a labeled bin in your pantry, so they don’t spread across every drawer. For the extras, donate, repurpose, or recycle them. That step frees up valuable storage for things you actually need.
Make it a habit: keep the count at five or fewer, and only restock after you’ve used and retired an older bag. Your cabinets will thank you.
Stop Decorating Your Counters Before Assigning Every Item a Home
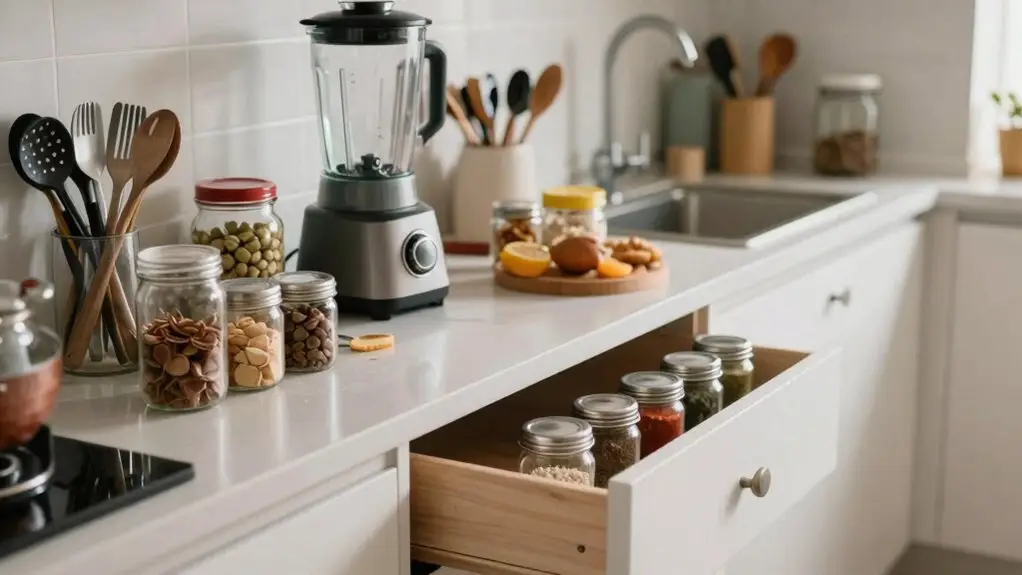
- Store your stand mixer and matching utensil crock in a lower cabinet; they’re bulky and not crucial daily necessities.
- Reserve counters for true daily tools like your kettle or air fryer, things you grab every morning.
- Keep decorative accents to a minimum, one small bowl, max, so you don’t overload the prep zone.
When every spatula has a drawer and every pan a shelf, your counter stays clear for actual cooking.
Clutter-free surfaces mean cleaner food-prep areas and way less stress.
Final Thoughts
You’ve got this. Don’t let a few storage bins or a junk drawer shake your confidence. Start small—clear those counters, ditch the seasonal clutter, and limit those grocery bags.
It’s not about perfection; it’s about making your kitchen work for you. Every item needs a home, and once it’s there, you’ll breathe easier. Honestly, a little planning now saves you from digging through Tupperware later.
So go on: you’re just a few smart swaps away from a kitchen that actually feels good.