
The Best Fluffy Pancakes recipe you will fall in love with. Full of tips and tricks to help you make the best pancakes.


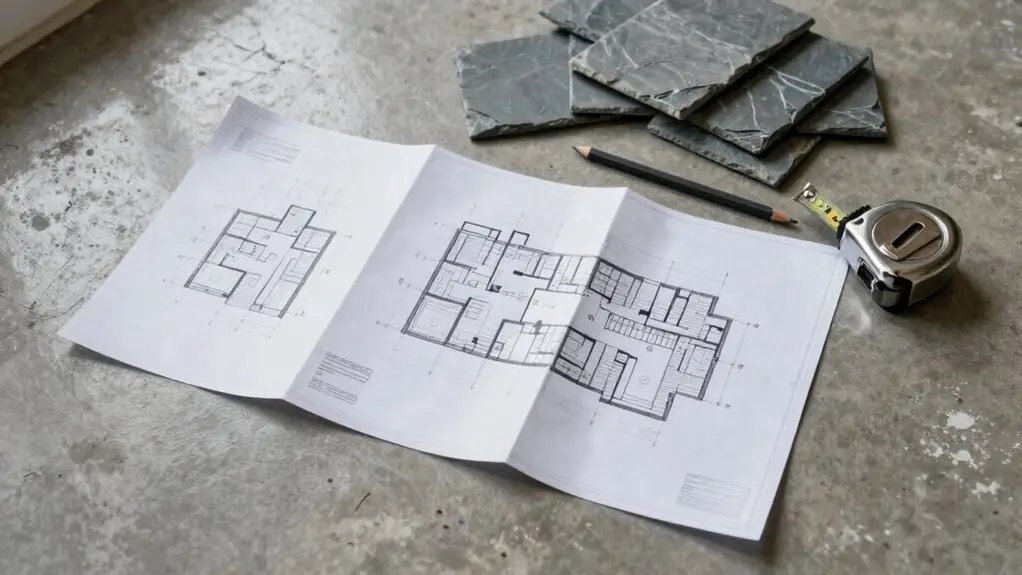
Start by nailing down your dream kitchen style and a realistic budget, adding a 10% buffer for surprises. Next, grab a tape measure and check your layout’s limits. Moving plumbing or electrical can cost thousands, so keep things in place if you can.
Finally, sequence your decisions: choose cabinets first, then counters and finishes. It keeps color matching easy and your timeline on track. Stick around to see exactly how each step unfolds.
Step 1: Set Your Vision, Style, and Realistic Budget
Before diving into cabinet colors or countertop samples, you’ll want to set a clear vision and a realistic budget: think of it as your kitchen’s north star.
Start your Kitchen Planning by defining your dream style, whether it’s modern minimalism or cozy farmhouse. Use saved inspiration photos to keep every Kitchen Design choice consistent.
Next, build a realistic timeline and budget and timeline by estimating main costs—Kitchen Cabinets, countertops, appliances, and labor. Add a 10% contingency buffer for surprises.
Don’t skip this kitchen renovation checklist; it’s your Work plan for success.
Also, decide your renovation scope. Cosmetic updates cost less than full redesigns involving plumbing or walls.
Keep in mind that moving plumbing or electrical during a layout change can add $5,000–$20,000 or more to your total project cost, making layout preservation one of the smartest budget decisions you can make early on.
To wrap up this design process, set clear goals by choosing a few “must-have” items, like storage upgrades, before ordering anything custom. This keeps your project on track without breaking the bank.
Step 2: Measure Your Space and Check Your Layout’s Limits
Now that you’ve locked in your dream kitchen vision and a realistic budget, it’s time to get hands-on with your space.
Don’t skip the tape measure, grab it and get precise.
Your kitchen planning’s strong foundation depends on real numbers, not guesses.
Here’s what you need to nail down:
1. Record measurements of walls, windows, doors, and ceiling soffits. Your clear plan starts with accurate dimensions, so you design around actual room limits, not wishful thinking.
2. Confirm your work triangle works. That sink, stove, and fridge path doesn’t block traffic flow.
Make sure doors and drawers open fully without smacking into each other or an obstacle.
3. Map plumbing and electrical locations. Moving them costs big bucks.
You might need to work around these “can’t-move” spots for a feasible kitchen layout.
4. Check floor level and wall straightness where cabinets sit.
Out-of-plumb walls or uneven floors mean shims or filler panels may be needed for your storage solutions.
Cabinets must be leveled and secured first, because countertop template accuracy depends entirely on that finished cabinet installation being rock-solid before any measuring begins.
With these numbers, you’ll create work zones that feel seamless and functional.
Step 3: Sequence Your Decisions for Cabinets, Counters, and Finishes
Once you’ve got your measurements locked down, it’s time to sequence your decisions for cabinets, counters, and finishes, and trust me, the order matters more than you’d think. Layout is the foundation, so start with your cabinet plan. This locks in kitchen storage and appliance sizes, especially if you’re making structural changes or considering cabinet refacing.
Once you’ve got measurements are measurements are happy with your measurements, sequence your decisions starting with the cabinet plan.
Choose cabinet finishes before the countertop and backsplash, as color matching is way easier that way. Also, proper planning means ordering cabinets early; custom ones have longer lead times that can wreck your kitchen renovation timeline.
Don’t forget flooring decisions early, especially in open-plan spaces.
As you finalize your kitchen layout, it’s also a good time to think about the tools and surfaces you’ll be working with daily, like swapping scratched plastic cutting boards for end-grain wood boards that compress and self-heal rather than staying scarred with deep grooves.
With accurate measurements and a smart order, you’ll avoid delays and keep your kitchen remodeling on track.
Final Thoughts
You’ve got your vision, your measurements, and your decision order locked in. That’s the hard part done.
Now, just take it one step at a time, and don’t forget to breathe when the countertop sample you loved looks totally different in your kitchen’s light. Honestly, that happens to everyone.
Planning ahead saves you from panic buys and costly do-overs. Trust your budget, laugh at the small hiccups, and get ready to enjoy a kitchen that’s truly yours.







