The Best Fluffy Pancakes recipe you will fall in love with. Full of tips and tricks to help you make the best pancakes.


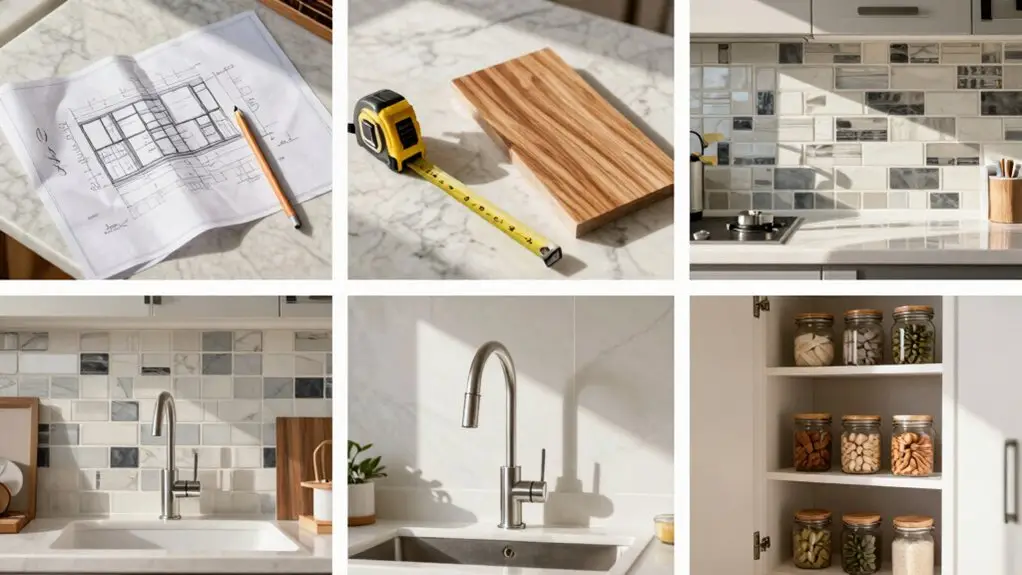
To design a kitchen from scratch, start by listing your non-negotiables, like counter space for prep and oil near the stove. Next, map your layout using the work triangle, keeping the sink, fridge, and stove within 4 to 9 feet of each other.
Then, plan storage around how you actually cook, putting pots near the range. Choose countertops and flooring that handle spills and heat without fuss. Finally, add layered lighting and outlets where you need them.
Stick around for the details that make these steps click.
Start Your Kitchen Design With What You Actually Need
Because your kitchen’s layout should match how you actually cook—not some generic idea from a showroom—start by listing your non-negotiables.
Do you always need more counter space for food prep? Maybe your pots and pans demand deep drawers near the rangetop, or you’re constantly shifting your cutting board between work zones.
Grab a sink and dishwasher. Grab a Kitchen Planner and Planner notebook and write down your real inventory from your existing kitchen.
Don’t default to an over-the-range microwave if you’d rather store oil near the stove. Identify your work zones: prep near cooking, clean up, putting away.
This makes storage space purposeful, not decorative.
You will discover exactly where you need more counter space and which cabinets serve your daily rhythm best. As you plan, keep in mind that walkway clearance between zones should reach at least 48 inches to prevent congestion while two people cook together.
Map Your Kitchen Layout and Work Triangle
Once you’ve listed what you actually need, it’s time to map your layout with the classic work triangle, connecting your refrigerator, sink/dishwasher, and stove so you’re not zigzagging across the room like a pinball.
Sketch your floor plans first, placing the sink and dishwasher together for a compact clean-up zone. Then, put the fridge and stove on opposite ends to keep paths clear.
- Divide your triangle into workflow zones—prep near the cooktop, cooking at the range, clean-up at the sink, and putting away by the fridge. This keeps you from bumping into anything hidden behind that kitchen island.
- Avoid dead space by using drawers for pots and pans under your stove, not waste corner spots. In a small space, this best kitchen layout saves steps and keeps your kitchen remodel functional.
- Use design software to walk your routes, adjusting to keep open countertop space within the triangle. Nobody likes a pinball kitchen, especially when you’re hunting for kitchen cabinets.
According to NKBA planning guidelines, each leg of the work triangle should measure between 4 and 9 feet, with the total perimeter staying between 13 and 26 feet to avoid both cramped appliance placement and excessive walking.
Plan Kitchen Storage Around How You Cook and Live
Now that your work triangle’s set, it’s time to plan storage around how you actually cook and live: don’t just shove things into cabinets.
Start by inventorying what you own.
Start by inventorying what you own—only then map each item to a zone.
Then map each item to a zone: prep space, cooking, clean-up, or putting away.
Store grab-and-go items like oil and salt right near the range, and put wrap containers by the fridge for quick post-meal resets.
Use a lazy susan in corner cabinets to prevent wasted kitchen space.
Measure your tallest bottle to set pull-out shelf heights—this keeps pantry staples within arm’s reach during prep.
Avoid using cabinet storage to fix a weak workflow; align everything with your fridge, sink, and stove triangle.
During your kitchen renovation, this approach keeps your kitchen floor clear and your countertops free.
A simple 5-minute daily reset at the end of each day helps return items to their designated zones and keeps the system working long-term.
Pick Countertops, Flooring, and Finishes That Last
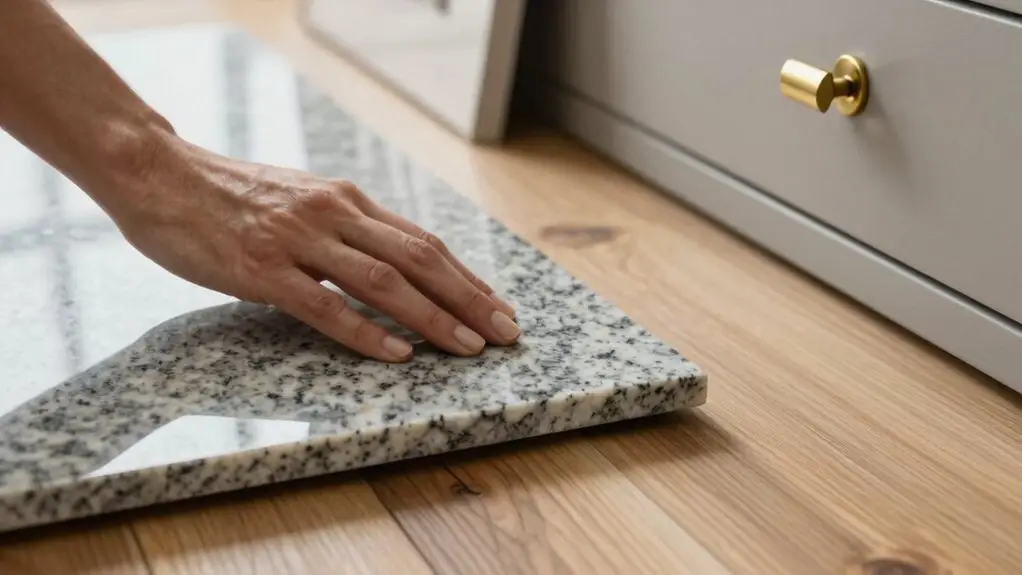
With your storage zones sorted around the work triangle, it’s time to tackle the surfaces you’ll touch and walk on every day. To make your kitchen truly last, choose materials that handle real life, spills and all.
- Countertops: Marble resists heat and looks luxurious, but it’s porous and needs sealing. Stainless steel reads “chefriendly,” but it’s durable and won’t stain. For a small kitchen with natural light, butcher block adds warmth but demands regular oiling. Use it as additional workspace in a small kitchen or galley kitchen layout ideas to save cash; buy used items if you can.
- Flooring: Tile floors are a champ for spills. They’re easier to maintain than hardwood, especially in a galley kitchen where water exposure is common. Plan for finish longevity, which means choosing grout colors that hide dirt.
- Finishes: Coordinate cabinet designs and use cabinets and trim that handle frequent cleaning without dulling. Under-cabinet lighting helps you spot messes, so you’ll need to refresh high-wear areas less often. Pendant lights add charm, but don’t forget to keep them clean. When selecting your countertop surface, keep in mind that 36 inches of counter height is the standard for real cooking comfort, so confirm your material choice works with that dimension before finalizing your order.
Add Lighting, Outlets, and Hardware for Daily Convenience
Since you’ve already nailed down your hardworking surfaces, let’s flip the switch on convenience—literally. To make your ideal kitchen feel effortless, add lighting at three levels: pendants for a warm glow, under-cabinet LEDs to banish shadows, and wall sconces for evening calm.
Make sure your controls sit near the entry, so you don’t stumble through darkness. Next, add outlets near each major zone—especially next to the sink—so your blender never blocks traffic.
For hardware, choose pulls that let you open doors with one finger, even near tall cabinets. You’ll spend time here daily, so a magnetic knife bar or roll-out shelf saves hassle.
If you’re lucky enough to have a walk-in pantry, don’t skimp on lighting there either. Every detail in this type of kitchen boosts your rhythm. For even greater control over your kitchen’s atmosphere, look for strip lights with high CRI rating and install dimmers on each lighting layer so you can dial in the right brightness for cooking, dining, or winding down.
Final Thoughts
Designing your dream kitchen isn’t only for professionals. You’ve got this. Start with your real needs, map that triangle, and plan storage around how you actually cook.
Pick finishes you’ll love tomorrow, not merely today. Don’t forget the outlets—okay, maybe don’t actually forget the lighting and outlets.
But hey, if you mess up a measurement? Just call it a “custom shelf” and laugh about it later. That’s what wine’s for, right?
Go build your happy place.