
The Best Fluffy Pancakes recipe you will fall in love with. Full of tips and tricks to help you make the best pancakes.


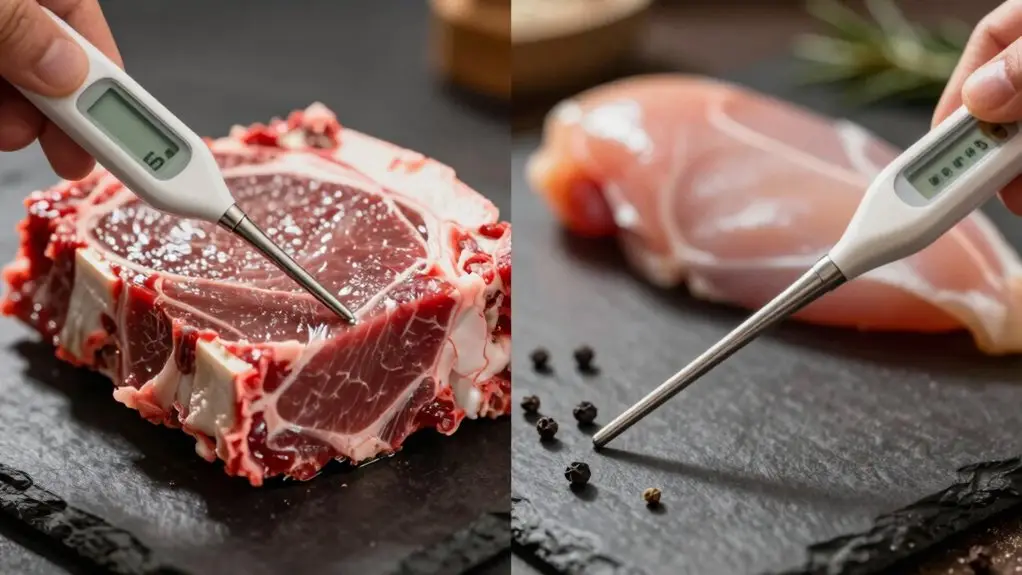
To use a meat thermometer right, you’ll want to dodge the classic blunders that trip up most home cooks. First, pick your tool: grab an instant-read for quick checks or a leave-in for roasts. Calibrate it with an ice bath before you start, just stir crushed ice and water and check for 32°F. Stick the probe into the thickest part, staying clear of bones and fat, and don’t let it touch the pan.
Pull your meat 3–5°F below your target since carryover cooking keeps things heating up while it rests. Trust the numbers, not your eyes, and you’re already halfway to nailing juicy, safe results every single time. Stick around, and you’ll pick up even more game-changing tricks.
Choosing Your Thermometer: Leave-In, Instant-Read, or Multi-Probe?
All three types of meat thermometers have their loyal fans, and honestly, you’ll probably end up owning more than one.
Instant-read models give you crazy fast read speed, 2-5 seconds, making them perfect when you’re grilling and need quick answers.
You’ll love the cleanup convenience too since you’re not leaving anything behind.
But here’s the thing: they don’t stay in the oven, so you’re stuck opening that door repeatedly, which raises your overcooked risk during long roasts.
That’s where leave-in thermometers save the day, and placement tips matter here—you’ll want that probe in the thickest part without hitting bone.
Battery longevity shines since the display stays outside the heat, keeping your batteries alive for seasons of cooking.
Now, multi-probe systems? They’re the overachievers.
You get remote monitoring through Bluetooth, meaning you mingle with guests while tracking temps.
Check that app accuracy before buying, and confirm probe compatibility with your setup.
You’ll handle complex meals without breaking a sweat, though you’ll pay more for the privilege.
For professional precision, instant-read thermometers like the ThermoWorks Thermapen ONE deliver lab-accurate 1-second readings that eliminate guesswork entirely.
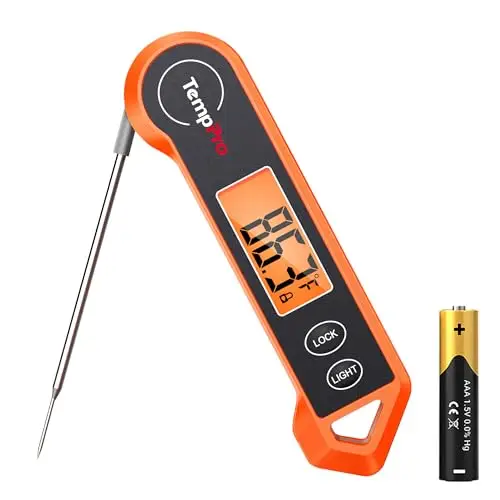
2.0 inches large auto-rotating backlit display: Digital food thermometer has a 180° auto-rotating backlit display, making this kitchen thermometer perfect for left-hand users and allows you to use it in low light conditions
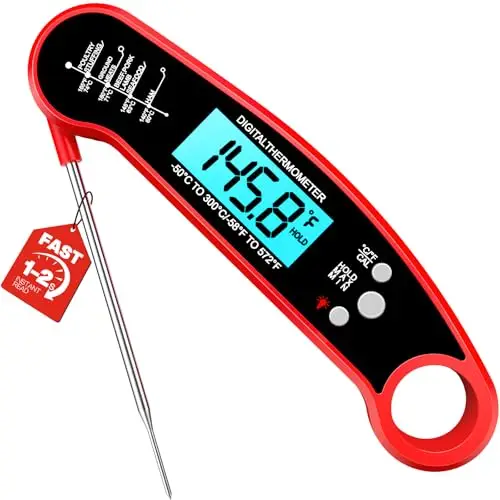
【Ultra-Fast & Precision Accurate】This meat thermometer digital delivers accurate readings within ±1°F/±1°C in just 2–3 seconds, with a wide temperature range of -58°F to 572°F (-50°C to 300°C). No more waiting over the heat - know your food's exact temperature instantly.
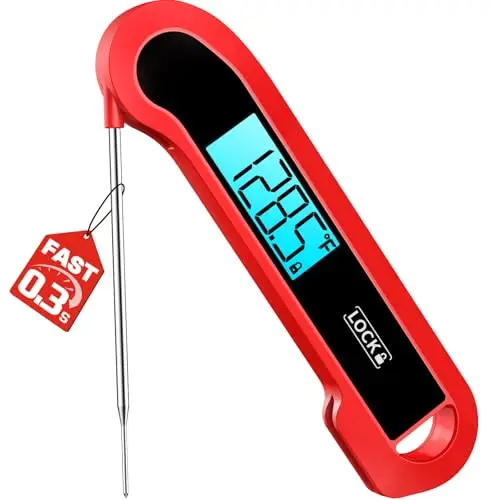
【0.3S Instant Read & 10X Faster】Upgraded with industry-leading premium sensor, this Instant Read digital meat thermometer delivers precise temperature readings in only 0.3 seconds—10 times faster than standard models, with accurate precision up to ±0.5℉. No more waiting over the heat - know your food's exact temperature instantly.
How to Calibrate Your Meat Thermometer Before Every Cook
Before you trust that thermometer with your expensive brisket, you’ve got to ask yourself: is this thing even telling the truth?
Calibration isn’t just some fussy chef ritual; it’s your insurance policy against serving raw chicken or turning that perfect steak into shoe leather.
You’ll want to start with the ice bath method. Trust me, it’s way simpler than it sounds. Just fill a glass or metal container with ice, add cold water until full, and stir the mixture to ensure you’re getting that even 32°F reading throughout.
Why Calibration Matters
Even if your thermometer looks fine sitting in that kitchen drawer, it might be lying to you by as much as 20 degrees. That’s the difference between a perfect medium-rare steak and a trip to the emergency room. You’re only chasing juicy results; you’re protecting everyone at your table from nasty foodborne bugs.
Start with thermometer drift detection. Those sneaky shifts happen over time, especially with frequent use.
Build calibration log tracking so you know when you last checked. Set up accuracy verification schedules before big cooks, and run reading consistency checks weekly if you’re grilling regularly.
Bi-metal types need love after drops, while digitals might just need mental math. For analog models, the ice-water method remains the gold standard for confirming your device reads 32°F when it should.
Don’t trust blindly; verify actively, and you’ll cook with confidence every single time.
Ice Bath Method
You can’t cook with confidence if you don’t know your tools are telling the truth. That’s why you’ll want to master the ice bath method before every cook. Your ice bath setup starts simple: fill a large glass to the brim with crushed ice, add just enough tap water to cover it, and let it sit for a minute or two. A cup with ice water can read 12°F or more too high if you’re sloppy with the setup.
For proper probe placement, stick your thermometer about two inches deep, making sure it doesn’t touch the sides or bottom. Give it a gentle stir while you wait, this isn’t a race, even with instant read speed models. You’re aiming for 32°F (0°C), give or take a tenth of a degree.
If your reading’s off, adjust dial thermometers with a wrench or hit reset on digital ones. Calibration verification takes seconds, but it saves you from serving questionable chicken. Trust me, your dinner guests will thank you.
Where to Insert Your Meat Thermometer Probe for Accurate Readings
If you want to stop guessing whether your steak is done, it all comes down to where you stick that probe. These probe placement tips will save you from dry pork chops and risky undercooked chicken.
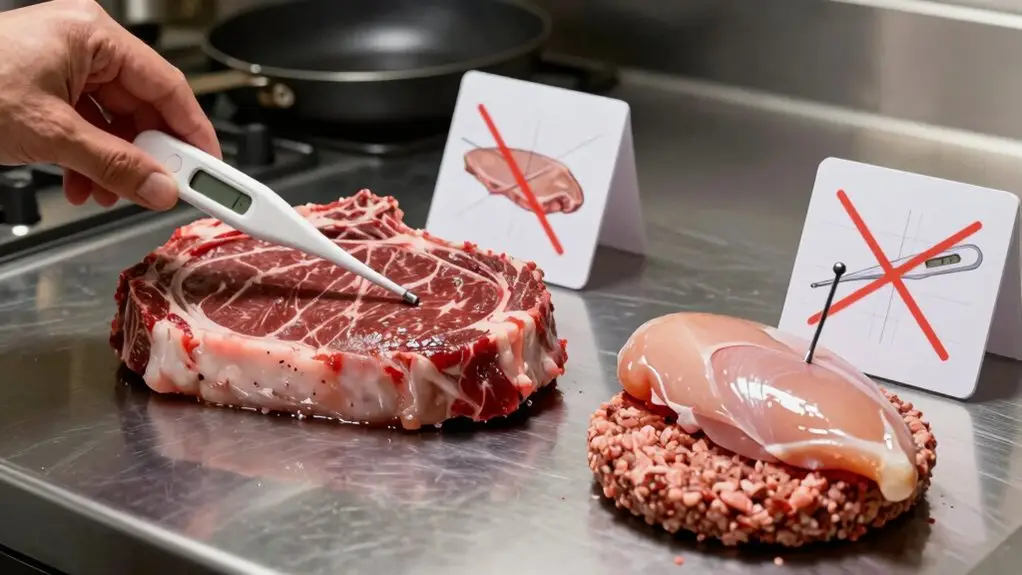
Always aim for the thickest part, that’s your thermal center, the stubborn spot that takes longest to cook.
For whole birds, hit the thigh, not the breast. You’ll want to push past any fat pockets or bones, since bones conduct heat like crazy and throw off your numbers. Multiple readings are essential for poultry safety, as both the thickest part and near-thigh should reach 165°F.
Watch for that sensor depth gauge, usually marked about two-thirds down the shaft.
If you’re dealing with thin cuts like burgers or chops, go horizontal from the side instead. Slide it through the slab sideways until you’ve got full coverage.
Pretty clever, right? Hit the dead center, wait a few seconds, and you’ve got your answer.
No more cutting into beautiful meat just to check.
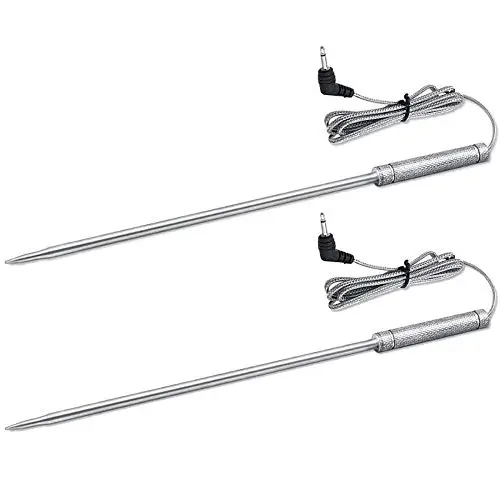
Check Your Model Number - DON'T BUY if your model number is NOT LISTED - Durable and Accurate Probes. Grilling thermometer features food grade stainless steel probe with step-down tip design to get temperature more precisely and quickly, features a 4 to 10 second readout speed
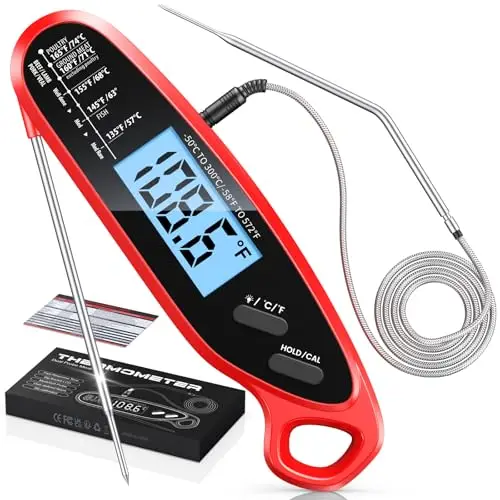
【Dual Safe Probes for Multi-Use】Vuwwey meat thermometer probe is great for meat, liquids, oil frying, baking, candy making, kitchen & outdoors. The wired probe is ideal for monitoring air fryers, ovens, grills, BBQ, smokers. It's your hands-free assistant: set the alarm, stick it on, and step away from the heat
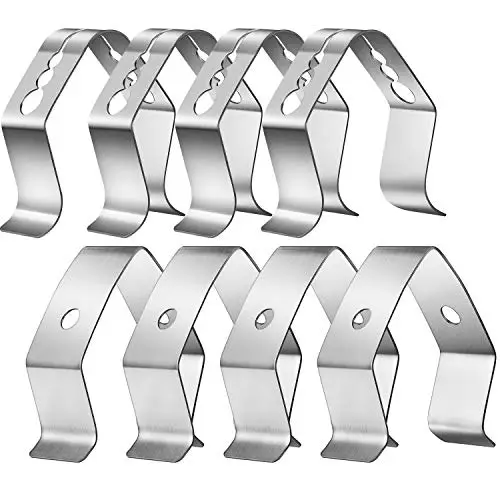
Bring much convenience: this probe holder clip can help you to monitor the different kinds of foods cooking simultaneously and quickly monitor your exact, it can be placed for most barbeque oven grill instant read or wireless thermometers
How Bone, Fat, and Pan Contact Skew Your Temperature Readings
Although you found the right spot to stick your probe, what surrounds that spot matters just as much. Bone Proximity throws off your readings because bone conducts Heat Conduction differently than meat, creating hot or cold spots that lie to your thermometer.
Bone proximity lies to your thermometer, creating false hot and cold spots that throw off every reading.
Stay away from bones, or you’ll get a false sense of security.
Fat Insulation creates another headache. When you hit a fatty pocket, the probe measures that insulated zone instead of the actual meat, giving you numbers that don’t match your dinner’s reality.
Connective Tissue acts similarly, distorting temperatures and leaving you guessing. It’s like asking for directions from someone who doesn’t know the way.
Pan Contact might be the sneakiest culprit of all. Touch that hot surface, and you’re reading the pan’s temperature, not your roast’s. For the most reliable results, you should verify accuracy by testing your thermometer in ice water before each use.
Keep that Probe Placement centered in the meat, and you’ll finally know what’s really going on inside.
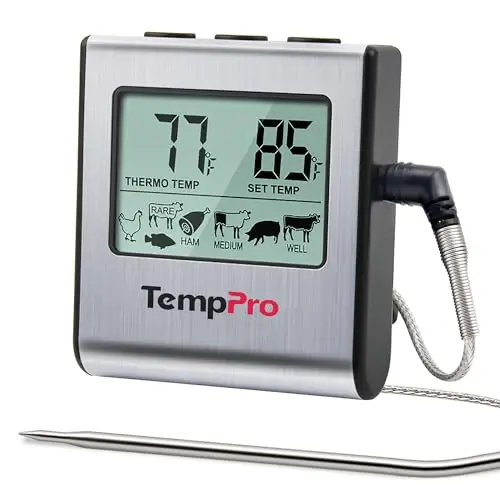
Cook mode with USDA preset temperature settings: TempPro cooking thermometer ideal for meat, oven, smoker or stove top; Programmable alert with preset temperatures for specific foods recommended by USDA; All of the preset temps can be reset to your desired tastes
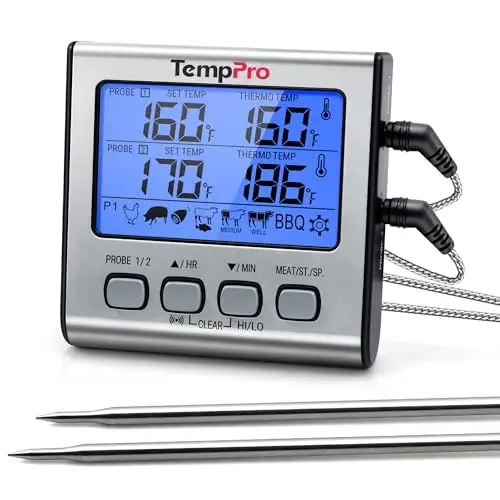
BBQ High/Low Temperature Alarm: This smoker thermometer will flash and beep to notify you if your grill's temperature ever exceeds your desired range, and when to add more fuel. HI/LOW temp range alarm is specifically designed for usage with smokers, grills and BBQs
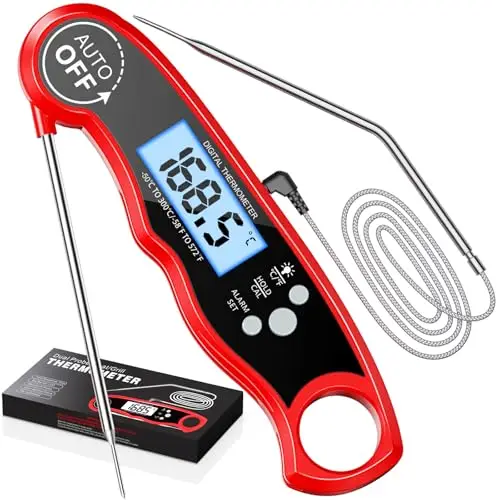
[Dual Probe for Easy Usage] This meat thermometer digital is made of dual 304 stainless steel, one built-in probe and another external long wire probe. 12cm rotatable probe for kitchen, cooking, BBQ etc. The external probe with 102cm stainless mesh wire helps the oven door to be closed, away from the heat when grill or smoke but still measure the core temp of meat.
Safe Internal Temperatures for Beef, Pork, Poultry, and Ground Meat
You’ll notice that ground meat and whole cuts don’t play by the same rules, and poultry marches to its own drum entirely.
Ground beef, pork, and lamb all hit their safety mark at 160°F, but once you step up to steaks and roasts, you’re looking at 145°F for that perfect medium-rare blush.
Chicken and turkey, though? They demand 165°F every single time, whether you’ve ground them up or you’re roasting the whole bird, no exceptions, no matter how much you’d like to bend the rules.
According to the Cook: Heat it Up Chart from the Partnership for Food Safety Education, these temperature targets are essential for safe food preparation.
Ground Meat Standards
Ground meat demands vigilance, transforming your kitchen into a space where precision protects what matters most. You’re not merely cooking dinner; you’re guarding against bacteria that love to hide in ground beef, pork, and poultry.
For ground beef and pork, you’ll need to hit 160°F (71°C). That temperature zaps E. coli and other nasties that can ruin your week. After reaching this temperature, be sure to let it rest briefly before serving.
Ground chicken and turkey? Crank it higher to 165°F (74°C) because Salmonella doesn’t mess around.
Watch out for thermometer placement tips that actually matter: stick that probe into the thickest part, away from any fat or bone.
Thermometer handling errors, like checking cold spots or not cleaning between uses, can give you false confidence.
Your ground meat might look done while still harboring danger inside.
Trust the numbers, not your eyes.
Whole Cuts Guide
Grabbing your thermometer, you’re about to reveal the secret to perfectly cooked meat without playing Russian roulette with your dinner.
Whole cuts follow different rules than ground meat, so don’t let thermometer myths trip you up.
Beef, pork, lamb, and veal steaks, roasts, and chops hit safe minimum at 145°F with a 3-minute rest, that’s medium-rare, juicy perfection.
Want medium? Pull at 160°F. Well-done fans, aim for 170°F.
Fresh ham needs 160°F, while fully cooked hams reheat to 140°F or 165°F depending on labeling.
Here’s where rest time accuracy matters: that 3-minute pause lets temperatures rise and juices settle.
Skip it, and you’ll dry out your dinner.
Ground meats require a higher temperature of 160°F to eliminate bacteria throughout.
Your thermometer just became your best kitchen friend.
Poultry Safety Rules
Switch gears when you’re moving from steak to chicken, because poultry plays by its own rulebook, and the stakes, well, they’re a bit higher.
Every piece of poultry, whole bird, breast, thigh, or wing, must hit 165°F (74°C) to kill harmful bacteria.
No exceptions, no pink zones.
Master Chicken Doneness Timing by checking early and often; don’t wait until the outside looks crispy.
Nail your Thermometer Probe Placement by sliding into the thickest part of the meat, avoiding bone.
For ground turkey or chicken, stick that probe in multiple spots since heat distributes unevenly.
Stuffing? It needs 165°F too.
Don’t guess, poultry doesn’t forgive shortcuts.
Your dinner guests will thank you, and nobody’s spending the night hugging the toilet.
Remember that duck and goose follow the same strict standard, requiring 165°F just like chicken and turkey.
Carryover Cooking: When to Pull Your Meat to Hit Perfect Doneness
When you’ve finally nailed that perfect sear and your thermometer shows the target temp, you might think the hard part’s over, but your meat’s got other plans. Carryover cooking kicks in the moment you pull that steak from the heat, and your resting temperature keeps climbing as the interior heat redistributes outward.
That temperature rise can add on anywhere from 2°F to a whopping 25°F depending on thickness and cooking method.
Cook at 425°F instead of 300°F? You’ll see considerably more carryover, think 13°F jumps versus 8°F on beef. This happens because heat flows downhill from the hotter exterior to the cooler interior until equilibrium is reached.
Thin steaks barely budge, but thick cuts keep cooking for up to 20 minutes.
Here’s the fix: pull your meat 3–5°F below target. Track that climb with a reliable thermometer, record your results, and you’ll nail perfect doneness every single time.
Final Thoughts
Now you’ve got the know-how to nail perfect temps every time, so grab that thermometer and cook with confidence. Trust the tool, watch those zones, and remember, resting isn’t just patience, it’s part of the recipe.
No more guessing games, no more dry chicken disasters. You’ve earned better meals, and your dinner guests will definitely notice.测温计主战场的胜利,就在你的手中。



