
The Best Fluffy Pancakes recipe you will fall in love with. Full of tips and tricks to help you make the best pancakes.


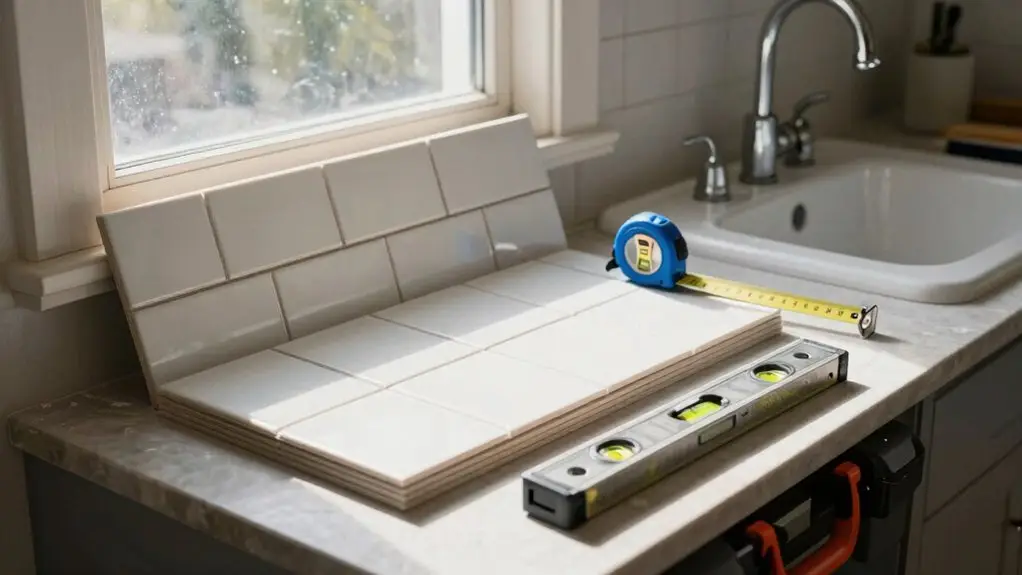
Start with your vision and a realistic budget: plan for 15 to 20% of your home’s value, plus a 10 to 20% cushion for surprises. Then hire a contractor and pull permits first to coordinate plumbing, electrical, and inspections before walls close.
Measure your kitchen carefully, using the work triangle for efficiency. Pick durable materials like quartz counters and solid wood cabinets.
Finally, do a thorough walkthrough, testing every drawer and switch before you pay. Stick around for the full breakdown of each step.
Start With Your Vision and a Realistic Budget
Start With Your Vision, but don’t grab your wallet just yet. First, grab a cup of coffee and your phone. Scroll through photos to build a mood board for your kitchen. Collect images of cabinet colors, countertops, and backsplashes you love. This keeps every selection cohesive when planning a kitchen renovation.
Now, let’s talk budget. A kitchen remodel typically costs 15–20% of your home’s value, plus a 10–20% contingency for surprises.
Now, let’s talk budget. A kitchen remodel typically costs 15–20% of your home’s value, plus a 10–20% contingency for surprises.
Break that budget into categories like cabinets, countertops, and labor so you don’t blow it on extras.
Your must-haves—storage, durable counters, and a functional kitchen layout—are your “North Star.” Prioritize those before choosing fun tile or fancy lighting.
Confirm lead times for custom cabinetry and other materials now, too. Late orders can delay plumbing and electrical work, so nail down decisions early. This way, you track trade-offs without derailing your vision.
On average, homeowners spend around $26,934 on kitchen remodels, with costs ranging from $14,600 to $41,485 depending on the scope of work involved.
Hire a Contractor and Handle Permits First
With your budget in place and must-haves prioritized, it’s time to bring in the pros. You’ll want to hire a contractor who coordinates everything: plumbing work, electrical work, gas lines, and permits.
Permits can take weeks, so start early. Don’t let construction begin without them; it’s a recipe for costly delays.
- Hire a contractor first. They’ll schedule subcontractors for plumbing work, electrical work, and gas lines, keeping the job on track.
- Apply for permits. Most remodels need permits for wiring, plumbing, gas lines, or structural changes. Make sure your contractor handles inspections before walls close.
- Confirm engineering needs. If you alter loads or open walls, engineering approval may be required. Nail this down before construction begins.
A renovation designer can also coordinate plumbing and electrical placement to prevent costly clashes before construction begins.
With permits in motion, you’re set for a seamless start.
Measure Your Kitchen for an Efficient Layout
Before you buy a single cabinet or pick a countertop, grab a tape measure and get cozy with your kitchen’s dimensions. You’ll want to measure every wall, window, and door opening, including heights from the finished floor, then label them. This step in the renovation process keeps your layout decisions spot-on.
Before you buy a single cabinet or pick a countertop, grab a tape measure and get cozy with your kitchen’s dimensions.
Confirm your appliance clearances using the work triangle. Check distances between sink, stove, and fridge so movement flows effortlessly. Don’t ignore real-world constraints like radiators, columns, or soffits; they’ll wreck a plan based on “perfect” wall space.
For a small kitchen, planning storage fit with pullouts and corner organizers saves headaches later. Account for water lines and gas connections upfront to avoid mistakes.
Draw a simple floor plan and test L-shape or U-shape layouts before deciding on a kitchen island. When adding an island, keep in mind that 42 to 48 inches of clearance along main traffic paths is the recommended standard to maintain comfortable movement and safe appliance access.
Pick Durable Materials and Reliable Appliances
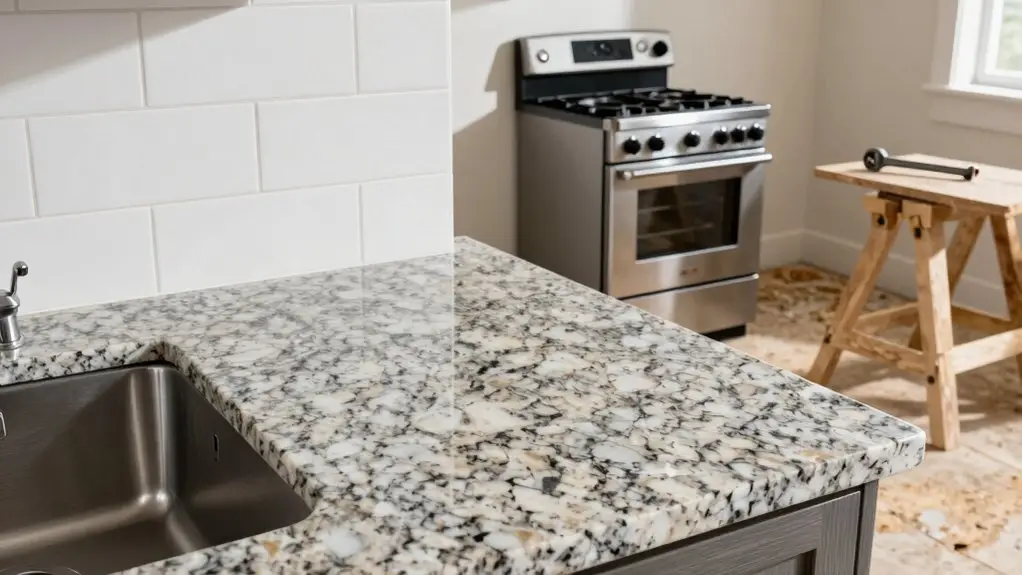
Since you’ll be living with these alternatives for years, it pays to pick materials and appliances that can handle real life—spills, heat, sticky fingers, and all. You’re building your dream kitchen, not simply a modern kitchen, so make sure everything you choose can take the daily wear and tear. A good kitchen balances style with toughness, saving you headaches and money later.
Choose quartz or granite wisely. Quartz resists stains and doesn’t need sealing, while granite offers natural beauty but demands periodic care. Match your choice to your cooking habits to save money on repairs.
Go for solid wood or plywood cabinets. Strong construction beats flimsy particleboard in a busy kitchen. Laminate or thermofoil finishes clean easily, perfect for sticky fingers. For an even more polished look, painting your cabinets using Benjamin Moore Advance Interior delivers a durable, stain-resistant finish that holds up well in high-traffic kitchens.
Pick appliances from proven, reliable brands. Stainless steel resists fingerprints and heat. Check Consumer Reports, order early for delivery, and avoid rework. Your home renovation will thank you.
Do a Final Walkthrough to Catch Issues Fast
Schedule your final walkthrough with your contractor for a solid 30 to 60 minutes. This is your last chance to catch small issues before they turn into big headaches.
Start by testing all moving parts: open and close every drawer and door, ensuring they glide smoothly and sit level with consistent gaps.
Inspect the clean lines of your countertops and backsplash, paying close attention to check caulking or grout around the sink and stove, plus any outlets. Look for clean transitions at every seam. You don’t want messy edges ruining your new prep space.
Turn on lights, flip switches, and run faucets to confirm everything works. Record any problems immediately on a punch list.
Don’t schedule final payment until every last item, like a sticking drawer or misaligned hardware, gets resolved. That keeps your project moving without delays. Once everything checks out, give your sink a proper first clean by rinsing it with hot water and scrubbing the basin with a baking soda paste to remove any construction residue before regular use.
Final Thoughts
You’ve got a solid plan now—five steps that turn chaos into a real, organized kitchen. Stick with your vision, but don’t forget to laugh at the inevitable surprise drywall patch.
Trust your contractor, measure twice, and pick materials that can handle your morning coffee rush. That final walkthrough is your last chance to catch that crooked cabinet before it bugs you forever.
Follow these steps, and you’ll be cooking in your dream space before you know it, no sweat.





