The Best Fluffy Pancakes recipe you will fall in love with. Full of tips and tricks to help you make the best pancakes.


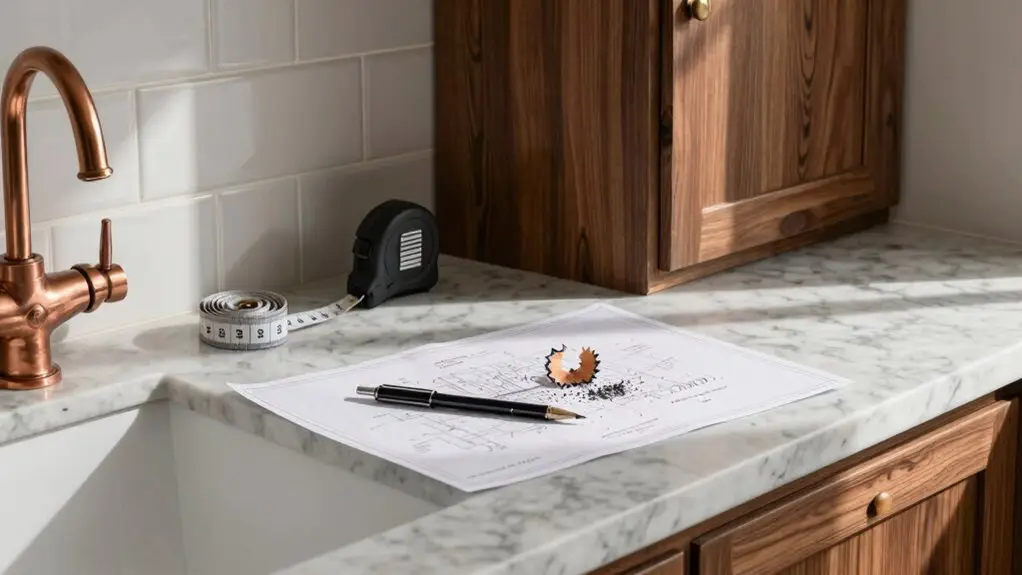
Designing a kitchen from scratch starts with your must-haves, your “North Star” list. Measure everything: floors, windows, plumbing, and clearance paths so your layout actually fits.
Pick an L or U-shaped layout that tightens your work triangle between sink, stove, and fridge. Then plan storage around real cooking zones, using drawers and pull-outs to cut clutter.
Finally, choose durable countertops and floors that match your daily routine. Stick with these steps, and you’ll avoid costly mistakes before tearing down a single wall.
Start Your Kitchen Design From Scratch by Defining Must-Haves
Before you jump into picking out fancy tiles or debating between farmhouse and undermount sinks, take a step back and figure out what your kitchen actually needs to do for you. Create a “North Star” list of must-haves.
Before you pick a single tile, define your kitchen’s true must-haves with a North Star list.
Do you entertain often or cook for a big family? That changes everything.
For a small space, make sure you prioritize the best kitchen layout for your workflow.
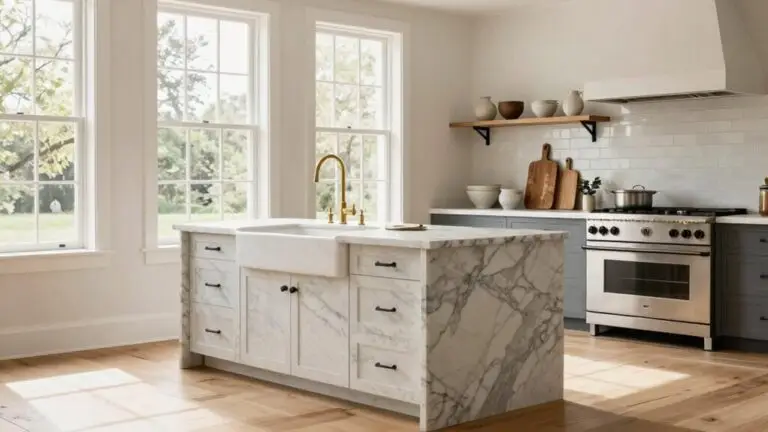
Don’t default to an island if you need more counter space elsewhere.
Instead, think about the work triangle and establish clear work zones for cooking, prepping, and cleaning.
Use a Kitchen Planner to map out your storage space and mark your true non-negotiables early.
That way, when you’re tempted by fancy extras, you’ll know exactly what matters most.
A U-shaped kitchen layout wraps three walls to maximize counters and storage, making it a strong choice for those who cook for a crowd or need room for multiple people to work at once.
Measure Your Kitchen Before Choosing a Layout
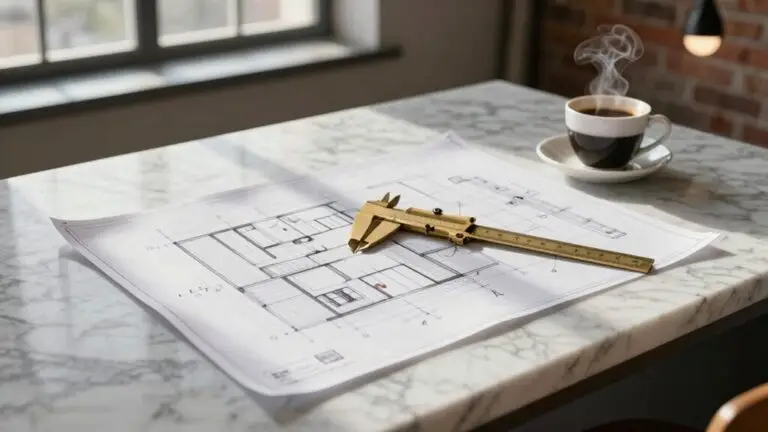
Once you’ve nailed down your must-haves, it’s time to grab a tape measure and get real about your space. Don’t skip this; your kitchen remodel’s success hinges on accurate numbers.
Measure your kitchen floor’s length and width, plus distances to doors, windows, and plumbing. This helps you avoid picking a layout that simply won’t fit.
To create a workable design, capture these details:
- Clearance paths between counters and islands—aim for 42–48 inches so paths stay open.
- Cabinet wall heights and soffits—these affect upper storage and hood placement.
- Appliance rough openings for sink depth and dishwasher width—prevents last-minute surprises.
For a galley kitchen, tight clearance paths matter most. Layout ideas like L-shapes need corner access.
Use your numbers to sketch kitchen floor plans early, it’s your reality check before ordering anything. Keep in mind that your measurements should also account for the work triangle total distance, which ideally stays under 26 feet when connecting your sink, stove, and refrigerator.
Choose a Layout That Supports Your Cooking Workflow
After you’ve got those measurements in hand, it’s time to pick a layout that actually supports how you cook, not just one that looks good on paper. Start by mapping your workflow into zones: prepping, cooking, clean-up, and putting away.
That classic work triangle, sink, fridge, stove, should be as tight as possible, but keep open counter space between them.
For a small kitchen, L-shaped kitchens save floor space while maintaining flow. If you have multiple cooks, a U-shaped kitchen packs in counter and storage.
A galley kitchen works wonders in narrow spots, pushing traffic through one corridor. Position prepping near cooking, clean-up close to the sink, and putting away by the fridge.
Your layout should match your actual routine, not a magazine photo. The work triangle’s three sides should each measure between 4 and 9 feet to keep movement between the sink, stove, and fridge efficient without unnecessary steps.
Plan Your Storage Around How You Actually Cook
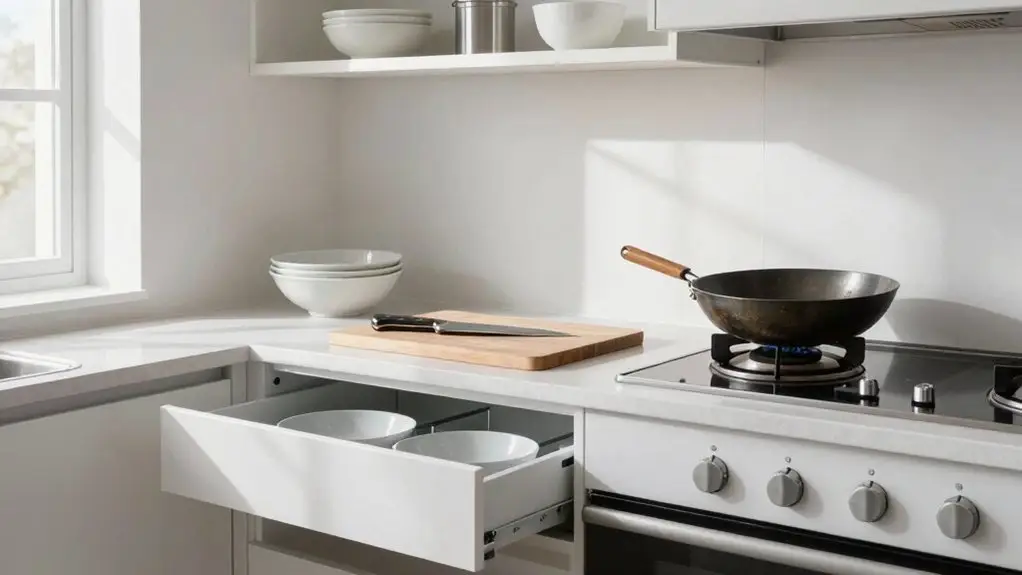
While it’s easy to get swept up by fancy pull-outs and Pinterest-perfect pantry bins, the smartest storage plan starts with a ruthless inventory of what you actually cook with. Group your stuff by cooking, food prep, clean-up, and putting away to mirror your real workflow.
You’ll stop opening a dozen cabinets just to grab one pot. Here’s how to nail it:
- Park your pantry close to the stove. Oils, vinegars, and tall spices go in the nearest accessible zone so you don’t walk across the kitchen space mid-recipe.
- Use drawers for pots and pans. Pull-outs near the cooktop let you grab a skillet without digging. A dedicated lid drawer kills that annoying “dead space” between pots.
- Store daily plates in drawers. Adjustable partitions speed up access and keep your dishwasher door clear, turning wasted storage into a seamless clean-up routine.
Match shelf heights to your tallest oil bottle—no more guessing. A dedicated kitchen cabinet storage organizer keeps everything from spice jars to cutting boards sorted and within reach, so your shelves stay functional instead of chaotic.
Pick Durable Countertops, Floors, and Finishes
Now that you’ve got smart storage dialed in, it’s time to tackle the surfaces that’ll take a beating every single day.
For durable countertops, match the material to your cooking style: butcher block needs oiling but feels warm, while stainless steel is easy to sanitize.
Floors should handle constant water near your sink and dishwasher.
Tile resists spills better than hardwood.
Choose finishes that fight stains and impacts around high-traffic zones, especially where you drop a cutting board or slide an open door.
Lighter colors near natural light can make your kitchen feel bigger, even with tough materials.
Also, check that countertops and floors align early—height, edge profiles, and transition strips matter.
Before you install pendant lights or rearrange cabinet storage, confirm compatibility to avoid refinishing costs later.
A smart kitchen renovation balances durability with how you actually live.
Always install your base cabinets before ordering stone slabs, since leveled cabinets create the accurate reference point countertop crews need to template and cut custom materials correctly.
Final Thoughts
So, you’ve got your must-haves, your layout, and your storage all figured out. That’s the hard part done. Don’t stress over getting every detail perfect; kitchens are for living, not just looking at.
Pick materials you aren’t afraid to use, and remember that scratches and spills add character. When you’re done, pour yourself a coffee and enjoy the space you built. It’s your kitchen, and it’s ready for real life.