
The Best Fluffy Pancakes recipe you will fall in love with. Full of tips and tricks to help you make the best pancakes.


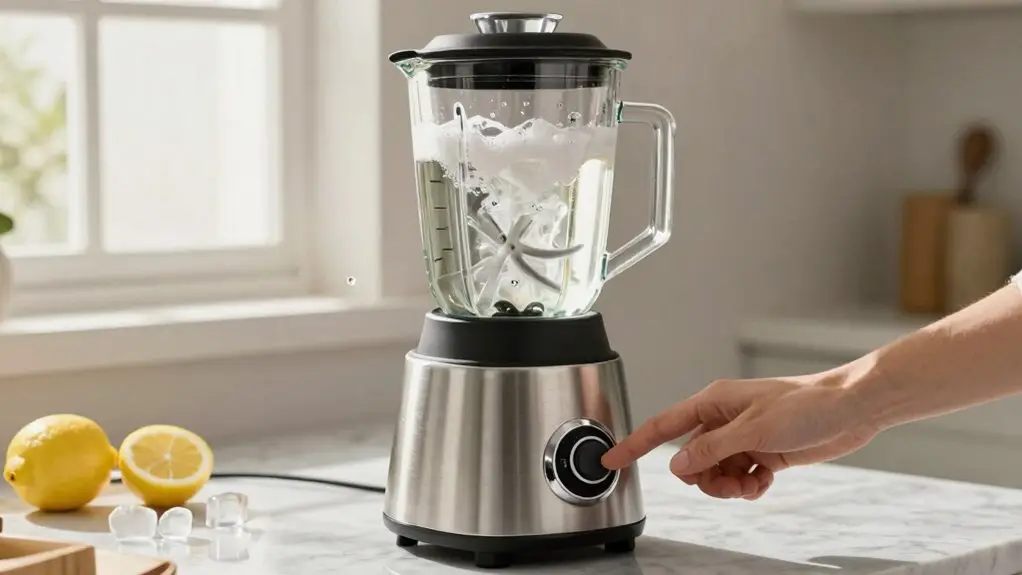
You can clean your blender in 30 seconds flat using nothing but warm water, a drop of dish soap, and a quick spin on high speed. Fill your pitcher about halfway with warm water, squeeze in one or two drops of dish soap, don’t go crazy with it, and pop the lid on tight. Hit your blender’s highest setting and let it rip for 20 to 30 seconds while the sudsy vortex scrubs those blades and walls for you.
Rinse thoroughly, flip it upside down to dry, and you’re done. If stubborn gunk or weird smells stick around, there’s more you can do to get it sparkling fresh.
Clean Your Blender in 30 Seconds: What You Need
Grab your blender cleaning brush and let’s get you set up for the fastest cleanup of your life.
Grab your blender cleaning brush and let’s get you set up for the fastest cleanup of your life.
You’ll need a few important before diving in, and choosing the right tools makes all the difference.
For your brush selection guide, consider your blender type. The Foodi® Blender Cleaning Brush works wonders under pitcher blades, while the 2-in-1 Bottle Brush tackles stubborn residue with firm bristles.
You should also grab a detailing tool for tight gasket spots and a mini brush for straws. A silicone tool specifically designed for brush cleaning can help remove excess residue while maintaining bristle shape during the cleaning process.
As cleaning safety tips, you’re protecting your fingers here.
These brushes let you scrub around blades without touching them directly.
You’ll want mild dish soap and warm water ready.
Hot water dissolves gunk faster, but gentle soap preserves your brushes, especially bamboo ones.
Point bristles down when air drying.
Run Your First 30-Second Blender Clean Cycle
Now that you’ve got your brushes and soap ready, let’s put that blender to work cleaning itself.
Fill your blender cup one-quarter to halfway with warm water, then add just a drop or two of dish soap. Don’t go overboard, nobody wants a bubble party in their kitchen.
For Ninja blenders, use about 700ml of hot water with a couple drops of Fairy liquid.
Secure that lid tight, unless you enjoy soapy ceilings, and blend for 20 to 30 seconds.
You’ll see the water turn cloudy as the spinning blades scrub away stuck-on gunk.
That’s your cue it’s working! If you’re troubleshooting cloudy water that won’t clear, you’re probably dealing with stubborn residue.
For timing deep cleaning, stick to that 30-second sweet spot. It hits the mark between effective and efficient.
After this quick cycle, rinse immediately to remove any lingering soap residue before it dries on the blades.
Still Dirty? When to Run a Second Clean Cycle
Sometimes your blender needs a little extra TLC. When lingering smells hit your nose or you spot visible gunk clinging to the jar walls, those residue indicators scream for round two.
Your blender’s crying out for round two when smells linger and gunk sticks to the walls.
Cloudy mineral deposits, stubborn oils, or that nut butter you forgot about? They don’t always budge in one go. For a thorough deep clean, you can also use white vinegar mixed with warm water to break down mineral buildup and odors.
Second cycle timing matters more than you’d think. Run it every few uses, twice weekly for thick protein blends, or monthly when cloudiness persists.
After raw ingredients, you definitely want that backup clean.
Just fill halfway with warm soapy water, blast it for another 30-60 seconds, rinse thoroughly, and you’re set.
Skip it, and you’re basically inviting bacteria to a house party nobody wants.
Remove Stains and Hard Water Buildup From Blender Jars
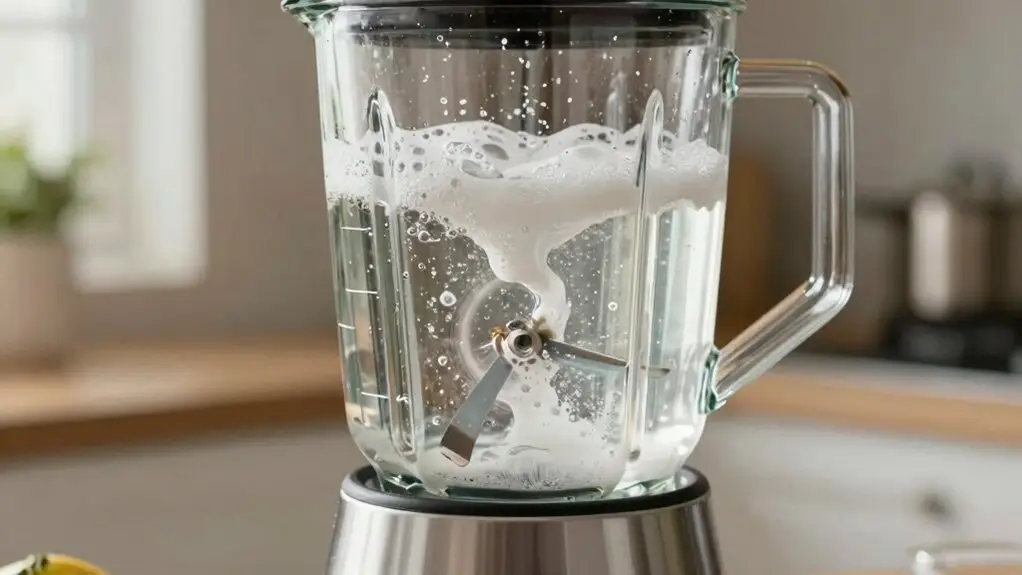
If you’ve been staring at cloudy glass or stubborn orange streaks from last week’s turmeric shake, you’re not alone, those mineral deposits and stains have a way of moving in like unwanted roommates. Plastic jars are more prone to staining than glass, since glass does not absorb dark food colours the way scratched plastic surfaces can. You’ve got options that actually work, and they don’t require elbow grease that’ll make your arms sore.
Start with the Lemon fizz method: squeeze one lemon into your jar, toss the rind, add two tablespoons of baking soda and a cup of water, then blend on high for thirty seconds. The bubbling reaction lifts stains while tackling stubborn odors that linger from garlicky soups or pungent protein powders.
Scrub gently with a soft sponge, rinse, and dry.
For tougher buildup, try the vinegar soak overnight or make a baking soda paste for spot treatment. You’re basically giving your blender a spa day, and it deserves it.
Which Blender Parts Are Dishwasher Safe?
You’ll want to check your blender’s manual before tossing everything in the dishwasher, since not all parts can handle the heat and spray.
Most jars and lids are dishwasher safe on the top rack, but blade assemblies often need special attention or hand washing to stay sharp and rust-free. Gaskets and seals can wear out from heat and exposure to cleaning chemicals, so hand washing helps extend their lifespan.
Don’t forget that motor bases never belong in there, no matter how tempting it’s to just wash the whole thing and call it a day.
Jar and Lid
When you’re staring down a blender covered in last night’s liquid gunk, the dishwasher starts looking like your best friend. Most jars and lids play nicely with your machine, but you’ll want to know the rules. Your Personal Jar and Blender Jar both go in the top rack, where gentler heat keeps them happy. KitchenAid’s Blender Jar breaks tradition and can handle the bottom rack’s intensity. Actually, that bottom rack is specifically where the Blender Jar belongs for proper cleaning.
Lid seal care matters more than you’d think, those rubber gaskets can warp into useless pretzels if you blast them with too much heat. Stick to the top rack for all lids, including that center cap everyone forgets about.
Decal protection keeps your blender looking sharp, so skip harsh detergents that’ll scrub off labels faster than you can say “smoothie.” Check your manual for those dishwasher-safe symbols, and when in doubt, hand wash with warm soapy water.
Blade Assembly Exceptions
Because blades are the business end of your blender, they need a little extra TLC when it comes to cleanup. Most blade assemblies are dishwasher safe on the top rack, but you’ll want to remove them from the container first.
For blade safety, always use a dishwashing utensil with a handle, no fingers near those sharp edges!
Here’s the thing about stainless steel blades: they’re tough, but they’ll rust if you let them sit wet. Rust prevention means drying them immediately after washing, or better yet, hand washing in warm, soapy water.
Pro Extractor and Stacked Blade assemblies work the same way, quick clean, then dry thoroughly.
Store blades in their containers afterward, and you’re golden. Your blender stays sharp, and so do you.
The GJX replacement blade features 100% BPA-free high-impact plastic construction that maintains durability through repeated dishwasher cycles without degrading material quality.
KitchenAid, Vitamix, and Ninja: Model-Specific Cleaning Tips
You’ll want to know the quirks of your specific blender before you hit that self-clean button, because not all machines work the same way. KitchenAid’s clever blade design lets you pop off the jar assembly for a thorough rinse, while Vitamix saves your fingers with its one-touch clean cycle that basically does the scrubbing for you. For detailed cleaning instructions, you can access product manuals that include step-by-step guidance for your specific model.
Ninja keeps things flexible, giving you the choice to either run a quick soapy pulse or toss parts in the dishwasher when you’re feeling truly lazy.
KitchenAid Blade Design
Pop open your KitchenAid blender, and you’ll notice right away that the blade assembly isn’t stuck there forever, it’s actually designed to come apart when you need it to. This clever feature saves your fingers from dangerous scrubbing around those razor-sharp edges.
You’ll want to pay attention to blade lubrication timing, check your manual, because keeping things running easily matters. For specific instructions on lubrication and maintenance, use your model number to locate the appropriate resources on the Manuals and Literature page.
Don’t forget the sealed base inspection either; make sure that protective barrier stays intact so water never sneaks into the motor.
Here’s your blade care checklist:
- Unplug before touching blades, safety first, doctor bills later
- Run blades during self-clean cycles to blast hidden gunk
- Pop the assembly into your dishwasher’s top rack for easy sanitizing
- Dry thoroughly to prevent rust and mineral buildup
That removable design? Total game-changer for busy kitchen warriors like you.
Vitamix One-Touch Cycle
When your smoothie marathon’s finally over, nobody’s got time for a scrubbing marathon, so Vitamix built you an escape route. Grab your Ascent series blender, fill it halfway with warm water, and add just a few drops of dish soap.
You’ll pop the lid on, hit that Self-Cleaning Program button, and let the machine do its thing. The cycle runs 30 to 60 seconds, spinning at high speed, and stops automatically when it’s done.
Your rinsing technique matters here. You’ll want to thoroughly rinse the container and lid with warm water right after the cycle finishes. This step locks in stain prevention, keeping your container clear for the long haul. Flip it upside down to air dry, and you’re officially done.
For other models, check your Owner’s Manual to confirm specific parts and compatibility before using any self-cleaning function.
Ninja Dishwasher Option
If you’re the type who’d rather let a machine do the dirty work, Ninja’s got your back with dishwasher-safe options across most of their lineup. Here’s how to nail it without wrecking your gear:
- Pop everything on the top rack, lids, containers, and blade assemblies all go up high for proper cleaning action.
- Pull those blades apart first, never toss in assembled blade units; separate them from containers to avoid damage. Make sure to use this method only for the vessel lid and crush blade assembly rather than all components.
- Skip the heated dry cycle, your parts will last longer without that extra blast of hot air warping them.
- Keep the motor base high and dry, swipe it with a damp cloth only; dunking it kills the electronics fast.
That’s your dishwasher safety sorted, with smart motor base care and heated dry avoidance thrown in. Easy!
Final Thoughts
You’re all set now, your blender’s sparkling and you didn’t even break a sweat. Keep that self-clean trick handy, and you’ll never dread smoothie cleanup again. Got stubborn stains? A little vinegar soak works wonders.
Remember, a clean blender means tastier drinks and a longer-lasting appliance. So go ahead, blend that green monster or chocolate milkshake without fear. Your future self will thank you when cleanup’s done in thirty seconds flat. Happy blending!





