The Best Fluffy Pancakes recipe you will fall in love with. Full of tips and tricks to help you make the best pancakes.


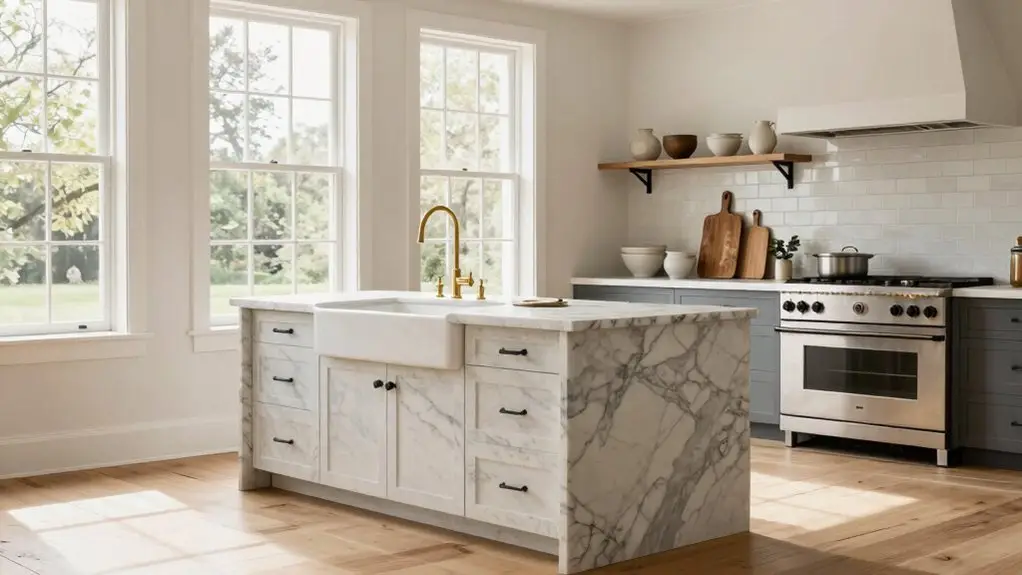
You’ll build a timeless kitchen by starting with the work triangle—sink, stove, fridge—so you’re not running laps while boiling pasta. Choose Shaker cabinets and neutral tones with matching undertones. Then pick surfaces like soapstone or copper that get better with age.
Leave plenty of landing space for hot pans. Map traffic so kids or guests don’t crash your cooking flow. The real secret? Design around how you actually move, not what’s trending. You’ll discover why the details beneath the surface matter most.
Build Your Layout Around the Work Triangle First
Before you fall in love with that gorgeous backsplash or those trendy pendant lights, you’ve got to get your layout right because even the prettiest kitchen will drive you crazy if you’re constantly dancing around poorly placed appliances. Start with the work triangle, a concept born in 1940 at the University of Illinois that still works today. Architects first applied geometric principles to kitchen design to optimize the three main workstations.
You’ll position your sink, stove, and refrigerator to form a triangle with legs between 4 and 9 feet each, keeping the total perimeter under 26 feet. This layout saves your sanity by cutting unnecessary steps.
Smart lighting placement elevates this timeless ambience, while your flooring material brings durable comfort underfoot. You’ll cook faster, cleaner, and happier when your appliances actually cooperate with your movements.
Choose Cabinet Styles That Stay Classic for Decades
You’ll want to start with Shaker cabinet profiles, since they’ve been the go-to choice for over a century and somehow still look fresh in every era: talk about getting your money’s worth. Shakers, a 19th-century religious group, originally designed these cabinets with their philosophy of simplicity and honest craftsmanship in mind.
Inset door construction takes it up a notch, sitting flush within the frame like a perfectly tucked-in shirt. This gives your kitchen that custom, furniture-quality feel without screaming for attention.
Together, they create that quiet confidence you’re after, the kind of foundation that won’t have you cringing at photos ten years from now.
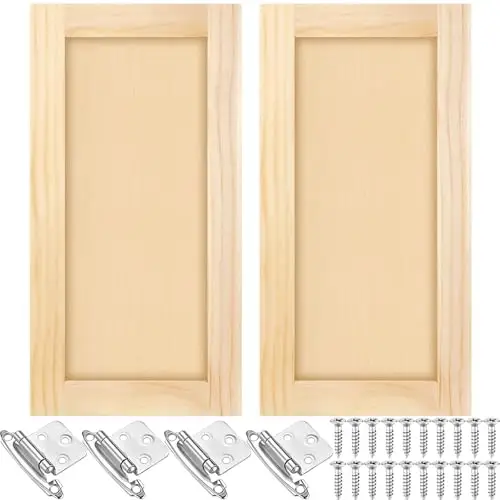
Complete Package: the package includes 2 unfinished pine kitchen cabinet doors and 4 cabinet hinges, providing you with a convenient set for effortless installation; No need to source additional doors
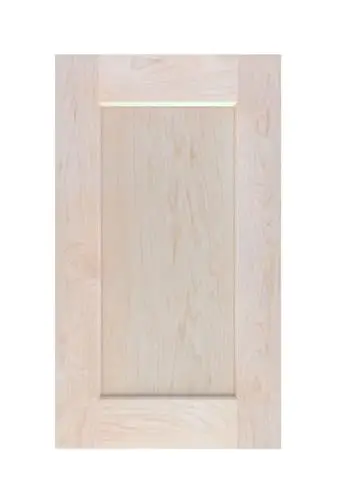
Premium Solid Maple Wood: Crafted from 100% solid maple for lasting durability. Smooth-sanded and splinter-free, ideal for painting, staining, or sealing. The perfect upgrade for high-end cabinet refacing or DIY projects
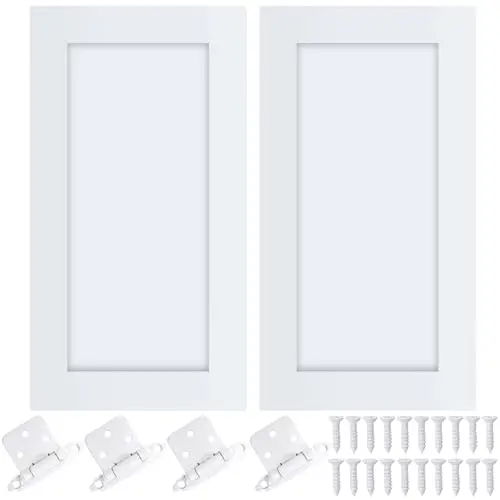
Complete Package: the package includes 2 white pine kitchen cabinet doors and 4 cabinet hinges, providing you with a convenient set for effortless installation; No need to source additional doors, sufficient for your cabinet door replacement upgrades
Shaker Cabinet Profiles
When you’re staring at hundreds of cabinet options and your eyes start to glaze over, Shaker-style doors cut through the noise like a sharp knife through warm butter.
You’ll love how the flat frame creates sharp lines without overwhelming your space.
That recessed center panel adds just enough dimension to keep things interesting.
The five-piece construction shows off real superior craftsmanship.
Those square edges with minimal profiling are the secret sauce that keeps this look classic.
Now, HERE’S WHERE YOU GET TO PLAY.
Wood graining shows beautifully on these doors, and you’ll find hardware balance matters—too fussy kills the vibe.
Profile depth varies from standard to skinny Shaker, letting you go traditional or sleek.
Plus, finish durability means your choice holds up through countless spaghetti nights and coffee spills.
You’ll appreciate how Shaker cabinets were originally designed with honest, functional, long-lasting furniture principles that still serve modern kitchen renovations today.
Inset Door Construction
Your choices here feel endless. Precision joinery details like blind mortise and tenon joints create serious durability, while beaded or flush face frames set your style mood.
Pick exposed finial hinges for vintage charm or go concealed for sleek simplicity.
Inset hardware choices matter too; those flat-sitting doors practically beg for beautiful knobs or pulls you actually want to touch. Yes, you’ll sacrifice some drawer space, but you’ll gain timeless elegance that outlasts every trend.
Select Surfaces That Develop Patina, Not Problems
Because kitchens take a beating day after day, the smartest move isn’t fighting wear; it’s choosing surfaces that wear beautifully.
You’ll find wabi sabi aging in raw terracotta tiles, where porous clay soaks up oils and stories, creating character without crumbling. This natural evolution gives you stain resilience as the surface transforms rather than stains. Even sealed terracotta will gradually develop patina over years of use, deepening its character rather than diminishing it.
Soapstone countertops reward your patience too. Yes, you’ll oil them obsessively at first, but soon you’ll watch light gray deepen to rich charcoal that laughs at hot pots and lemon juice.
Copper sinks shift from shiny penny to weathered green, telling your family’s cooking history through every meal.
Even cement tiles fade and darken like hardwood floors, letting you sand and reseal when you’re ready.
Choose materials that age with dignity, and you’ll stop worrying about every scratch.
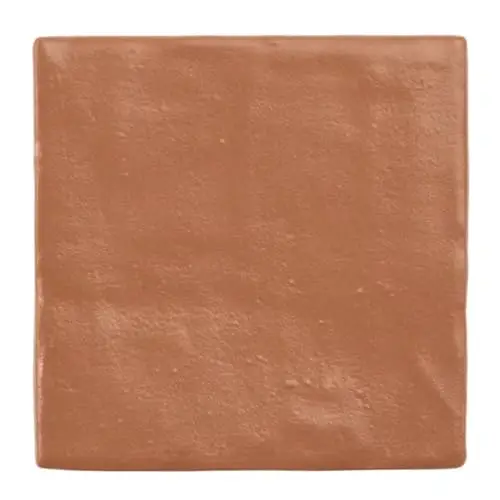
Premium Quality Ceramic – High-quality ceramic construction with a durable matte glaze and subtle shimmering effect, delivering long-lasting beauty and refined texture for interior wall applications.
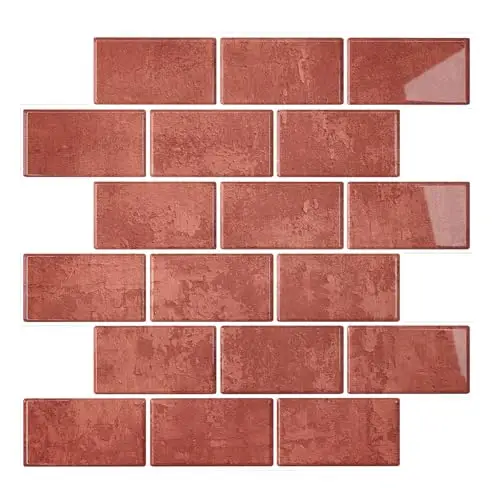
𝐏𝐫𝐨𝐝𝐮𝐜𝐭 𝐃𝐞𝐭𝐚𝐢𝐥𝐬: Peel and stick backsplash tile, grunge brick subway tile design, retro burnt orange color, made of premium vinyl, flexible, light weight, 12''x12''x0.05'', 12 tiles included, 12 square feet each box
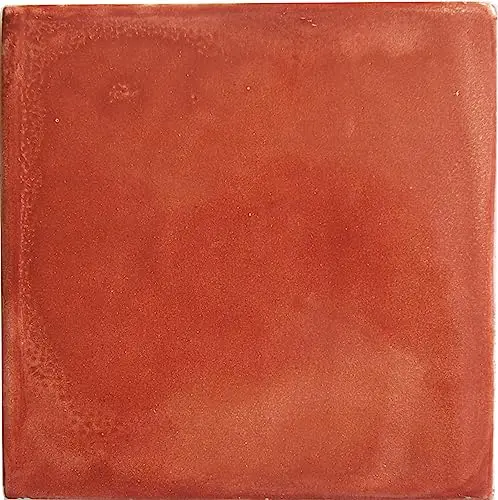
Size: 6" W x 6" L.
Lock In a Neutral Palette With Matched Undertones
Though bold colors come and go with every season’s trend report, neutrals stick around because they let your kitchen breathe. You’ll want to lock in this timelessness by matching undertones—those sneaky hints of blue, yellow, or red hiding in your whites and grays. Cabinets are a particularly smart place for these classic color palettes, as noted by kitchen design editors who emphasize integrity in schemes that will not be tiring over years of daily use.
Neutrals let your kitchen breathe while bold colors fade with every passing trend.
Create your own undertone harmony checklist before committing to cabinets, backsplashes, and walls. Warm beiges with yellow undertones feel cozy and welcoming, while green beige keeps things cool without going cold.
Don’t stop at one shade, though. Build neutral layering depth by stacking creams with taupes or soft grays with crisp whites. Add texture through matte finishes and natural wood to keep it interesting.
Your future self will thank you when the space still feels fresh a decade later.
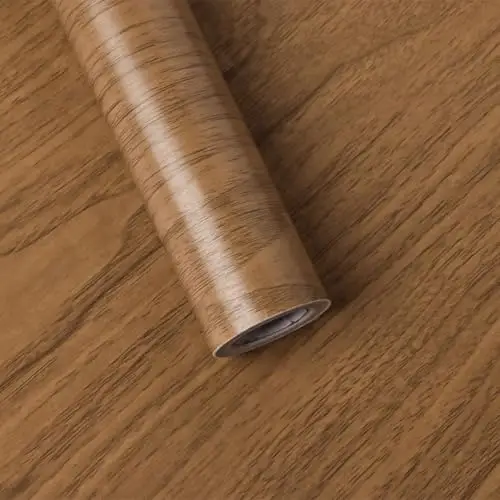
【Material and size】: Brown Wood wallpaper, 17.7×393 inch(45 cm×1000 cm)/roll. Covering 48.44 square feet. Upgraded and thickened vinyl wallpaper, opaque,waterproof wallpaper, easy to clean. Notes: Different monitors and lighting conditions can affect the visual effect of wallpaper
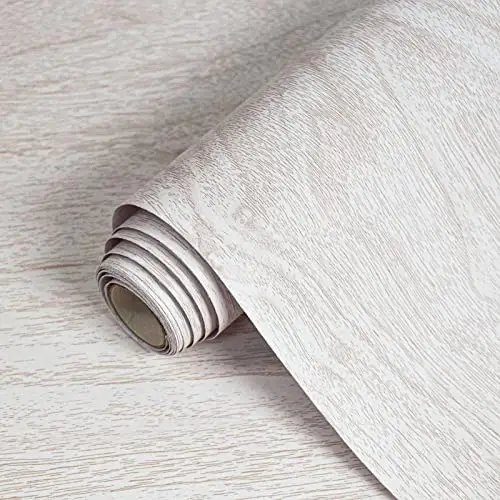
Wood contact paper 【Material and size】: Wood wallpaper, 17.7×393 inch(45cm×1000cm)/roll. Covering 48.44 square feet. Upgraded and thickened vinyl wallpaper, waterproof wallpaper, easy to clean
Wood contact paper【Material and size】: Wood wallpaper, 17.7×197 inch(45 cm×500 cm)/roll. Covering 24.3 square feet. Upgraded and thickened vinyl wallpaper, waterproof wallpaper, easy to clean
Plan Traffic Patterns That Outlast Your Daily Routines
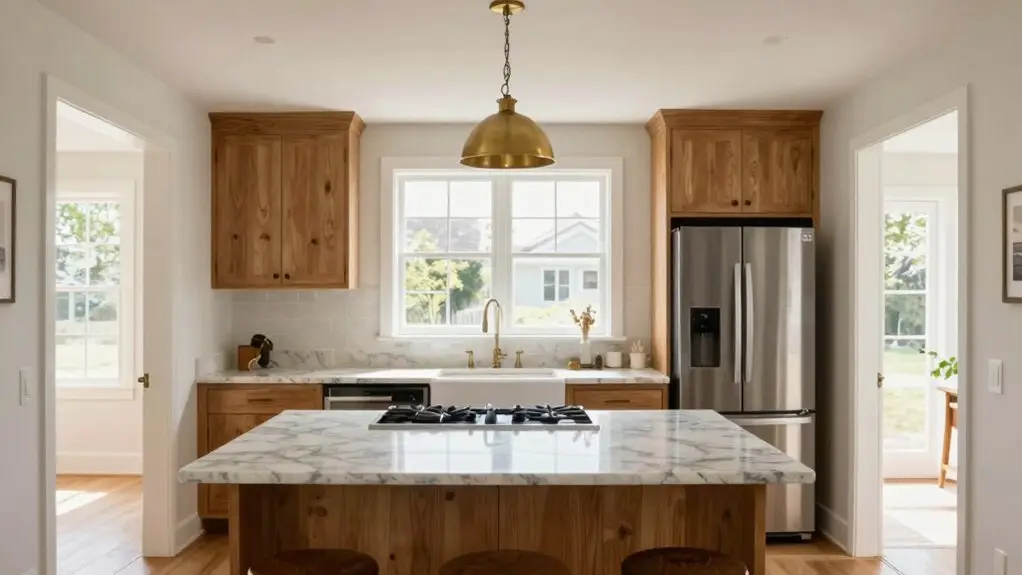
You’ll want to map your kitchen’s traffic like you’re choreographing a dance nobody trips through. Start by honoring that classic work triangle—sink, stove, fridge—so you’re not hiking marathon miles just to boil water. The triangle should not interfere with other traffic patterns and should allow ample workspace surrounding the cooktop.
Then carve out dedicated zones for prep, cooking, and cleanup that keep your household’s chaos lanes from crashing into your sauce-simmering moments.
Don’t forget generous landing strips beside every major appliance, because nothing tests your patience like juggling a hot pot with nowhere to set it down.
Respect the Work Triangle
If you’ve ever found yourself doing an awkward dance between your sink, stove, and fridge while you’re trying to get dinner on the table, you’re already familiar with what a broken work triangle feels like. You’ll want to fix that with smart workflow zoning and thoughtful appliance placement.
Keep each leg between four and nine feet apart, creating timeless spacing that cuts down on wasted steps. Prioritize clear circulation so family traffic doesn’t crash into your cooking groove, and make sure you’ve got solid counter landing space next to each major appliance. This 100-year-old principle still delivers serious movement efficiency today.
Whether you’re flying solo or cooking with a partner, respectful spacing between these three anchors future-proofs your kitchen against whatever chaos tomorrow throws your way. Today’s designers treat the work triangle as a starting point rather than a rigid rule, layering in zones for prep, cleanup, and storage to accommodate how families actually live.
Zone by Function
Because your kitchen’s busiest hours rarely stick to a script, mapping out dedicated work zones keeps the chaos from turning into a full-blown traffic jam. You’ll want to carve out separate areas for prep, cooking, cleaning, and serving, so each task gets its own turf.
Think of these as multifunction zones that shift with your day, not rigid boxes. When you’re chopping veggies at 6 AM or mixing cocktails at 8 PM, you’re using the same real estate differently. That’s why clear sink access matters so much.
You’ll need it between prep and cooking zones since hands get messy at every stage.
Keep your steps short, three max, and stash 95% of your tools within arm’s reach. No one wants a workout while making breakfast.
Beyond these four foundations, staying flexible means your zones can evolve into modern alternatives like charging stations for devices, entertainment nooks, or even conversation areas that extend your kitchen’s purpose well beyond cooking.
Clear Landing Spaces
Give your fridge 15–24 inches of counter space on the handle side for easy unloading.
Flank your cooktop with 12–15 inches of landing area on each side for hot pans.
Sink stations need 18 inches minimum, ideally 48 inches for serious chopping.
Keep walkways 42–48 inches wide so you’re not doing the sideways shuffle.
Maintain 32 inches clearance around islands to prevent traffic jams.
When two appliances needing landing space sit close together, combine their requirements by taking the larger measurement and adding 12 inches.
These measured gaps let you move, cook, and breathe.
Design In Swappable Details for Easy Trend Updates
While you might dream of a kitchen that’ll look stunning forever, the truth is that trends shift and your tastes evolve—sometimes faster than your budget allows for a full renovation. That’s why you’ll want to build in flexibility from the start.
Start with swappable hardware and an easy backsplash. Brass handles and neutral cabinets let you refresh the look in an afternoon without breaking the bank.
Subway tiles create a versatile base. You can swap in Zellige or colorful ceramic when you’re craving change. Interior design trends change over time, so having these adaptable elements ensures your kitchen never feels stuck in the past.
Freestanding islands and antique cabinets move where you need them, adapting as your lifestyle shifts.
Layer in natural textiles, cutting boards, and copper pots for quick seasonal updates. You’re creating a chameleon kitchen that grows with you, not against you.
Anchor Your Kitchen in Your Home’s Architectural History
Some kitchens feel like they belong in your home, and others feel like they crash-landed from a magazine shoot that closed ten years ago. You can avoid that disconnected feeling by anchoring your kitchen in your home’s architectural history.
Start with original layout cues, working with existing walls and flow rather than gutting everything. Seek period appropriate millwork that matches your home’s era, whether that’s Arts & Crafts joinery or sleek Art Deco lines. Accept architectural detailing like corbels, leaded glass, or rustic beams to ground the space in time. For 1920s-era homes, consider how built-in configurations replaced the older piecemeal kitchen setup of freestanding cabinets and work tables, a shift that fundamentally reorganized domestic space.
Finally, prioritize historic material sourcing—living finish metals, natural stone, and wood that age beautifully tell your home’s story.
- Honor your home’s original floor plan and structural bones.
- Research what kitchens looked like when your house was built.
- Mix vintage finds with careful reproductions.
- Let materials develop character rather than fighting their age.
- Resist the urge to erase every quirk that makes your space unique.
Final Thoughts
You’ve got the tools to build a kitchen that’ll still feel right twenty years from now. Start with smart bones, keep your colors calm, and leave room for life’s little changes.
Your future self will thank you when you’re not ripping out trendy tile. And hey, you’ll still have cash left for good coffee. Now go cook something delicious in a space that actually lasts.