The Best Fluffy Pancakes recipe you will fall in love with. Full of tips and tricks to help you make the best pancakes.


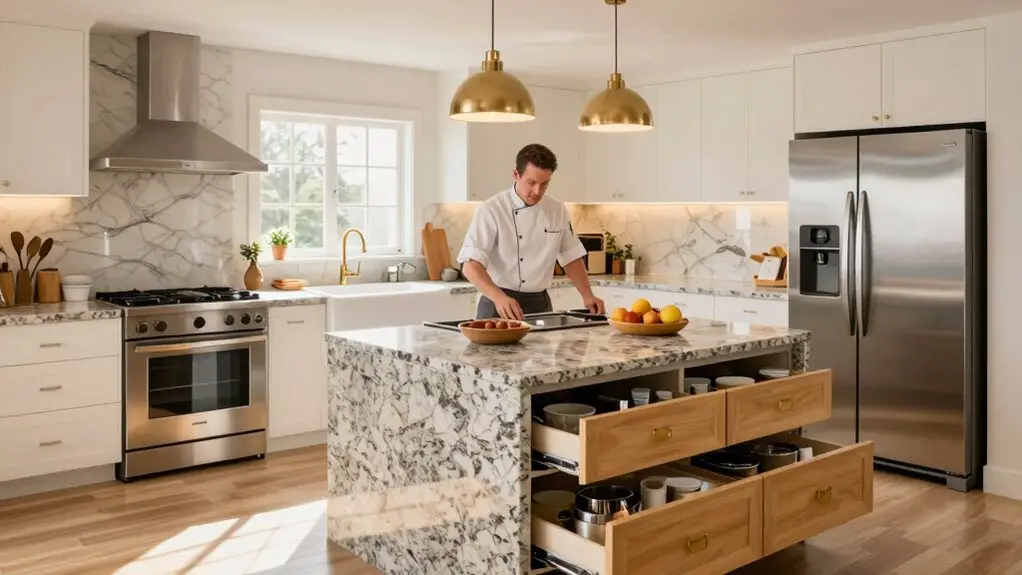
You don’t need a mansion to cook like a pro, you just need a layout that actually slickly flows with your routine. Start by measuring your space accurately. Then match your square footage to a galley, L-shape, or island setup that fits how you cook daily.
Position your prep zone between the fridge and sink. Keep tools within arm’s reach and allow 42–48 inches for traffic so you’re not dancing around open dishwasher doors. Bend the so-called “rules” when your space demands it, because slickly workflow beats perfect geometry every time.
Get these basics right, and you’ll discover even more tricks for making your kitchen work harder for you.
Measure Your Space Before Choosing Any Kitchen Layout
Grab your steel measuring tape and step into your kitchen: it’s time to map out the space you’re working with before you even think about cabinet styles or countertop materials.
Grab your steel measuring tape and step into your kitchen: it’s time to map out the space you’re working with before you even think about cabinet styles or countertop materials.
You’ll need that 25-foot steel tape for an accurate baseline, plus a laser tool for tricky corners.
Don’t forget graph paper or a digital app for your sketch.
Work clockwise, labeling walls and snapping photos as you go.
Measure corner-to-corner at counter height, then check mid-wall and near the ceiling too.
You’ll spot room variations that could throw off cabinet installation, so note the highest and lowest floor-to-ceiling points.
Record openings, soffits, and anything sticking out.
Get those appliance clearances right, and you’ve got documented dimensions that’ll save your sanity later.
No one wants a fridge that doesn’t fit! Be sure to measure twice for each dimension to confirm matching numbers and avoid expensive mistakes during your kitchen project.
Pick Your Kitchen Layout Type by Square Footage and Cooking Style
So you’ve got your measurements in hand—now what? You’ll match your square footage to how you actually live in the kitchen. With 100-150 square feet, you’re looking at a galley layout: tight, efficient, and perfect if you’re a solo cook who doesn’t need an audience.
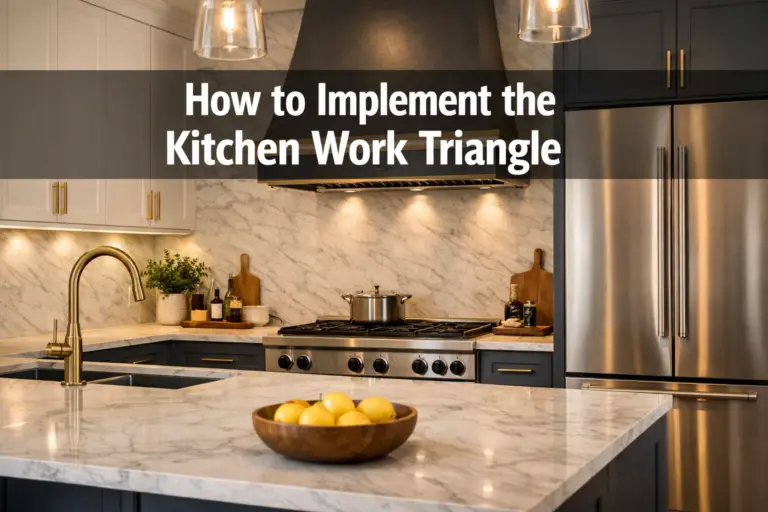
Cooking frequency matters here. Daily meal prep demands that streamlined single cook workflow. The work triangle principle ensures your refrigerator, sink, and stove remain within easy reach for maximum efficiency.
Step up to 150-200 square feet and the L-shape opens possibilities. You’re gaining flexibility for traffic impact from family life or that open-concept flow everyone wants.
You’ve got room to multitask entertaining without bumping elbows.
Between 150-250 square feet, U-shapes and peninsulas give you options.
Add space up to 300 square feet, and the G-shape handles your bulk-buying, big-family reality with storage to spare.
Plan Kitchen Zones That Follow Your Actual Cooking Sequence
Once you’ve picked a layout that fits your space, it’s time to look at how you’ll actually move through your kitchen. Think about your meal planning routine—where does everything happen?
You’ll want zones that mirror your real cooking sequence: grab ingredients from storage, prep them nearby, then cook without zigzagging across the room. Each zone should function as an autonomous bubble connected in logical meal-preparation order.
Set up your multitask workflow by overlapping prep and cooking areas slightly, so you can chop while keeping an eye on the stove.
For family cooking, give everyone zone autonomy—separate bubbles for washing, prepping, and cooking so you’re not bumping elbows.
Position your fridge, prep counter, and stove in that order, and store pots right where you’ll use them.
Your kitchen should work with your habits, not against them.
Allow 42–48 Inches for Traffic Flow and Appliance Clearance

Picture yourself dancing around your kitchen with a hot pan in one hand and a timer going off.
Now imagine doing that in a space barely wider than a hallway. You’d be sweating bullets, right?
That’s why you need 42 to 48 inches for your main traffic paths.
Smart appliance hinge planning saves you from daily frustration.
When your dishwasher door drops down 21 inches and your oven swings out 20-plus inches, you’re suddenly maneuvering an obstacle course in your own home.
Watch for traffic choke points where walkways intersect.
You’ll want at least 42 inches where paths cross perpendicular.
Between islands and counters, stick with 42 inches minimum or bump to 48 inches if you cook with family.
Account for every door swing, and you’ll move freely even during the dinner rush.
Don’t forget that your kitchen doorway itself needs to be at least 32 inches wide to accommodate easy entry and exit, especially when carrying groceries or large serving dishes.
Place Your Prep Zone Between Fridge and Sink
When you’re standing in front of your fridge with an armful of groceries, the last thing you want is to hike across the kitchen just to rinse your vegetables. You’ll want your prep zone smack dab between your refrigerator and sink: it’s a game-changer for your workflow.
This sweet spot lets you grab ingredients, wash them, and start chopping without unnecessary steps. 15 inches of landing space beside the fridge supports convenient food retrieval and keeps your prep workflow smooth.
Make sure you’ve got enough countertop clearance on both sides of your fridge, ideally 15 inches, so you’re not juggling bags while reaching for the milk.
While utensil organization matters everywhere, focus here on keeping your cutting boards and knives within easy reach of this triangle.
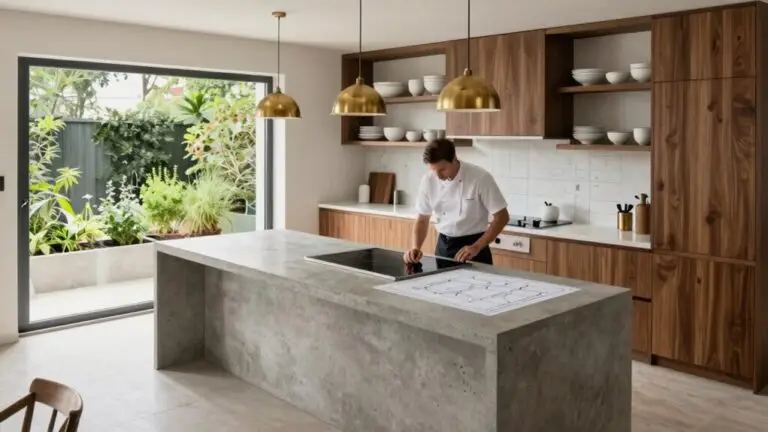
An island can work beautifully as your prep command center if it’s positioned right.
Trust me, your feet will thank you after dinner prep.
Store Prep Tools at the Prep Zone, Cooking Gear at the Range
If you’ve ever found yourself frantically searching for a wooden spoon while your garlic turns from golden to burnt, you’ll understand why zone-based storage matters. You need Prep Tool Accessibility right where you work, not scattered across the kitchen.
At your prep zone, you’ll keep cutting boards, mixing bowls, and measuring cups within one arm’s reach.
Keep your cutting boards, mixing bowls, and measuring cups where you actually prep—because reaching shouldn’t be part of the recipe.
For Knife Organization tips, install magnetic strips or drawer inserts right next to your cutting surface. No more rummaging through drawers with oily hands.
Use tray dividers and vertical separators to corral peelers, graters, and mandolines.
At the range, you’ll want pots, pans, and lids nearby.
Think overhead racks or pegboard drawers.
Stash wooden spoons, spatulas, and tongs in dedicated drawers or canisters you can grab without looking.
Keep spices and oils in pull-outs beside the cooktop.
When every tool lives where you use it, you’ll cook faster, cleaner, and with way less stress.
This zone-based approach mirrors the five-zone method used in professional kitchen planning, which breaks workflows into consumables, non-consumables, cleaning, preparation, and cooking areas to minimize unnecessary movement.
Size Your Island for Function, Not Just Extra Seating

Before you pick a pretty countertop, you’ll need to figure out how much room you’ve actually got to move around that island, because nobody enjoys shimmying past a hot pan with their elbows pinned.
Allow at least 36 inches of clearance around every side so movement stays comfortable and accessible when multiple cooks crowd the space.
Think about what you’ll really do there too; is it chopping vegetables, rolling out dough, or just parking your coffee while you scroll through recipes?
Nail down your traffic clearance standards and work surface priorities first.
You’ll build something that works as hard as you do.
Traffic Clearance Standards
Though it’s tempting to squeeze in that oversized island you’ve been pinning, you’ll regret it every time you bump hips with your partner during breakfast rush. You need to prioritize kitchen function over square footage.
Start with 36 inches of walkway as your bare minimum; it meets IRC requirements for emergency egress planning and lets cabinet doors swing open.
But you’ll quickly outgrow that tight squeeze. For real comfort, stretch to 42 inches. That extra breathing room transforms your appliance workflow, letting you haul groceries or dodge your teenager without drama. For households with multiple cooks working simultaneously, 48 inches becomes the practical standard to prevent collision during meal prep.
If you’re adding island seating, account for chair pull-out plus walking space behind diners.
Traffic clearance isn’t glamorous, but you’ll thank yourself when everyone’s rushing to work and nobody’s trapped.
Work Surface Priorities
Beyond the traffic flow, you’re staring at that island footprint and wondering how much room you actually need to chop vegetables without elbowing your morning coffee. Island workflows demand honest answers about what you’ll actually do there. Will you roll dough, or mostly lean on it for cereal?
Surface simulation saves headaches—grab tape and mock up your prep zone before committing.
You’ll want 36 inches of counter height for real cooking, plus three feet of width minimum for elbow freedom. If stools tempt you, don’t skimp: 24 inches per seat beats awkward shoulder bumps, and 12 inches of knee room keeps diners happy. Many homeowners regret trying to fit a thinner island into the kitchen when a wider surface would have supported both cooking and gathering without compromise.
Quartz or butcher block takes the beating, but remember: you’re building a workstation first, a hangout second.
Break Kitchen Layout Rules When Your Space Demands It
You’ve probably heard you must follow the kitchen work triangle to the letter, but that’s not always true.
Sometimes breaking the rules, like ditching the triangle for smart zones in a sprawling space or squeezing function from a cramped galley, gives you a kitchen that actually works for your life. Understanding kitchen design rules first enables creative freedom when your space demands a different approach.
Let’s look at when and how to bend those classic guidelines without losing your mind or your spatula.
Triangular Trade-Offs
Why stick to rules that don’t fit your kitchen? Sometimes you’ve gotta bend those classic triangle guidelines to make your space actually work for you.
Here’s when breaking the rules makes sense:
- Tiny galley or single-wall setups where the triangle won’t fit no matter how hard you try.
- Open-concept spaces needing work zones for cooking, homework, and hanging out.
- Multi-cook households where traffic routing and appliance accessibility matter more than perfect measurements.
You’ll still want smart lighting placement, solid ventilation planning, and seamless storage flow.
Don’t forget electrical planning for those island outlets! A peninsula or linear layout can rock your kitchen life when you prioritize prep zones and keep that 48-inch clearance.
Your kitchen, your rules—make it functional and fun.
Even when you break the triangle, maintaining 4-9 feet between your most-used appliances keeps movement efficient and your workflow smooth.
Compact Space Solutions
Working around the classic triangle isn’t just about bending rules for open concepts or multi-cook chaos: it’s about outsmarting a kitchen that’s barely big enough to turn around in. You’ve got to get clever, and that means looking up, down, and everywhere between.
Start with multi-height storage so you’re not wasting precious vertical real estate. Add pegboard organization for utensils and pans—suddenly your wall becomes your best friend.
Wall-mounted shelving keeps counters clear for actual cooking. When square footage shrinks, foldable furniture becomes your hero, giving you prep space that disappears after dinner.
Squeeze every inch with a pull-out pantry between appliances or in that awkward gap by the fridge. Don’t forget cabinet door hooks for measuring cups and oven mitts: those ignored surfaces add up fast. A collapsible dish drying rack rolls up tight when not in use, freeing your limited counter space for meal prep instead of permanent fixtures.
Small kitchen? No problem. You’re just thinking bigger.
Zone Flexibility Adjustments
While the work triangle has ruled kitchen design for decades, sometimes your space laughs in the face of tradition, and that’s perfectly okay. You’re not stuck with rigid rules when your kitchen demands better Flow Planning. Here’s how you’ll bend those rules smartly:
- Stagger your range and sink to cut down awkward turning, keeping Appliance Reach comfortable and safe. Staggering reduces turning degrees when you’re carrying hot items between stations.
- Let Task Overlap happen by clustering consumables and prep zones together. This way, you’re not running marathons between stations.
- Tweak Cabinet Accessibility with pull-outs and corner solutions, reclaiming that lost real estate.
You’re customizing for real life—multiple cooks, weird corners, or that window you won’t sacrifice.
Measure your clearances, adjust heights, and let zones evolve.
Your kitchen works when it fits you, not some old rulebook.
Final Thoughts
You now have the tools to build a kitchen that actually works for you, not against you. Measure twice, trust your cooking habits, and don’t sweat the small stuff. Rules matter, but your sanity matters more.
Whether you’re chopping at a cramped counter or spreading out on a sprawling island, make it yours. A good kitchen isn’t perfect; it’s perfectly you. Now go cook something delicious.